Art knows no boundaries or categories to be defined into. Art in all forms is a commendable beauty to look at, whether it is in the form of dancing, singing, or even in the form of stitching.
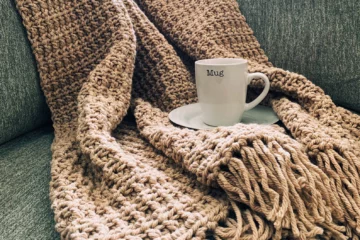
If we talk about stitching there are various forms of stitching, and one of the most popular yet underrated is “Crochet weaving.” This is a pure art form of weaving beautiful threads together to create mind-blowing masterpieces of clothes, purses, decor items, and whatnot!
Crochet weaving has various patterns involved to provide beautiful and creative art pieces. So, without fail, let’s quickly unwrap more details on this timeless art form and discover a world full of endless artistic possibilities.
Various Crochet Weaving Patterns
There are hundreds of different crochet weaving patterns currently present in the market, and almost every day, new trends keep getting added to them.
Here’s a list of the 3 most popular and recognized patterns of all.
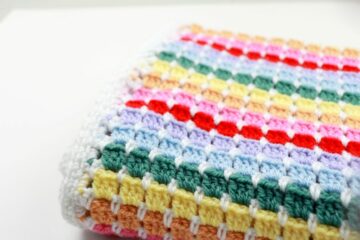
1. Aligned Cobble Stitch
The aligned cobble stitch looks like a collection of raised pebbles. This is a very simple yet very elegant-looking stitch. Single-colored threads make this stitch look even more systematic and clean. Perhaps, if you are a complete beginner in this art form and are setting steps slowly, an aligned cobble stitch is something you can easily start and practice more on.
2. Angel Stitch
This angel stitch is perfect for weaving scarves and shawls. This stitch gives a puffier look to the threads, and different colors give it a more elevated look.
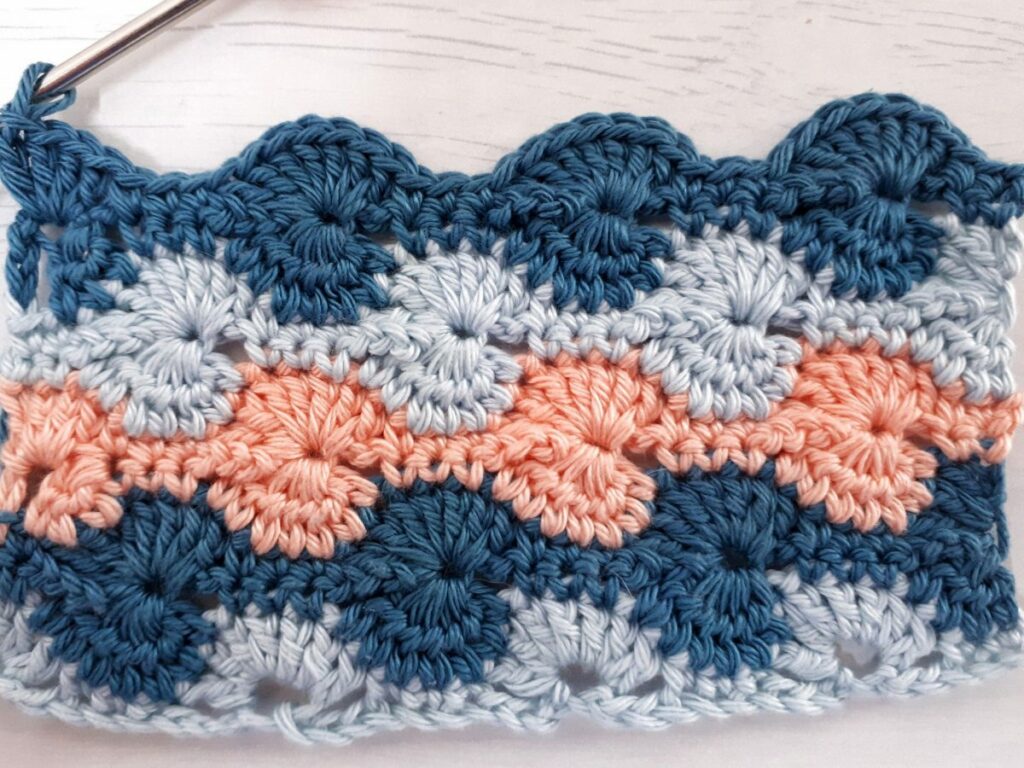
3. Catherine’s Wheel Stitch

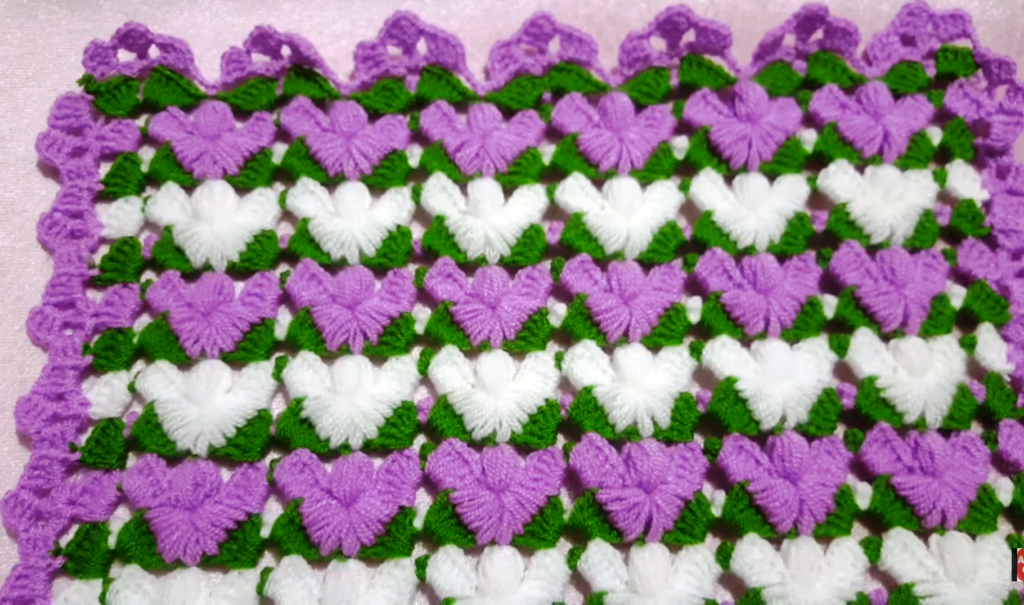
A stitch that is set to steal the attention of your eyes with its beautiful layering. Catherine’s wheel stitch is slightly complex to understand at first, but with a little practice and appropriate guidance, you can ease the game. Using different color combinations makes this stitch look even more tidy and classic.
The Beauty of Catherine’s Wheel Stitch
Catherine’s wheel is undoubtedly one of the most popular and elegant weaving forms. It might look complicated at the start, but as you move forward, you will gradually understand its true potential of transforming simple threads into rich textures of swirl.
Yes, it is very obvious to get inspired by this “Catherine’s wheel stitch,” so perhaps, let’s start with understanding this stitch step by step and learn the weaving process;
Catherine’s Wheel Stitch Step-By-Step Tutorial
The step-by-step tutorial for a perfect Catherine’s wheel stitch in 5 Rows.
Step 1: Get the Foundation Cleared
Before you start weaving the stitch, it’s important to have your basics cleared. There are a few essentials of Catherine’s Wheel Stitch that you need to be aware of.
Let’s start:
1. Yarn and Hook Selection
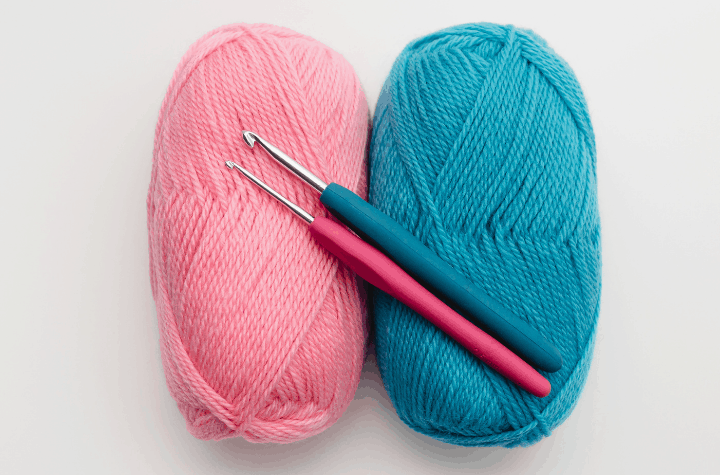
Choosing a suitable yarn and hook is important for the desired results. Whenchoosing a yarn, make sure the weight and color of the yarn align with your anticipated product. Once the Weight and color of the yarn are sorted, choose an appropriatecrochet hook size that complements your chosen yarn.
2. Foundation Chain
To start with the switch, you have two options: either go with 10+7 basic stitches or benign with a single foundation chain crochet. If you choose to start with a foundation chain, go with any even number of stitches and keep repeating the pattern.
Step 2: 5 Rows Stitching
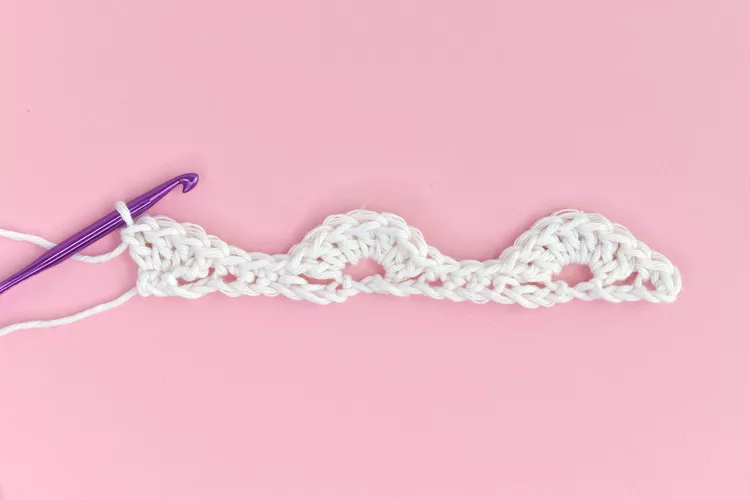
Row 1
In order to prepare the base for starting your row 1, you need to start with creating a foundation chain of your desired length. Once the chain is created, Double crochet (dc) into the 4th chain from the hook to get your first cluster. Now skip the next 2 chains and work 5 double crochets into the next chain. Skip 2 chains and work 1 DC into the next chain. Repeat from * to * across the row.
Instructions: *Skip 3 chains, 7 double crochet in the next chain, skip 3 chains, and single crochet in the next 3 stitches. Repeat from * to the last 4 chains. Skip 3 chains and 4 double crochet in the last chain. Turn.
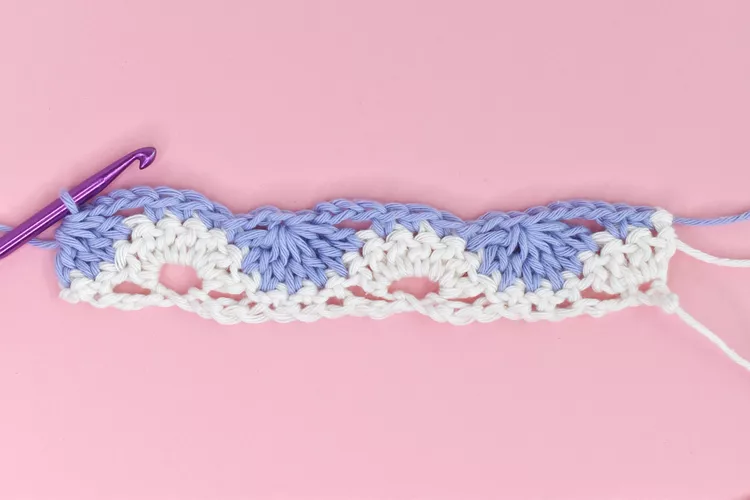
Row 2
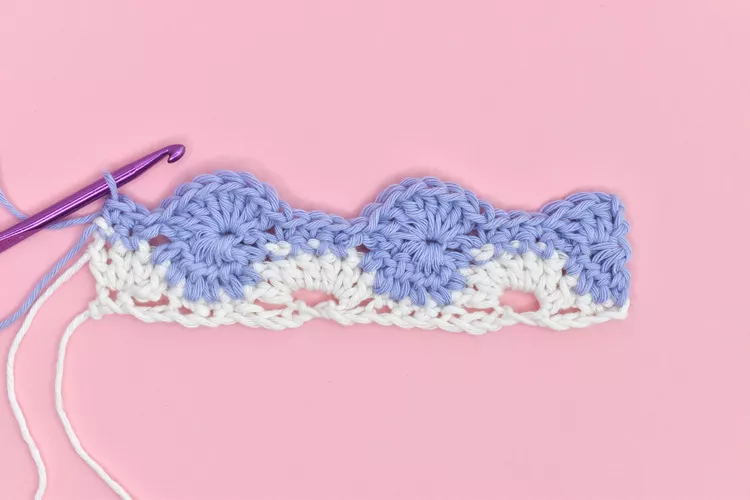
Once row 1 ends, it’s time to start forming the wheels for row 2. To create a wheel, start chaining 3 and Insert the hook into the next DC after the chain-3 space. Now draw a loop, then yarn over and pull through 2 loops on the hook (partial double crochet).
Repeat step 2 for the next 4 stitches, creating a total of 5 partial double crochets in the same stitch. Yarn over and pull through all loops on the hook to complete the wheel. Chain 1 to secure the wheel.
Instructions: *Chain 3, double crochet 7 together, working across the next 7 stitches, chain 3, single crochet 3. Repeat from * to the last 4 stitches. Chain 3, double crochet 4 together, working across the last 4 stitches. Turn.
Row 3
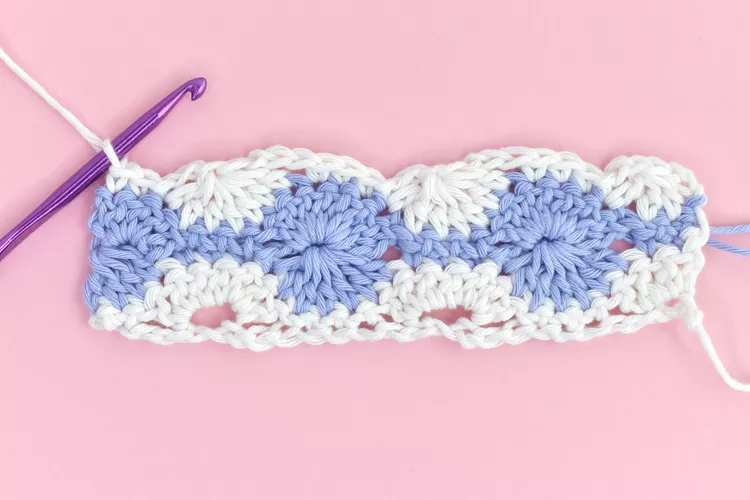
For the 3rd row, keep following the same pattern. Skip the next 2 DC stitches from the starting round and work 1 DC into the next DC. Repeat from * to * across the row.
Then, start with chaining 3 with the next wheel formation and repeat the wheel-forming steps within each chain-1 space from the previous round.
Instructions: *Skip 3 chains, single crochet in the next 3 stitches, skip 3 chains, 7 double crochet in the chain that closed the double crochet 7 together from the previous row. Repeat from * to the last 5 stitches. Skip 3 chains, single crochet in the last 2 stitches. Turn.
Note: Chain 3 can have some gaps in the middle of your formation, so do not panic and give up on your pattern; try to form closed loops and keep going.
Row 4
With the start of the 4th row, you need now to move near the completion of the stitch. Repeat Step 3 until you reach the desired length.
Instructions: *Chain 3, single crochet 3, chain 3, double crochet 7 together, working across the next 7 stitches. Repeat from * to the last 2 stitches. Chain 3, single crochet in the last 2 stitches. Turn.
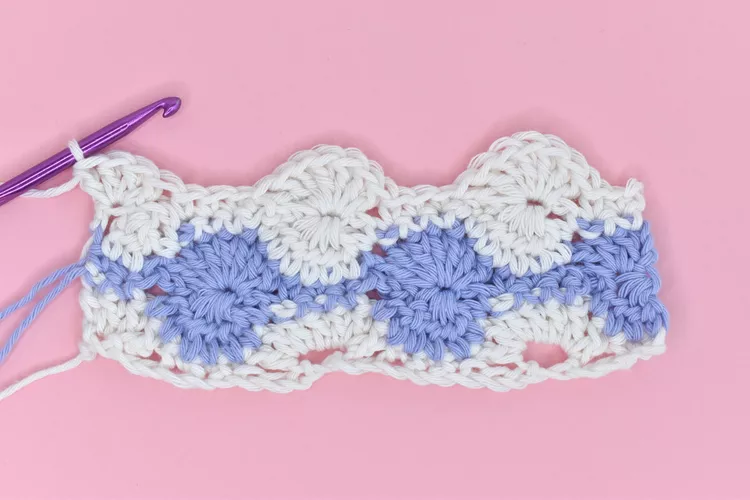
Row 5
The end of this switch marks the formation of row 5. To create a row 5, you need to form a single crochet with the following two stitches and then skip 3 chains, work 7 double crochets in the chain that joined the 7 double crochets from the row before, then work 3 single crochets into the next 3 stitches.
Instructions: In the last stitch, do 4 double crochets while skipping 3 chains. Turn.
Now that you have learned step by step tutorial for Catherine’s wheel stitch, make sure to keep in mind a few of the tips.
Tips for Forming a Perfect Catherine’s Wheel Stitch
- While making Catherine’s wheel stitch, it is essential to focus more on maintaining consistency and uniformity in the stitch pattern.
- Keeping track of your stitch count and wheel placement is also important, so to ensure accuracy, make sure of stitch markers.
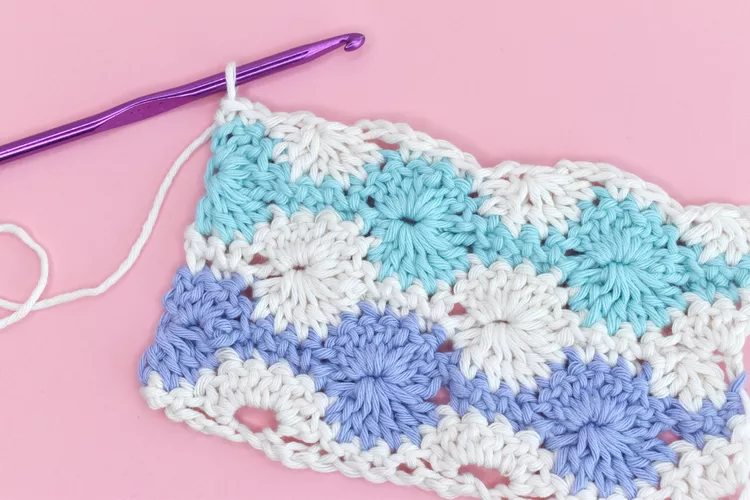
- As we know, Catherine’s wheel stitch is very beautiful to have a look at, so to enhance its beauty more, you can make sure of more than two colors.
- One of the very important tips is first to take a trial with a small patch rather than starting the final product.
Winding Up!
Perhaps now you are well-versed to start your first Catherine’s wheel stitch.
Make sure you keep in mind all the tips and follow each step adequately. Whether you are looking to create your scarves, shawls, or any fashion accessories, this guide is very useful for you. So what’s the hold up now? Gather your tools now, choose your favorite colors, and start sewing your desired design!
Happy Stitching!