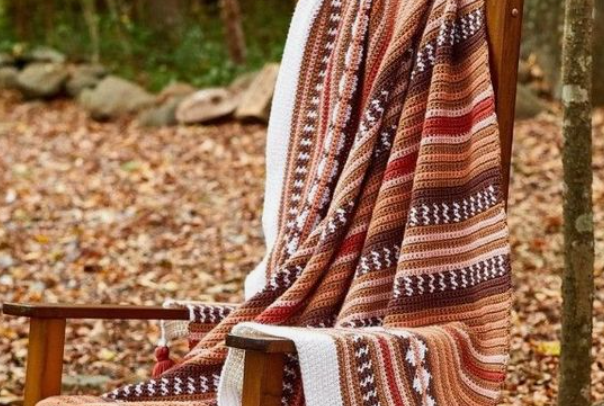
The world of extended single crochet is the world of innovation and texture. The extended single crochet technique is the best option for creating textured designs because it brings a lot of color and vibrancy inside the traditional crochet design.
In this comprehensive tutorial, we invite you to embark on a journey where we will help you discover the beauty of extended single crochet designs and their application in our daily lives.
With the knowledge of tips, pitfalls, and step-by-step guides, we will make you a master in single crochet design and help you bring back your artistic skills.
Tutorial on How to Create Extended Single Crochet stitch
The extended single crochet stitch is slightly bigger than the traditional crochet stitch. This makes your crochet project look more remarkable, and incorporating this technique into your crochet project will create crochet creations that resemble your personality and style.
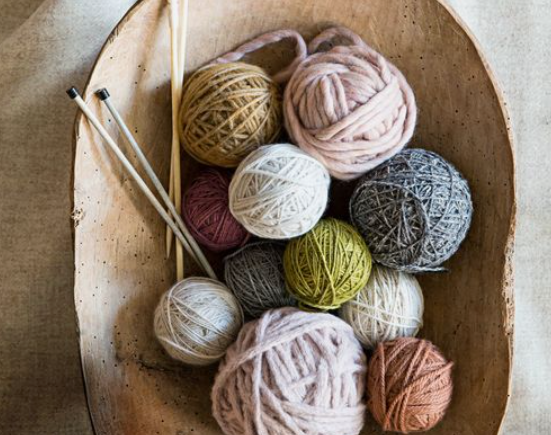
Essential Materials Required for Extended Single Crochet
- Choose a yarn of your choice. Make sure that you choose a yarn weight and color that represents your style.
- Now, choose a hook size that fits perfectly with your yarn. You should choose a hook size slightly greater than the yarn.
- A scissor would be a necessary accessory since it will help you cut out the loose ends and give you a smooth finish.
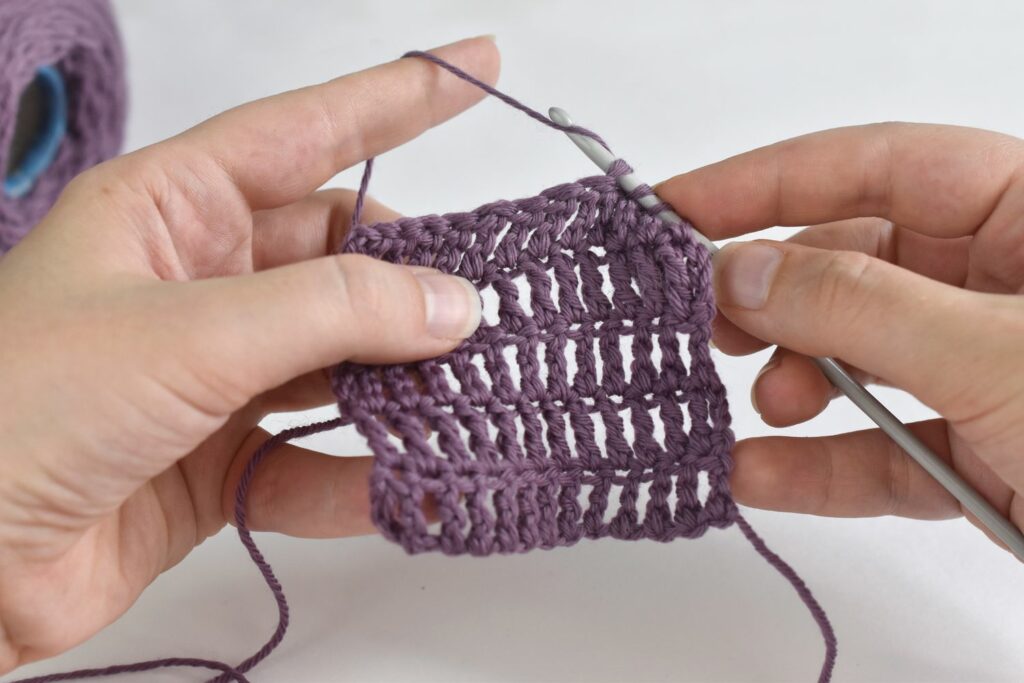
Step-By-Step Guide to Work on Extended Single Crochet
Grab all of your supplies and dive into the enigmatic world of creating magical projects with the timeless work of craft with class and grace.
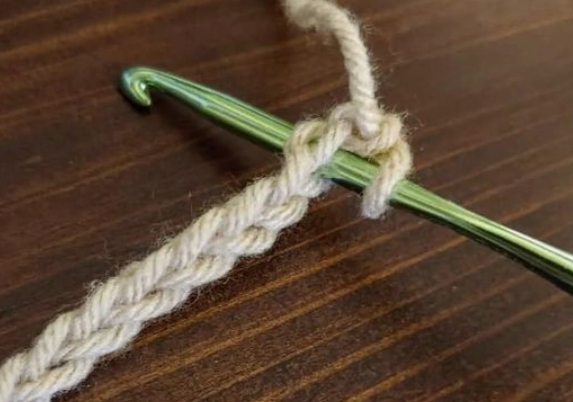
Step 1: Make the Foundation Chain
The perfect length of your crochet project will be created when you start building the foundation chain. Browse through the length of the project and adjust your foundation chain according to that.
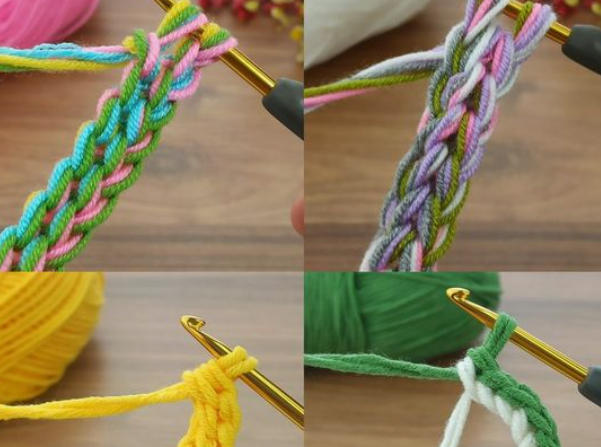
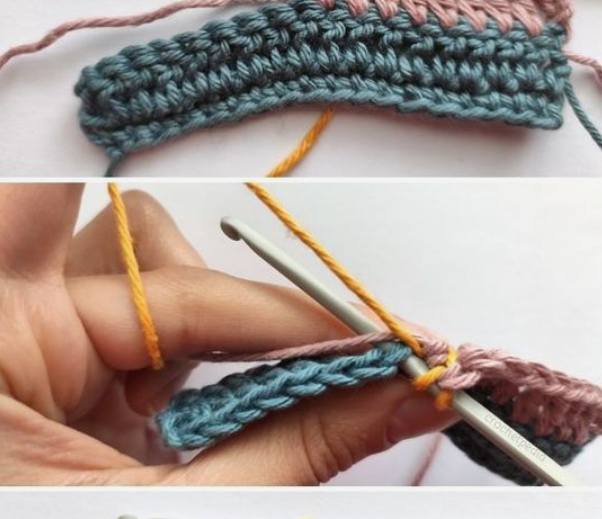
Step 2: The Yarn Insertion

The yarn should follow a particular style. This means that the yarn should be built around the hook and should be designed from the back and then moved to the front.
Step 3: Hook Insertion
Pre-plan the pattern that you want to incorporate in the crochet project, and then insert the hook based on that.
Step 4: Use The Pull-Up Loop

You have created the first loop in step 2, and thus, in this step, you repeat the process two times, so the result would be three loops in action.
Step 5: Single Crochet Extension
Now insert the single crochet extension on the crochet project and then yarn like you did in step 2. You will notice that an elevated height is formed inside the first loop.
Step 6: Complete Stitch Yarn
Now, take the yarn and repeat the process of step 2 again with another two loops. Now, you will witness that an extended stitch has been formed on two loops.
Step 7: Pattern Continuation
Now to create the row, incorporate step 2 and step 6. Just make sure that tension is maintained across the crochet while making it.
Step 8: Row Turning
The way the first row is completed, follow the same pattern to proceed with all the other rows to get the best possible result without any flawlessness.
Step 9: Row Continuation

For the last row, make sure that you incorporate steps 4 and step 6. This means that the loop needs to be pulled up and yarned over.
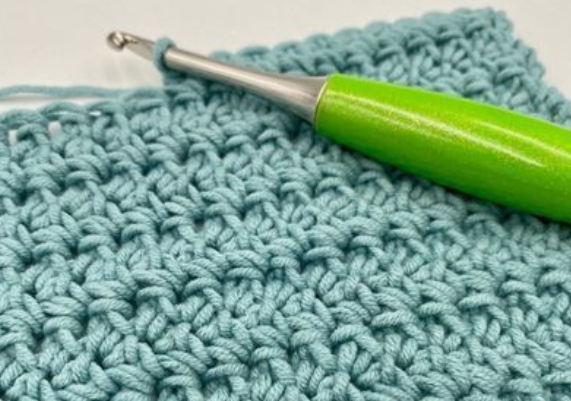
Step 10: Final Finish
Now, to cut all the loose ends of the crochet project, use the scissors. Now, use the tapestry needle to make the borders of the crochet project and have a clean and neat look.
<iframe width=”1280″ height=”720″ src=”https://www.youtube.com/embed/wbI-7aqCHbo” title=”How to Crochet the Extended Single Crochet Stitch (Esc)” frameborder=”0″ allow=”accelerometer; autoplay; clipboard-write; encrypted-media; gyroscope; picture-in-picture; web-share” allowfullscreen></iframe>
Essential Tips to Master the Art of Extended Single Crochet

As we take you on the journey of discovering a single crochet stitch, it’s very important that you understand the basic dynamics to create stunning results. Follow the list stated below so that you can build your project with confidence and get a rewarding experience.
- Hook Size Selection: The golden rule is taking a hook size that is larger than the yarn. This will help you integrate the hook size seamlessly. Once the project is complete, you will be surprised to see the output. The result is a well-stitched project that makes the texture look stunning.
- Choosing The Yarn: Single crochet comes with its unique structure, so it’s very important that you choose a yarn that makes the texture shine. A chunky yarn would be the best fit, but you can also opt for bulky yarn or any other yarn that makes the project beautiful and functional.
- Choosing Consistency: This is a very important suggestion, as failure to maintain consistency can severely affect the project. A lot of crocheters have spoken about this issue. If consistency is not maintained throughout the project, then the height and aesthetics of the crochet become messy.
- Chain Formation: It is very important that you remember a rule that works wonders for your crochet project. Make sure that when you begin a row, the same stitch shall be used at all times when the turning chain technique is performed. This would provide a smooth finish.
- Don’t Skip The Count: When you are working on a crochet project that would take days to complete, then it’s very important that you work on your count. If they are not numbered during a crochet project, you will be unable to maintain a proper structure, and your crochet project will be a waste.
- Swatch Practice: We would recommend that you do a test run before you incorporate a single crochet technique into your final project. This would mean a swatch practice; when you experiment with different hook sizes and yarns in the practice mode, a good final project is guaranteed.
- Gauge Adjustment: A uniform look can only be achieved when an extended single crochet project is complimented with other stitches, and hence, the guide adjustment is the need of the hour. Make sure while joining other stitchwork with gauge you pay attention to detail for maintaining a cohesive look.
- Texture Adjustment: Texture adjustment means playing with single crochet stitchwork. This would involve trying out patterns and textures to create a unique crochet project. Don’t be afraid to make mistakes, as mistakes give rise to innovation.
- Lightning Adjustment: A low-lit environment should be avoided at all costs, hence improving your lighting conditions. This would mean adding proper lights to watch your crochet project while you build them. Poor lighting conditions would mean that you can make mistakes in white stitching.
- Weaving Adjustment: Weaving adjustment is easy, and all you would need is a tapestry needle. When a proper needle is used for making proper finishes, that means that you really love your crochet project and are very careful about perfecting it.
- Innovate All Times: We agree that to create a perfect crochet project, attention to detail is a very important factor, but that doesn’t mean you can’t innovate new stitches and color changes while working on it. So, experiment at all times.
- Enjoy While You Create: Your crochet project is your canvas of creativity. Let that be your best depiction of your art. So even if you make mistakes and lose the motivation to complete the project, remember the goal is not perfection but having fun in your building session.
Pitfalls While Making Extended Single Crochet Stitch
Perfecting a single crochet stitch is a challenge, but if you navigate through this information, the issues will be solved. Avoid these mistakes that will be mentioned here so that each stitch that you create becomes perfect.
- Yarn overs: Most of the crocheters make the deadly mistake of combing the last two loops before completing the project. This makes the crochet project appear messy, and proper height and texture are not achieved.
- Tight Tension: Beginners mostly have this issue. By making the stitch tight, they cannot adjust the project’s height. Once you avoid this issue, you will notice how beautiful your stitches come together to offer you a beautiful finish.
- Turning chains:To create the perfect row, it’s very important you pay careful attention to turning chains. During the building session, if the turning chain becomes short or long, then your entire project will become messy.
Similar Patterns That Resemble Extended Single-Crochet Designs
We would advise you to opt for extended single crochet designs at all times, but if you are looking for an alternative. Here are a few of them
- Treble crochet: In this technique, the yarn needs to be rolled over twice, and then the loop should be created. Once done, insert the hook and then again create two loops to get the perfect finish.
- Double crochet: This technique would make your crochet row taller than the single crochet technique. To make this stitch a reality, make sure that you insert the hook first and then yarn over to create two loops simultaneously.
- Half Double Stitch: This is slightly longer than the single crochet but less than the double crochet design. In this technique, you roll the yarn twice and then insert the hook into the stitch. Repeat the process to get a smooth finish.
- Extended Double Crochet: The yarn over and pull-up technique should be used three times to make this artwork. The pattern looks similar to single crochet but adds more depth and elegance when in practice.
All these stitch works stated above serve as alternatives, so you can experiment as you like. If you are too scared to try them on a real project, we would recommend that you take the help of the draft project to try your moves with these stitches.
Takeaway
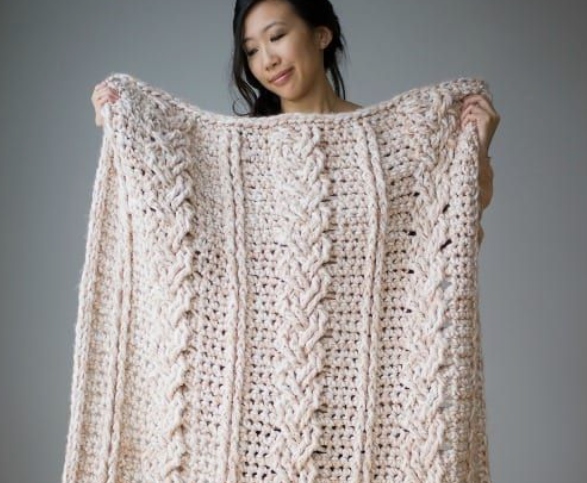
To bring forward elegance and depth, an extended single crochet becomes the best choice. With the help of yarn over and pull-up loop technique, a textured pattern is created, which provides a cohesive look.
This looks super remarkable as they portray the woven effect. Please make sure that you avoid the common pitfalls that are mentioned in this tutorial guide. If you follow our guide in a detailed manner, we are sure that every stitch that you incorporate will be a stitch of perfection.
Remember, the crocheting journey is not a day job, so it will require your time and effort to perfect the craft. Enjoy your building session while doing the project since it’s all about having a rewarding experience while creating it.
Frequently Asked Questions
Why do Crocheters Use Extended Single Crochet Instead of Transition Crochet Stitch?
The basic idea behind making an extended crochet stitch is adding a layer of yarn that is not present in a single crochet. When this technique is added, a cohesive look is generated, and a textured look is formed, increasing the visual appeal of the project.
Is Tension Really Important in an Extended Single Crochet Stitch?
Yes, it’s the need of the hour. Realize that tension is the reason why stitches get loose or tightened, so maintaining consistent tension is an absolute necessity. When the tension is maintained across the project, stitches appear uniform and even.
Is There Any Recommended Yarn Type for Extended Single Crochet?
No, there is none. The beauty of this technique is the fact that it can use different colored yarn weights and colors. It is recommended that you choose a yarn that seamlessly combines with the crochet style. A chunky yarn is the preferred choice.