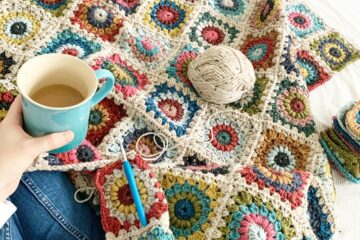
Are you new to the artistic world of crocheting? And yet, you want to crochet a masterpiece that your friends and family will compliment you for? Well, then, you are at just the right place! We are introducing to you the basket weave stitch crochet – and before the name itself gets you all worked up as a beginner, wait. Just like the name, the design looks complicated and highly refined and definitely not “beginner-friendly.” But, as they say, appearances are deceptive.
The basket weave crochet stitch is as much for beginners as it is for intermediates and experts. We bet you do not yet believe us, but let us tell you how to basket weave and stitch crochet, and we’re sure you won’t be able to stop before trying it out by yourself.
In this article, we will teach you the craft of making the unique basket weave crochet pattern that may appear intimidating at first but is relatively much simpler once you get the hang of it and start crocheting.
What is the Basket Weave Stitch Crochet?
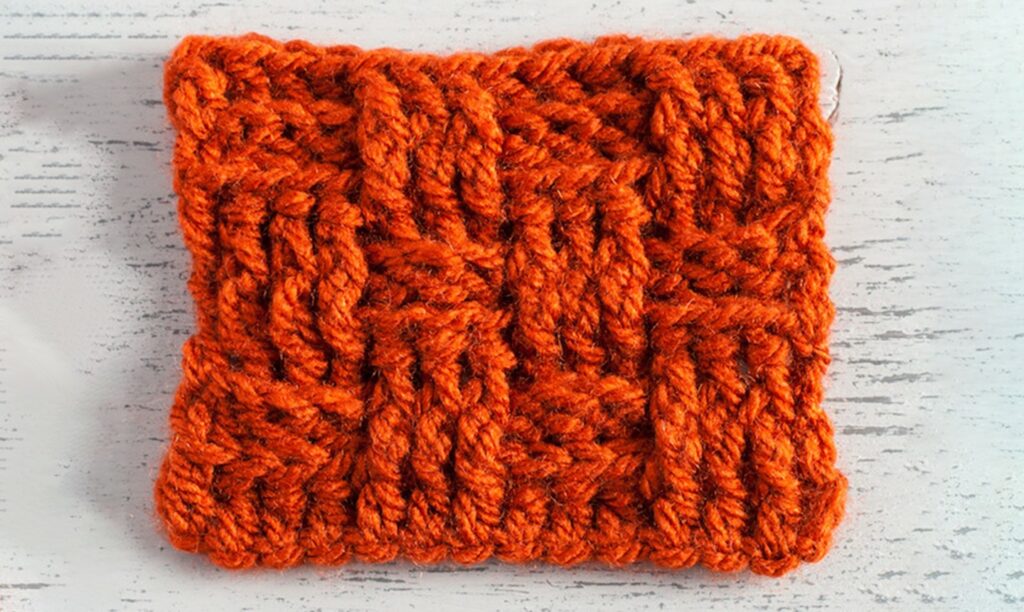
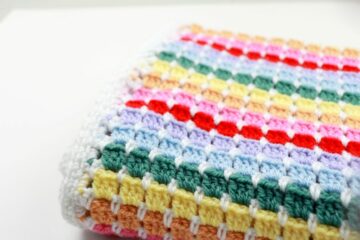
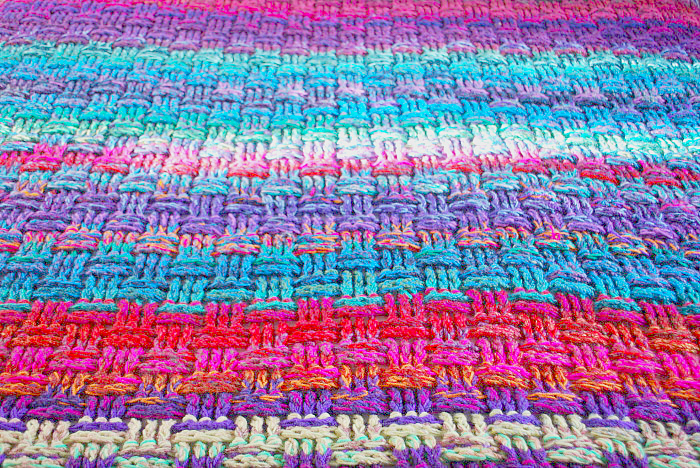
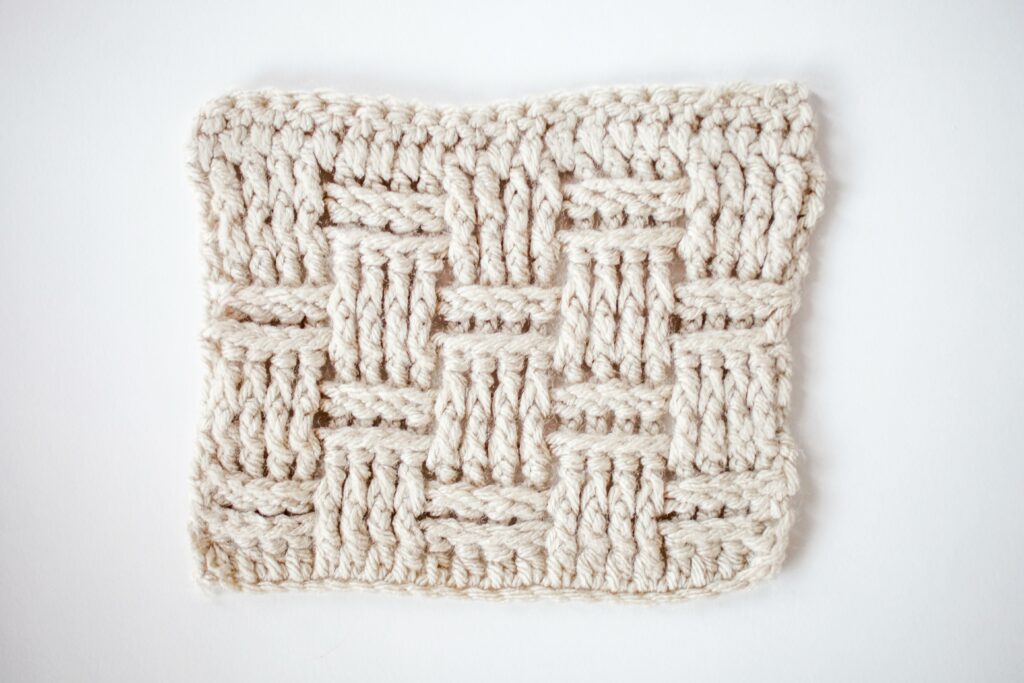
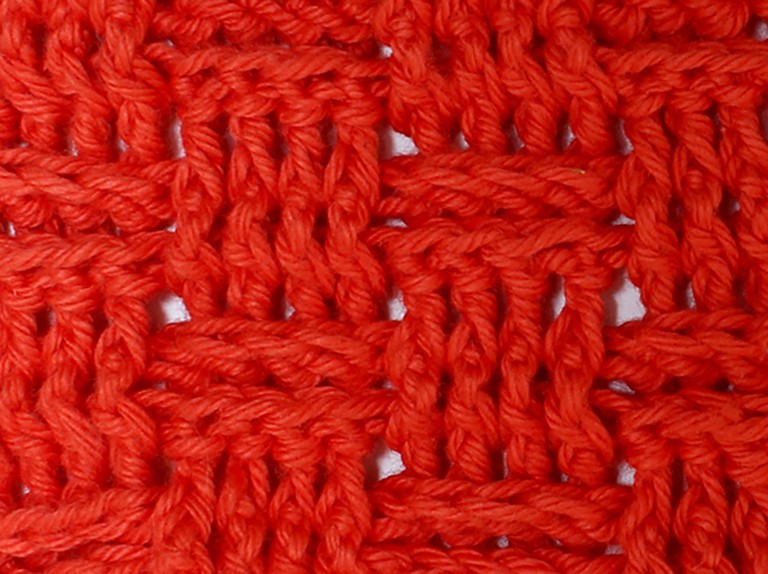
The basket stitch crochet is a unique and distinctive crochet pattern. To describe it in words, the basket weave stitch crochet is a pattern of vertical stitches alternating with horizontal ones. The interlinking of the stitches with one another gives it the appearance of a close-knit pattern, like that of a woven jute basket. Hence, this characteristic pattern is called the “basket weave stitch crochet.”
The basket weave stitch crochet very smoothly and elegantly adds thickness and texture to the piece of work you create using the stitch pattern. And that does not require too much extra effort from your end. However, you need to be meticulous about paying extra attention to detail in terms of the chains and needle loops. And now, without any further delay, let us move on to the most important pattern of “how to do the basket weave stitch crochet.”
Basic Overview of the Basket Weave Crochet Stitch
Here is a summary in pointers that gives you a brief idea about what to expect when trying out the basket weave crochet stitch as a beginner.
- Difficulty Level: Intermediate
- Suitable For: Beginners to experts
- Pattern Characteristics: Solid, Ribbed, and Double-sided
How Do You Crochet a Basketweave Stitch?
In this basket-weave crochet written pattern, we will give elaborate instructions about the process step-by-step. The pattern is repetitive, so you have to master only a few basic sets of stitches, and once you crack this code, you will understand the fact that the basket weave crochet stitch for beginners is not merely an attention-creating stunt or farce.
And one of the most interesting facts about basket weave stitch crochet is that it is reversible. That is, it looks the same from the front and the back, so there’s no specific “front side” or “backside.”
Before starting right away with the steps, here is a list of items that you need, followed by a list of abbreviations that would come in handy when understanding the process.
Essential Requirements for Basket Weave Stitch Crochet

| Worsted Weight Yarn | Yarn Scissors |
| Ergonomic Crochet Hook | Removable Stitch Markers (optional) |
| Yarn Needle | Row Counter (optional) |
Abbreviations Associated with Crocheting
| Ch = Chain | Sl St = Slip Stitch |
| St = Stitch | Hdc = Half Double Crochet |
| Sk = Skip | DC = Double Crochet |
| YO = Yarn Over | FPDC = Front Post Double Crochet |
| Beg = Beginning | BPDC = Back Post Double Crochet |
The abbreviations mentioned follow the guidelines outlined by the US Craft Yarn Council.
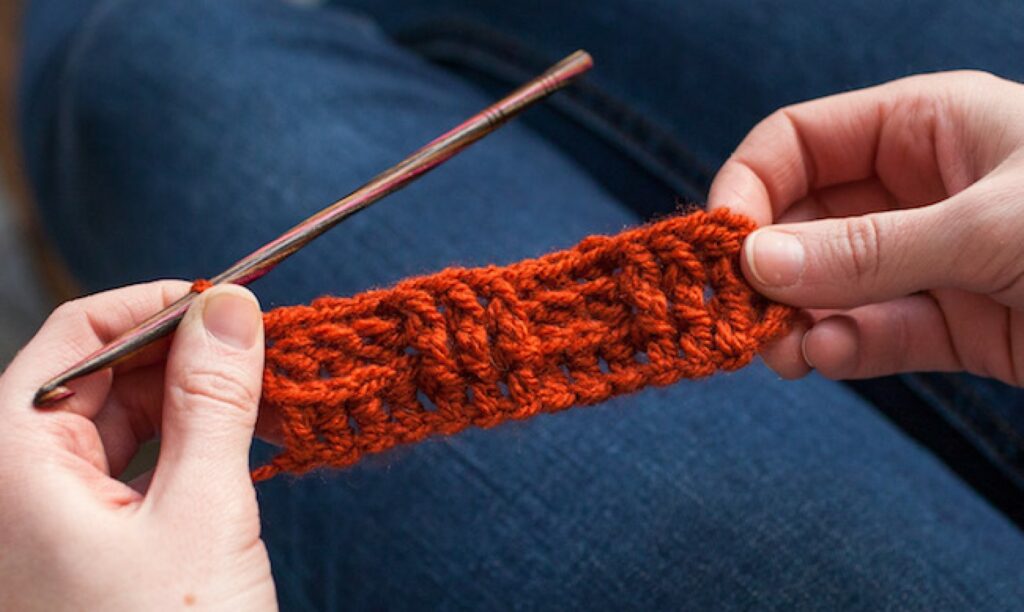
Step-By-Step Guide to Do the Basket Weave Stitch Crochet
Since we have now covered enough information associated with the detailing of basket weave stitching, in the section following, we will be presenting an even finer idea on the step-by-step guide to proceed with the basket weave stitch crochet and other additional information associated with the same.
The prerequisites for making a basket weave stitch crochet include knowing how to make a double crochet, chain knot, and chain stitch. Through variations of the double crochet, the basket weave stitch crochet is achieved. Since this pattern involves the basic DC stitch, even crochet beginners can go ahead with this. The variations that you need to know about the DC stitch are:
- Front Post Double Crochet – YO, insert hook from front to back to front (that is, insert hook from front to back around the indicated stitch and draw up 3 loops on a hook), pull through work (that is, YO, draw through 2 loops) x 2 times.
- Back Post Double Crochet – YO, insert hook from back to front to back (that is, insert hook from back to front around the indicated stitch and draw up 3 loops on a hook), pull through work (that is, YO, draw through 2 loops) x 2 times.
In both cases, the stitch will be wrapped around the post (the vertical part of the DC stitch). Now, once you master the above two stitches, the basket weave stitch crochet will feel like a breeze to work with.
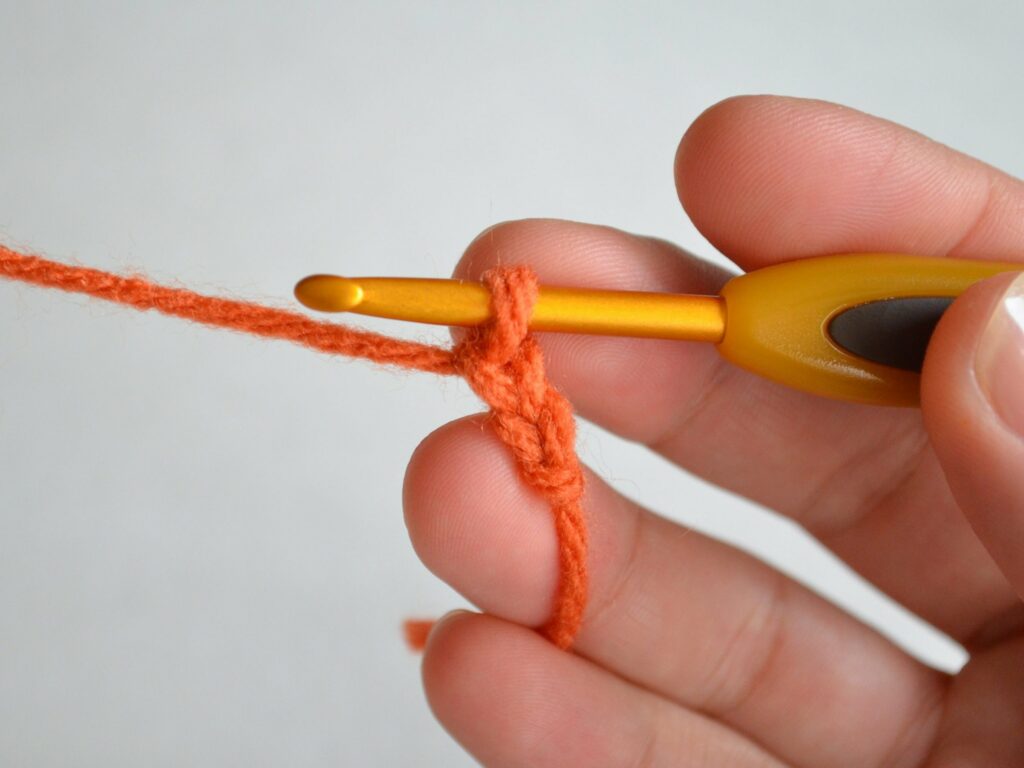
Chain a row of stitches (stitches in multiples of 8 + 4 stitches). The 8 (or multiples of 8) stitches are for making the DC stitches, 4 FPDC, and 4 BPDC. The remaining 4 are counted as the turning chains. You can add one additional st for rounding off the edge for beautification; it’s not compulsory, though. This is the foundation row.
Row 1: Making the First Double Crochet
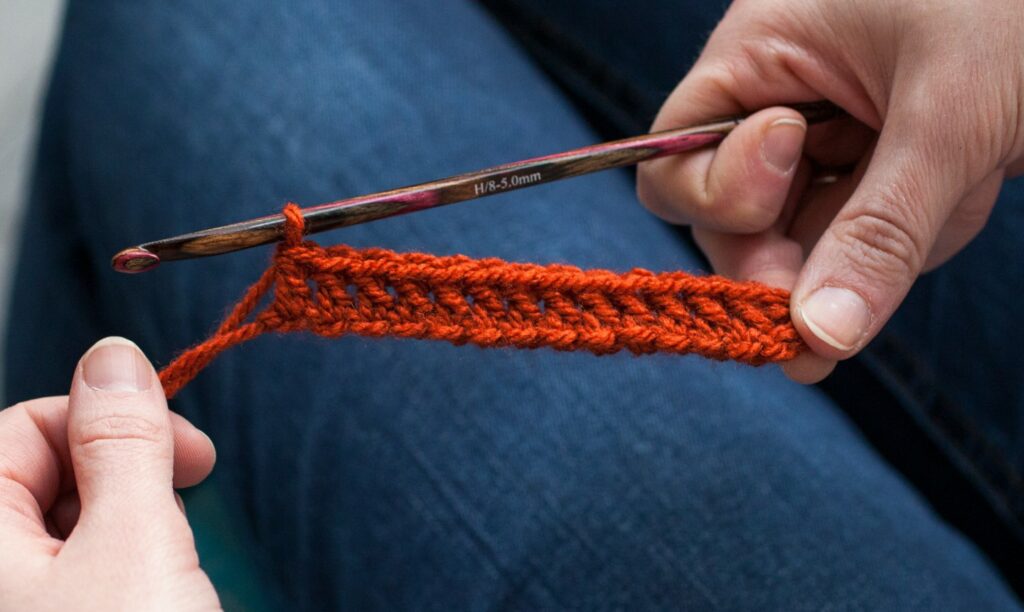
Leave the first 3 chains. In the 4th chain, make a double crochet from the hook. Continue with the process throughout the entire row, making a double crochet in all the chains. Chain 2 and turn.
Row 2: Working Front Post and Back Post Double Crochets
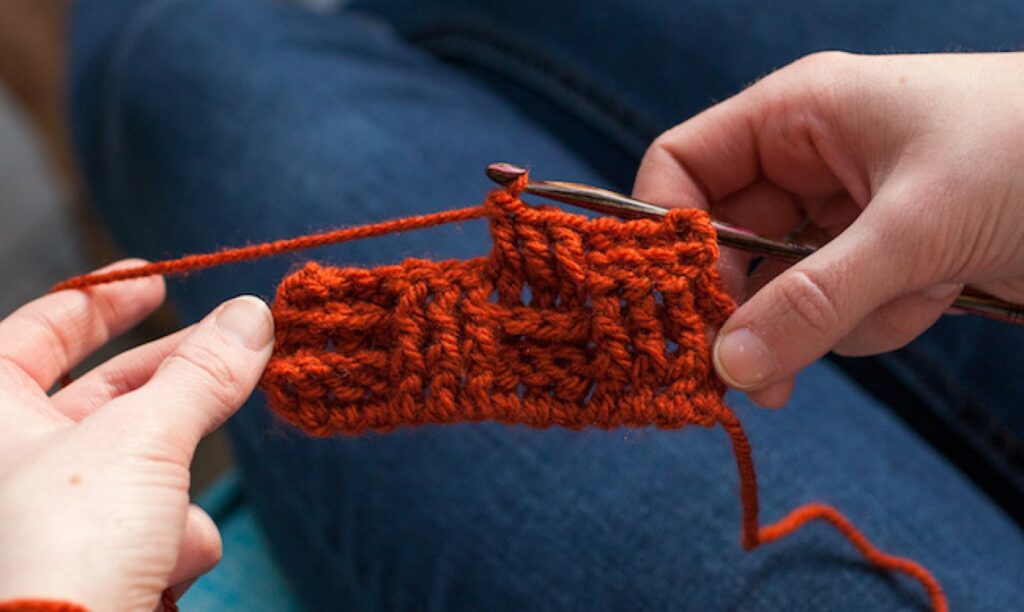
This is the step where the actual basket weave stitch crochet begins. Leave the first DC. From the second double crochet from the hook, make an FPDC for the consecutive 4 chains (1 FPDC around the second DC + 3 FPDCs around the next 3 double crochets). Make a BPDC around the next 4 consecutive chains. Once done, continue this pattern (4 FPDC+4 BPDC) along the entire length of the row. Conclude by making a half-double crochet on the top chain of the last stitch. Now, turn your work first, followed by Chain 2.
Row 3: Reverse Crocheting Front Post and Back Post Double Crochets
Back post double crochet around the first four chains. Now, do a front post double crochet stitch across the next 4 chains. Continue throughout the row and, just like the previous one, end with a half-double crochet on the top chain of the last stitch. This is basically similar to what you did in Row 2, except for the fact that you start with a BPDC stitch instead of an FPDC. Chain 2 and turn in your work.
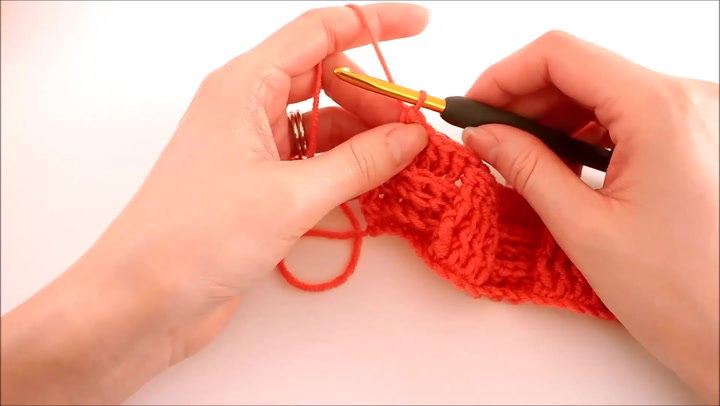
Row 4: Interlinking the Double Crochets
This is where the most interesting and intriguing part of making a basket weave stitch crochetbegins. Front post double crochet into front post double crochets, followed by back post double crocheting into back post double crochets. Finish the row by making a half-double crochet on the top chain of the last stitch. Chain 2 and turn.
Row 5: Securing the Double Crochets
Row 4 is not the only interesting part, though. Wait until you get through this. So, in row 5, you front post-DC into the back post stitches, and vice-versa. That is, you follow it up with back post double crocheting the FPDC stitches. End with a half-double crochet on the top chain of the last stitch. Chain 2 and turn.
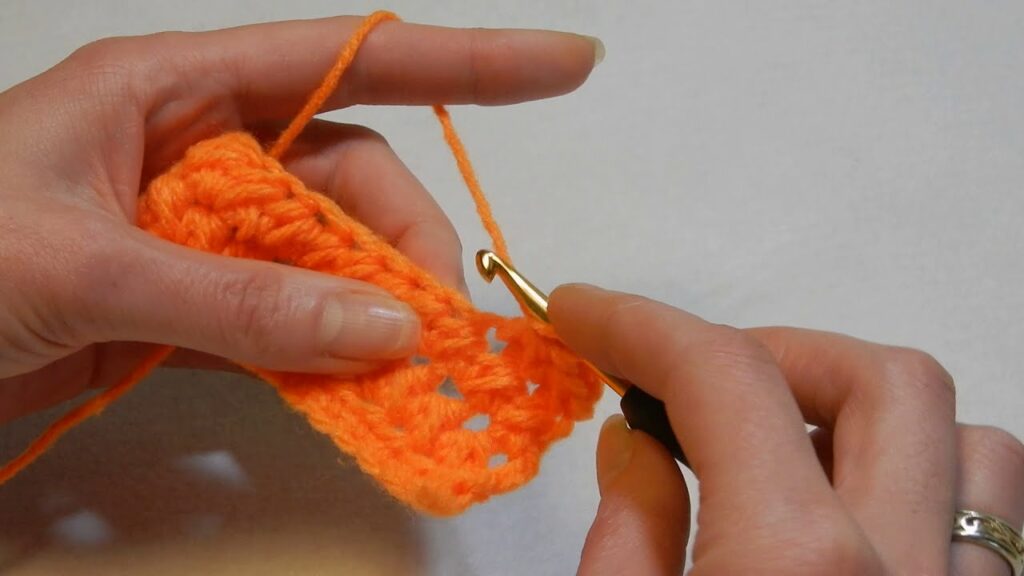
Row 6: Repeating the Interlinking Process
The game of repetitions is not over yet. Repeat Step 4 again now by crocheting front post stitches into front post double crochets, followed by crocheting back post stitches into back post double crochets. Add a half-double crochet in the top chain of the last stitch. Turn your work after Chain 2.
Rows 7 and 8: Securing the Interlinks

Repeat the instruction mentioned in Row 6 by inter-stitching the opposite stitches (that is, crochet front post double stitches into front post double crochets and back post double stitches into back post double crochets).
Follow the guidelines of row 5 and the steps after that for as long and or as wide as you want your project to be.
Important Points to Remember when Making the Basket Weave Stitch Crochet
- The basket weave crochet pattern is designed to add density to the look of a particular piece of a project. Hence, using a thick-weighted worsted yarn is the best choice when making the basket weave stitch crochet pattern. Of course, there are variations in patterns. In that case, use at least medium-thick yarn and never a lightweight yarn for the basket weave stitch crochet.
- There are several variations to making a basket weave stitch crochet. The instructions given above make for the perfect basket weave crochet stitch for beginners and makes for a medium-sized basket weave crochet pattern.
- The basket weave stitch crochet mainly comes in 3 sizes – mini, medium, and large. The size can be changed accordingly simply by altering the number of stitches for each row and or the number of repeats of back post and front post stitches. For the mini size (also called the rice stitch), you need to alternate 1 FPDC with 1 BPDC. For larger stitch sizes, the numbers will increase consecutively, depending upon your choice of design.
- The craft piece you choose to make should corroborate the thickness of the yarn combined with the appropriate stitch size. That is, you can use rice stitches for cowls and scarves. The larger stitches made with heavy weighted thick yarn are best for rugs or towels.
- Double crochet stitches are tall, so if you want a square design, the number of rows should not match the number of front post stitches alternating with the number of back post stitches.
- The basket weave stitch crochet can be used to make a variety of articles, and the size and or shape of the stitch depends on what you are making. For example, for the basket weave stitch crochet beanie, the stitch needs to be in rounds. For weaving a basket, the stitch can be in rows.
- The ribbed texture does not just add to the density, but the volume also acts as a functional thermal insulator. Hence, basket weave stitch crochet is perfect for weaving and designing winter garments like scarves, baby blankets, throws, etc.
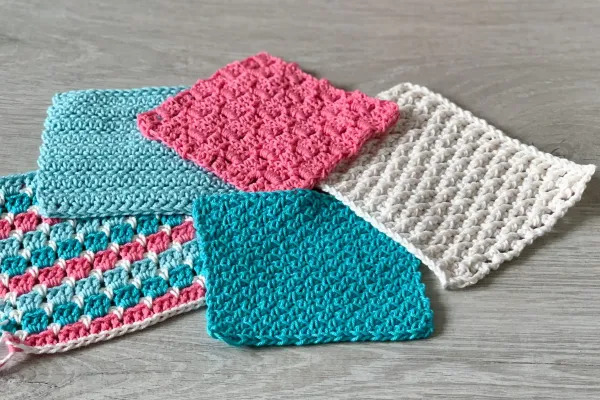
Where to Use the Basket Weave Crochet Stitch Pattern?

The basket weave stitch crochet is a highly versatile design pattern. That is, it pairs well with numerous craft pieces that you intend to crochet. The subtle design adds to a charming and sophisticated embellishment. On the other hand, the layered texture contributes to the depth of the pattern and provides warmth and comfort. Due to its flexible nature, basket weave stitch crochet is exceedingly popular among crocheters in all stages of learning. You can use this pattern to make:
- Winter garments like sweaters, hoodies, cowls, and cardigans.
- Winter accessories like scarves, hats, mittens, socks, fingerless mitts, and beanies.
- Household items like floor mats and rugs.
- Kitchen items like washcloths, dishcloths, placemats, coasters, and oven mitts.
- Decorative items like pot holders, pillow covers, cushion covers, sofa covers, or other furniture cover.
- Items for babies like baby blankets and afghans.
- Bags, ranging from sturdy tote bags to reusable bags for shopping.
- Laundry baskets or other types of baskets.
- Headgear and hairbands.
A Complicated Texture
The basket weave stitch crochet looks like a very complicated texture, but now that you have gone through the instructions, we hope you find it quite simple. Nothing more than a calculated repetition of the basic stitches, this pattern is the perfect example of how minimalism in aesthetics can cater to creating masterpieces.
Durability, adaptability, and alluring – these three words perfectly sum up the basket-weave crochet stitch pattern. Just a little practice, and you will master the stitch in no time; what say?
Which item would you like to crochet using the basket weave stitch pattern? And, if you have used this stitch in previous craft projects, what did you make? Would you encourage others to try this out? Let us know in the comments section below.
Frequently Asked Questions
Does Basket Weave Stitch Use More Yarn?
Yes, it does. The basketweave stitch uses at least one-third more yarn than other basic stitches because of the intricacy and detailing of the pattern. The interlinking of the double crochet stitches adds up to the extra yarn skeins. Chunky and heavyweight yarns cover up a large area.
What is a Basketweave Called?
The basketweave stitch is also called the “Panama stitch.” It was originally used in textile design as a simple textile weave. It is named so because the subtle interlinking pattern resembles that on a jute basket. It also adds to the resilience of the pattern.
Does the Basket Weave Stitch Crochet Feel Rough?
It depends solely on the material being used. If you use twine for crocheting daily household decor items, the texture will feel rough. However, if using worsted yarns of good quality, the texture of the stitch doesn’t feel uncomfortable. The ribbed texture is spread throughout the entire length of the crochet piece, making it uniform and adding a squishy feel.