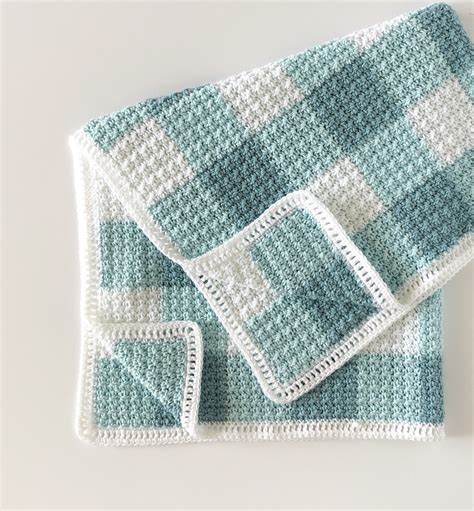
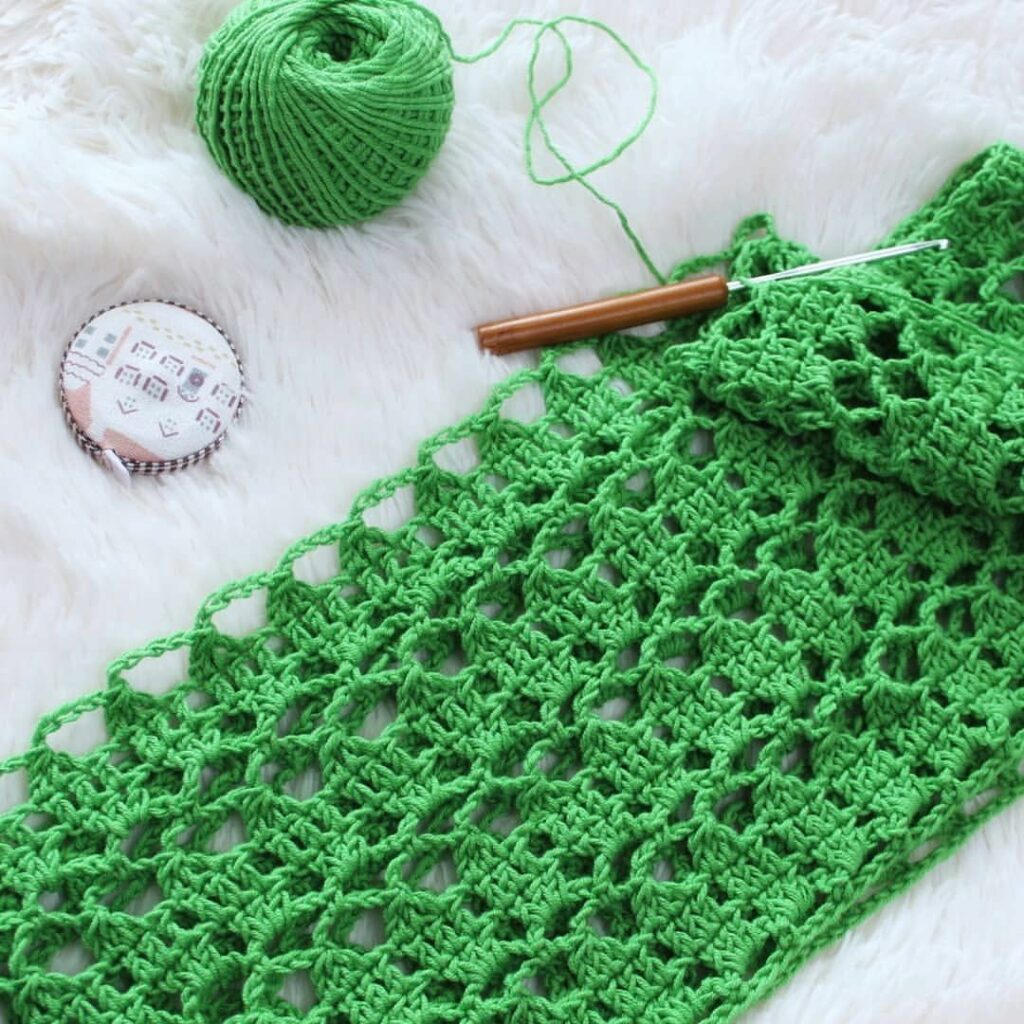
The craft of crocheting has endured through the ages, infusing memories and stories into each stitch. A gingham pattern, known for its alluring checks, appears in crochet, enabling makers to recreate the traditional pattern in yarn.
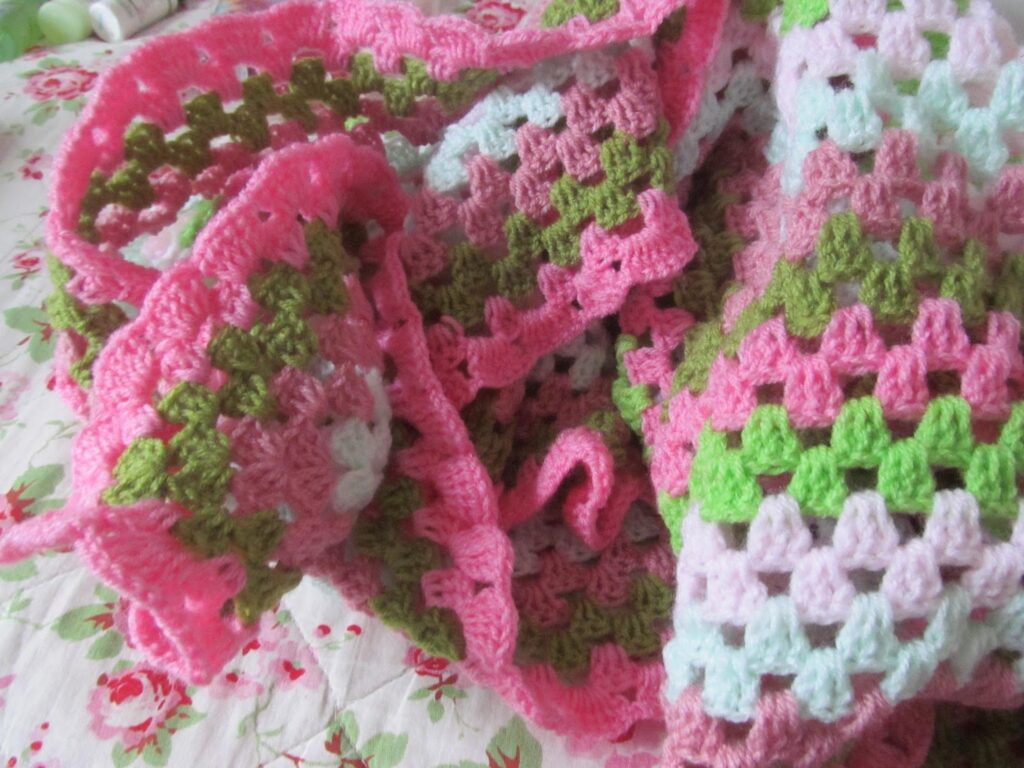
The brilliant green and delicate pink combination evokes memories of springtime landscapes and blooming blooms, giving the project a sense of the beauty of nature.
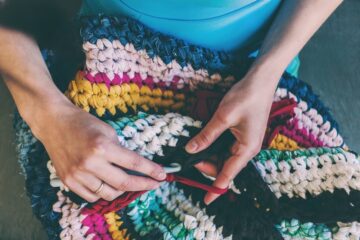
Making a green and pink gingham blanket requires careful stitching and attention to detail. Each time a loop is completed, a narrative of commitment and artistry is revealed.
Both new and seasoned crocheters will delight in seeing the rows of checks take shape, with each color change heightening the suspense of the finished product. The color scheme chosen represents aesthetic preferences, and the rhythm of yarn and crochet hooks clashing together produces a sense of accomplishment.
So, now you can embrace your crochet hook and embark on the journey of crafting a Gingham blanket!
What is the Gingham Pattern of Crochet?
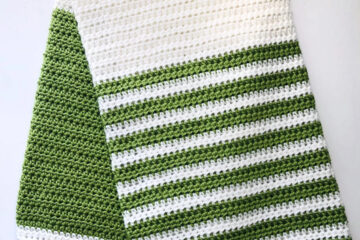
The gingham pattern in crochet is a popular choice, a lovely and time-honored pattern. A chequered design known as gingham is created by alternating horizontal and vertical stripes of two or more colors. This pattern is converted into crochet by making rows of stitches in contrasting colors, which results in a pleasing grid-like appearance.
By strategically switching yarn colors at predetermined intervals throughout each row, crocheters can create the gingham pattern. Crocheters can recreate the recognizable checks that are associated with gingham by using two different colored yarns, often a lighter and a darker hue. With this method, a broad variety of objects can be made, including table runners, blankets, scarves, and garments.
Types of Crochet Gingham Blankets
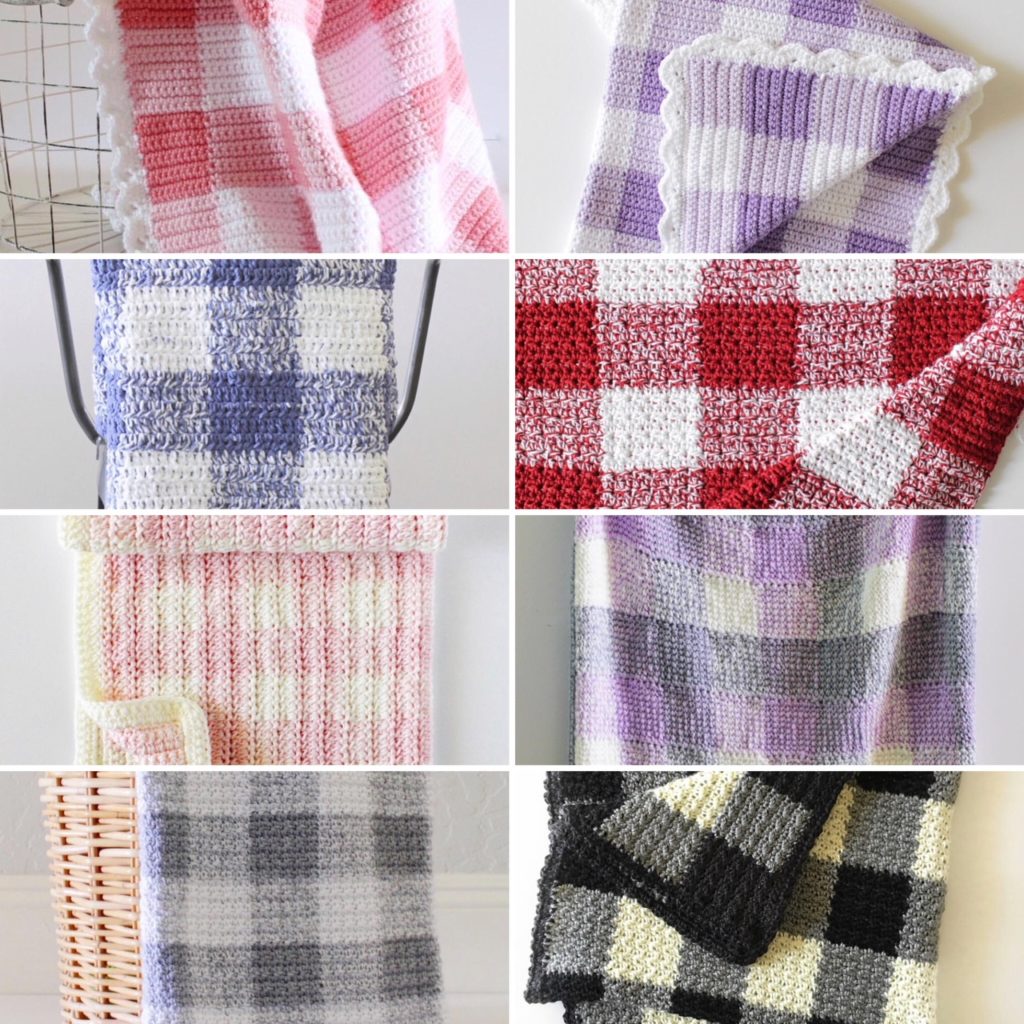
There are various ways you can crochet your Gingham blanket. Following are some of the types you should check out for:
- Gingham blanket using single crochet: Use single crochet stitches to make a lovely gingham blanket. To create the traditional chequered design, alternate rows of two different colors. Single crochet is an easy craft that is ideal for beginners. Create this classic and appealing crochet masterpiece by following the color order and switching colors in every row.
- Gingham blanket using extended half-double crochet: Use extended half-double crochet stitches to create a charming gingham blanket. To make the recognizable checkerboard pattern, alternate colors between each row. Compared to conventional stitches, the extended half-double crochet adds texture and progresses more quickly. Enjoy easily crocheting this chic and cozy blanket.
- Gingham blanket using single crochet and half-double crochet: By using alternate rows of single crochet and half-double crochet stitches, you may make a lovely gingham blanket. Use opposing hues to create a traditional chequered design. While the half-double crochet gives a modest texture, the single crochet increases density. It is an enjoyable project that blends simplicity and style to produce a cozy effect.
While there are many other ways, the types mentioned above are the most common ones.
Materials Needed for Crocheting a Green and Pink Gingham Blanket
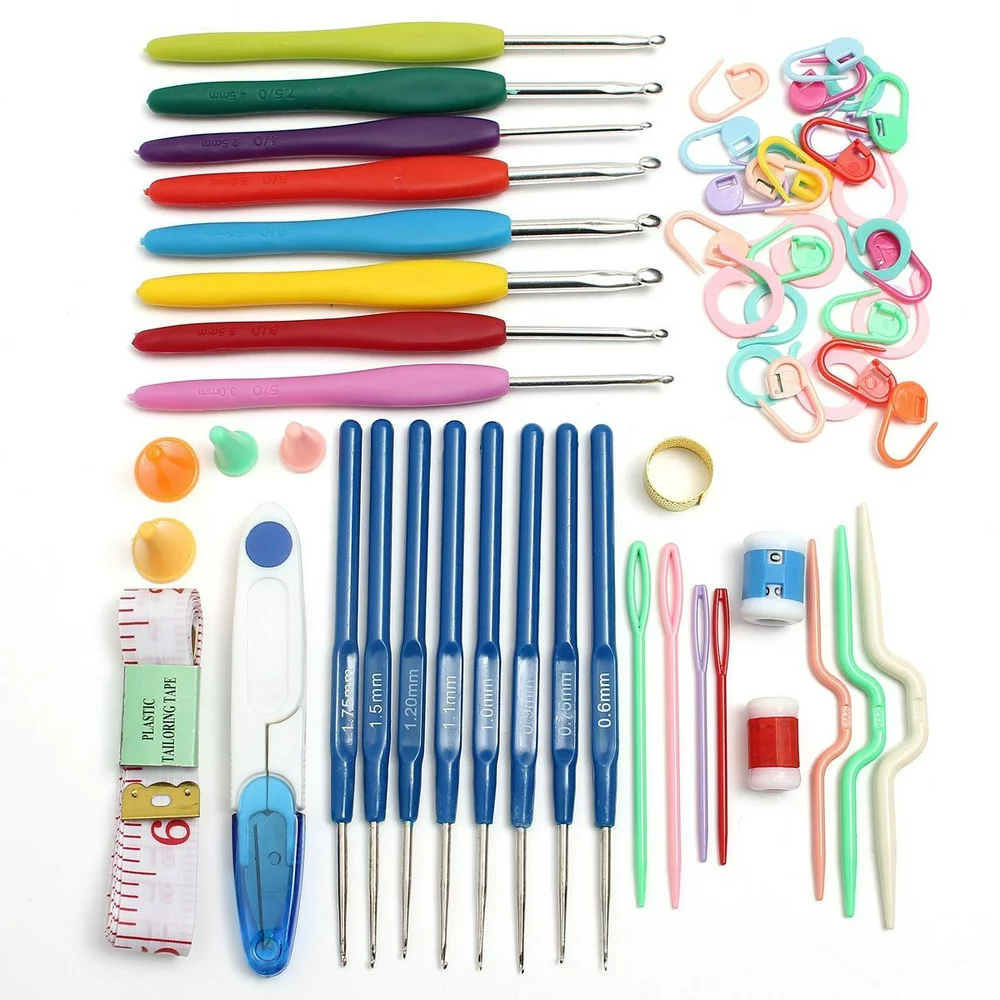
You will require a few necessary items to ensure a successful and efficient crafting procedure before beginning the fun journey of crocheting a Green and Pink Gingham Blanket. Here is a list of the things you will need:
| Yarn | Tapestry Needle |
| Crochet Hook | Stitch Markers |
| Scissors | Measuring Tape |
- Soft Yarn: Choose a soft, premium yarn in the shade of green that you like for the main color (green). Choose a yarn weight that works for the size and the preferences of your project. Pink is the contrast color; choose a soft yarn of comparable quality and hue that is complementary to pink. For the gingham appearance, make sure the pink color contrasts effectively with the green.
- Crochet Hook: Select a crochet hook size that is compatible with the chosen yarn weight. The appropriate hook sizes can be found on the yarn label.
- Scissors: You’ll need a pair of sharp scissors to trim any excess and cut yarn tails.
- Tapestry Needle: To weave in yarn tails and carefully complete your creation, you’ll need a tapestry needle with a big eye.
- Stitch Markers: These tiny, removably attached markers assist you in keeping track of color variations, repeated patterns, or particular stitches.
- Measuring Tape: A flexible measuring tape helps you verify the blanket’s dimensions to ensure it is the right size.
Directions on Crocheting a Green and Pink Gingham Blanket
You will be prepared to begin your enjoyable adventure into crocheting by carefully following these thorough and precise step-by-step instructions.
Step 1: Creating a Foundation Chain
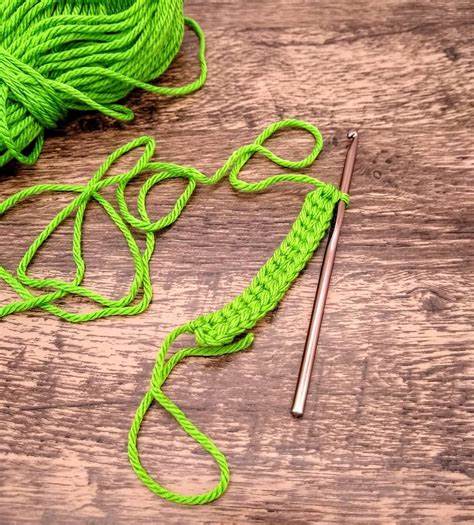
The foundation chain is the starting point of your blanket; to make it, choose a multiple of the width you want your blanket to be and crochet a chain with the green yarn. To ensure accuracy, measure the length of your chain with a measuring tape to ensure it corresponds to the size you want your blanket to be.
Step 2: Setting Up the First Row
You must set up the first row of stitches after making the foundation chain. Make the necessary number of turning chains for the stitch pattern you’ve chosen. Your initial row will have the correct height owing to these twisting chains. Making sure that the turning chains count as the first stitch of the row, work the first row stitches with the green yarn.
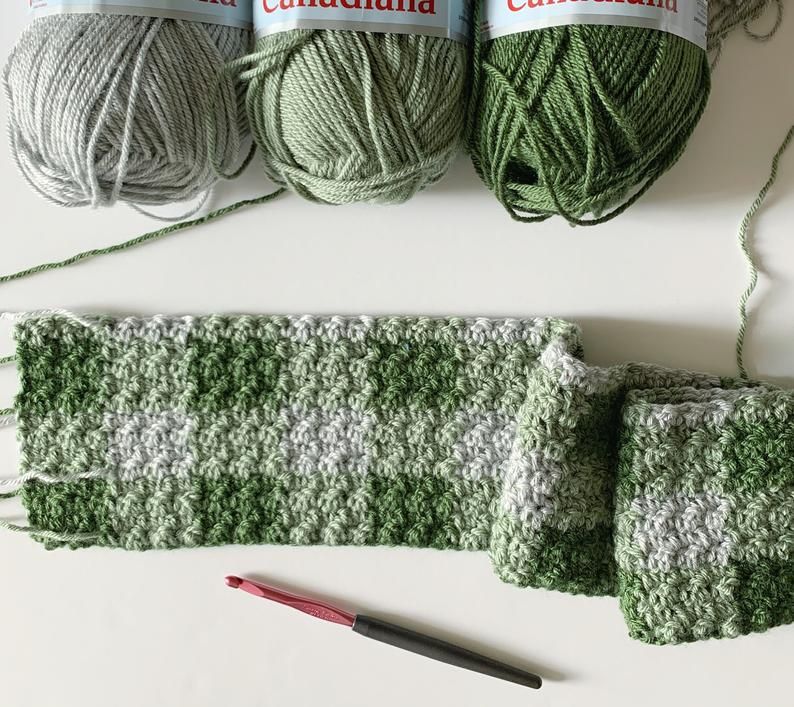
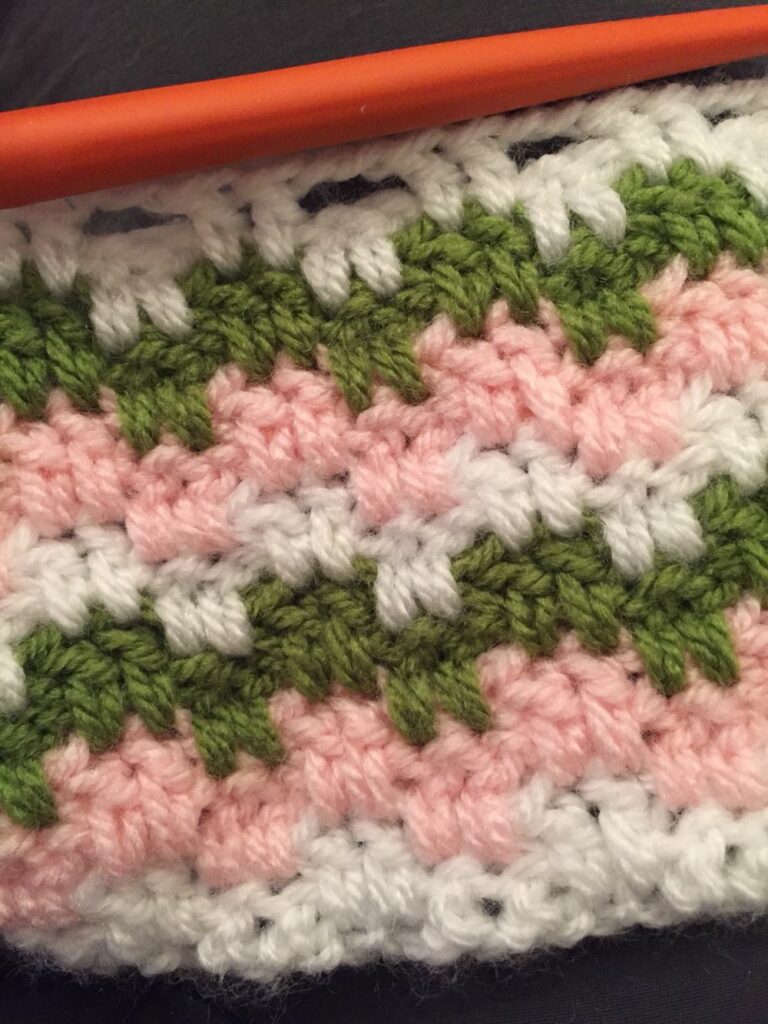
Step 3: Working the Green Rows

Your gingham pattern’s green crochet blanket portions will be created by working the following few rows in green. To obtain an even and tidy appearance along these rows, it is imperative to maintain constant tension. The amount and proportion of the green checks in your blanket depends on how many rows you crochet in green.
Step 4: Changing the Colors
To keep the gingham pattern consistent as you switch to the pink rows, it’s essential to make the color change smoothly. Use the green yarn to complete the final stitch of the green row to accomplish this. Drop the green yarn and take up the pink yarn to complete the stitch. To finish the stitch, pass the last loop with the pink yarn. Carry the extra green yarn along the row’s edge and crochet over it with the pink yarn to prevent a disorganized look.
Step 5: Introducing the Pink Yarn
You will now start crocheting the pink rows using the pink yarn. To make a smooth transition between the two colors, crochet over the carried green yarn as you complete these rows. To achieve a constant and aesthetically beautiful gingham pattern across the entire blanket, pay particular attention to how the pink checks align with the green ones. While a pink crochet blanketlooks amazing, combining the two colors makes it more soothing.
Step 6: Weaving in the Ends
It’s crucial to weave in the yarn tails at the color-change spots to ensure a clean and glossy finish. The yarn tails along the row’s edge should be sewn in place using a tapestry needle. Avoid twisting the fabric as you weave the tails between the stitches to stop unraveling and improve the appearance of your blanket overall.
Step 7: Adding the Border
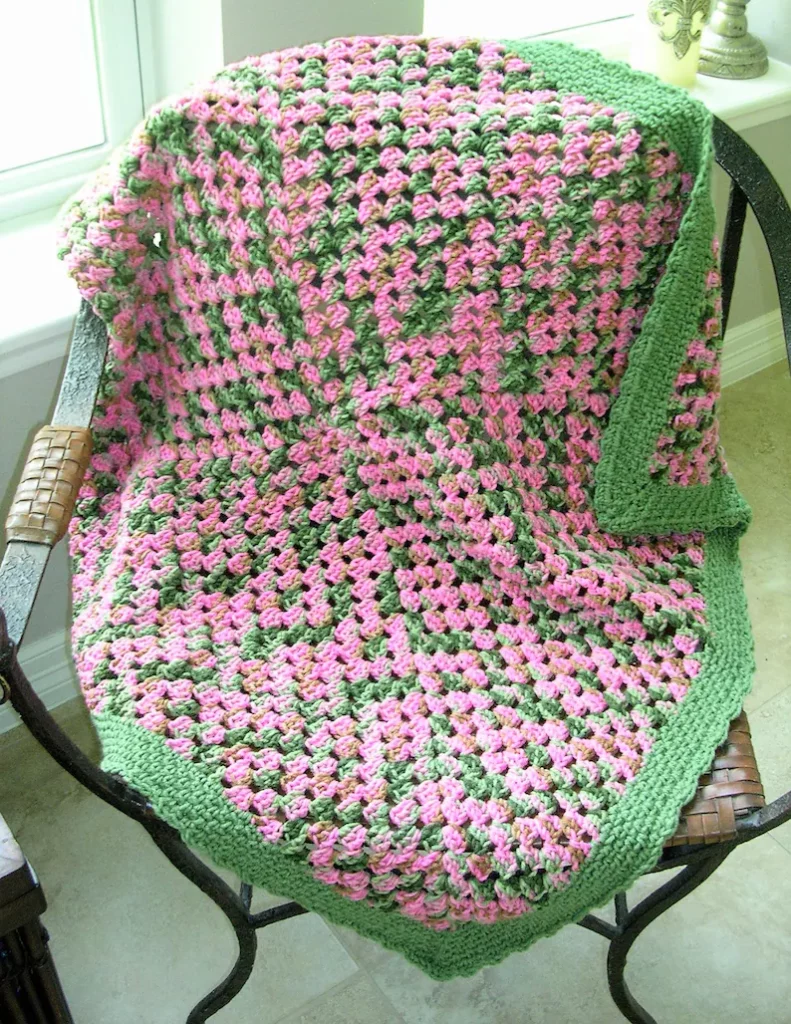
The border gives your gingham pattern a frame and gives your blanket a final touch. Pick a border pattern that goes well with the gingham theme. For a neat appearance, this might have a basic single crochet border; however, a more ornate edging, like scallops, would add flair. Work the border rounds evenly all the way around the blanket, paying attention to the edges and corners.
How to Take Care of Your Green and Pink Gingham Blanket?
To keep your Green and Pink Gingham Blanket in the best possible state, you must take care of it. It is best to wash by hand to avoid damage. To avoid stretching or fraying, avoid becoming overly agitated.
The blanket should be reshaped after washing and laid flat to air dry on a spotless surface. Never hang it up because doing so could alter its shape. Keep it out of the sun while it dries to avoid color fading. Make sure it’s clean and entirely dry before storing. To prevent creases, fold it carefully.
Regularly check for and deal with any loose threads or pulls. To avoid harm, don’t let pets near it. Its use should be rotated to ensure even wear. Occasionally, gently smooth any uneven stitches or knots.
Tips & Tricks on Crocheting a Green and Pink Gingham Blanket
Whether you are planning to make a green crochet blanket or a pink crochet blanket, there are a few points to remember to make your crocheting experience better. Following are some tips and tricks to help you navigate the process with ease and confidence:
- Choose soft yarn in complementing colors of green and pink that are of high quality.
- To produce an equal fabric, maintain constant tension throughout your stitches.
- Before beginning the blanket, make a small sample to check your gauge and ensure it complies with the pattern’s requirements.
- Pick hues that contrast sharply enough to produce a recognizable gingham pattern. The checks are easily discernible, thanks to a strong contrast.
- To avoid having a lot of weaving at the end, weave in yarn tails as you go.
- To perfect your tension and make smooth transitions if you’re new to color changes, practice the method on a smaller swatch.
Conclusion
The mesmerizing crocheting technique combines creativity and artistry and enables devotees to turn strands into elaborate and useful items. The process of making a Green and Pink Gingham Blanket stands out among the countless possibilities that crochet provides as a fusion of classic beauty and cutting-edge inventiveness.
Crocheting is a craft that has endured through the ages, infusing each stitch with memories and stories. An elegant gingham pattern that is known for its eye-catching checks makes its way into crochet, enabling makers to recreate the traditional pattern in yarn. The combination of vivid green and delicate pink evokes thoughts of springtime landscapes and blooming blooms.
This guide commences an exploration into crocheting the adorable blanket, deftly fusing hues of green and pink to create a tapestry of beauty. Happy Crocheting!
Frequently Asked Questions
How Do I Switch Between the Green and Pink Colors in My Rows?
To flip between green and pink colors in your rows, finish the row with the first color. Drop the first color before pulling through the last loop, then take up the second color and draw it through the last loop to complete the stitch. Crochet over the unused color at the edge to create a seamless transition between colors.
Is the Crocheting of a Green and Pink Gingham Blanket Pattern Suitable for Beginners?
It is advisable for people with some basic crochet experience to use the Crocheting Green and Pink Gingham Blanket design. Although it requires basic stitches and color changes, beginners can still attempt the pattern by honing these skills on a smaller scale before taking on the entire blanket. Online tutorials and resources might also help newbies acquire the necessary abilities for this endearing activity.
Can I Make the Gingham Pattern with Different Colors?
Absolutely, you can! The adaptability of crochet is what makes it so lovely. Feel free to select hues that align with your personality and sense of style. Just ensure your chosen colors have enough contrast to provide a chequered appearance.
How Much Time Is Needed to Finish a Gingham Blanket?
The time it takes to complete a gingham blanket depends on the complexity of the pattern, the size of the blanket, how often you make things, and your degree of ability. A straightforward gingham blanket could take an average crocheter several weeks to many months to complete. The completion time is greatly influenced by persistence, perseverance, and motivation.
Can I Use the Gingham Pattern to Make Table Runners or Scarves?
Of course, you can. Because of its adaptability, the gingham design can be used for many different things than blankets. The gingham technique may be used to make adorable scarves, chic placemats, table runners, and even tote bags. Simply alter the pattern to your preferred dimensions to get the classic chequered look in various shapes.