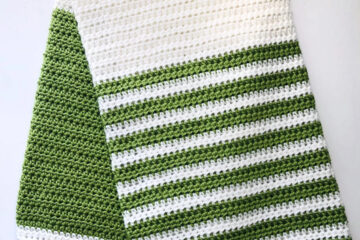
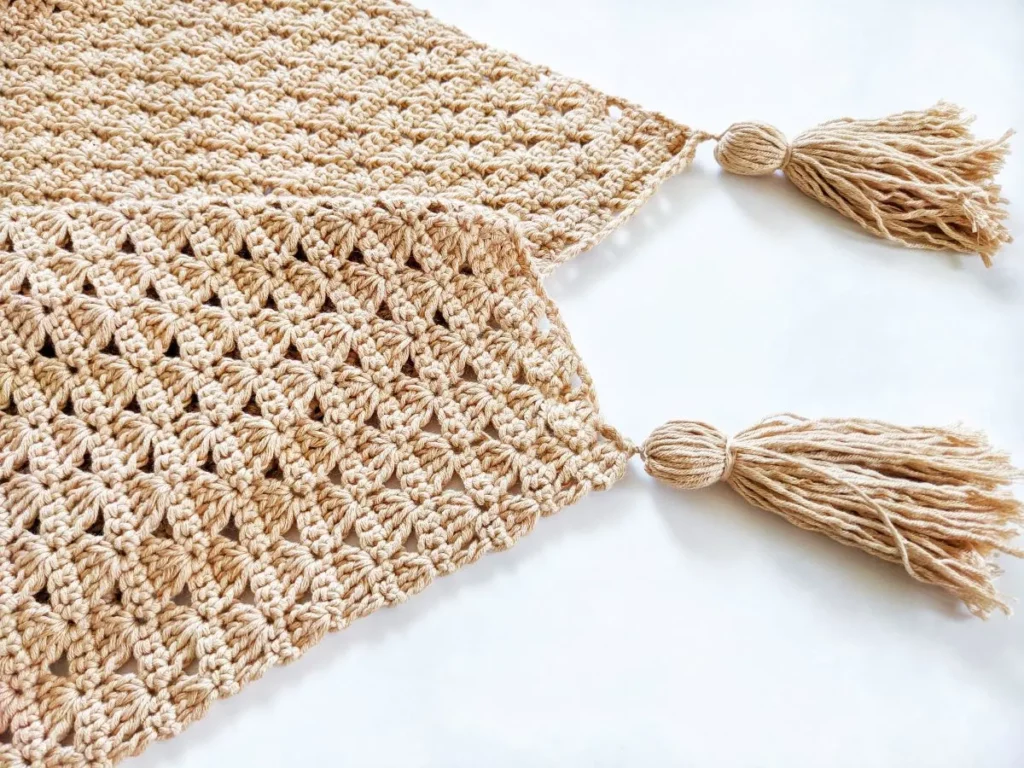
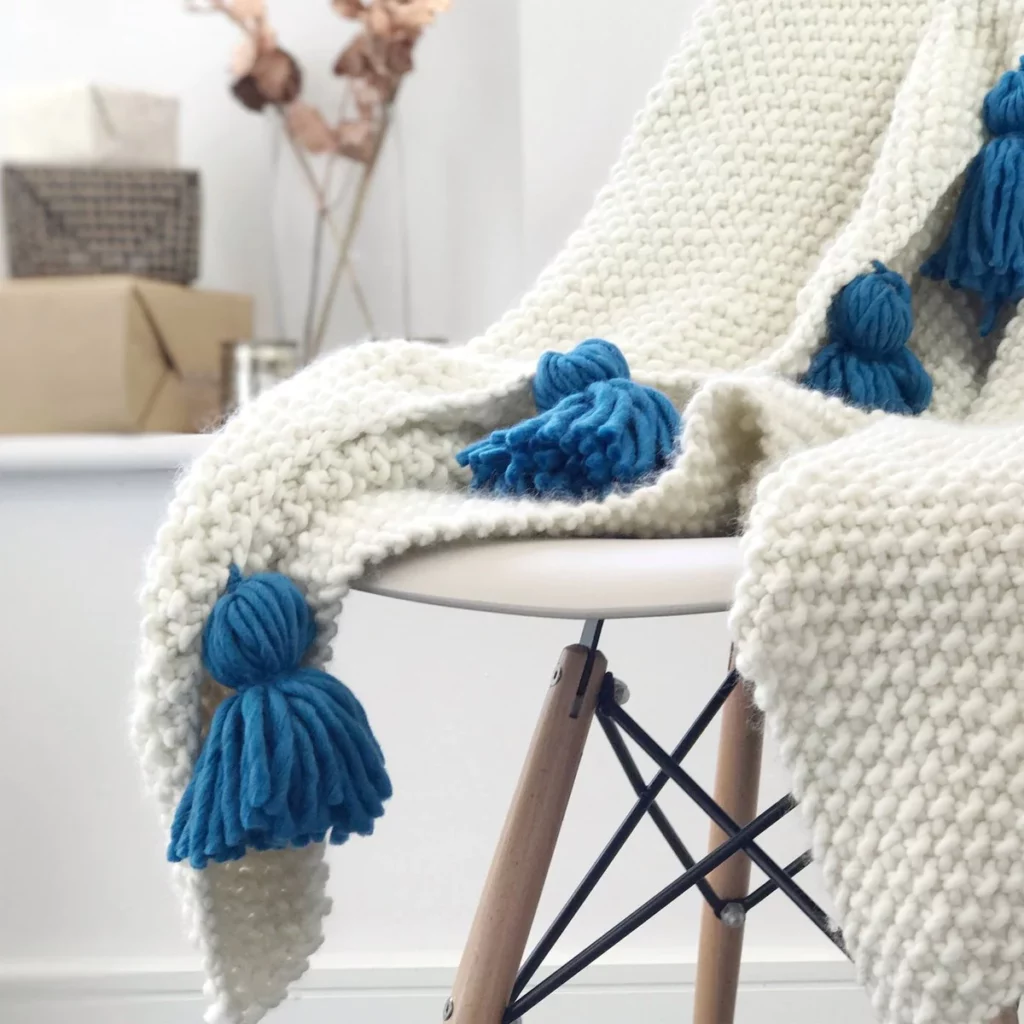
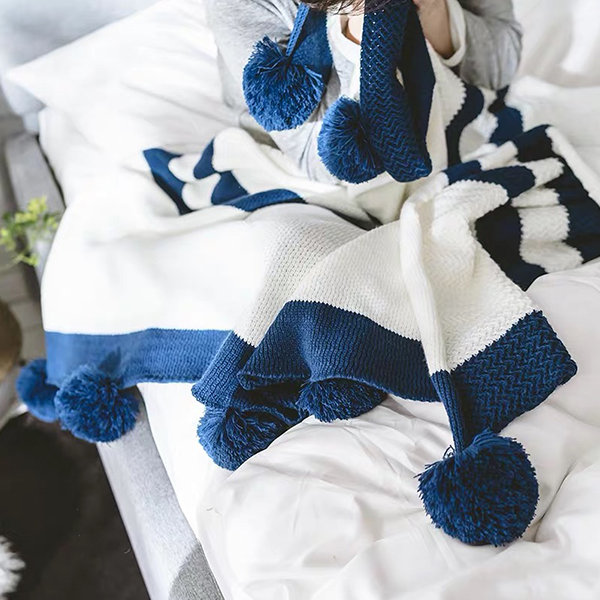
Like a cherry on top! Attaching crochet tassels to your blanket can revamp your blanket game to a whole new level. A word of caution: once you learn how to make and attach these, there’s no going back, and you can never have enough of them. They’re so cute in themselves, and attaching them to a blanket makes the whole piece look just perfect!
In this article, we’ll have a detailed look at crochet tassels, how to make them yourself, various pieces you can attach them to, and how best to use them to elevate the overlook look and feel of almost any hand-knit or otherwise piece in your house. The best part about crochet tassels is the finish, shades, and customization in their appeal.
The Charismatic Magnificence of Crochet Tassels
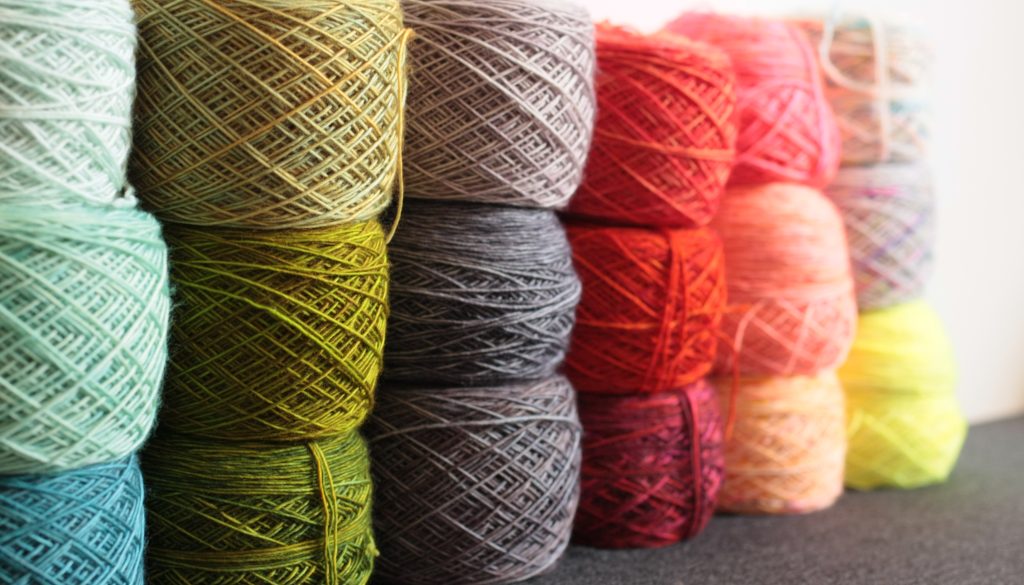
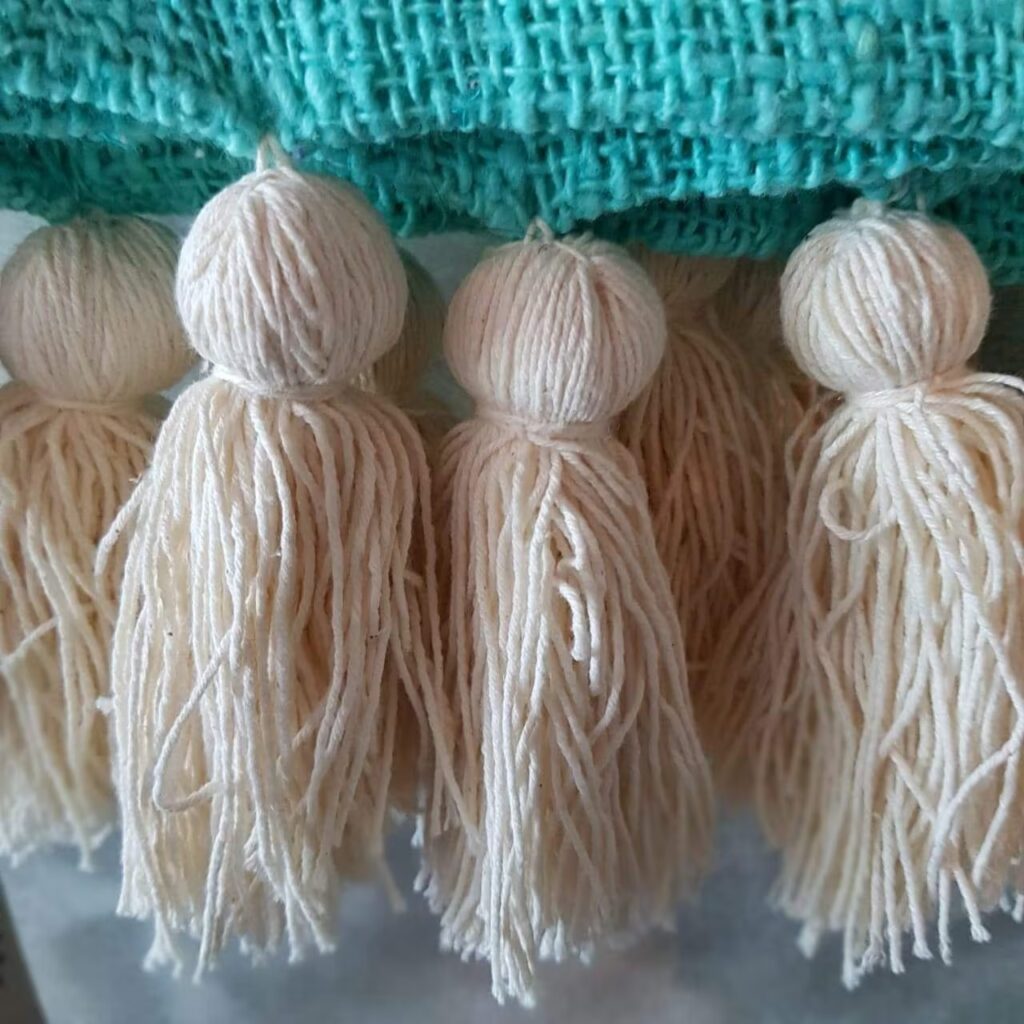
Putting in words, crochet tassels are a bunch of yarn tied together with loose ends that look like a skirt. After the form factor, let’s talk about the design; the biggest element in this regard is the type and color of the yarn used.
For example, sky blue crochet tassels, about four to eight, made out of velvet yarn, attached to each of the corners of a navy blue blanket, ideally speaking the way to go with tassels. To further simplify, matching the texture and contrasting the color is the way to go.
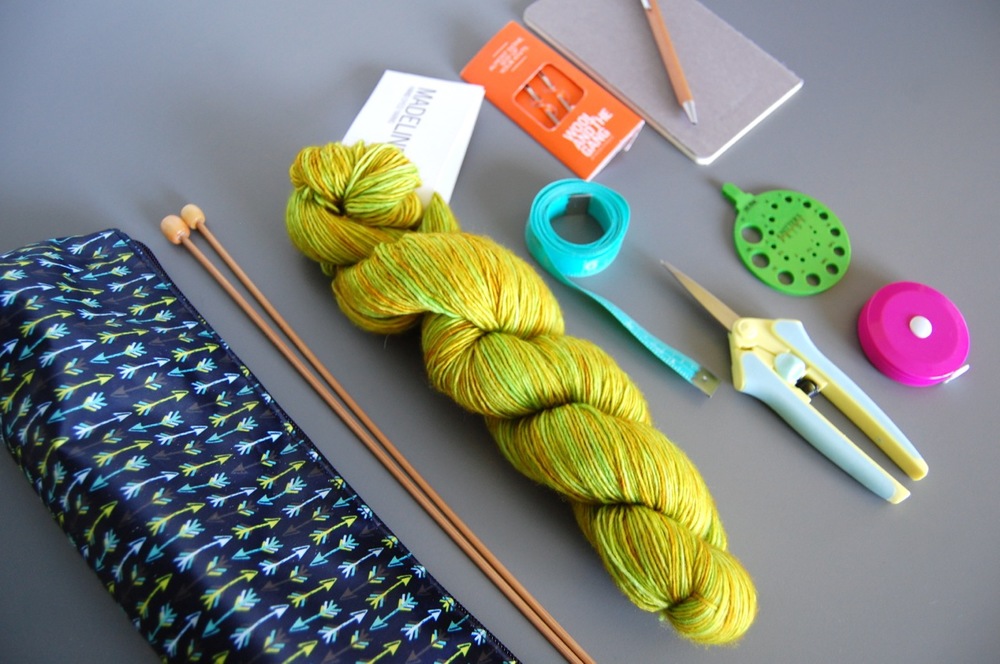
The materials required to make a tassel can easily be found lying around your house or in your knitting box. We’re positive you can find some yarn, a small piece of cardboard or a playing card, some scissors, and a tapestry needle.
So, as far as the online knitting community goes, the yarn for the crochet tassel should ideally be of the same texture and material as your base piece. Still, if you were to research online, you’d find some very beautiful hand-knitted pieces with tassels that are of a different yarn than that of the base piece.
Hence, we would like to encourage our readers to go with what type of yarn they think would look best on their piece. It’s always better to make just one and try putting it together with a clip on your base piece to see how it looks; this way, you can have an idea of what the final piece will look like.
When it comes to color, we recommend contrasting color yarn for the crochet tassels you’ll attach, as it provides a lot of character and increases the appeal of your piece beautifully. Regarding size, we recommend you go for a proportional approach. However, the internet will tell you the best size is 8 inches long, 6 inches of loop size with a diameter of about an inch.
Detailed Guide for Making Crochet Tassels
Materials Required for Crochet Tassels
- Yarn (quantity, color, and type are entirely up to you)
- Scissors (Craft scissors work best)
- Piece of cardboard (about the size of a credit card)
- Tapestry needle
Tassels themselves originated from Egypt, and during ancient times, people used to attach these to hearwear; they were supposedly used to keep away dark spirits. Having said that, we’re only going to use these crochet tassels to make our knitted pieces, more specifically blankets, look even more beautiful and pleasing to the eyes. Making them is super easy, simple, and very quick. So gather your materials, and let’s get into the complete tutorial on the making of the Tassles.
1. Choosing Yarn and Length
Before heading ahead, it is essential to first decide on choosing the suitable yarn coming into use for the making of tassels. We recommend going for the leftover yarn from your piece to maintain the uniformity in texture and feel. As for the length, we’d like to repeat our point in maintaining a proportional approach.
A big blanket would require tassels that are in proportion; otherwise, a smaller tassel would look out of place. So, regarding length, we’d highly recommend measuring the base piece and working around it.
2. Wrapping for Tassel
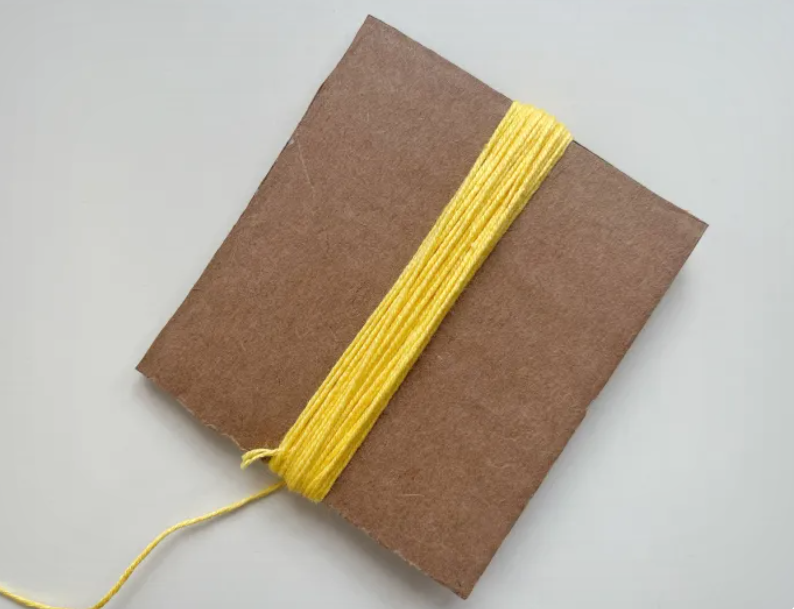
If you’re using cardboard, cut it into the size of the tassel you desire to make and start wrapping the tassel around the rectangular cardboard lengthwise. The number of loops around the cardboard is determined by the amount of thickness you wish your tassel to have.
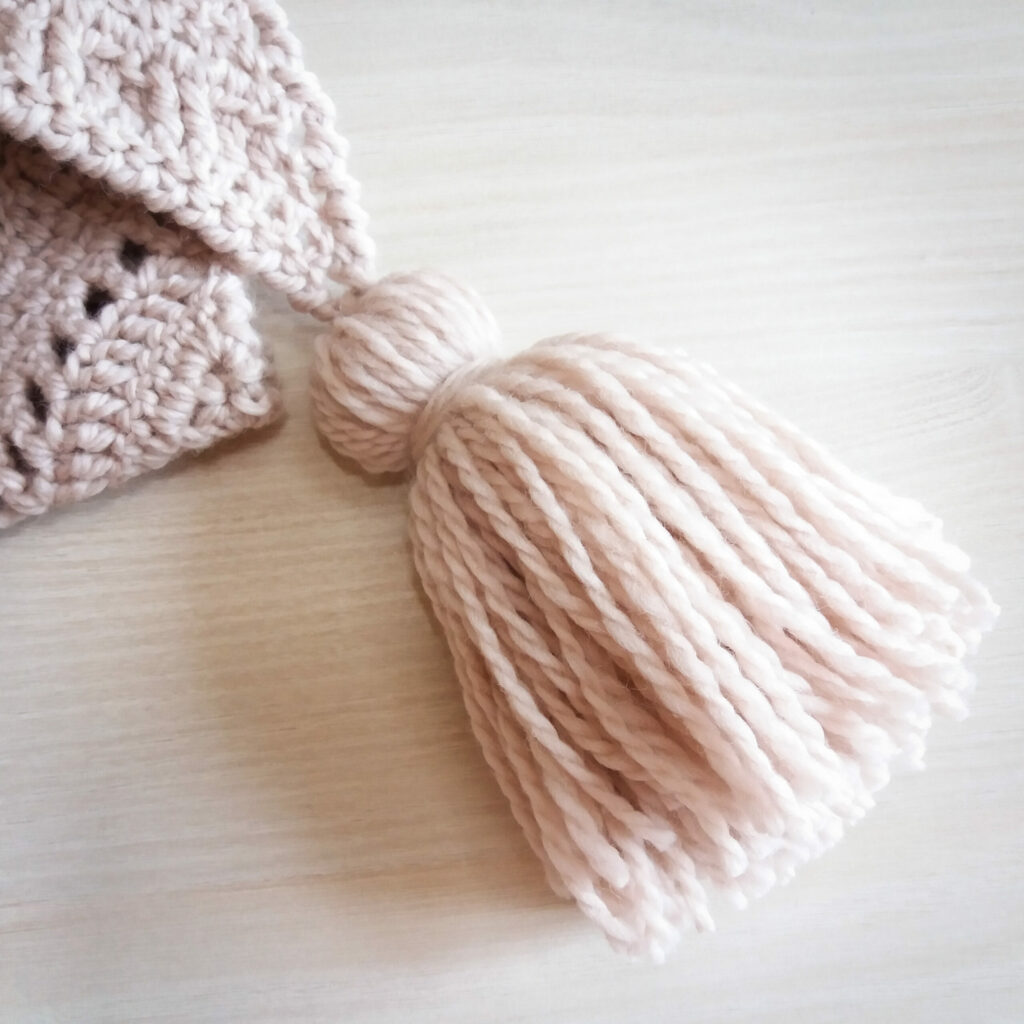
Once you’ve reached your desired thickness, secure it by tying a knot at one end using the two loose ends and tuck the knot underneath the folds. Once secured, cut one end of the loops to free your tassel from the cardboard and keep it aside.
3. Trimming the Ends
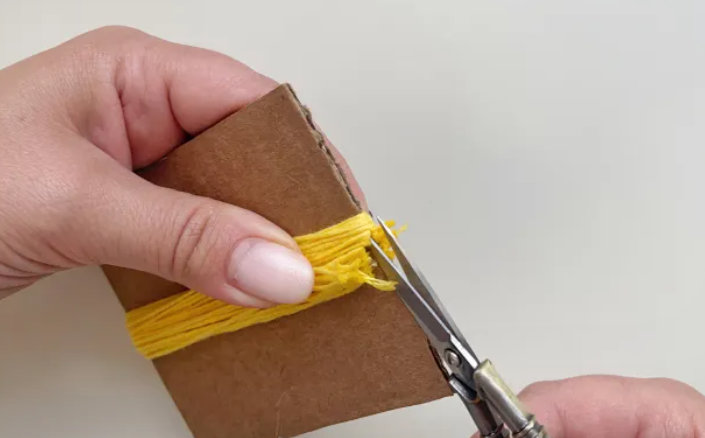
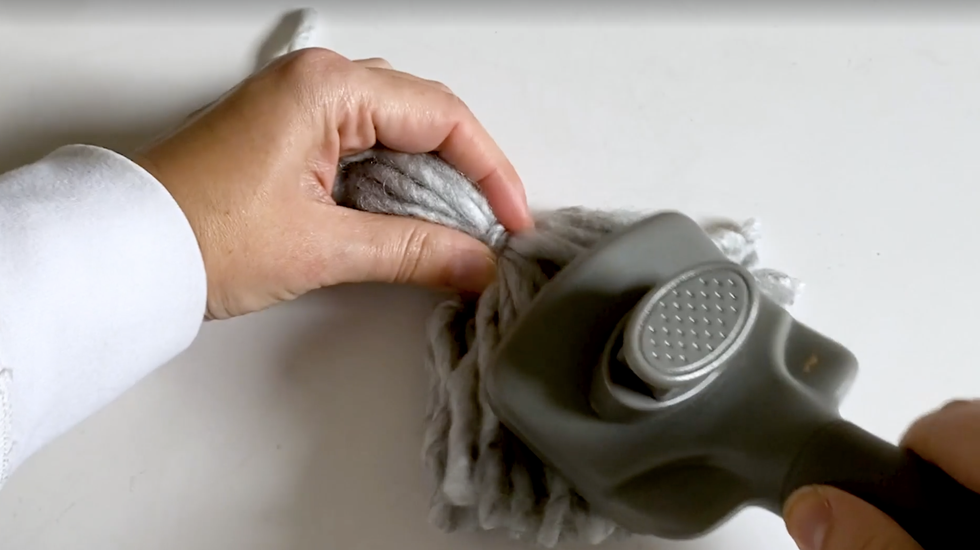
Now, we need one more knot; use a piece of yarn, tie a knot about 1/4th length from the top, and cut the excess yarn from this knot. Next, we need to trim the ends of the tassels a bit so that the length feels uniform and even. With this done, you can now go ahead and use a hair brush or even your fingers to run through the crochet tassel ends, this will even the yarn a bit and add some fluff to the tassel which will help in getting that signature look and feel in your tassel.
A little bit of unevenness around the ends works is considerable, but too much of that will spoil the look, so we recommend length uniformity as the best way to go.
4. Adding Ornamental Touches
We sometimes come across crochet tassels with ity-bity decoration elements like some beads or buttons, which is perfectly fine. If it suits your taste, we recommend you attach some buttons, beads, or other such items by using a tapestry needle to sew them onto your tassel’s base.
This step is optional and can be skipped or performed as per your taste and requirement. Matching the color of your buttons to your base piece is, according to us, the best course of action in this regard.
5. Frame and Shape
The next step is very simple and essential; it eventually gives your tassel a final look that’ll make all the difference once you attach your crochet tassel to the base piece. As we know, blocking is essentially the last step in knitting. The same is to be done here. Using an iron at its lowest heat setting, gently rub it onto your tassel in the direction of the loose ends to block the shape of your tassel. This will help provide uniformity and give a neat and even look to the tassel.
You might also consider skipping this step if you want to give your tassels a rough look. But as we see majorly around the shops, a uniform-looking crochet tassel looks more elegant, provides uniformity to the finished piece, and gives it a sort of professional touch that can easily be picked up upon first glance. So, if you’re making these for dresses, cushions, or drapes, blocking and shaping is the step we’d recommend you don’t skip.
And just like that, you have yourself a crochet tassel, simple, right? Attaching these to your blanket or any other choice piece is even easier.
Once finished, you can already contemplate the possibilities of how many more of your hand-knit pieces this beautiful-looking element can enhance and that too so easily. From chandeliers to door knobs, as far as your creativity can go, these can be attached to almost anything around the house to quickly and easily enhance the overall look. Now, let’s move on to attaching these crochet tassels to your blanket.
Steps to Attach the Tassel to the Blanket
There are endless possibilities when it comes to attaching crochet tassels. Still, in this article, we’ll focus on attaching these beautifully crafted tassels to your blanket and enhancing their overall aesthetics that help level your game up.
Step 1: Decide Where to Attach Tassel
The question here is, where? Before we begin, we need to decide on the points where we’re going to attach the crochet tassels to the blanket. We recommend one for each of the corners, but you can go ahead and go berserk by covering the entire length of the border with crochet tassels placed at equal distances. The basics here are the fact that placement determines the quantity;
You’ll need to decide the placement to figure out how many to make, which shouldn’t be a problem as we discussed earlier how easy these are to make. For the sake of this tutorial, we’ll work around attaching 12 tassels to a rectangular blanket. So, 4 tassels on two opposite sides and then 2 tassels on the remaining two opposite sides; this will look like 4 crochet tassels attached to each side.
Step 2: Mark the Spots
With that decided, we need to mark on the blanket the points where we’ll be attaching the crochet tassels. First, one on each of the four corners and, after that, equally spaced 2 tassels on each of the sides. For marking the spot on the sides, you can use a measuring tape and insert a pin on the attachment point; that way, you’ll not lose track of where to attach the crochet tassel.
This step is crucial to avoid any asymmetry which can make the finished piece look bad. This is because detaching and re-attaching the tassels is a hassle in itself, and we need to make sure we avoid this detour.
Step 3: Getting to the Final Step
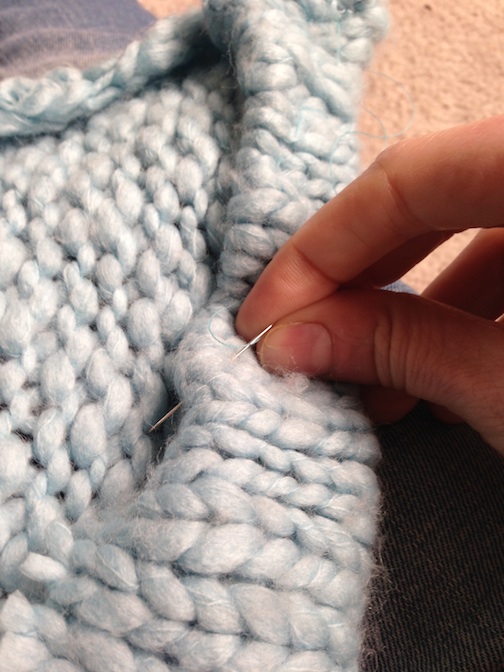
Now we come down to finally attaching the tassels to the blanket; for this purpose, we recommend using a crochet hook as it is a more user-friendly tool and would make the attaching process a lot easier, quick, and simple. We focus on keeping this process easy as it needs to be repeated for each of the 12 crochet tassels.
Make a loop with the top strand of yarn from the tassel around the crochet hook, insert this hook through the corner of the blanket, and release the strand from the hook once through. Now, tie a knot to secure the tassel in place. You can tie one more knot to ensure the tassel is secure and in place; do not tie too many knots as that would make the attachment point too bulky, and we don’t want that to spoil the overall look of the finished piece.
Next, we need to repeat the same process with every attachment point we marked on the blanket, making sure after each step that the knot is secure and tight.
Step 4: Wrapping of Attachment Points
In this step, we go around each attachment point and wrap each attachment point, basically, the knot with a bit of yarn, and secure it with another knot; this process is to cover up the attachment points and make things look more neat and clean. Again, this step is optional and can be skipped if you’re already satisfied with the overall look of the crochet tassels attached to the blanket.
Step 5: Blocking the Attachment Points
Now, to add the finishing touches, we recommend blocking the attachment points in the same manner as we did with the tassels. A little bit of rub with an iron on the lowest heat setting would do the trick; this step also ensures that the tassels, once attached to the blanket, don’t look out of shape and that uniformity is maintained.
Once again, we reach a point where creativity is let to fly, colorful buttons, beads, or even stars to decorate your final piece. We would like to encourage our readers to try different combinations to give your finished piece a fresh look!
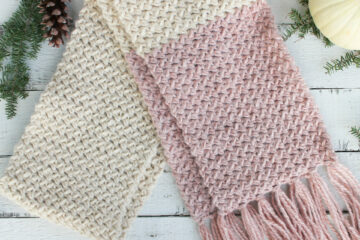
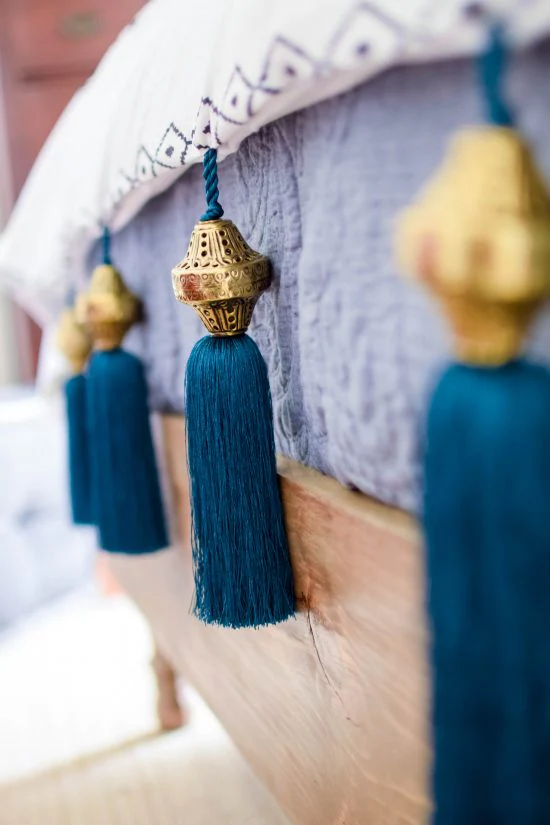
We recommend our readers not to limit the use of crochet tassels to just blankets or hand-knit pieces; rather, go ahead and decorate drapes, cushions, pillows, bedsheets, and even your little one’s dresses with these cute ornaments.
Conclusion
In this article, we discovered the popularity of crochet tassels and the freshness and appeal they add to your blankets or any of the hand-knitted pieces you desire to attach them to. It’s really simple and easy to make and attach one to your piece, and we recommend playing with the color and number of crochet tassels you attach to it.
Knitting is an art, and every art is only limited by the artist’s creativity. Hence, we recommend you try as many combinations as guided by your creativity and experiment to the fullest.
Lastly, as a bonus, we’d like to share a trick, which is to use different colored yarns in the same crochet tassel. This will give your piece an out-of-the-box look and is bound to grab the attention of so many! So go ahead, pick up your yarns, start wrapping, and, like always, Happy Knitting!