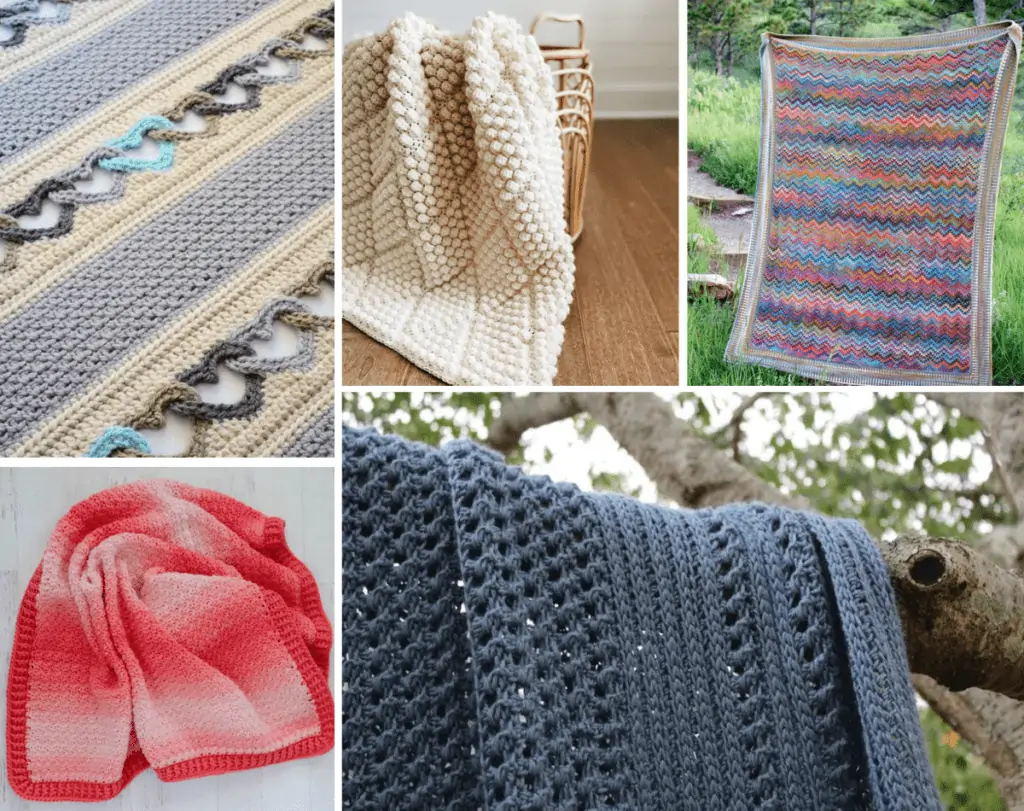
Few hobbies are as calming and meaningful as crafting a handmade crocheted blanket. The simple repetition of hook and yarn creates a meditative rhythm that many find therapeutic. Having a blanket that is personally stitched by you makes curling up on the couch cozier and the overall experience much more enthralling.
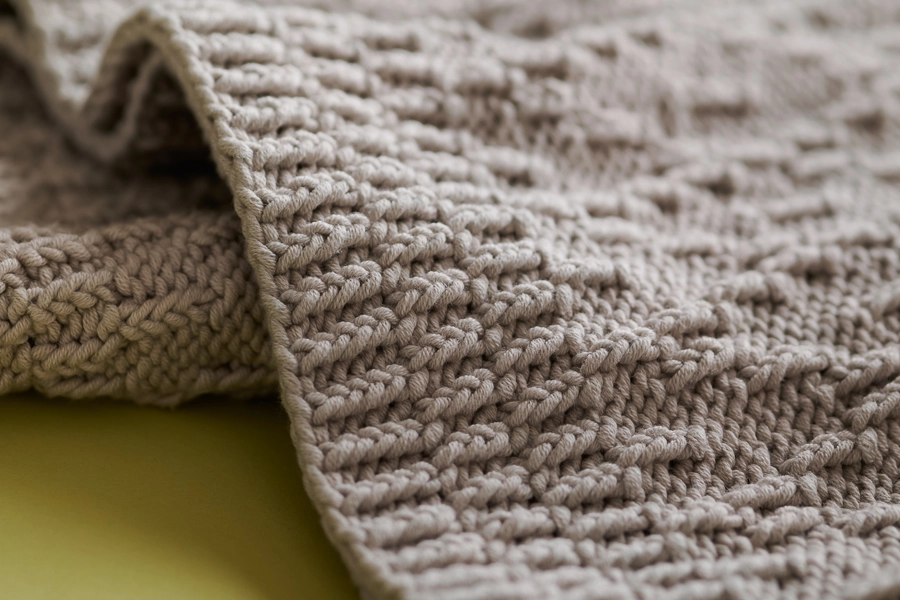
If you are new to the world of crochet, textured and ribbed blankets may seem intimidating. Still, the ribbed diamond pattern is actually perfect for beginners since you can build skills gradually with basic stitches.
However, this is no big concern now; by following this in-depth tutorial, anyone can learn to crochet a beautiful diamond blanket from start to finish. We’ll cover everything from selecting the right supplies to mastering new techniques step-by-step. By the end, you’ll have the tools to stitch up custom creations to cherish for years. So grab your yarn and kook – let’s get started on your first show-stopping ribbed diamond crochet blanket.
Selecting Your Blanket Yarn

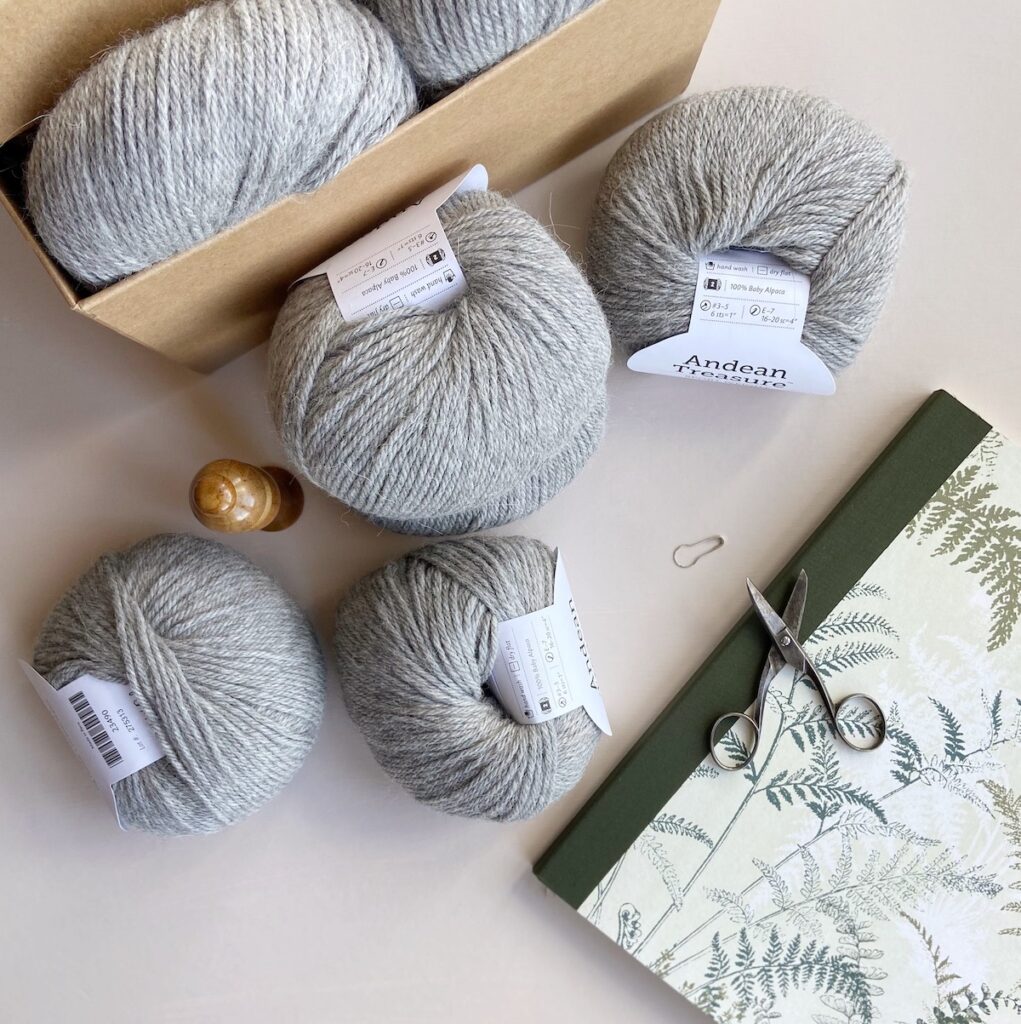
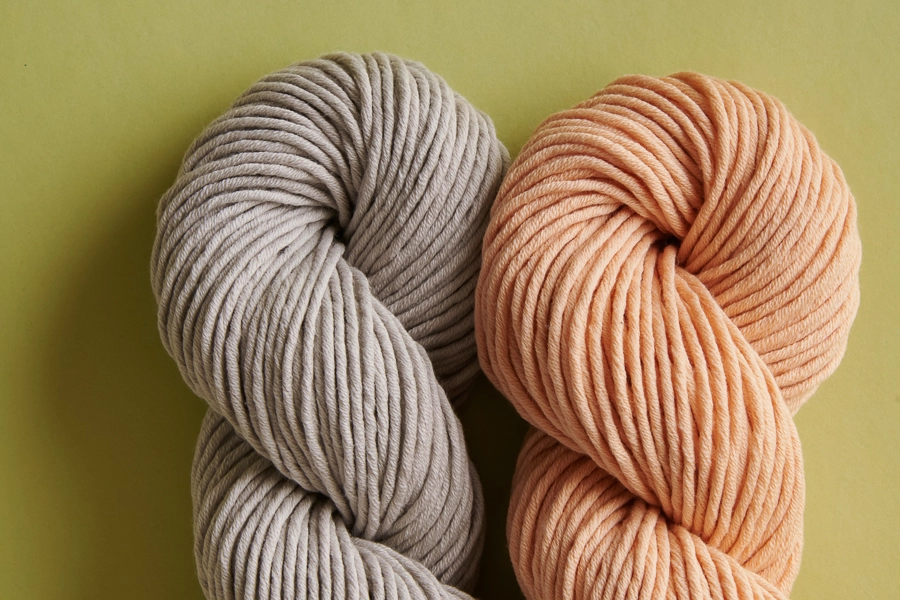
When starting a new crochet process, one of the most important steps is selecting the right yarn for your planned piece; for diamond crochet blankets, bulky or super bulky weight yarn provides enough thickness to create defined ribbed textures. On yarn labels, look for the weight classifications of 5 or 6 classes and hook recommendations of 4.5mm to 12mm.
What exactly makes a yarn “bulky”? Typically, bulky yarns have fewer stitches per inch when crocheted, creating dense, visible textures. Plied yarns with multiple strands held together often give a bulkier feel.
Good Bulky Yarn Options for Diamond Blankets
With so many enticing yarns available, it can be tricky to decide which are best suited for crocheting a ribbed diamond blanket. When evaluating bulky weight yarns, you’ll want options that are thick and plush with great stitch definition to create pronounced textures. Ideal yarns will also provide enough yardage to complete an ample-sized blanket to make the yarn selection process easier; here are some top-rated bulk yarns that are perfect for stitching up diamond crochet blankets. These yarns will give you the warmth, comfort, and vibrancy you desire in a high-quality blanket you’ll cherish for years.
- Lion Brand Wool-Ease Thick and Quick: A wool and acrylic blend yarn with great stitch definition. Comes in a wide range of colours.
- Bernet Blanket Yarn: 100% acrylic that is very soft and thick.Works up into a cosy, warm blanket.
- Lion Brand Heartland: A chunky multi-colored acrylic yarn with interesting color variations.
- Caron x Pantone Bonbons: Fun self-striping bulky acrylic yarn in bright colors.
- Wool and the Gang Crazy Sexy Wool: A hand-dyed wool yarn that adds vibrancy.
Consider fiber content, availability, number of colors, and price when selecting the perfect yarn for your vision. Make sure to purchase enough skeins based on the yardage required for your planned blanket size.
Essential Tools Required to Make Diamond Crochet Blanket
While the yarn is the star of the show, having the right crochet, hooks, and notions on hand will make stitching your ribbed diamond blanket much smoother. You’ll need a hook size suited for bulky yarns as well as some basic tools for measuring, cutting, and stitching markers. Don’t let a long list of gadgets intimidate you – crocheting requires just a few essentials to get started. We’ll cover the crochet hooks, scissors, tape measures, and other must-have supplies that deserve a spot in your crochet kit. Investing in these useful notions will make your first blanket project enjoyable rather than frustrating.
In addition to yarn, you’ll need a few basic supplies to whip up your crocheted diamond blanket.
- Crochet Hook: A hook with a larger barrel is needed to accommodate bulky yarn. Look for a US size Q or S, which pairs well with many bulky yarns. An ergonomic handle can provide more comfort for long crocheting sessions.
- Scissors or Yarn Cutters: Look for a sharp pair of scissors or small clippers designed for specifically cutting yarn. Clean cuts make weaving ends simple.
- Tapestry Needle: A blunt-tipped tapestry needle with a large eye makes weaving in yarn ends quick and painless. Metal and plastic options are both fine.
- Row counter: Optional, but a row counter makes tracking rows simple if working complex stitch patterns.
The beauty of crocheting an accessory like a blanket is that very few supplies are needed beyond the essentials. Focus your budget on beautiful yarn over unnecessary gadgets.
Planning Blanket Size and Yarn Yardage: Step-By-Step Guide
Before starting your first stitch, take time to calculate the desired finished size of your blanket and the yardage of yarn required. Having an estimate of these specs prevents guesswork and running out of yarn mid-project. Decide on a gold blanket size for a generously sized throw blanket; 40″ wide x 60″ long is versatile. Knowing these dimensions, multiply the width and length to find the total square inches.
Next, determine approximately how many stitches will be needed with bulky yarn and a Q-size hook; expect about two stitches per inch, which would be 2 stitches per inch x 2,400 square inches = 4,800 stitches.
For most bulky blanket patterns, you’ll need between 1,100 to 2,200 meters of yarn in total. It’s always better to err on the side of having extra yarn. Check the yarn label for meterage details. For example, Bernat Blanket yarn has a meterage of approximately 110 meters per 100-gram ball. For a total 2,200-meter blanket, you would need about 20 balls.
Make a plan for the total yardage plus skeins needed before purchasing supplies. Planning ahead saves the frustration and gives the confidence to start stitching.
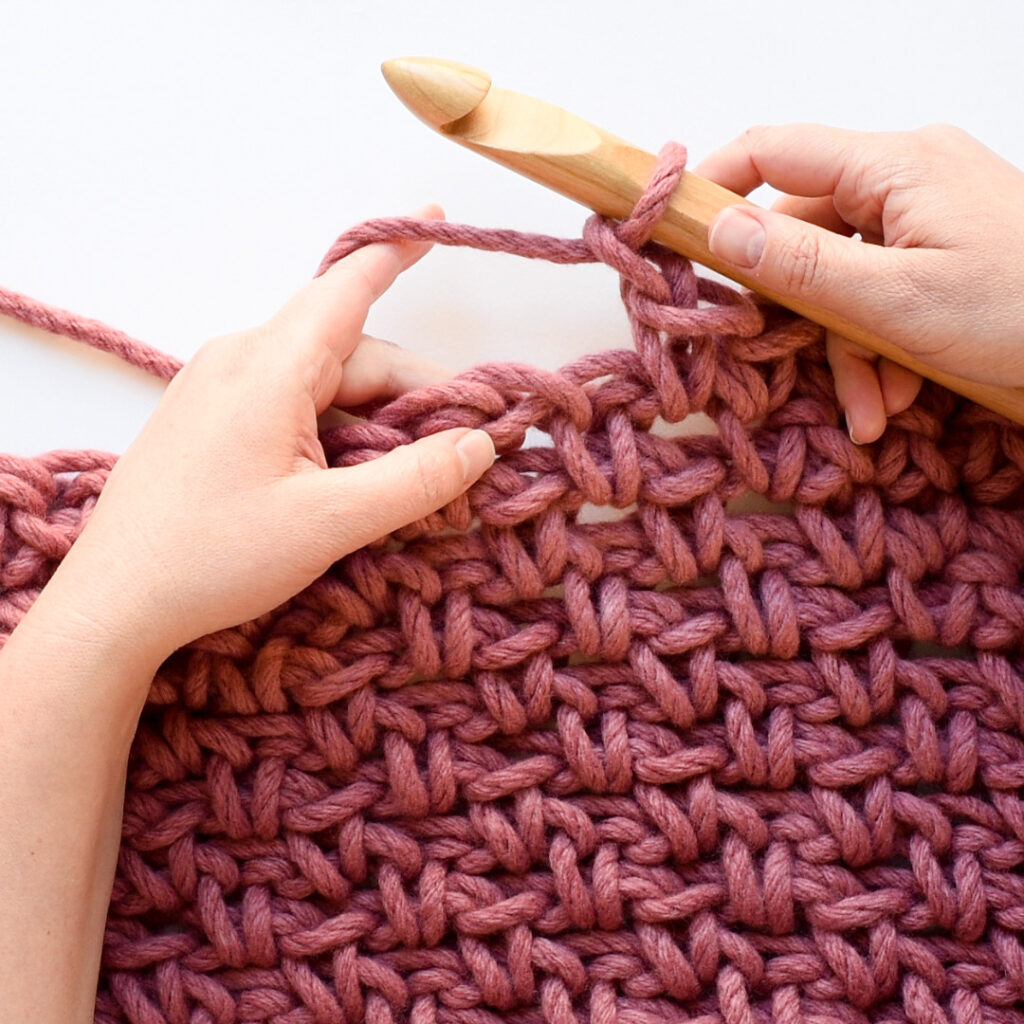
Step 1: Mastering the Foundation Chain
The Humble Foundation chain sets up every crochet project. Learn to master a nicely tensioned chain, And the rest of your project will click into place. Create a slipknot on your hook, leaving about a 6-inch tail. Grip hook and yarn in your typical hold.
Begin cheering the number of stitches required for your starting row. For a 40″ wide blanket in bulky yarn, 80-100 chains are a fine starting point. Work the chain a bit loosely to avoid pulling too tight. The chain should have room to flatten without puckering.
Count your total chains carefully; it’s better to frog and rechains than run out of room mid-row. For the first row of stitches, you will work into the back bumps or ridges of the chains. Loosely draped chains make this easier. Take your time with the foundation chain – it sets the tone for the rest of your project.
Step 2: Working on the First Row
Once your foundation chain is complete, you’re ready to add the first row of stitches that will form the ribbed diamond pattern.
- Locate the back bumps or ridges on the reverse side of the foundation chain. This is where your hook will be inserted to start.
- Insert the hook into the second chain from your hook under the back pump. Yarn over and pull up a loop.
- Work one single crochet into each chain across the row, inserting under the back bumps.
- Take here to maintain even tension – don’t work too tightly, or stitches will pucker.
- At the end of the row, gently tug the foundation chain if it appears very tight and compacted. Stretching allows their stitches to lie flat.
- Count the stitches across – you should have the same number as your foundation chain.
The ribbed texture will begin to emerge as you add rows and pat your back on completing the first row.
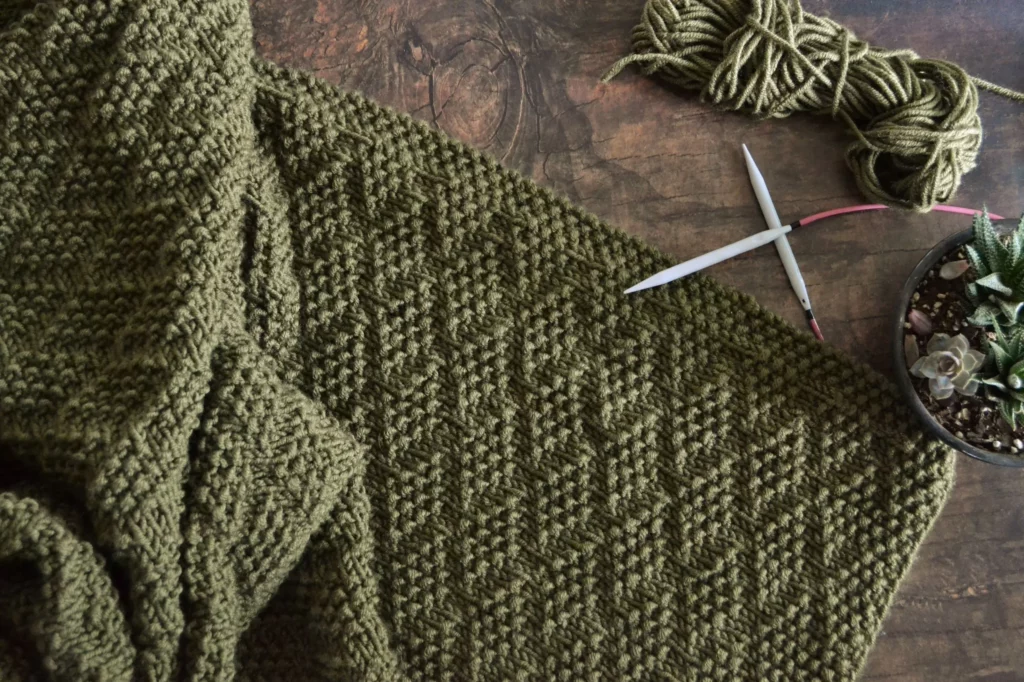
Step 3: Increasing the Diamond Pattern
The fun really begins when it’s time to start increasing stitches to form the diamond pattern. Increases create shapelier texture and visual interest.
- Chain 3 at the beginning of the new row. This chain three counts as double crochet stitching.
- Work two more double crochets into the next stitch for a total of three doubles in one stitch – Your first increase made!
- Next, work just one double crochet into the following stitch.
- Repeat this sequence across the row: work an increase of three doubles into the next stitch, then one doubles into the stitch after.
- As the increases shift over by one stitch for each row, staggered diamond shapes will emerge.
End the increase row with one double crochet into the top turning chain from the previous row. Use a stitch mark at the top of the turning chain so it’s easy to identify.
On the following rows, continue the increase/even row sequence to keep diamonds forming evenly across the width. Counting stitches frequently ensures dimensions remain correct. Add a lifeline periodically as an extra precaution, too. Increases seem daunting at first but will become second nature. Soon, you’ll be a pro at crossing three-dimensional textures.
Step 4: Working on the Diamond Patterns

Once you’ve mastered the initial setup rows and increases, you’re ready for the fun to begin! Working the diamond pattern itself involves establishing a sequence of increases and even rows. The increased rows are crucial for forming the staggered 3D shaping. The even rows add stability and keep the ribbed texture consistent across the rows. Learning to alternate between these two-row types is key to creating symmetrical, visually pleasing diamonds.
Don’t worry about memorizing complex instructions upfront. As you get into the rhythm of switching between increase and even rows, the pattern will start to feel intuitive. Taking in row by row, you’ll begin to see the diamonds emerge as your stitches build upon each other. Follow along as we break down how to methodically work the diamond pattern until your entire blanket is covered in dazzling textures. Start each row with chain 3, which counts as the first double crochet stitch.
Follow the Marker for Increased Rows
Chain 3, then work three double cross shirts into the next stitch for an increase. Work one double crochet into each of the following stitches across the row. When reaching the end of the row, finish with one double crochet into the top, turning the chain from the previous row.
Increase rows at volume and shape the diamonds. Place a stitch marker in the top turning chain to make the last stitch obvious.
Quick Guide on Working for an Even Number of Rows
Chain 3, then work one double crochet into each stretch across the row, including the top of the turning chain. Working even rows create the ribbed texture and stabilises the increases. Keeping track of what row you’re on is crucial; stitch markers can help indicate increase versus even rows. Using a row counter makes it even simpler.
For straight edges without increases, work several even rows at the beginning and end of the blanket. Relax and take your time – it’s not a race. Getting into the rhythm of the alternating rows is relaxing.
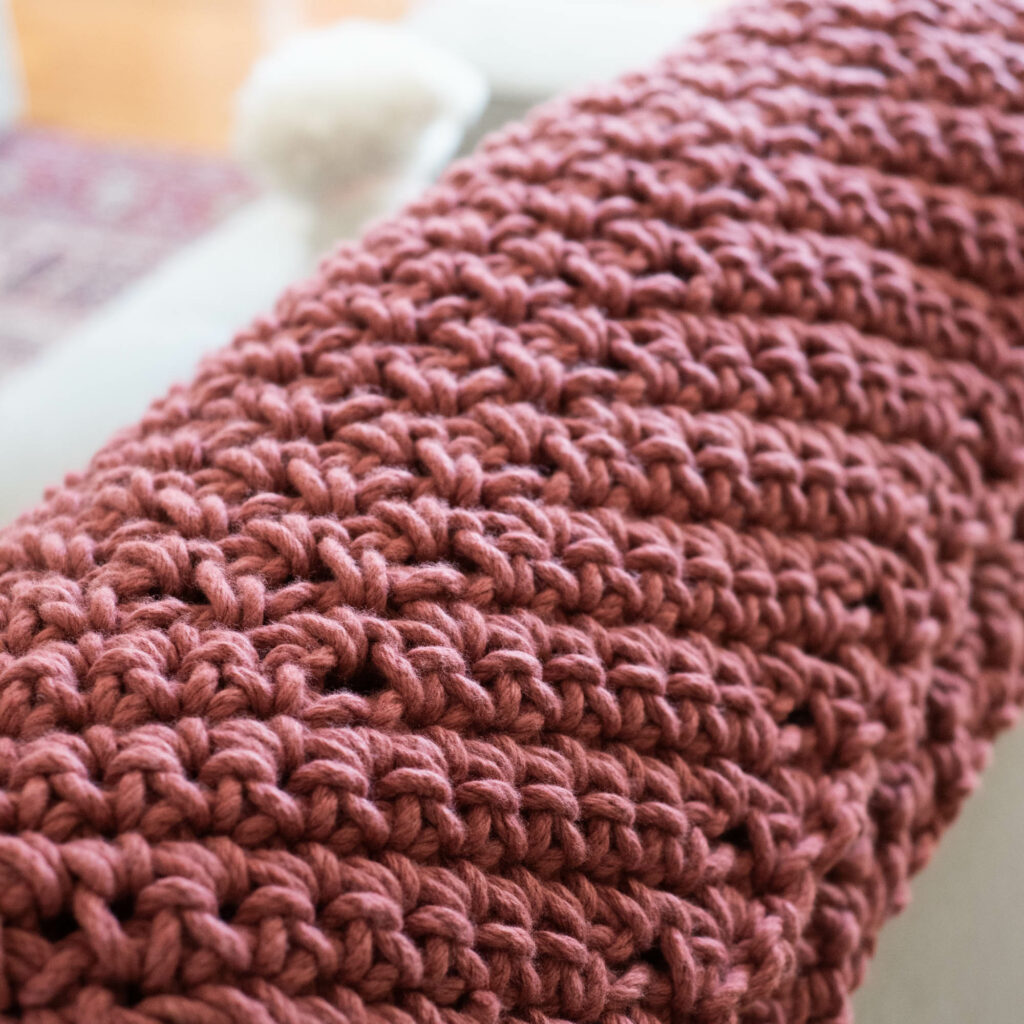
Add Borders and Finish
Once the main diamond pattern is complete from end to end, consider adding decorative bottles along the edges for polish. Crochet borders neatly contain the edges and prevent curling.
Additional Potential Border Options to Suit Different Styles
- Shell Edging: Create a scalloped look by working shell stitches evenly along the edges.
- Crab Stitch: Also called reverse single crochet, this adds a braided finish.
- Simple Round Edging: Any stitch made in rounds looks clean and classic.
- Ribbed Edging: Match the ripped pattern with a single crochet.
- Picot Edging: Pretty Picot stitches worked with chains and single-crochet.
- Chevron Edging: Creates one zigzag pattern when worked tightly.
- Linked Clusters: Linked double or half double crochet helps in adding dense texture.
Work borders using the same yarn as the body of the blanket for a cohesive look. Take care to stretch evenly around all four sides. Once finished, weave in all remaining yarn and securely with a tapestry needle. Trim any excess length. Give the blanket a final stretch and shape. Steam blocking is recommended to even out the tension and help the ribbing pop. Pin it out to specified dimensions and steam lightly.
Add a heartfelt homemade tag or label to the corner – a special final touch. Your diamond-ripped blanket is complete and ready to love!
Conclusion
Few hobbies are as satisfying as crocheting beautiful homemade blankets. Mastering new stitches and techniques keeps the craft exciting while allowing your skills to progress. The diamond ribbed blanket in this guide is the perfect beginner project to boost confidence.
Follow along step-by-step to transform yarn into a stunning creation. The pride you’ll feel upon completing your first crochet blanket is truly heartwarming.
Seeing the final result after investing time and care into each stitch is an incredible feeling. This blanket is just the start. Once you discover the joy of crochet, you’ll find inspiration everywhere to create new treasures for yourself and your loved ones.
Crocheting is a relaxing, rewarding hobby that relieves stress. It connects us through the shared language of stitches across generations. Keep your hook and yarn close by as you continue perfecting your skills. Your next masterpiece is just one stitch away.