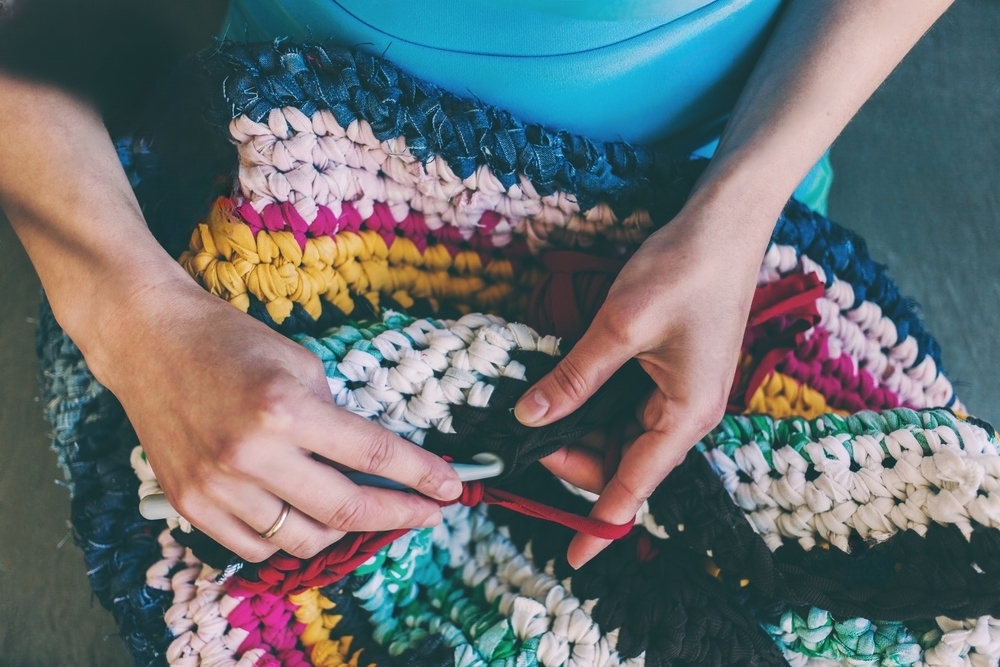
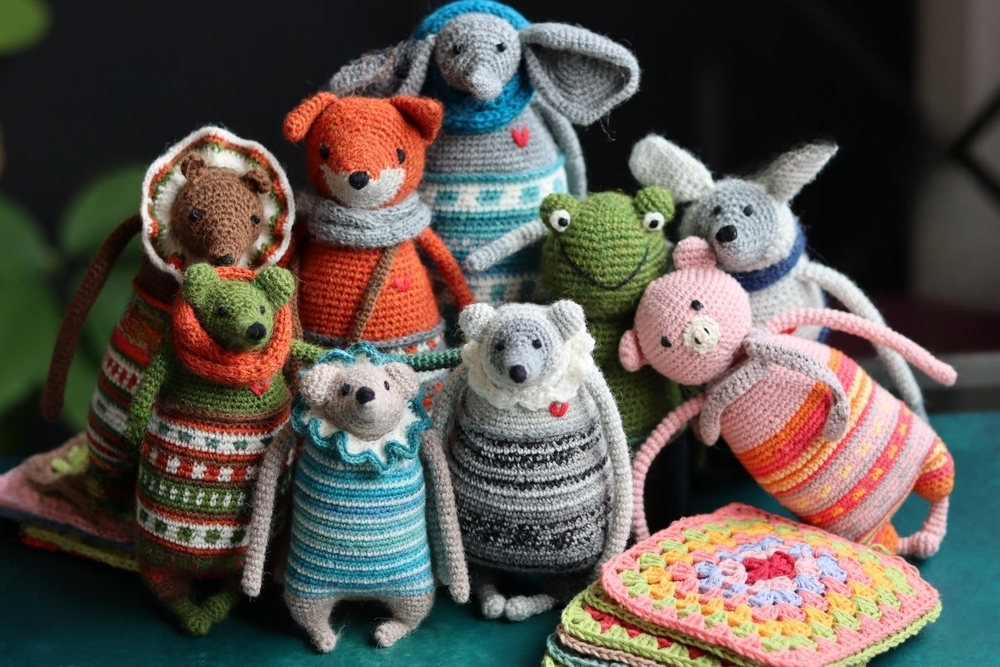
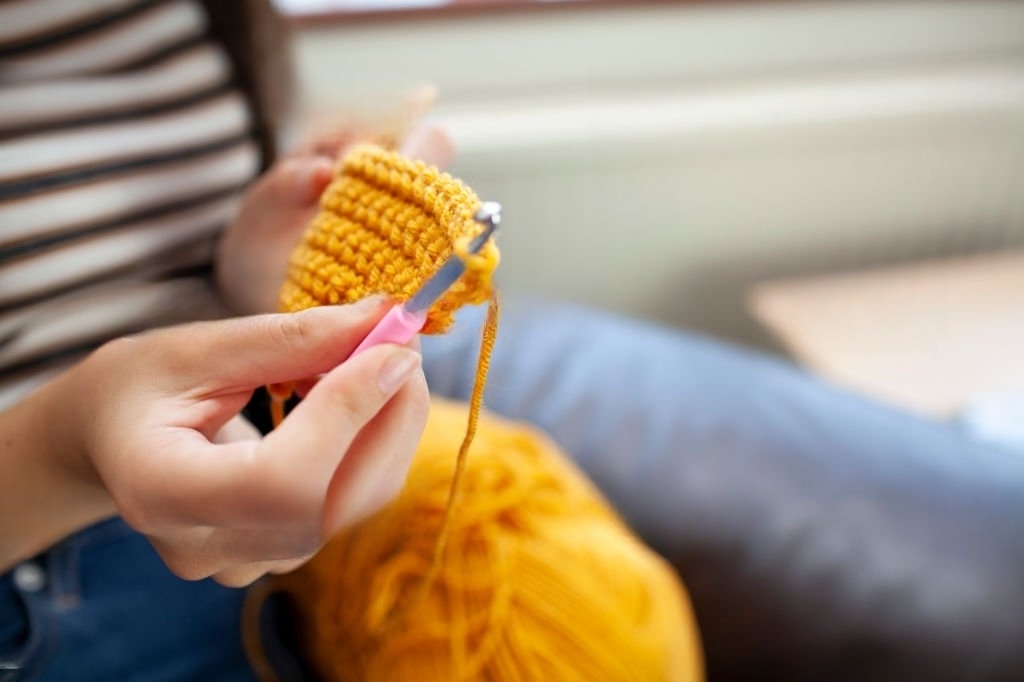
As Winter’s chill saddles in cozy evenings, there’s something truly special about crafting by hand. It is a quiet winter night with soft lighting, and you are weaving yarn and the memories with the hook of love. If you’re looking to create a beautiful wattle stitch crochet piece for someone special and need the right guide, you’re in the right spot.
In this guide, we’ll explain everything you need to know about mastering the art of the wattle stitch crochet. Believe us, it’s not just a stitch; it’s an art; it’s an opportunity to connect with your creative side and make something wonderful. So, Whether you’re new to crochet or already have some experience, get ready to explore the world of wattle stitch crochet.
Within this comprehensive guide, tailored for curious minds, we’ll explore the tapestry of the wattle stitch crochet and its versatility in clothing and guide you step by step through the process of creating this enchanting stitch.
A Versatile Crochet Pattern for Creating Textured Clothing
The Wattle stitch isn’t just a normal piece of fabric; it’s more like a relationship of beauty with practicality. A fabric that boasts intricate as it is visually pleasing. This duality is what sets the Wattle Stitch apart, making it a perfect choice for those who require both elegance and utility. From cozy blankets for your little one or for your elders that envelop them in the warmth of your love to stylish shawls that suit you gracefully, the wattle stitch crochet holds the potential to transform yarn into wearable works of art.
Imagine a stitch that is both visually appealing and incredibly functional. This is where the wattle stitch crochet comes into the picture, a fascinating technique that welcomes crochet enthusiasts of all levels. Whether you’re a master of its tunes or starting to learn its chords, the Wattle Stitch opens its arms to all those who are intrigued by its rhythmic charm.
Where Can it Be Used?
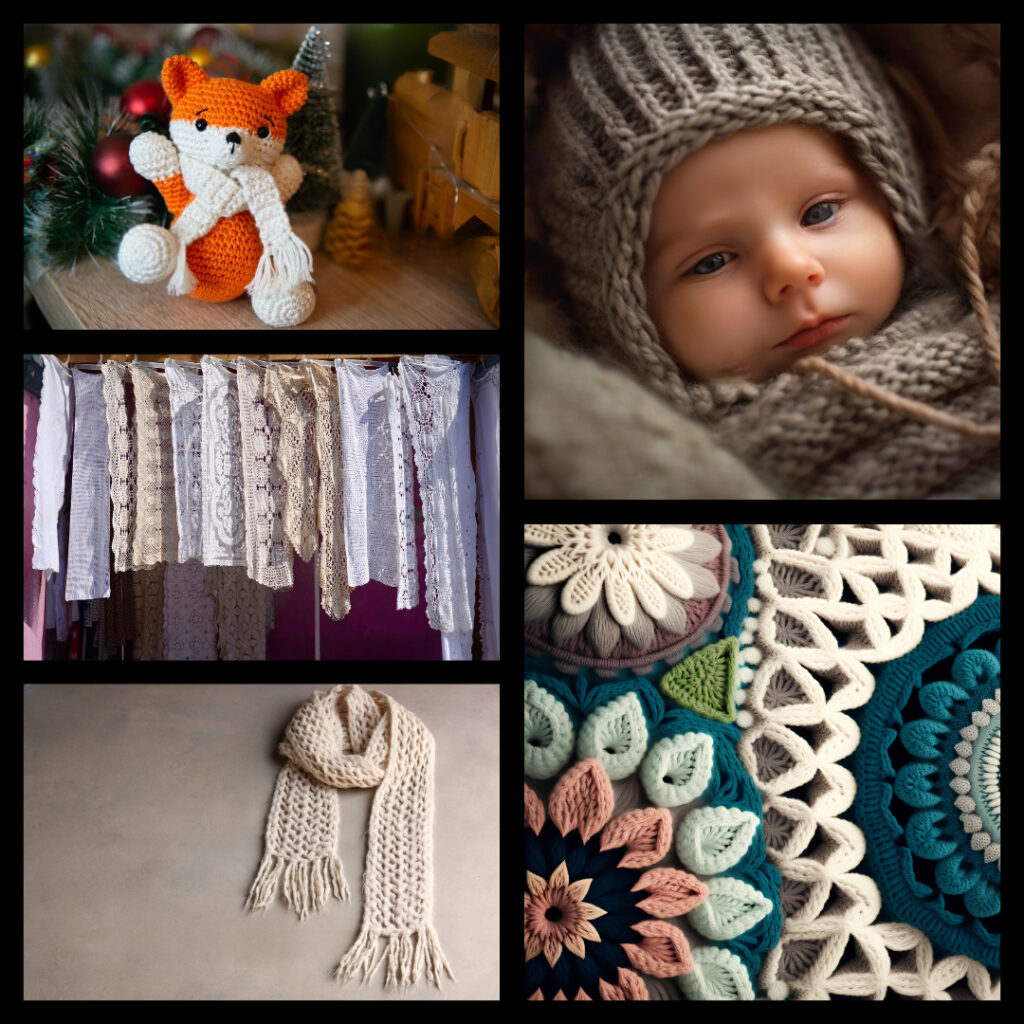
The art that we will discuss shortly can be utilized for a number of pieces; one can make various clothing, covers, decorative pieces, and many more using these skills.
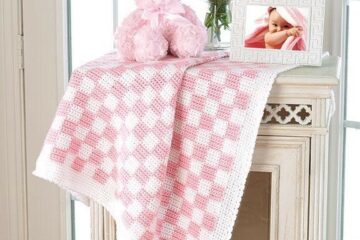
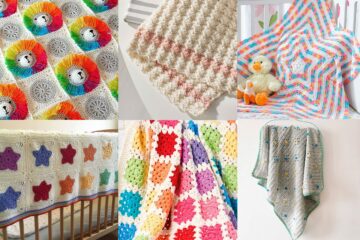
- Modern Baby Blankets
- Scugs and Cowls
- Cushions
- Shawls
- Blankets
- Sweaters
- Decorative Covers
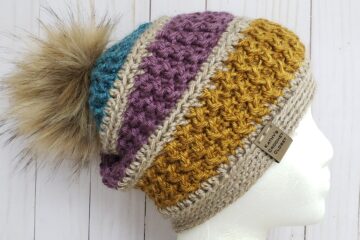
- Hats
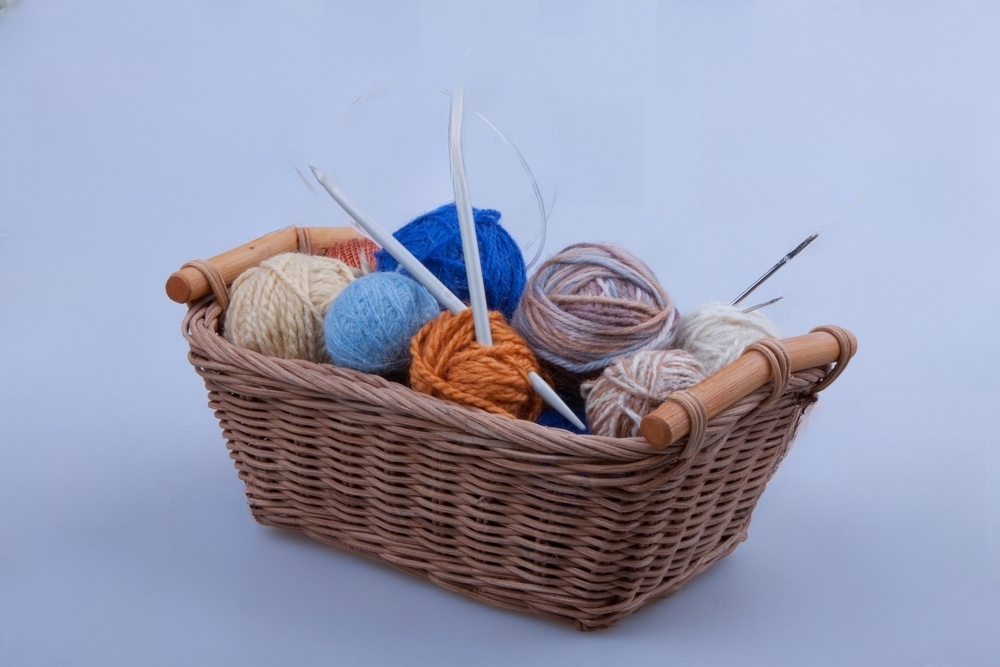
Now, let’s talk about the main matter: how to craft the Crochet Wattle Stitch. Before we go, there are some essential materials that we need; grab them first.
Materials Needed for Wattle Stitch Crochet
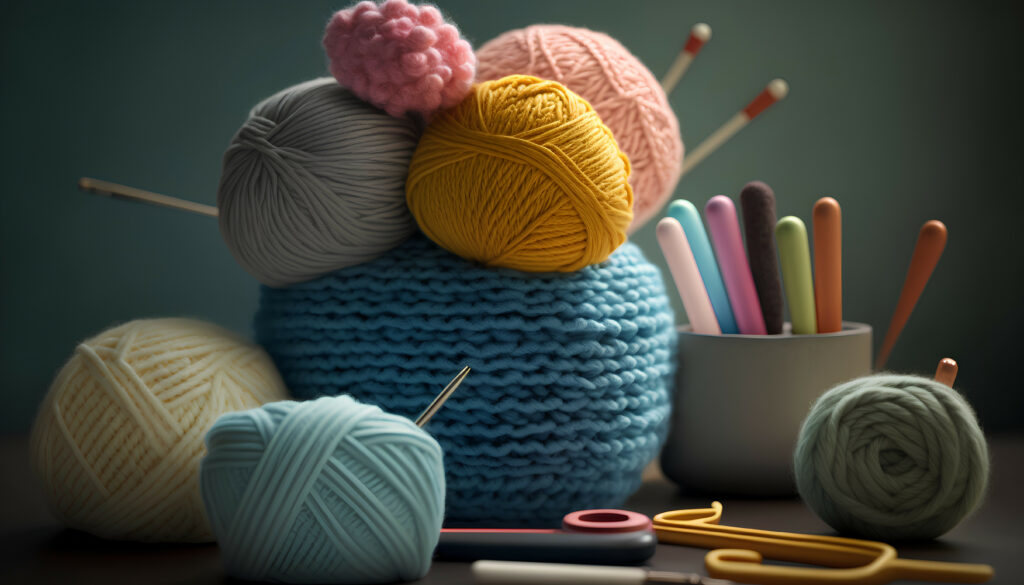
- Worsted weight yarn: Among several types of yarn, this is the medium-weight yarn that sits in the middle of the yarn weight family. It’s thicker than sock-weight yarn and thicker than bulky-weight yarn. This one is more knittable and can be used almost for all purposes due to its medium thickness.
- Crochet hook (size H/8 – 5.0mm): When you’re a beginner in this art, you might need to start with a beginner set of crochet hooks. As you get more and more into this craft, you can take hands-on with different types of crochet hooks out there to find the ones that are really best for you. There are several crochet hooks, such as Tunisian crochet hooks, ergonomic crochet hooks, light-up crochet hooks, and knooks.
- Scissors: This is the essential tool for the craft; the yarn has a certain thickness, and while making the particular pattern at several points, you need to cut the yarn for the need of design. And scissors can work as a useful tool at that time.
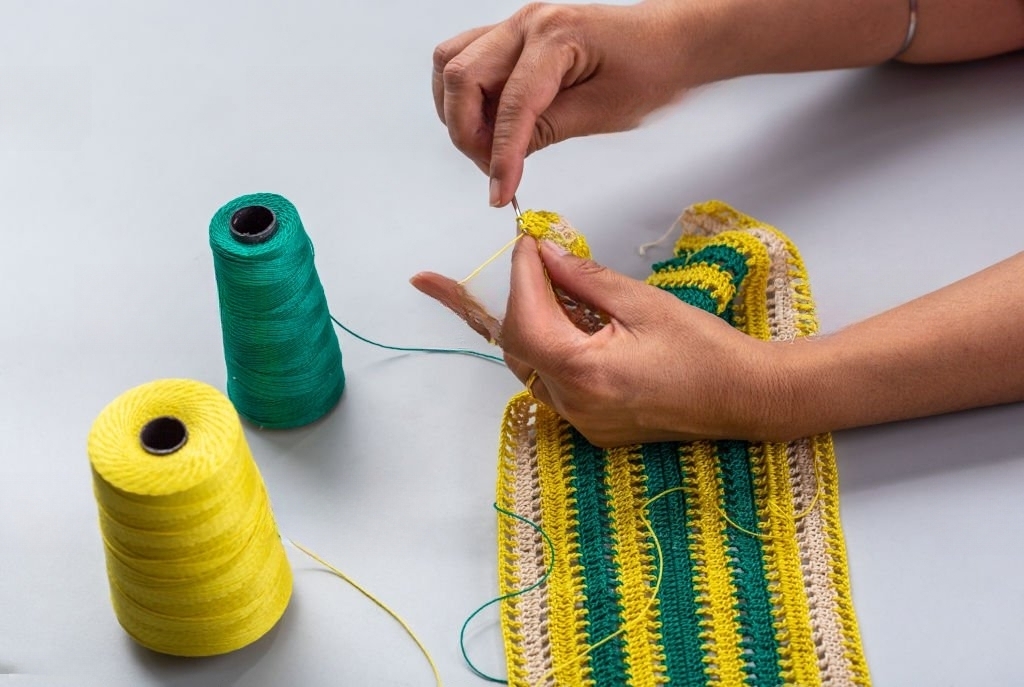
- Yarn needle: The appropriate yarn needle makes difficult operations simple, whether you need to sew up holes or weave ends into seams. With the right needles for the job, you can tackle your next project with assurance. You may give your handcraft items a polished touch if you have a good set of knitting needles on hand. Use the proper yarn needle to close holes and weave in ends quickly.
We recommend using a medium-weight yarn and a size G (4.00mm) crochet hook. Feel free to adjust the yarn and hook size according to your preference. Here we begin…
Step-By-Step Guide for Wattle Sticth Crochet
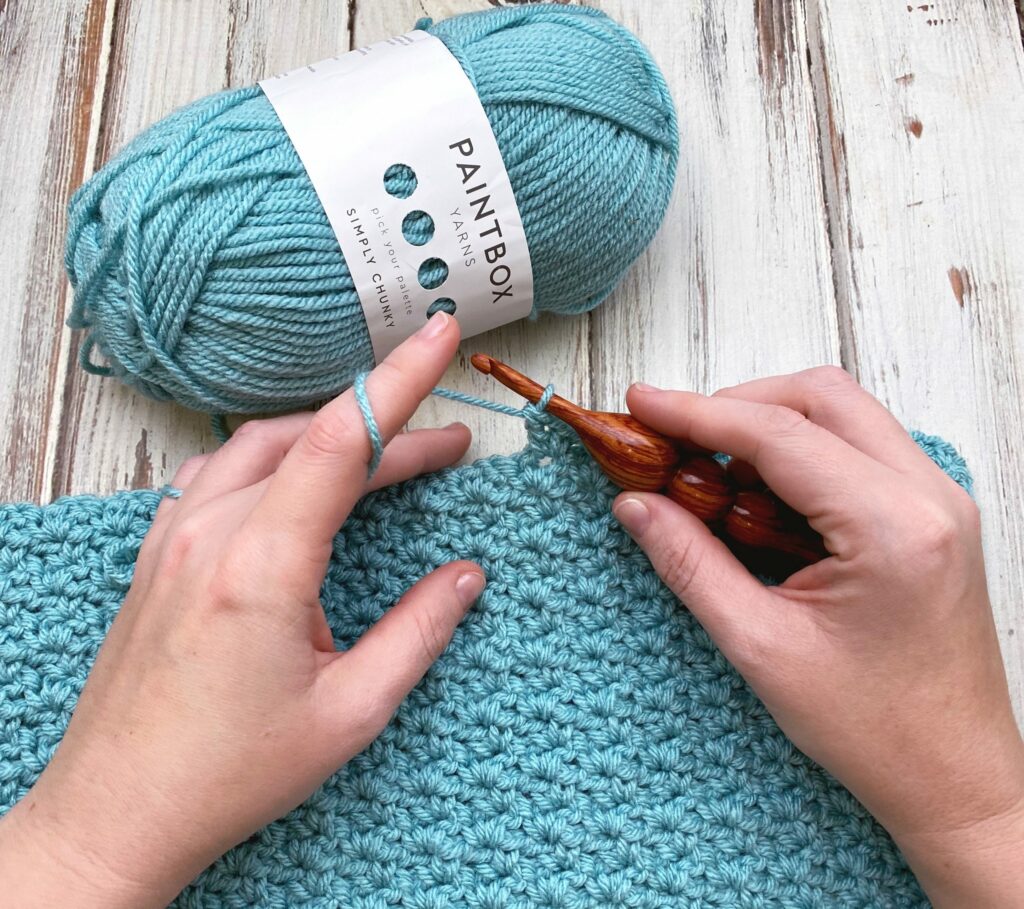
Step 1: Foundation chain
Without a solid foundation, you’ll have trouble creating anything of value, so let’s Start by creating a foundation chain of any desired length. This will be the base of your Crochet. For example, if you’re making a dishcloth, you might start with a chain of 30 stitches. In case you’re making a scarf, you need more than 80 stitches. The length may vary as per your imagination.
Step 2: Double Crochet in Process
Once you have your foundation chain, work a double crochet stitch into the fourth chain from your hook. Skip the first three chains, as they count as the first double crochet stitch in the row. This creates a space before your first stitch, which is a characteristic of the wattle stitch. There are multiple variations, but this makes a wattle stitch crochet stand out.
Step 3: A Row Creation
After completing your first double crochet stitch, work a chain stitch and skip the next stitch. Then, work another double crochet stitch into the following stitch. Repeat this pattern across the row, alternating between a chain stitch and a double crochet stitch.
Step 4: A Fine Edge
When you reach the end of the row, work a double crochet stitch in the last stitch. This will give your crochet a neat and finished edge. A fine edge will not just look good in the end, but it will also help you throughout the work to complete it seamlessly.
Step 5: A Double Crochet
To continue the wattle stitch pattern in the next row, chain three and turn your work. This chain three counts as the first double crochet stitch of the row. While turning, be more careful to turn the entire piece very delicately.
Step 6: The Repetition
Now, alternate between a chain stitch and a double crochet stitch, just like you did in the previous row. Work a chain stitch, skip the next stitch, and then work a double crochet stitch into the following stitch. Repeat this pattern across the row.
Step 7: Repeat the Previous Steps
Repeat steps 5 and 6 for as many rows as you need to achieve your desired length. Remember to end each row with a double crochet stitch. Where the magic really starts to happen is when we move to successive rows. That actually gives the desired shape to your piece.
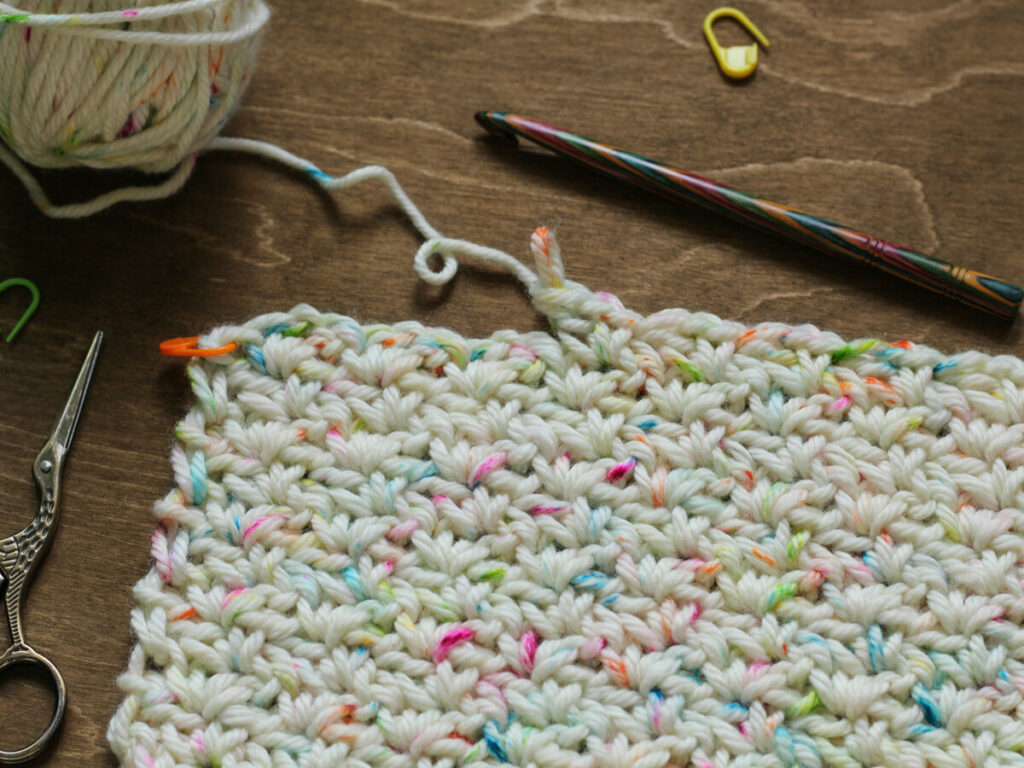
To practice the wattle stitch, create a small swatch using your favorite yarn and crochet hook. Follow the steps outlined above to crochet a sample piece. This will help you become familiar with the stitch and allow you to experiment with different yarns and hook sizes. As you continue to crochet the wattle stitch, you’ll see a beautiful pattern emerge.
The alternating chain stitches and double crochet stitches create a unique texture that resembles woven wattle. You can use the wattle stitch in various ways, such as scarves, blankets, hats, or even decorative items like coasters or placemats. The possibilities are endless!
Essential Tips to Adhere While Working Wattle Sticht Crochet
The Wattle Stitch is no different from other crafts in that it has its subtleties. Here are some tips to improve your Wattle Stitch technique:
- Maintaining Tension: To produce a uniform cloth with edges that are both polished and symmetrical, consistent tension is essential.
- Keep Counting: Regularly counting your stitch groups ensures the symmetry of your pattern and prevents any unintended deviations and blunders.
- Care for Turning Chain: Pay close attention to the turning chain stitches to ensure that your work has edges that are not only tidy but also exude a certain level of elegance.
- For Edges: To ensure straight edges, keep your last single crochet and chain 1 relatively loose.
Why Should You Prefer the Wattle Stitch?
A multipurpose stitch, the wattle stitch produces a dense, reversible fabric with a good drape. Its sleek and contemporary appearance is ideal for a variety of clothes. The Wattle Stitch Crochet is one of my favorite crochet patterns because of how quickly it expands. Once you’ve gotten the feel of it, you can finish it quickly. Furthermore, because there is no need to consult a pattern or count stitches continually, the wattle stitch is ideal for working on while unwinding, watching movies, or simply relaxing.
Like studying any other art form, learning wattle stitch crochet is an immersive experience with a small creative space. When you become intimately familiar with the rhythmic dance of the hook and needles and see the lovely stitches, all you can feel is joy. You’re not simply sewing when you spend time honing your technique; you’re also practicing mindfulness, which is the essence of crocheting.
The Wattle Stitch thrives when used to create blankets and shawls, but it is also adaptable enough to be used to make items that may be worn. As an example of your crochet skills, picture a modern cardigan that is welcoming, textured, and stylish. Imagine a hat covered in beautiful designs that mimic the Wattle Stitch’s enchantment.
You may crochet more than just clothes when you use this stitch as your creative instrument. You can also make fashion statements and expressions of your personality.
This article is not an end but a celebration of the journey. It is a celebration of stitching, imagination, and limitless possibilities. Every stitch you make adds to the colorful tapestry of your creative journey. The Wattle Stitch is both a mentor and a friend, inspiring you to explore new ideas and find peace in the rhythmic twirling of yarn and hook.
Wattle Stitch Crochet: Wrapping Up!
The Wattle Stitch Crochet is more than just a stitch; it is a journey that combines contemporary elegance with timeless creativity. It allows you to unleash your imagination and create something truly beautiful. Each step in the process is like a brushstroke on a canvas, adding depth and texture to your work. From the initial chain to the final embellishments, every stitch is a note in your original song.
Crocheting with the Wattle Stitch is also like dancing with the yarn. As you move your fingers and guide the hook, you are transported into a world of creativity and self-expression.
So don’t wait any longer. Pick up your crochet hook and yarn, and create beautiful pieces using the Wattle Stitch crochet.
Let your imagination run wild, and let the Wattle Stitch guide you on a journey of creativity and self-discovery.