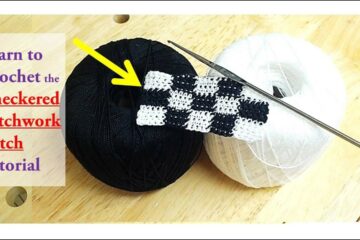
Crocheting is an enjoyable hobby that allows you to make unique handcrafted creations, including blankets, scarves, hats, and more. One of the most versatile and essential crochet techniques to learn is the back loop slip-back stitch.
This stitch offers endless possibilities for adding beautiful texture and visual interest to your crochet projects. In this in-depth guide, you’ll discover everything you need to know to master the back loop slip-back stitch.
We’ll start with the basics: what exactly is this stitch, and how do you do it? Then, we’ll go step-by-step through how to crochet the back loop slipback. You’ll also find tips to help you become proficient at this stitch and creative ideas for crochet patterns that showcase it.
Finally, we’ve included a FAQ section that answers common questions about the back loop slip-back to ensure you fully understand this essential technique.
What is the Back Loop Slip Back Stitch?
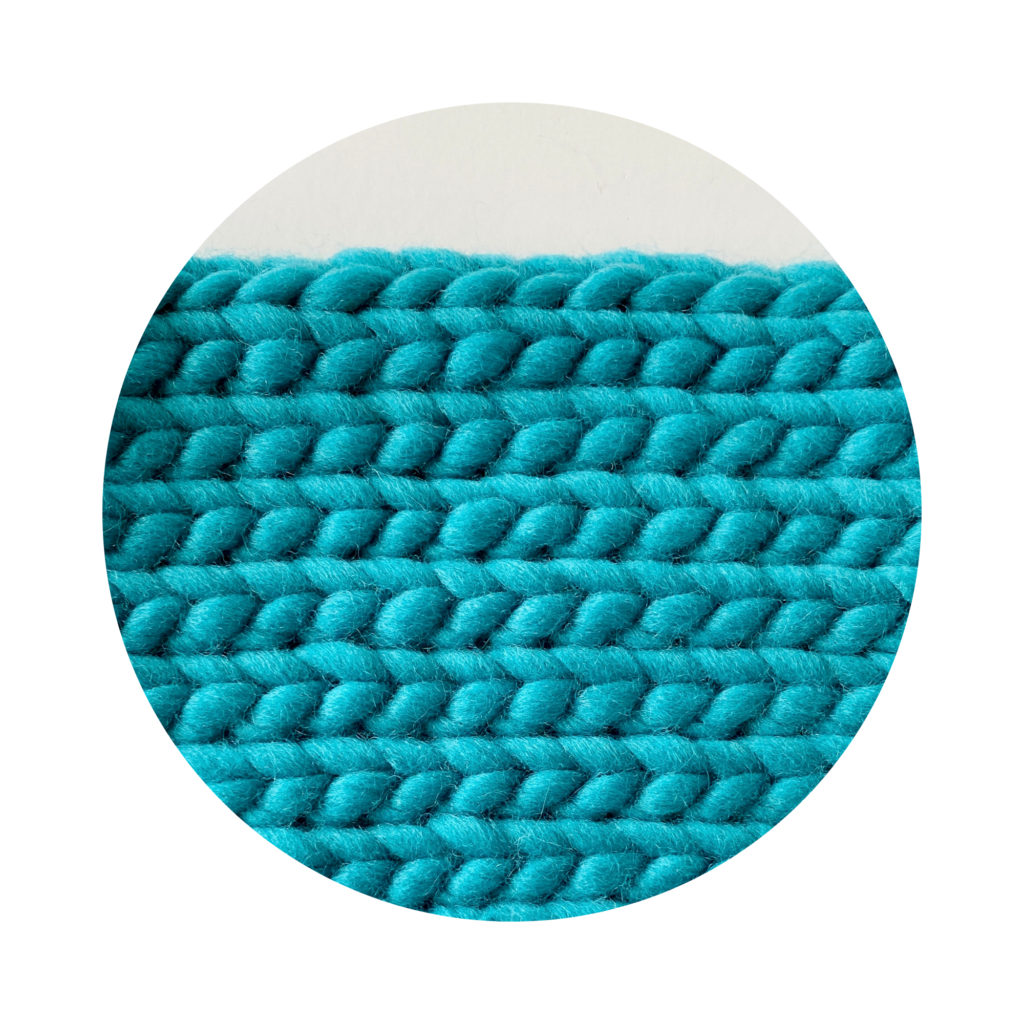
The back loop slips back stitch (also known as BLSS or LPSB) gets its name from how it is worked. You crochet the stitch by inserting your hook through the back loop only of the stitch below. After yarning over and pulling up a loop, you slip that new loop back onto the hook where it originated from.
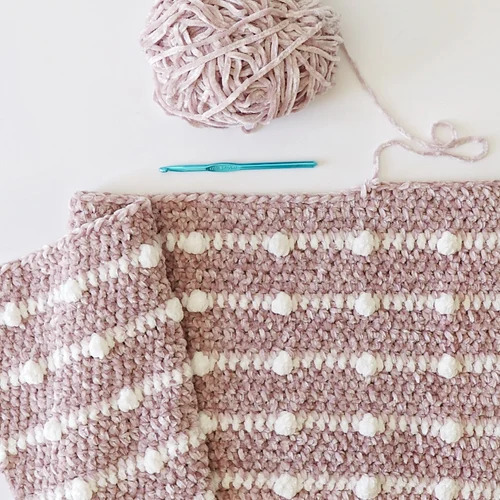
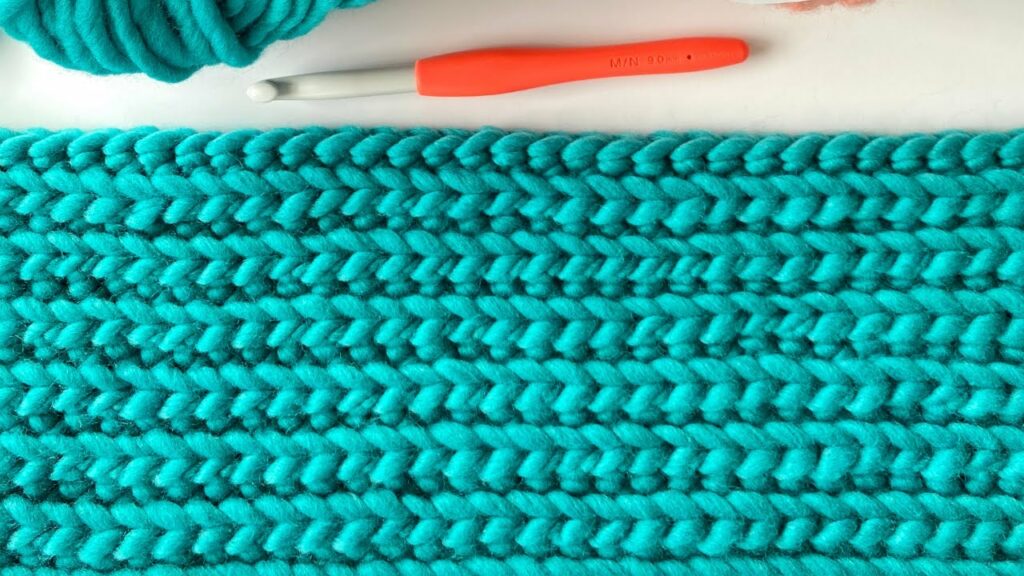
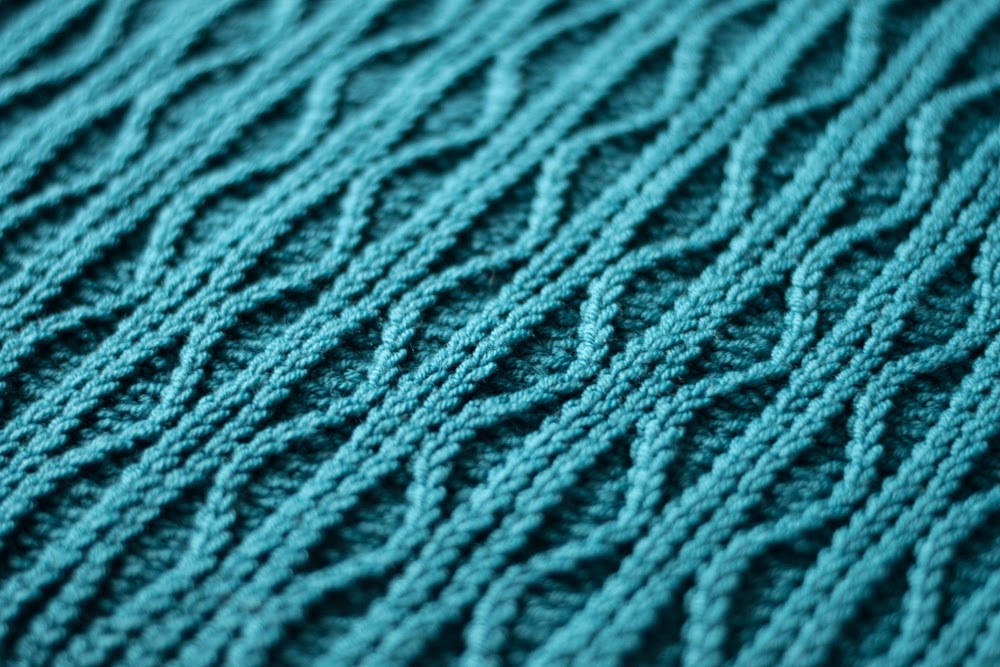
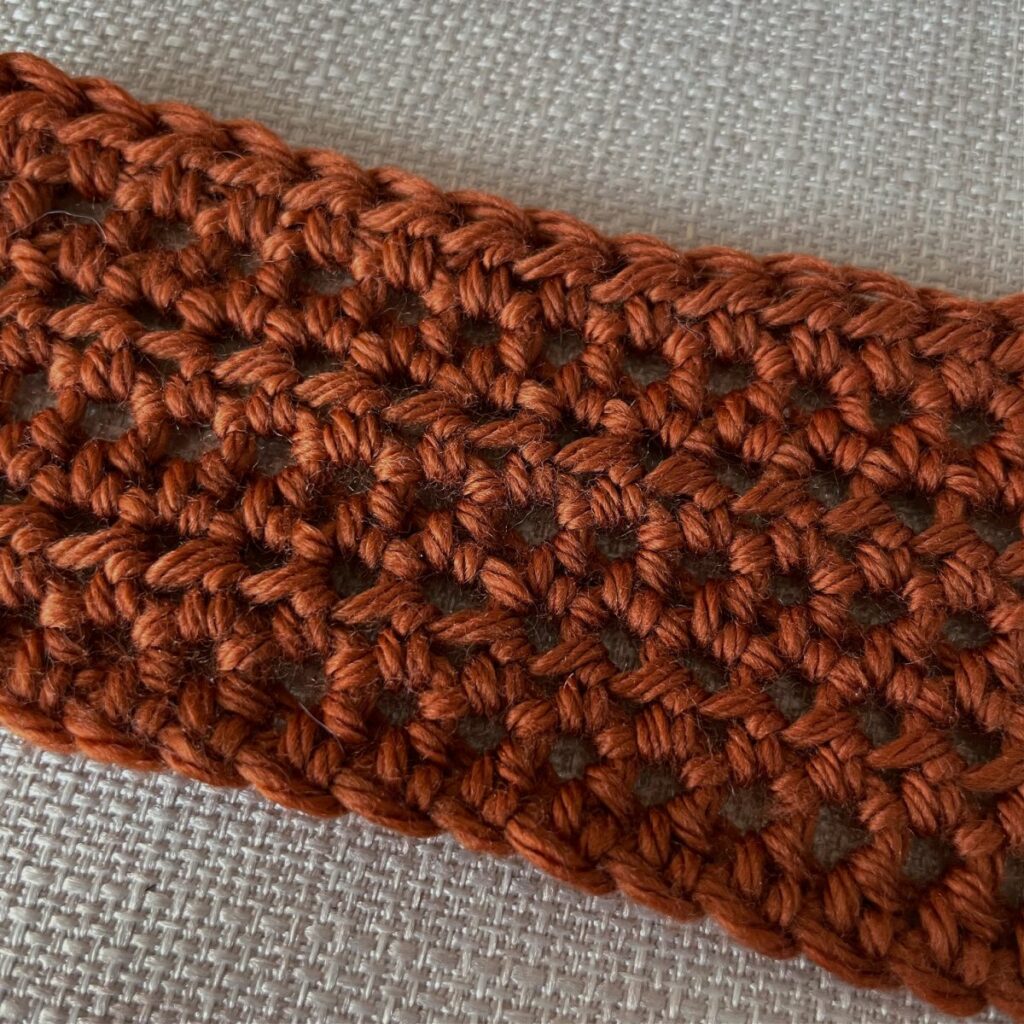
This technique creates a stitch that is slightly raised and twisted in appearance. When repeated across multiple rows, the back loop slip-back stitch produces a zigzag texture as the slipped stitches push to the front of the fabric. The contrast between the raised slip stitches and the regular stitches in the rows gives the project beautiful dimension and visual appeal.
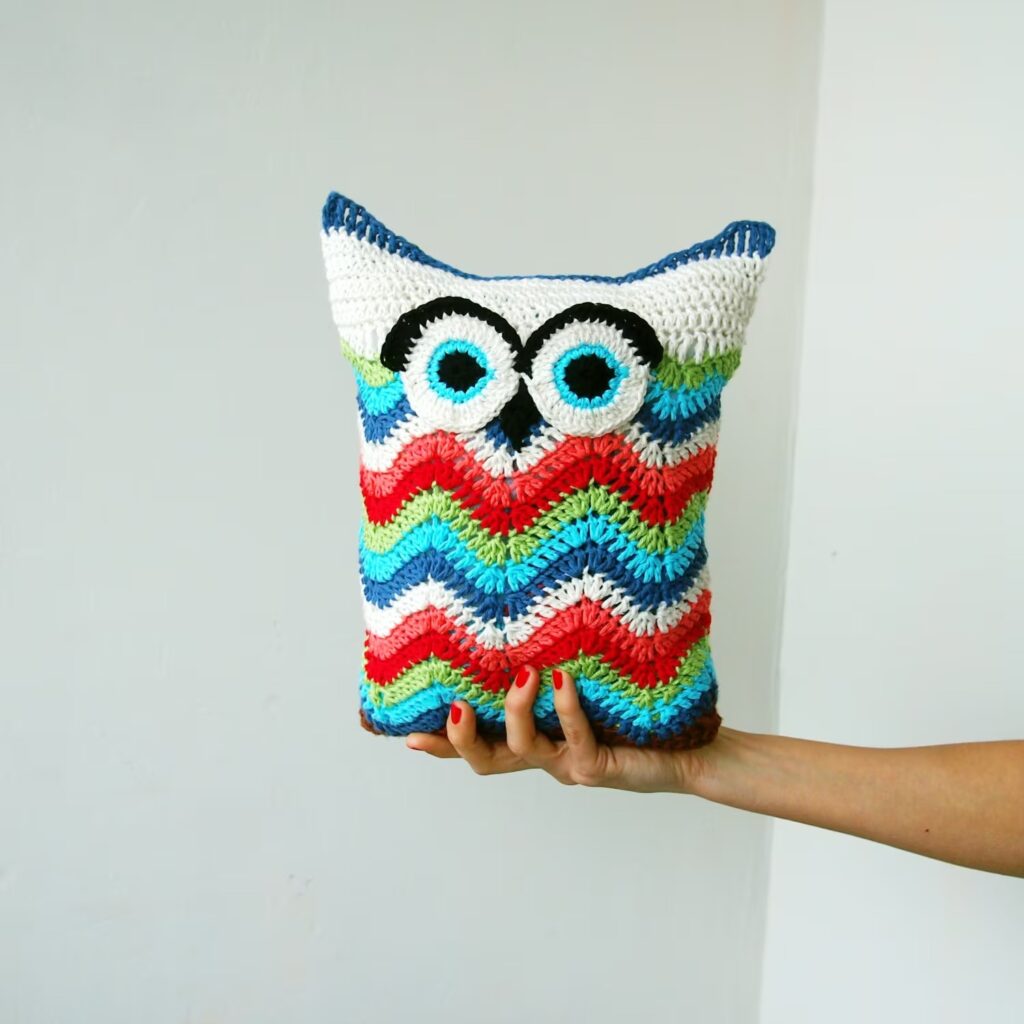
The back loop slip-back stitch is extremely versatile and can be incorporated into all crochet projects. It’s commonly used in scarves, blankets, bag straps, pillows, and hats. The zigzag design is particularly nice when used along the edges of projects as an accent. This fun, textured stitch adds interest and creativity to your crochet!
How to Crochet the Back Loop Slip-Back Stitch
Ready to learn this essential stitch? Crocheting the back loop slip back takes practice but soon becomes easy once you understand the method. Follow these step-by-step instructions to master the technique:
Step 1: Create a Foundation Chain
Creating a proper foundation chain is the first crucial step for crocheting the back loop slip-back stitch. Taking care to chain loosely and in multiples of two stitches will set you up for success.
When making your chain, focus on keeping an even, relaxed tension. You want the chain to have enough give so that your hook can pass back through the loops without resistance. Chaining too tightly will make it difficult to achieve the characteristic zigzag of this stitch.
Aim to make the foundation chain approximately one hook size larger than you normally would. For example, if you plan to crochet the pattern with a 5mm hook, make the chain with a 5.5mm or 6mm size. This slight upsizing will create the ideal looseness for the foundation.
Be sure to chain in multiples of two stitches, as this stitch pattern relies on having an even number of stitches in each row. Popular starting chain lengths are 16, 32, 48, etc. However, you can begin with any even-numbered chain that suits your project needs.
Taking care of the foundation chain is time well spent, as it directly impacts your ability to crochet the subsequent stitch rows. Aim for a loose, even, consistent chain that’s a multiple of two, and you’ll be set up for stitching success!
Step 2: Work a Row of Base Stitches

After completing your foundation chain, the next step is to work one row of regular double crochet stitches across. This base row of standard stitches is important for setting up the zigzag pattern. As you work the row of double crochets, be mindful to insert your hook under both loops of the foundation chain rather than just the back loop. This ensures you are working into the full height of the chains. If you only use the back loop, the stitches will be twisted and misshapen.
Maintaining even tension is crucial for the base row, so take care not to crochet too loosely or tightly. This row establishes the underlying structure that the zigzag rows will be worked from. When crocheting the double crochet row, feel free to use a contrasting color from the foundation chain. This makes it easy to distinguish between the starting chain and your stable base row. Inserting into both loops of the chains and keeping tension even will properly set the foundation for the zigzag stitch rows. Take your time with the base row for the best possible results!
Step 3:Single Crochet into Front Loops
After completing your base row, you can start forming the zigzag texture. To do this, you’ll work a row of single crochet stitches into the front loops only. As you single crochet across, take care to cleanly insert your hook into just the front loop of each stitch in the previous row. Be sure not to go under both loops accidentally, or you’ll lose the back loops that are key for the slip stitches. You may find it helpful to use stitch markers at first to make the front loops easy to identify. Place a marker through the front loop only of the turning chain from the base row. Move the marker up each time you complete a single crochet.
Maintaining even tension is also important for the front loop rows. Keep an eye on your gauge, and try not to crochet too loosely. Striving for neat, consistent stitches that go under the front loops only will perfectly set up your zigzags. Take it slow, and you’ll have the front-loop single crochets mastered quickly!
Step 4: Work Back Loop Slip Stitches
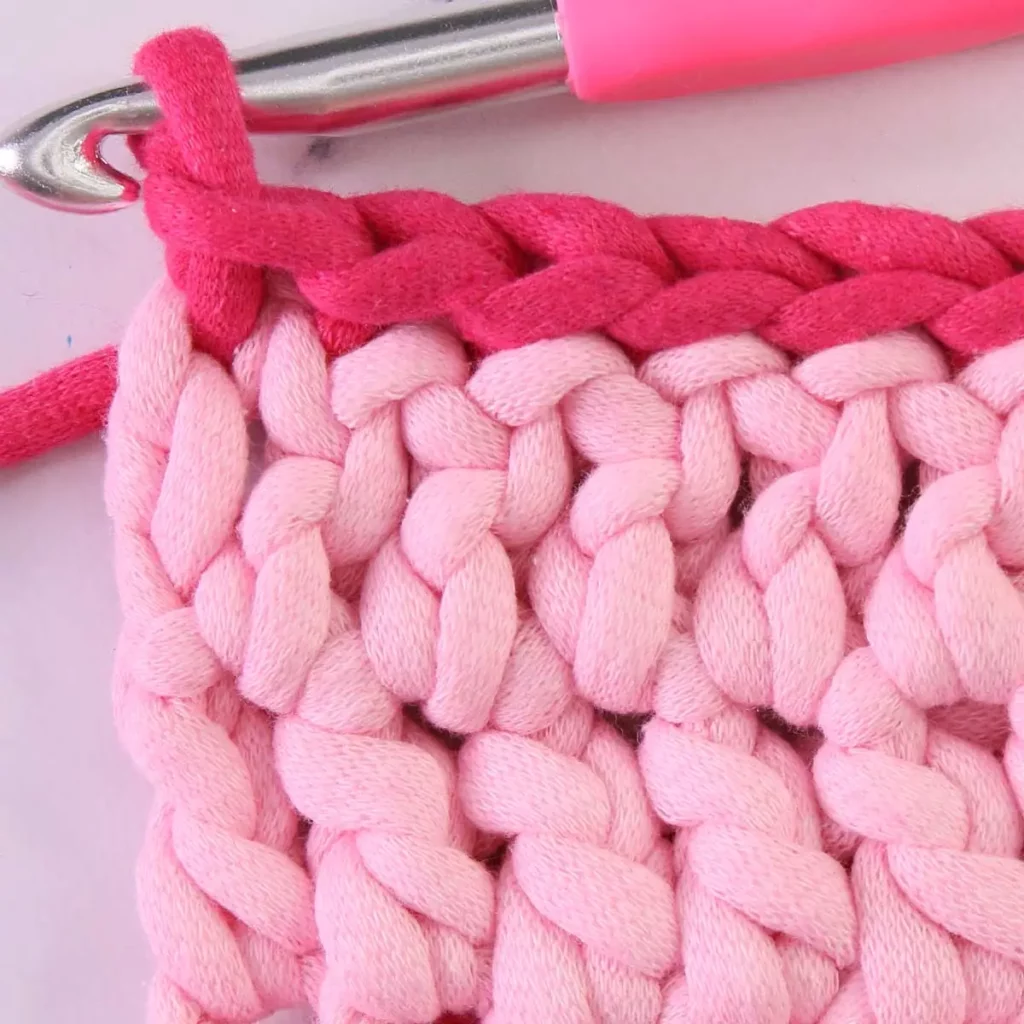
Now comes the fun part – the back loop slip stitches! For this row, insert your hook only into the remaining unworked back loops of the row below. Yarn over, pull up a loop, then slip this new loop back to the hook it came from.
Repeat this across the row, working into the back loops to create the slipped stitches that form the zigzag. The contrast between the slipped stitches and regular stitches will start taking shape.
Step 5: Repeat Rows 3 and 4
To keep the zigzag pattern going, repeat rows 3 and 4. Alternate between front loop single crochets and back loop slip stitches for as many rows as desired. The zigzag texture will become more defined the more rows you complete.
And that’s the basics of crocheting the back loop slip-back stitch! With a bit of practice, you’ll get comfortable with the relaxing rhythm of this fun zigzag stitch.
Essential Helpful Tips for Back Loop Slip-Back Stitch
Learning a new crochet technique like the back loop slip-back stitch takes practice and patience to master truly. But have no fear, and you can become proficient at this fun stitch by following some key tips. In this section, we provide a variety of helpful pointers and advice for crocheting a successful back loop slip-back stitch. From taking it slow to maintaining even tension, these tips cover the common obstacles you may face when attempting this stitch. Review them carefully and keep them in mind as you’re learning. With this guidance, you’ll be stitching perfect zigzags in no time. Now let’s go over some key tips and tricks for mastering the back loop slip back:
- Go slow at first. Rushing through the stitches can lead to mistakes. Get the motions down before picking up speed.
- Use stitch markers on the first few rows to clearly identify front and back loops.
- Work loosely and avoid a tight gauge. The slip stitches are naturally looser, so maintaining an even gauge is important.
- Choose a contrasting color for slip-stitch rows to make the zigzag pattern stand out.
- Start with a medium-weight yarn like Worsted or Aran. The thicker yarn helps see stitch details.
- Add slip-stitch rows to project edges for a decorative finish. They look great on blankets, scarves, bags, etc.
- Check for consistency in your tensioning. The slipped stitches may loosen up, so regularly check the gauge. With a bit of time and patience, you’ll feel comfortable crocheting the back loop slip back in no time!
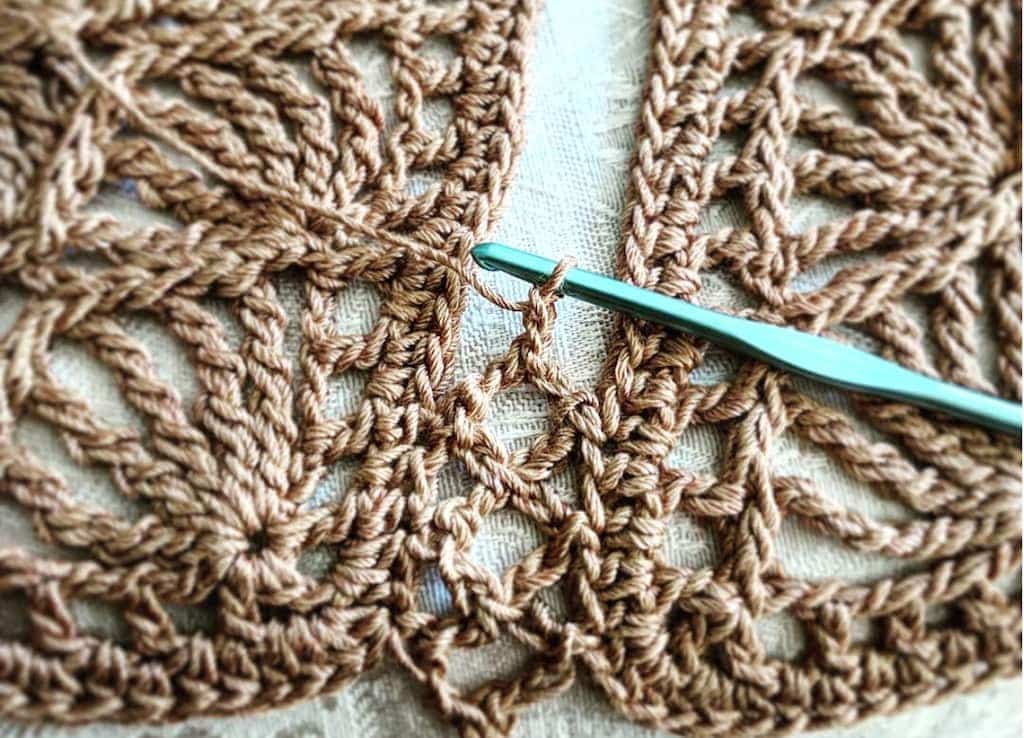
Crochet Pattern Ideas Featuring Back Loop Slip Backs

Part of the fun of mastering new stitches is using them in projects! The back loop slip-back stitch can be incorporated into many delightful crochet patterns. Here are just a few ideas to inspire your next creation:
1. Zigzag Scarf
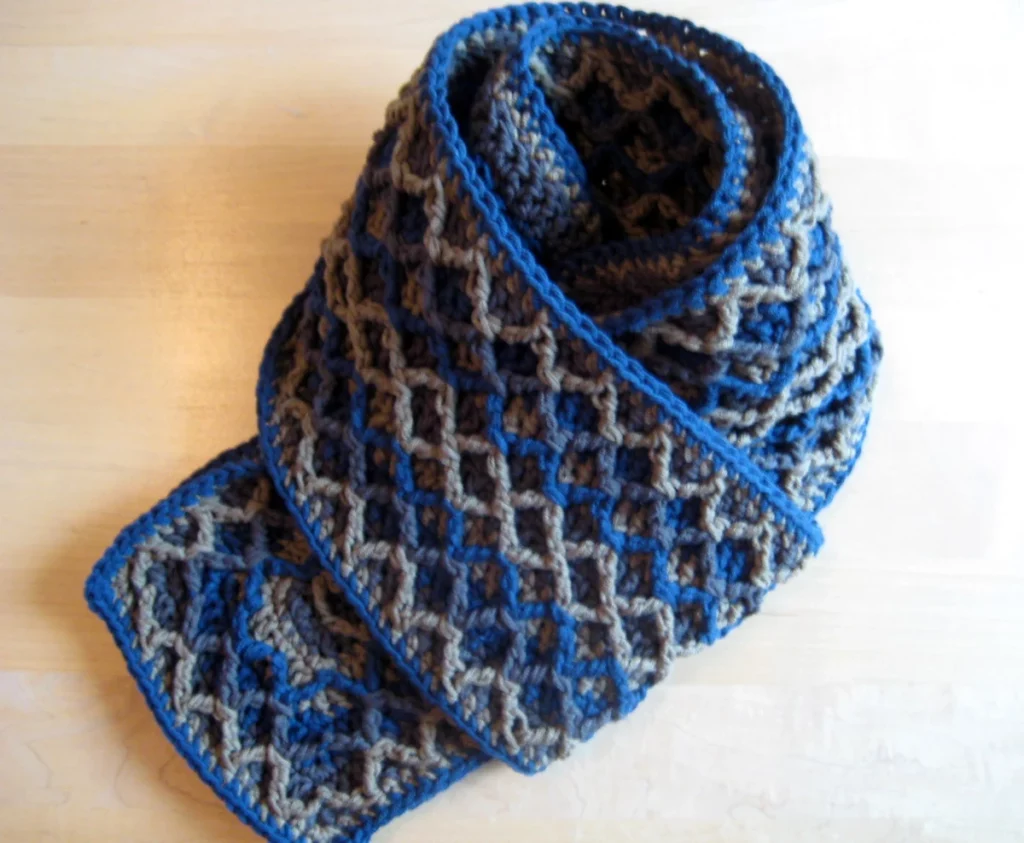
This classic design features zigzags created with the back loop slip stitch across the length of the scarf. It is a great beginner project for showcasing your new back loop slip stitch skills. Work up a long foundation chain, then alternate front loop and back loop slip stitch rows to form the signature zigzag pattern. Switch between two bold colors, like red and black, to make the zigzags pop.
For extra cold weather coziness, use a bulky weight yarn and a larger hook. Finish it off with fun tassels or fringe along the ends. The zigzag scarf makes a quick and satisfying project to wear your latest stitch creation proudly.
2. Textured Throw Blanket

The back loop slip stitch adds a cozy texture to throw blankets. First, work rows of standard stitches as your blanket base. Then, incorporate horizontal bands of slip-stitch zigzags in a contrasting color to create a basketweave look. Use varying shades of a single color like blue or experiment with bright color changes like yellow and navy.
The slipped stitches will add durability and style to your blanket. For extra pop, try a bulky-weight yarn. The basketweave design allows you to feature the zigzag texture chicly across your throw.
3. Bag with Zigzag Straps

Stylish zigzag straps make for a very functional design detail on handbags, totes, and beach bags. Simply crochet a foundation chain to your desired strap length, then alternate front and back loop rows to create the zigzag pattern.
Work in a sturdy cotton yarn for excellent structure and durability. Then, attach your zigzag straps to any bag style you choose for an extra pop of visual interest. The textured stitch adds both form and function for pronouncing the straps. Zigzag straps work perfectly as an accent on crocheted and fabric bags alike!
4. Plush Zigzag Cowl
The slipped stitch texture adds playful personality when incorporated into plush crochet items like cowls. Use varying shades of brown yarn and add zigzag rows throughout for interest. The cowl will have a lovable, soft texture and style. The back loop slip stitch is perfect for making fun, fuzzy cowls. Work up a cowl base in a bulky brown yarn, then incorporate zigzag rows in a lighter brown shade for added texture.
The slipped stitches will add dimension while keeping the cowl super soft and cozy. For extra interest, use a fuzzy mohair yarn paired with a ball of chunky wool. The more slip-stitch rows, the more playful personality! The rich browns and zigzag detail give this plush cowl a lovable style and warmth.
5. Sweater with Slip Stitch Edging
Accentuate cardigans, sweaters, vests, and more with a back loop slip stitch edging. Work slip-stitch rows in a contrasting color around neck openings, sleeves, hems, or other edges for a polished frame. The options are endless when incorporating this fun stitch into your crochet repertoire. Get creative with your patterns and projects featuring the back loop slip-back!
Conclusion
Mastering new crochet techniques opens up amazing possibilities for your hobby. The back loop slip-back stitch is an essential one to add to your skill set. As you’ve learned, this versatile zigzag stitch can transform the look of any project.
Now that you know how to create the foundation chain, work the base stitches, and alternate the front and back loop rows, you have all the tools to crochet beautiful zigzag textures. Start slowly, follow the tips, and don’t be afraid to experiment.
The more you practice this stitch, the more adept you’ll become at forming flawless zigzags. Incorporate this stitch into scarves, blankets, bags, and more to add eye-catching details.
With your new knowledge in hand, unleash your creativity and have fun designing patterns featuring the back loop slip-back. Keep learning new techniques like this one to continue growing as a crocheter. You’ll amaze yourself with the textures and designs you can create. Happy crocheting!
Frequently Asked Questions
What Yarn Weight Should I Use?
Medium or worsted-weight yarn is recommended for beginners because it shows the stitch details well. But you can use the stitch with any weight – try bulky or DK yarn once you’re comfortable.
How Many Stitches per Inch Do I Need?
The exact gauge varies, but expect approximately 16 stitches by eight rows per 4 inches in worsted-weight yarn. Always crochet a gauge swatch to determine your specific stitches per inch.