Are you also tired of your persistent search for a crochet berry stitch blanket tutorial but cannot find one that meets all your needs? Worry not; we thoroughly researched beginner crocheter needs and wants and designed a detailed step-by-step guide on berry stitch patterns. It’s easy to grasp and work upon with our instructions, resulting in a stunning blanket to wrap compassion and warmth around your loved ones.
The tutorial includes everything from essential materials and prerequisites to crafting the foundation chain, turning the chain, and providing the final touches to the berry stitch blanket. The best part is that it entails the steps of making basic stitches like half double crochet, double crochet, and slip knot. So, even if you’re a complete newbie, you can go through and start working on your very first crochet project.
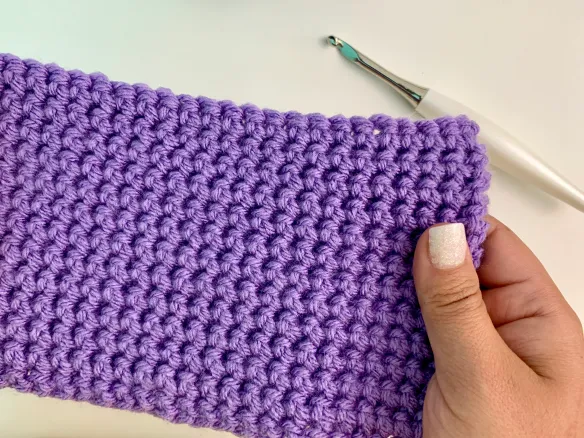
Let’s quickly delve and explore, but before that, gaze on what a crochet berry stitch looks like.
What Does a Crochet Berry Stitch Look Like?
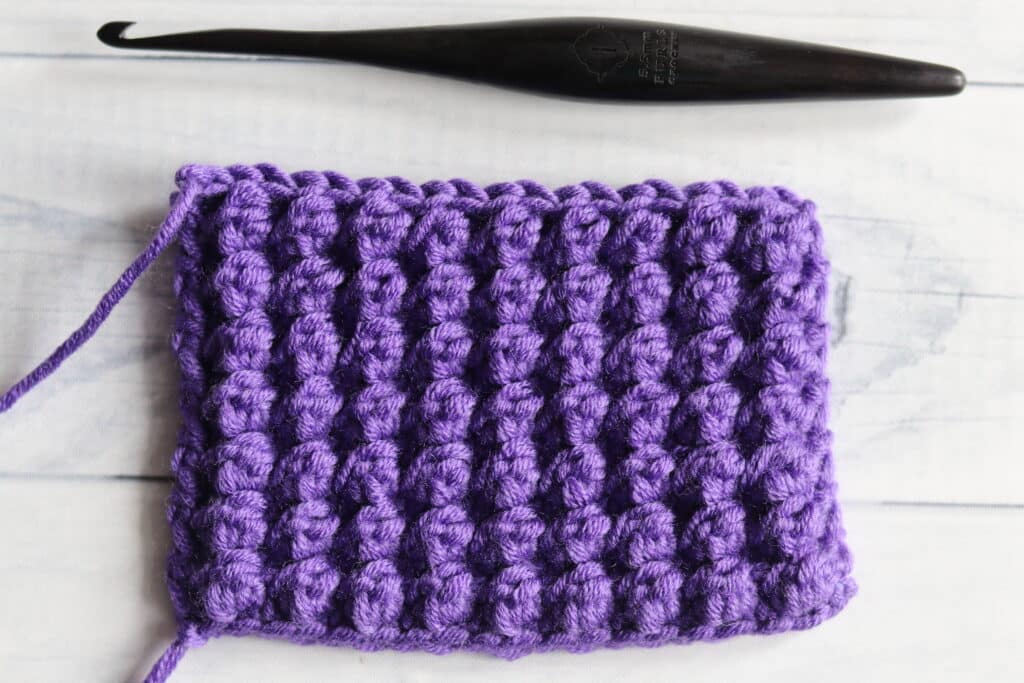
The crochet berry stitch pattern is a kind of crocheting technique that results in a “berry-like” stitch in an even way across the row. This is made with the help of working double crochet or similar stitches into a single stitch, forming a raised and three-dimensional figure that looks much like berries, commonly called bobbles in crocheting. It’s a variation on a cluster stitch that makes glorious outputs when used on blankets, shawls, and caps.
Essential Materials to Make Crochet Berry Stitch Pattern

For making any pattern look-a-like, choosing the best materials is crucial; the same goes for crochet berry stitch. Further, having these materials at hand ensures uninterrupted crocheting, enhancing focus and resulting in a better texture and berry stitch pattern. Below, we have listed all the essential materials that will help you make the same:
1. Yarn
Yarn is the main material in any crocheting project, which defines the stitch definition. Choose a soft and cozy yarn of worsted weight. This will ensure the details of stitches. Further, we recommend using natural fibers like cotton or acrylic for comfort and easy cleaning.
Usage: This will form the body of a berry stitch blanket and will be responsible for the overall look and texture.
2. Crochet Hook
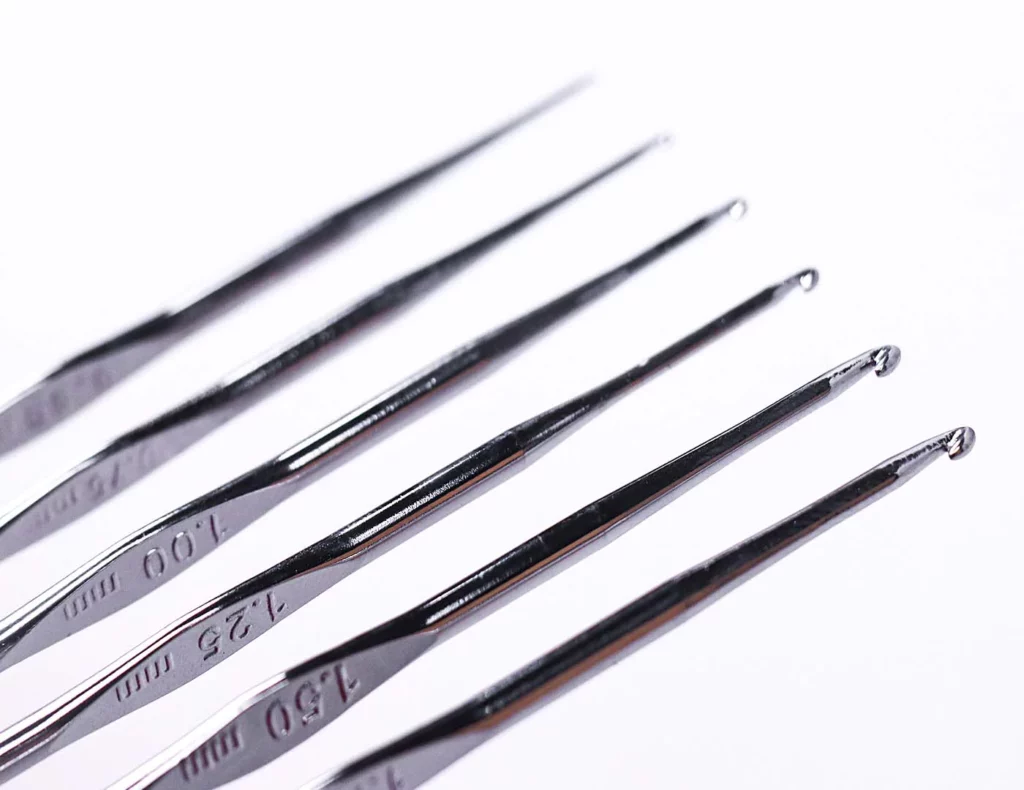
It is a tool used to make stitches by pulling the yarn through the loops. Remember, the size of the hook affects the tension and size of the stitches. Opt for a crochet hook matching the size mentioned on the yarn label. This will make stitches consistent and the final blanket in a perfect form, neither loose nor tight.
Usage: Helps form every stitch, including slip stitch, foundation chain, turning chain, and hence the whole blanket.
3. Scissors
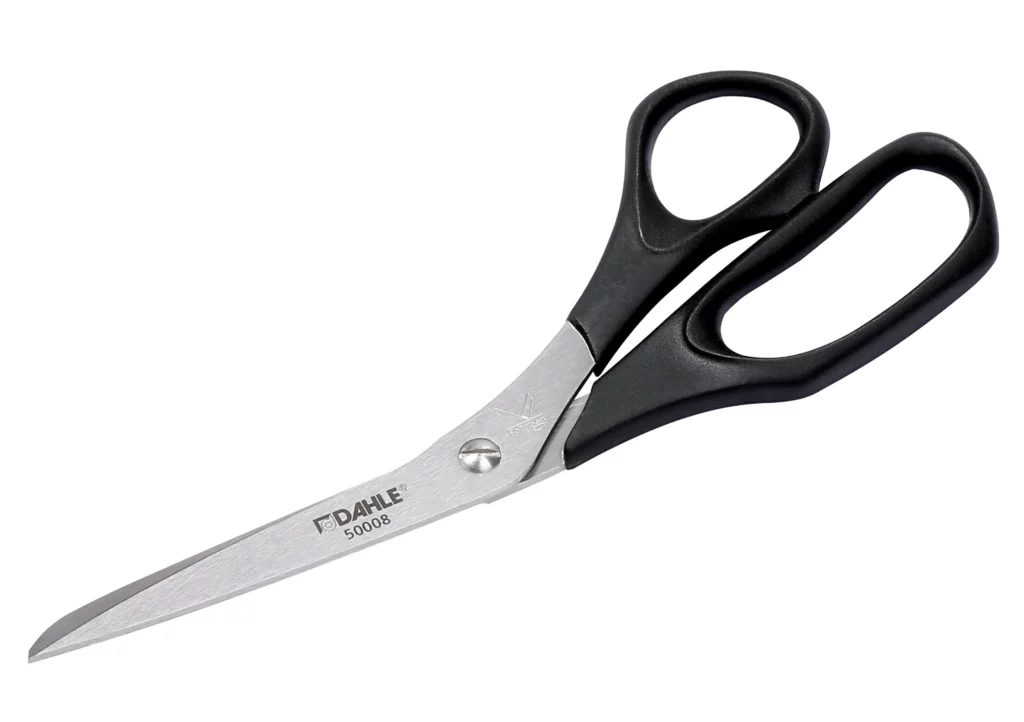
Scissors matter a lot in providing the final finishes to the blanket. Use sharp blade scissors that are comfortable to hold and easily cut the yarn.
Usage: Used for cutting yarn while changing colors, finishing, and tidying up loose ends.
4. Tapestry Needle
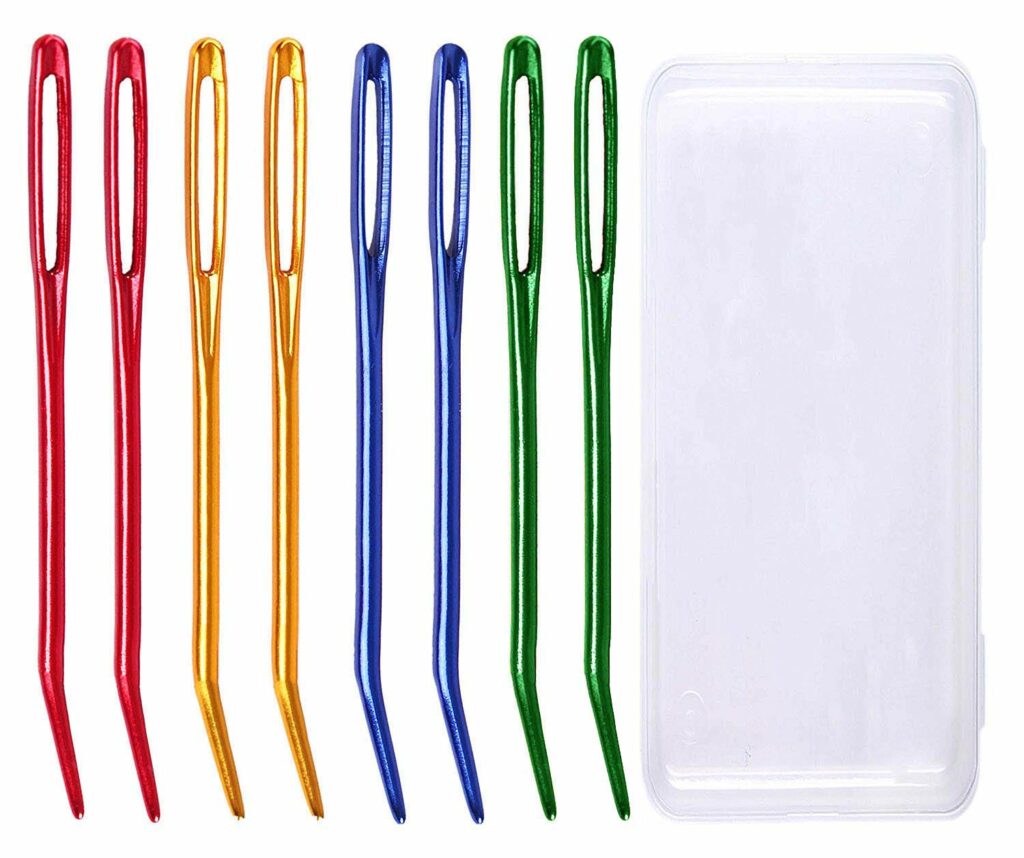
It almost looks like a normal needle used to weave in yarn tails and sew pieces together. Choose a blunt-tipped yarn needle with a large eye. This will ensure yarn can be easily passed through and it’s easier to sew.
Usage: The Tapestry needle is used to stitch both the loose ends together in place and also to make the crochet berry stitch blanket edges neat and even.
5. Stitch Marker
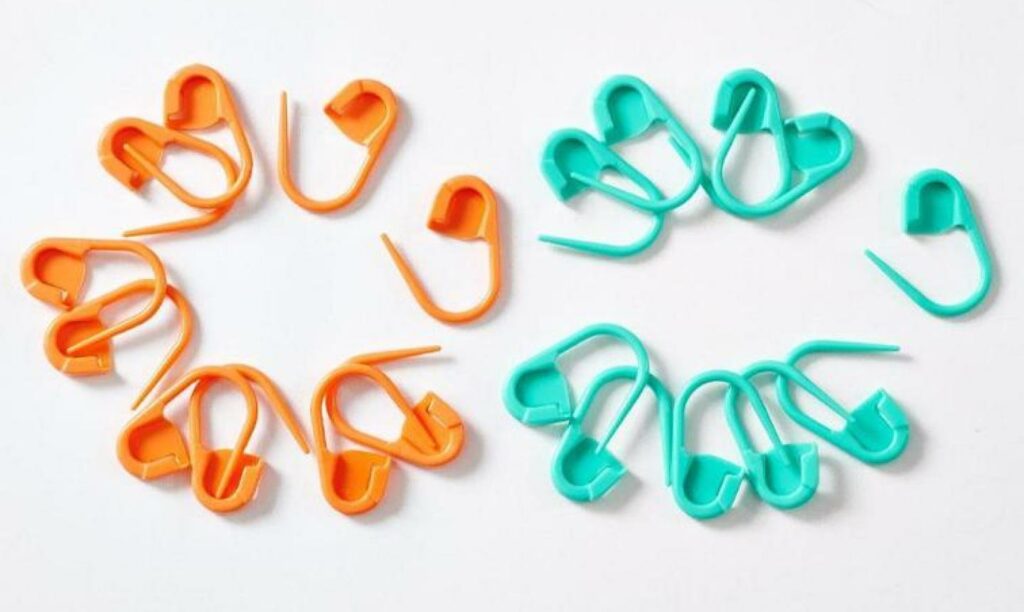
Stitch Markers are small detachable markers that, when incorporated, indicate specific points. Always prefer plastic or silicone stitch markers as they are easy to move and won’t snag the yarn.
Usage: These are helpful for highlighting the important rounds, such as the beginning rounds. Further, they help in remembering where to repeat the stitch pattern.
6. Measuring Tape

A tool for measuring the size or dimensions of your project. Opt for a flexible and clear measuring tape that’s easy to adjust and read.
Usage: It helps you analyze the dimension size while crocheting so that the final size meets your requirements.
Detailed Steps to Crochet Berry Stitch Blanket
Having all the tools beforehand keeps you focused while crocheting, which is crucial. Crafting a crochet berry stitch involves many steps, and interruption in between can lead to uneven tensions, stitch gaps, pattern errors,s and more. The listed steps below will help you make a crochet berry stitch blanket, but be extra careful with the aspects we just mentioned:
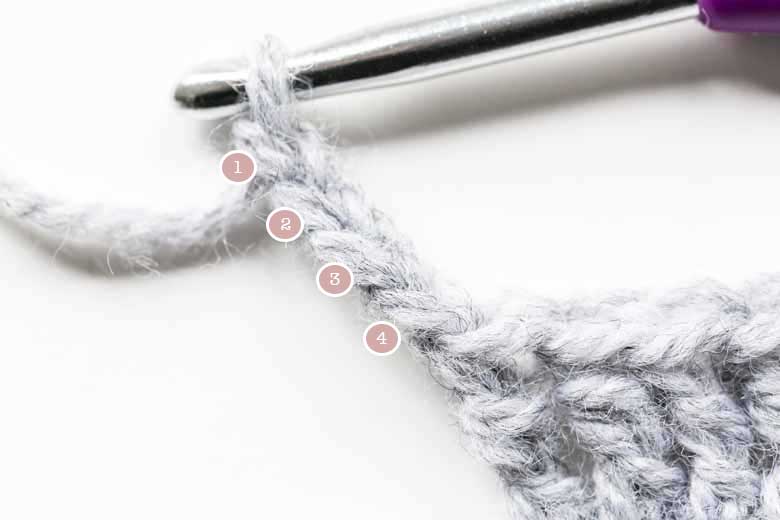
Step 1: Making a Foundation Chain

The Foundation Chain forms the base of your crochet berry stitch blanket. The length of it determines the width of the blanket, affecting the overall structure. A well-worked foundation chain backs for stitches position, making a visually appealing look.
The first step in making a foundation chain involves working a slip stitch. To make a slip stitch, create a loop with the yarn and pass the working end through it. Once done, tighten the knot around the crochet hook.
Now, hold the hook in your working hand, and the yarn ends in your non-working hand. Wrap the yarn around the hook and pull it gently through the slip knot you just created. This will give you a new loop on the hook. Continue doing a yarn over and pull through slip knots till the foundation chain stitches reach the desired length.
Step 2: Turning Chain
Making a turning chain is easy; start by turning your work. To achieve this, on completion of the foundation chain or any row, turn your work in a way the back side, i.e., the bumps of the chain or stitches face you. Now, initialize making a turning chain by working the number of stitches required for your respective project. This gives the subsequent row the accurate height.
Remember the number of stitches you’ll be making depends on the height of the stitches in the next row. For instance, if you want to make a double crochet in the next row, you must create three stitches in the turning chain.
Step 3: Working the Crochet Berry Stitch
To start working on the first row, insert the hook into the required stitch. Now wrap the yarn around the hook (yarn over) and pull up a loop. This will give you three loops on the hook. Yarn over again and pull through the first two loops on the hook. This will complete the stitch. Now, for getting a berry stitch, yarn over and insert the hook into the same stitch, yarn over again, and pull up a loop.
Doing this will leave you with five loops on the hook. You have crossed halfway of the crochet berry stitch, finally do a yarn over, and pull through all five loops on the hook, resulting in a berry stitch. Continue working berry stitch across the row.
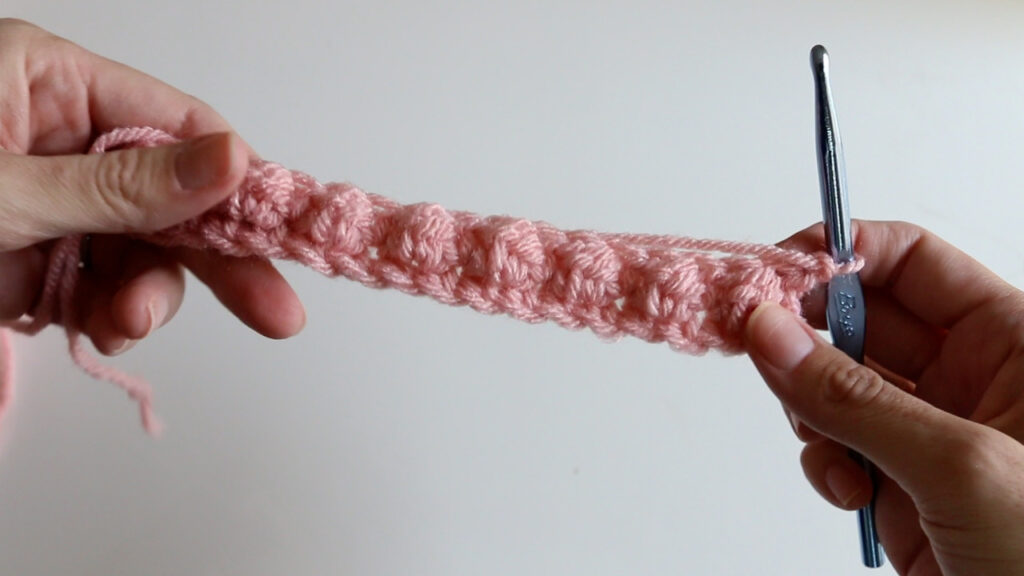
Step 4: Crafting the Crochet Berry Stitch Pattern
Once you have reached the end of the first row, make a turning chain with the help of step 2. Now start with the stitches of row 2 and work in the same way as explained in step 3. Work across the row, and when you reach the end, make a turning chain and work the subsequent row. Repeat steps 2 and step 3, as explained above, in an alternating manner to get a crochet berry stitch pattern.
Step 5: Switching Colors (Optional)
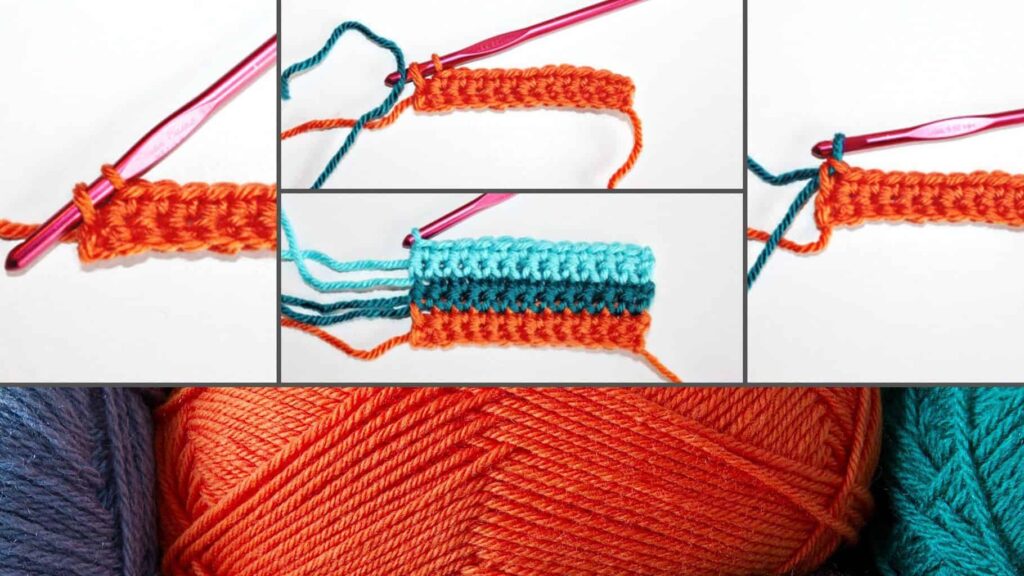
If you desire to make a multi-color crochet berry stitch blanket, let me tell you that clean color switching is necessary for a professional project. How do you achieve this? Work the last stitch of the old color until two loops are left on the hook.
Now drop the old color and pick the new one by leaving a tail in both. Wrap the new yarn around the hook and finish the stitch. While you switch, maintain a consistent tension to prevent gaps or tight spots. Further, carry the unused yarn color along the edge of the berry stitch blanket to avoid loose strands.
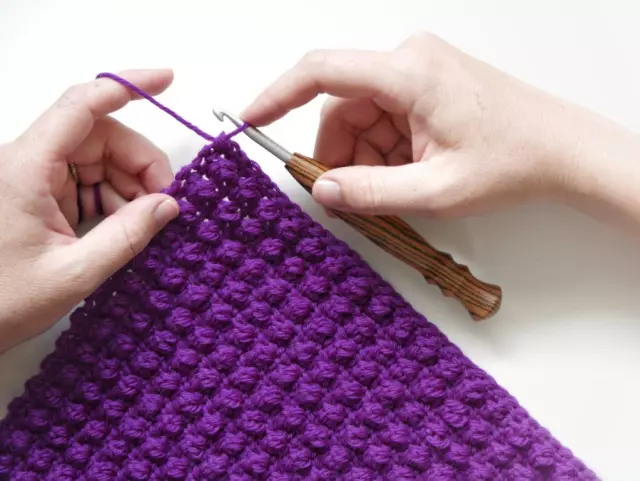
Step 6: Weaving in Loose Ends
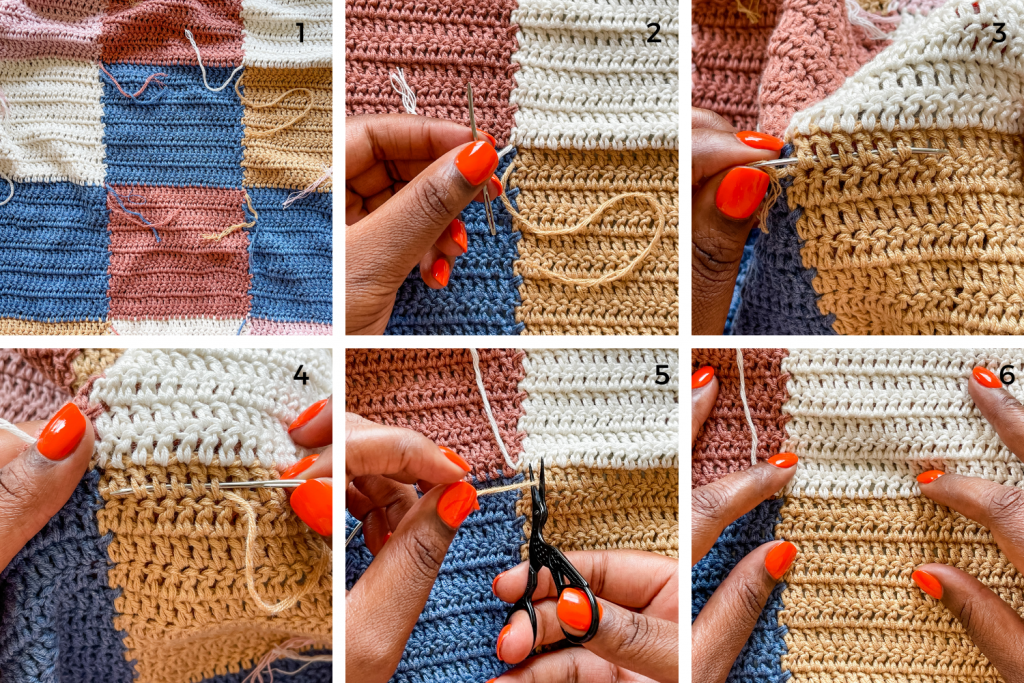
After you’re at the end row, work your last stitch and cut the yarn while leaving a 4-6-inch tail. Check through all four sides and edges of the berry stitch blanket for excess yarn. Once observed, note and pass the yarn tail through the tapestry needle. Weave the needle throughout the edges of the excess yarn you just observed. Finally, weave in the two loose ends, the one that you left out at the beginning and the one after the last stitch.
Step 7: Blocking the Berry Stitch Blanket
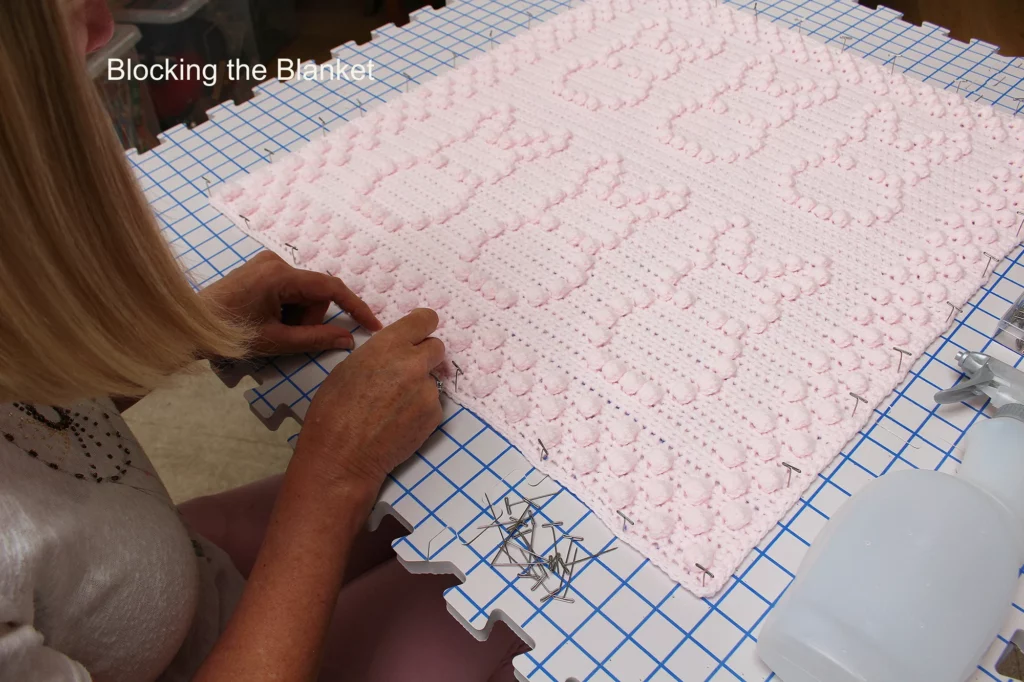
Blocking is the last step that your blanket must pass through. Begin by gathering all the essential elements, like blocking mats and pins. Once gathered, set up your blocking mat on a flat surface. Now, bring your crochet berry stitch blanket, lay it down on the mat, and shape it as per the dimensions. The next step is to place the locking pin to secure the blanket, but before that, check for blanket size; if there are any ups or downs, make adjustments, and accordingly put the blocking pins.
Before spraying water, ensure your yarn isn’t water-resistant. The moisture helps the fibers to relax and take shape. Allow the blanket to air dry completely before unpinning it. Blocking helps even out tension throughout the crochet berry stitch and eliminates the crumbled appearance, providing a clean and professional finish.
Conclusion
Making a crochet berry stitch pattern is easy, but beginners get afraid by the first impression as it looks too difficult to crochet berries. But not to worry, the stitches look complicated but, in reality, are the simplest ones in crocheting technique.
Further, with our above-mentioned simple instructions, you wouldn’t have to hustle; crochet as you go through, keeping tension between stitches consistent.
Still waiting for what? Give it a try, and the flow will end up smoothly. So grab your yarn, position your crochet hook, and start crocheting. Now that you’re towards the end of the article, we believe you must have gone through each step carefully.
Is the article easy to follow? Did you face any hurdles or encounter something that we missed out on? Which border pattern did you use? Share with us in the comment section; we would love to hear.
Frequently Asked Questions
How to Adjust the Size of a Crochet Berry Stitch Blanket?
For adjusting the size, you can use a different weight yarn or hook size, which will make stitches larger or smaller. Alternatively, you can increase or decrease the stitch count to attain the required size. Use a gauge swatch to test your adjustments before working on the crochet berry stitch.
What is the Best Way to Clean Color Changes in Crochet Berry Stitch?
To achieve clean color changes, work the last stitch of old color until you have two loops on the hook. Then yarn over with new and complete the stitch, minimizing color gaps. Further, carry the unused yarn along the edges to catch stitches and from the strands to lose.
How to Fix a Mistake Several Rows Back in Crochet Berry Stitch?
To fix the mistake you have made several rows back, use a crochet hook to carefully unknit the stitches in reverse order until you reach the mistake. Correct the error and work back the stitches up to the current row. Also, thread a contrasting yarn through the mistake stitch and redo.
Is Blocking Important for Crochet Berry Stitch Blankets?
Blocking is important if your crochet berry stitch has somewhat uneven tension or the final blanket looks loose. Further, if your berry stitch blanket has a crumbled appearance or looks uneven in shape or size, blocking can fix all, providing a neat and polished look.