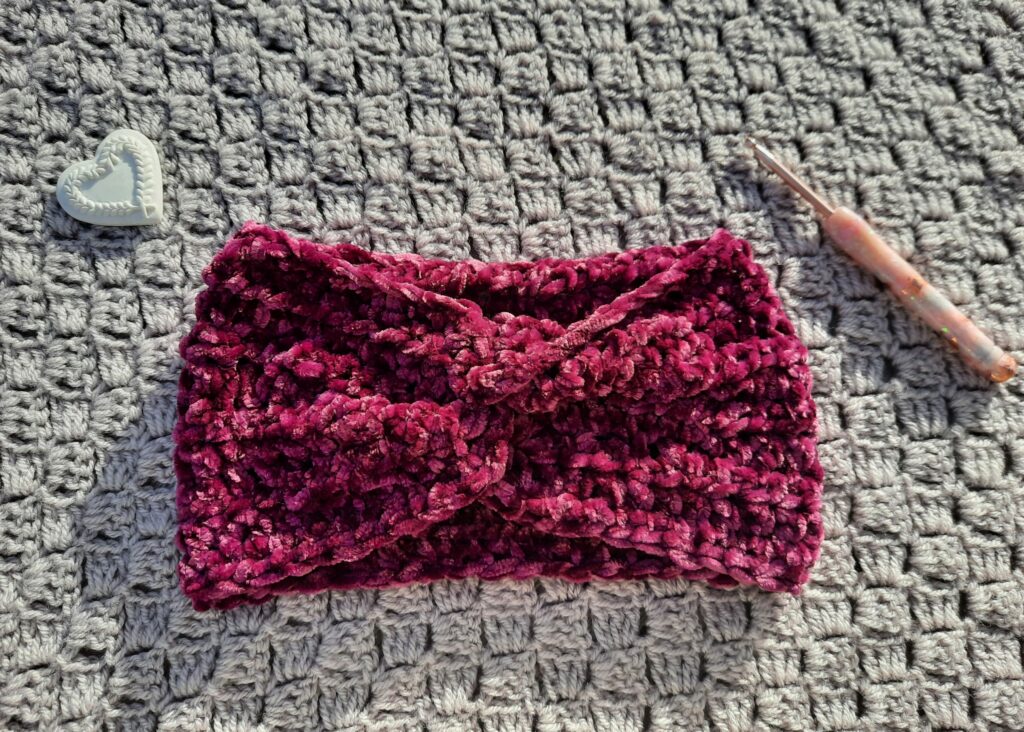
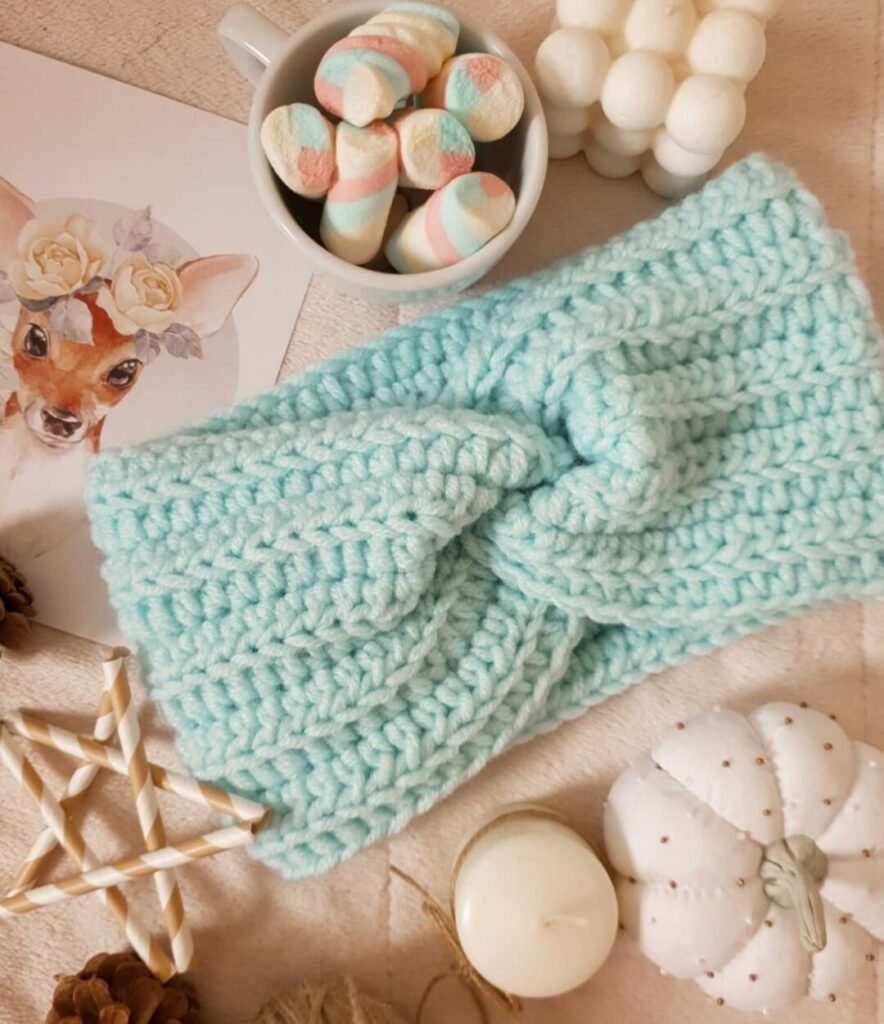
Are you looking for something unique to give your girl this birthday or an exquisite idea to make your child feel special? Then, for you, this is a different and out-of-the-box crochet baby headband idea. You can make them within an hour and will love working on these headbands. One of these common headband ideas is the twisted headband, which is quite popular nowadays.
The pattern is very easy, and most importantly, the final look is also amazing. If you wish, you can also gift it to other girls. They will also fall in love with your amazing piece of work and would love to flaunt their gift wherever they go. Sounds exciting? Right? Yes. Undoubtedly, it is.
However, if you are clueless about what a crochet headband is or how to make one, then don’t worry, as this is an easy guide to assist you with the same.
What is a Crochet Baby Headband?
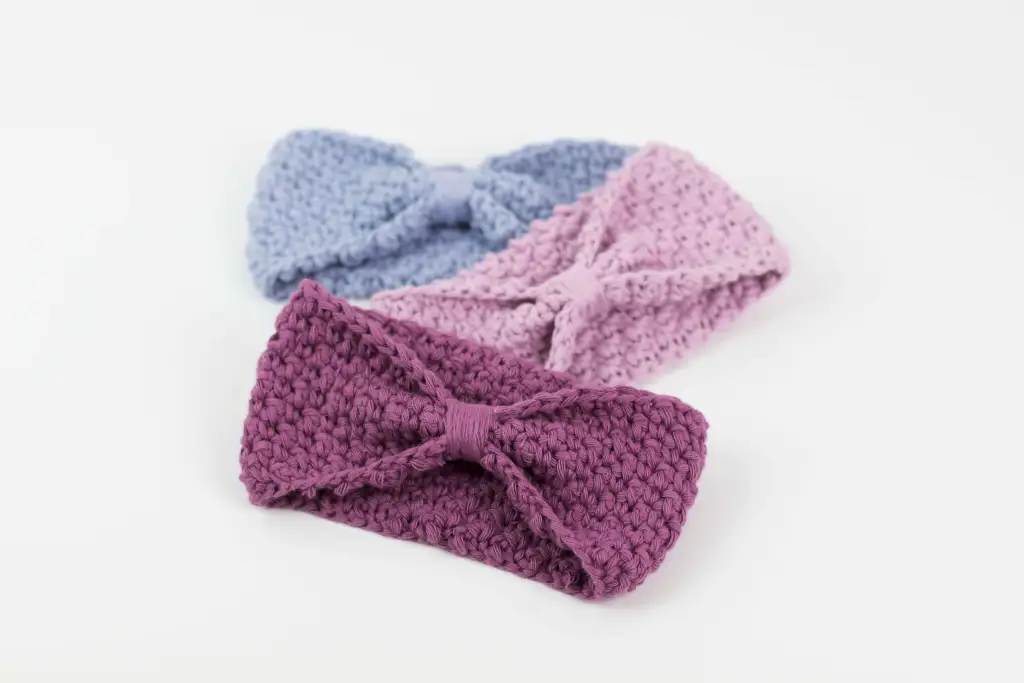
A crochet baby headband is a cute and interesting DIY project that you can make for your children. It can be made quickly, and you will find it almost unbelievable how easily it will be made. The use of Crochet helps in creating very attractive and alluring designs for a variety of projects like blankets, sweaters, scarves, etc. This is the reason why it is so popular among creative artists. When using crochet patterns, you can create aesthetic, pretty, and alluring bands.
Moreover, when you make these headbands on your own, you can add a creative touch. To make the headband quirky, you can experiment with the color design, pattern, texture, etc. It will offer you high versatility, and you will also love the process of making the headband for your child all by yourself. Even if you are a beginner, you can start your crochet journey with the help of these headbands. You will fall in love with the process and would love to repeat it whenever you get the time.
Material Required for Crochet Baby Headband
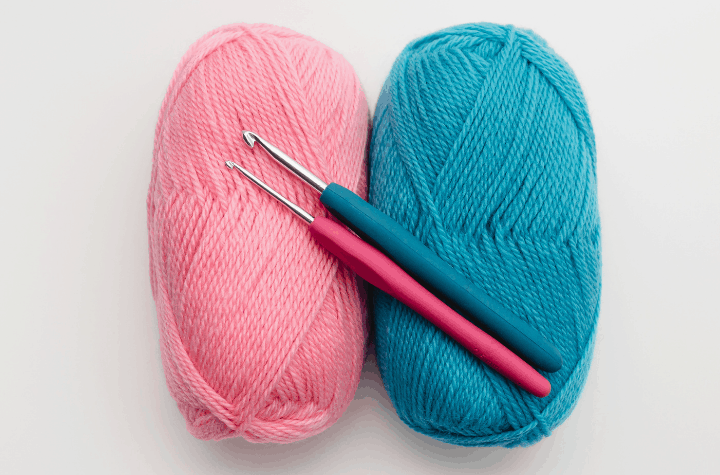
Before you move on to the procedure of making a beautiful, attractive crochet baby headband, you should first be aware of the material required so that you can arrange all the material in advance. They are just four things required to turn your dream of making a beautiful crochet headband for your kid into reality. These things include yarn of a suitable quality, a hook of the recommended size, a pair of scissors, and a needle. Gather all the things and start working on the next project.
Step-By-Step Guide to Beautiful Crochet Baby Headband
Once you have arranged all the essential materials, you are just a few steps away from making a beautiful crochet baby headband. The steps are quite simple, and even the newbies will enjoy working. For your ease, the entire process involved is summarized in the following easy steps.
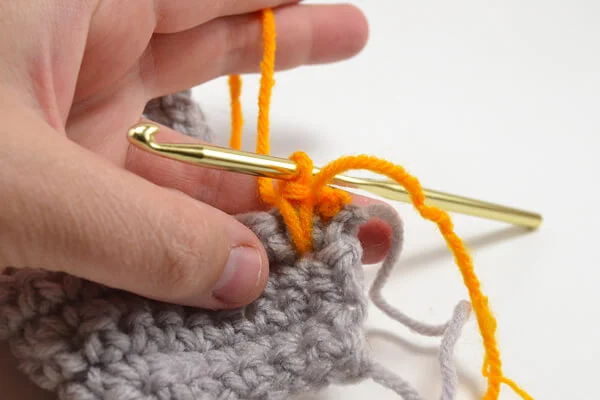
Step 1: Make the Foundation Chain

The number of chains that are to be kept at the foundation of the crochet baby headband depends upon the size of the baby’s head. However, you can get a rough idea of the number of chains for the headband. To make the headband, you must first learn how to make the chain. To make the chain, first, make a loop, then yarn over the loop, and after that, yarn through the loop.
Now, your first chain is ready. Repeat this procedure of yarn over and yarn through to get the desired number of chains for your crochet baby headband. Secure the foundation change by chaining the last hook of the foundation chain.
Step 2: Proceed to the Second Row
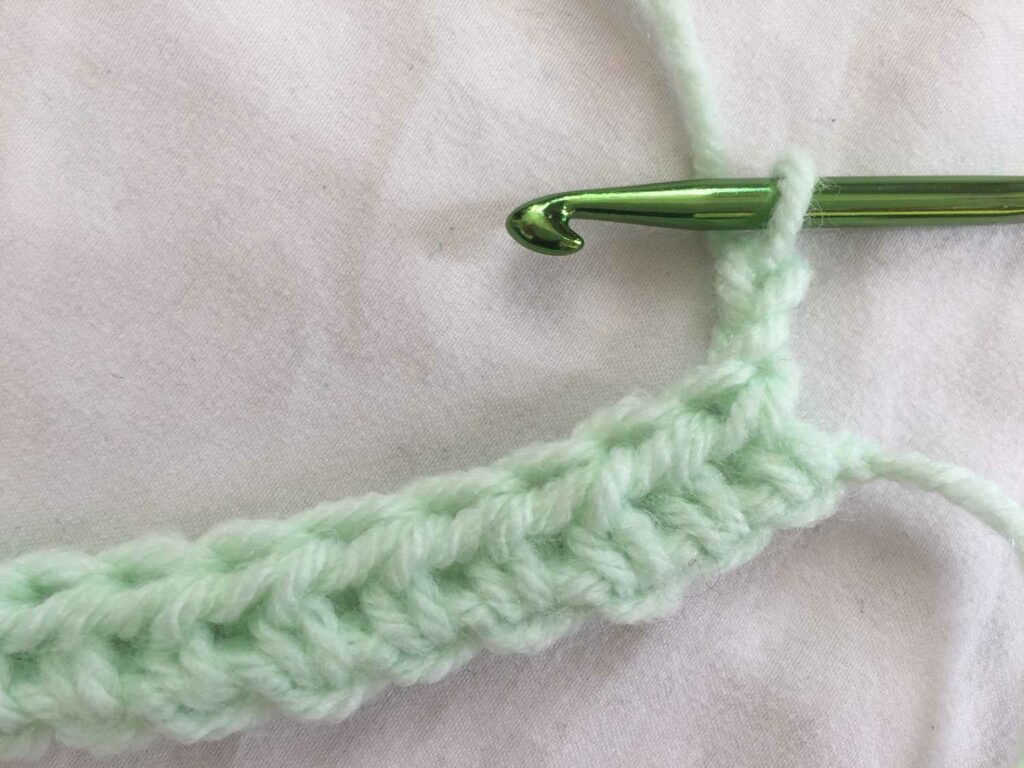
When moving to the second row, flip the first row and then start stitching. To make the second row, you need to insert the hook into the stitches, yarn over, and then pull up a loop. After that, again yarn over and pull through two loops. Continue doing so until you reach the end of the row. Once you reach the end of the row, make sure that the last stitch is in between the last loop and the chain of the previous row. On reaching the end, chain again and flip the second row.
Step 3: Repeat the Steps of the Second Row up to the Desired Length
You can make as many rows as you want, depending on the desired length of the crochet baby headband. One thing that you should be aware of is that while deciding the length of the headband, you will be folding that particular length into half to achieve the final headband. So always check the length in advance and work on the rows accordingly.
Step 4: Fold and Stitch the Crochet in Half
The final step required to make the crochet baby headband is stitching the crochet of the desired length into half. For this, you can take an extra piece of yarn and then stitch the ends, or, if you wish, you can leave some extra yarn at the end of the last row( also referred to as the tail) and use it to stitch the ends.
Step 5: Stitch the Opposite Sides to Make a Twisted Headband
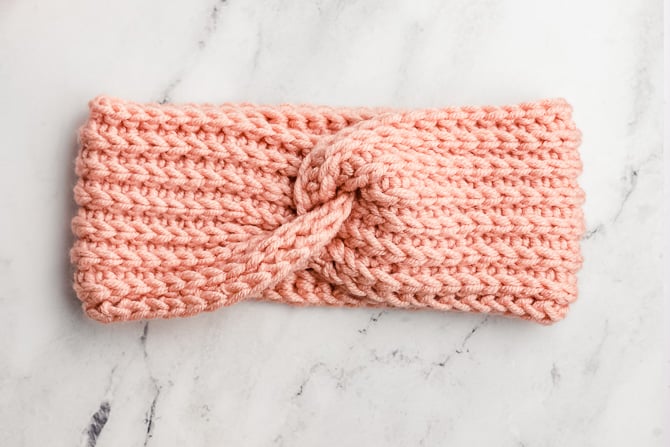
This is a crucial step that needs your full focus and attention. For this, you need to fold the headband in half and then bring the right sides of the opposite edges of the headbands together. In the end, stitch the sides together using the yarn. Secure the yarn with a knot and trim off any excess. Sew the button to the other end of the headband. Your headband is now complete.
Step 6: Customize the Baby Headband as Per Your Preferences
Once you’ve finished making an astonishing headband for your tiny tot, you can now customize it according to your preferences. For example, you can add colorful decorative items like flowers and butterflies to the headband. This will give a cute and attractive look to the hairband.
Why Crochet a Baby Headband?

- Is soft on the kid’s skin: Since the crochet baby headband is specifically made of soft yarn, it won’t cause any rashes or allergies to the tiny tot’s skin.
- Ease of customization: You can easily create a stylish and pretty baby headband using a crochet pattern. You can add as many colors as possible to make a vibrant headband.
- Keeps the children warm: Since the crochet baby headband is made of yarn, it will keep the child warm. So, these headbands are ideal when you dwell in a cold region.
- Can be used as ear bands too: Yes, that’s true. You can even use these headbands as ear-warmers for your kids to protect their ears in the winter. So you can say that these are multipurpose headbands.
- Can be made quickly: These headbands can be made within an hour. Not only can they be made quickly, but they will also look very charming and attractive. So, even with a very busy schedule, you can think of making this headband to surprise your children.
- Enhances your creativity: Making a crochet baby head is a good way to keep you engaged in something exciting. When you come across a variety of ideas, you will gain more knowledge and be able to add a more creative touch to the headband.
Various Types of Crochet Baby Headbands
In the world of creativity, there is no end. You can always try various designs to create something attractive and quirky. If you are looking for an alternative to the crochet twisted band, you can try these ideas, too. They also look equally alluring, and your kid will look pretty wearing these crochet baby headbands.
- Knot headband: A knotted headband is a good last-minute project that you can do if you do not have good hair accessories for your child. Moreover, the procedure is also easy. These headbands also look very pretty and cute too.
- Crochet Shell Headband: Another super cute and attractive crochet baby headband that can be made easily. It is lightweight and looks very delicate. You can make this headband quickly, as the weaving pattern isn’t tough.
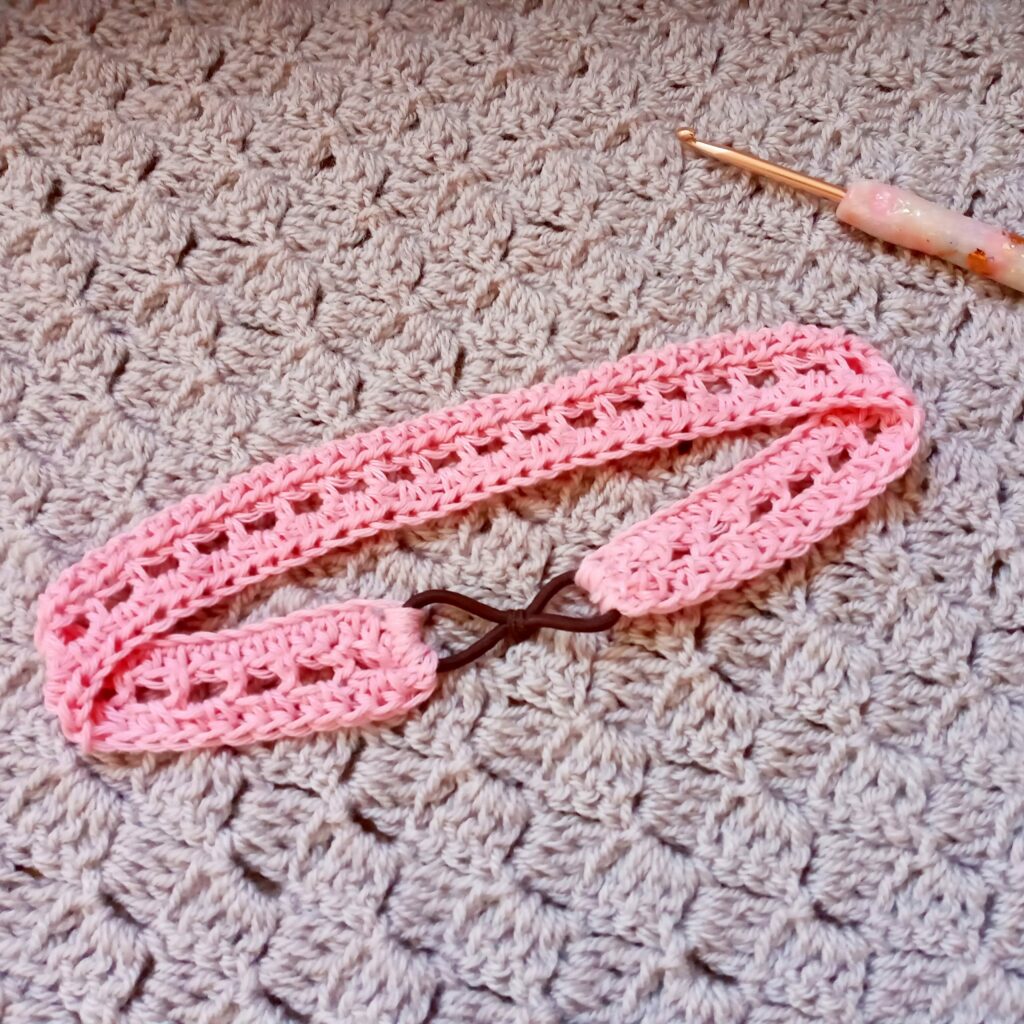
- Elastic crochet baby headband: This is a very simple yet attractive pattern. If you are in the mood for crocheting a very simple and decent design, then you can consider this idea. You can create a significant impact by playing with the colors.
- Boho crochet headband: Add a bohemian style to your kid’s lifestyle by making a boho crochet headband. These headbands are beginner-friendly and can be made within minutes. If you want to make an elastic crochet baby headband, then you should certainly give this idea a try.
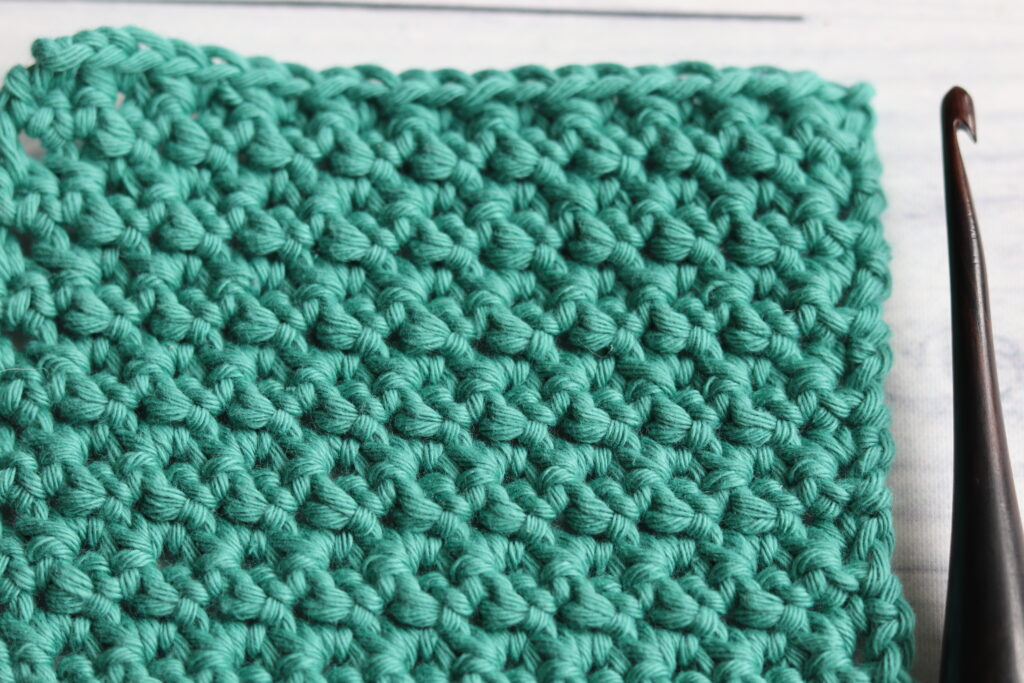
- Cozy fall headband: A combination of single and double crochet, cozy fall headband is easy to make and looks very charming. This headband is one of the easiest to make and is quite trendy nowadays.
Things to Keep in Mind While Crocheting a Baby Headband
We have detailed almost all the crucial aspects associated with the making of a Baby Headband. However, we would suggest a few points for you to follow to avoid any mistakes and give your imagination the best result.
- Select a Soft Yarn: While making the crochet baby headband, you should be very careful with the material of the yarn. Always select a soft yarn for making the headband for a comfortable and smooth experience.
- Use a hook of the recommended size: Selecting a hook of the recommended size is advisable to achieve a consistent pattern throughout the headband. It is important to use the hook size recommended on the yarn because the look of your project is affected if you don’t select a hook of the proper size.
- Keep an exact count of the chains for the headband: For the headbands to fit properly on the kid’s head, you should have proper measurements in advance. If the headband is not of the proper size, the kid won’t be able to wear it.
- The headband should be comfortable: When making a headband for a child, you should always ensure that it is comfortable enough so that children can wear it without any problem. It shouldn’t be tight, as this will make them uncomfortable.
- Be considerate about the design you choose: You should be particular about the design you use for weaving the kid’s headband. The main focus while designing the pattern should be laid on the comfort level and not on the look of the headband.
Conclusion
The world of creativity knows no bounds. You don’t need to showcase your artistic skills in big projects. Instead, you can add a touch of creativity to even the smallest thing possible.
Similar is the case with a crochet baby headband. Various ideas can be incorporated to make an alluring crochet headband for your tiny tots that will look cute and pretty.
When you make a headband on your own, you will add a lot of love and affection for your children that will stay with them whenever they wear it. Moreover, you will engage in something creative that is worth your time.
You can always experiment with various designs and ideas to make a charming headband on your own. So what to wait for? Grab all the required materials and start your exquisite journey of making the headband. And don’t forget to share your feedback and experience on our guide.