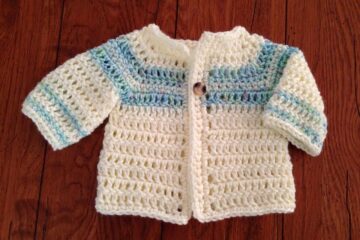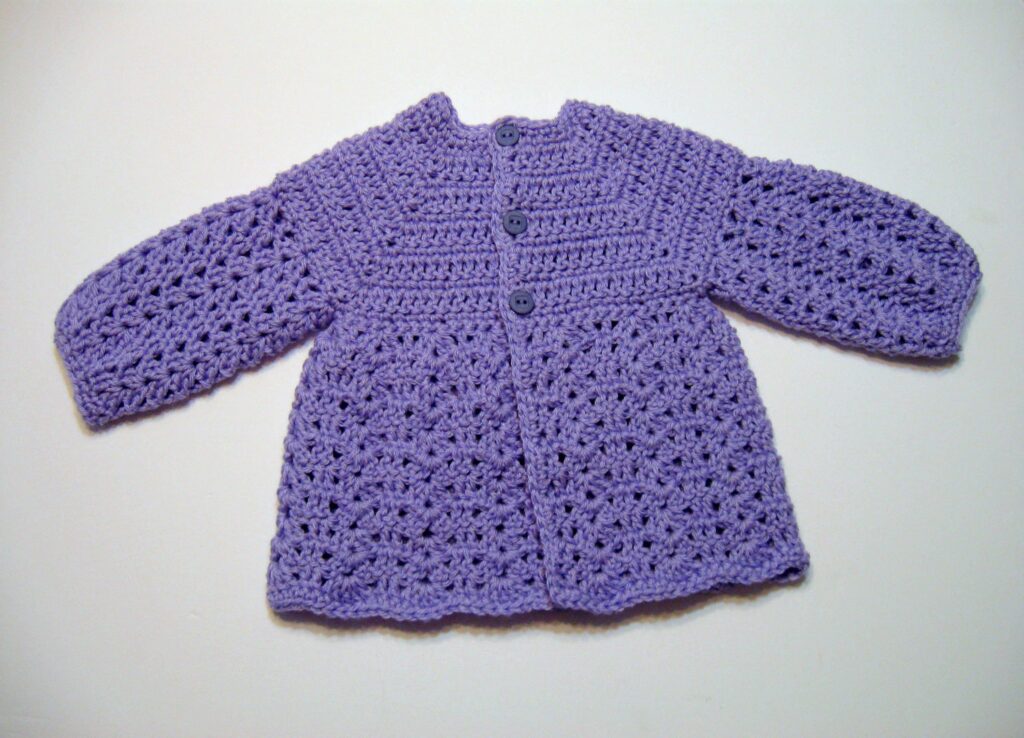
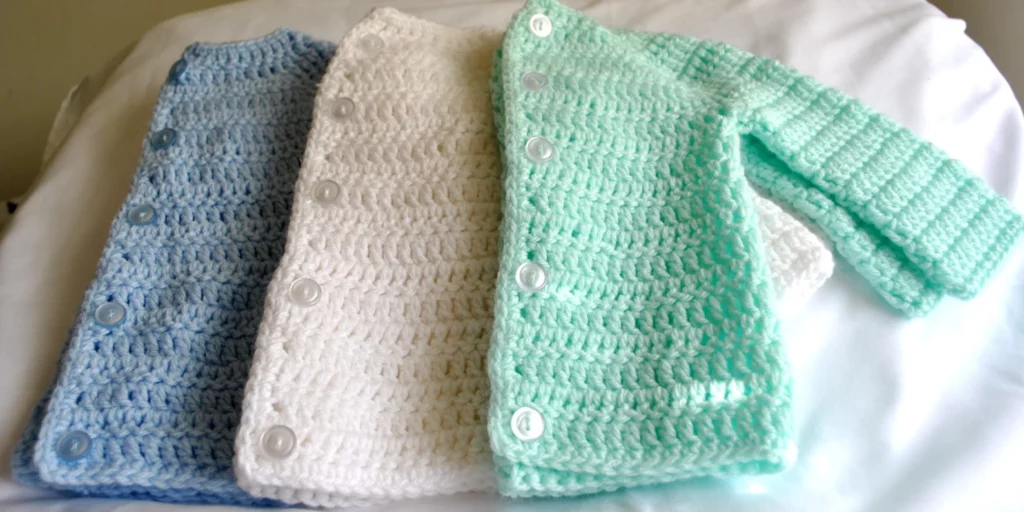
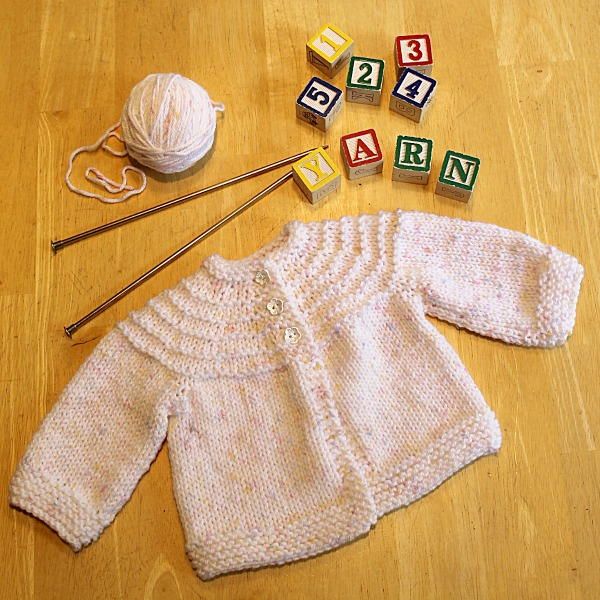
The timeless craft of crocheting enables us to infuse each stitch with warmth, love, and creativity. Making delicate clothing for the smallest members of our families is also quite heartwarming. In the world of handcrafted crafts, the skill of crocheting a baby jumper maintains a special place.
It’s a project that not only highlights your abilities but also conveys just how much care you put into each loop. Wrapping a newborn in a work of your handiwork is incredibly beautiful as fresh beginnings take shape and babies make their entrance.
It doesn’t matter if you are new to this since this detailed guide will give you the information and inspiration you need, whether you’re a seasoned crocheter trying to diversify your skills or a beginner anxious to make a special remembrance.
Keep reading to learn more about how you can make an Easy Crocheted Baby Sweater!
Materials You will need for a Single Crochet Baby Sweater
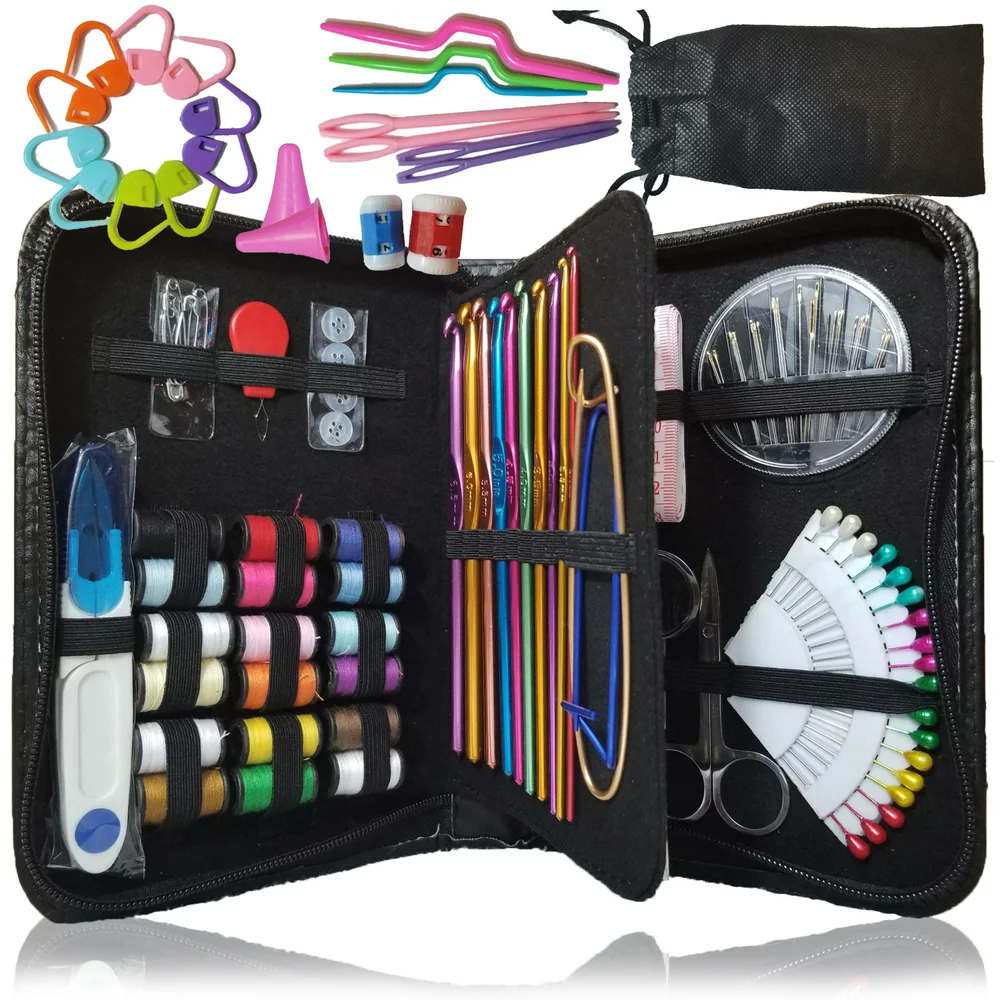
The first step to making a baby sweater is to get hold of all the materials needed:
| Yarn | Scissors |
| Large-eye Yarn Needle | Stitch Markers |
| Crochet Hooks | Buttons |
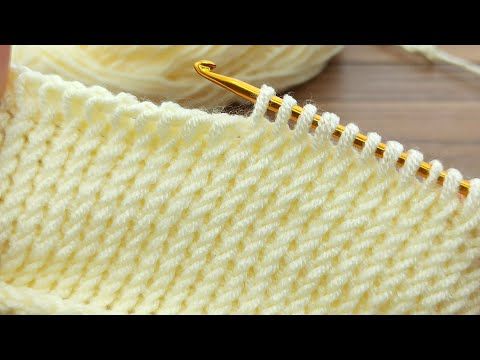
- Yarn: For a baby’s delicate skin, pick a strong, soft yarn. Worsted weight yarn is a well-liked option since it provides warmth and adaptability. Choose hues that go with the baby’s style or the time of year.
- Crochet Hooks: Choose crochet hooks in the appropriate sizes for the yarn you have chosen. G, H, and I sizes are frequently employed. Try out various sizes to get the texture and fit you like.
- Scissors: To trim yarn and organize your work, you’ll need a good pair of sharp scissors.
- Large-eye yarn needle: This tool is used to weave in ends and stitch sections together smoothly.
- Stitch Markers: These markers help you keep track of your progress and recognize important design elements.
- Buttons (Optional): If the pattern of your sweater calls for button closures, choose the right size and color of buttons to go with the yarn.
Detailed Directions for Easy Crocheted Baby Sweater
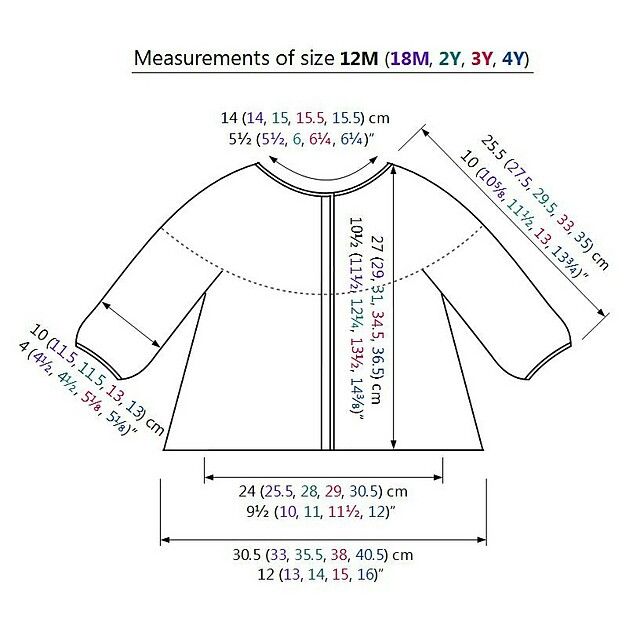
Here, the measurement used is for a newborn baby to a 3-month-old child. The stitch pattern, colors, and other elements are all fully customizable. Although making a sweater out of crochet may seem difficult, with time and practice, you can make lovely baby clothes.
Step 1: Measurement Scales
Using the yarn and hook of your choice, crochet a square about 4 inches by 4 inches. To determine the gauge (stitches per inch/rows per inch), count the number of stitches and rows in the swatch.
Step 2: Chain Foundation
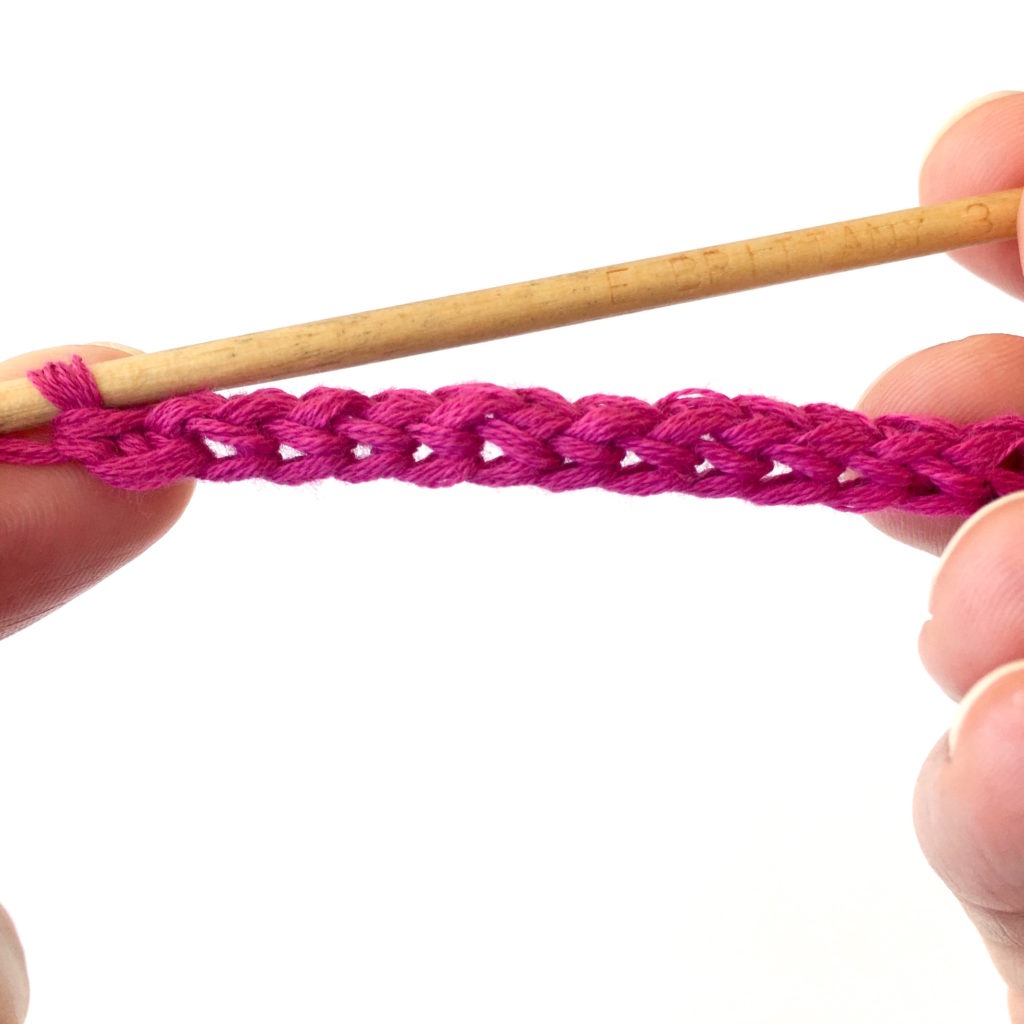
Calculate the gauge to determine how many chains are required for the width of the jumper back. The necessary number of chains should be made.
Step 3: Look for the Sweater Back
Start at the second chain from the hook after turning the chain. A single crochet is created by inserting the hook, yarn over, pulling up a loop, yarn over, and pulling through both loops on the hook. Counting the first chain as the first stitch, continue single crocheting across the row. Chain 1, then reverse your work. The single crochet row should be repeated until the back piece is the desired length (often 6 to 8 inches).
Step 4: Proceed with the Shoulder Shaping
Chain 1 and turn to begin shaping the shoulders.Up until you reach the row’s center, single crochet across. One chain, turn. Crochet one stitch across. Chain 1, turn, and single crochet in this manner until the required amount of stitches has been lowered for the shoulder slope.
Step 5: Work on the Front Panel
To make the front panel, repeat “Sweater Back” stages 2 to 5. Lessen the number of stitches at the center of the neckline to leave room for the neck. Work on the front panel’s left and right sides separately after you get to the neck region.
Step 6: Sleeve Openings
The shoulders should line up as you fold the jumper in half, with the right sides facing out. You can arrange the sleeves more easily using this. Locate and mark the neckline’s center stitch. Attach your yarn a few stitches from the center on either side. The creation of the sleeves will take place here.
Step 7: Making a Sleeve
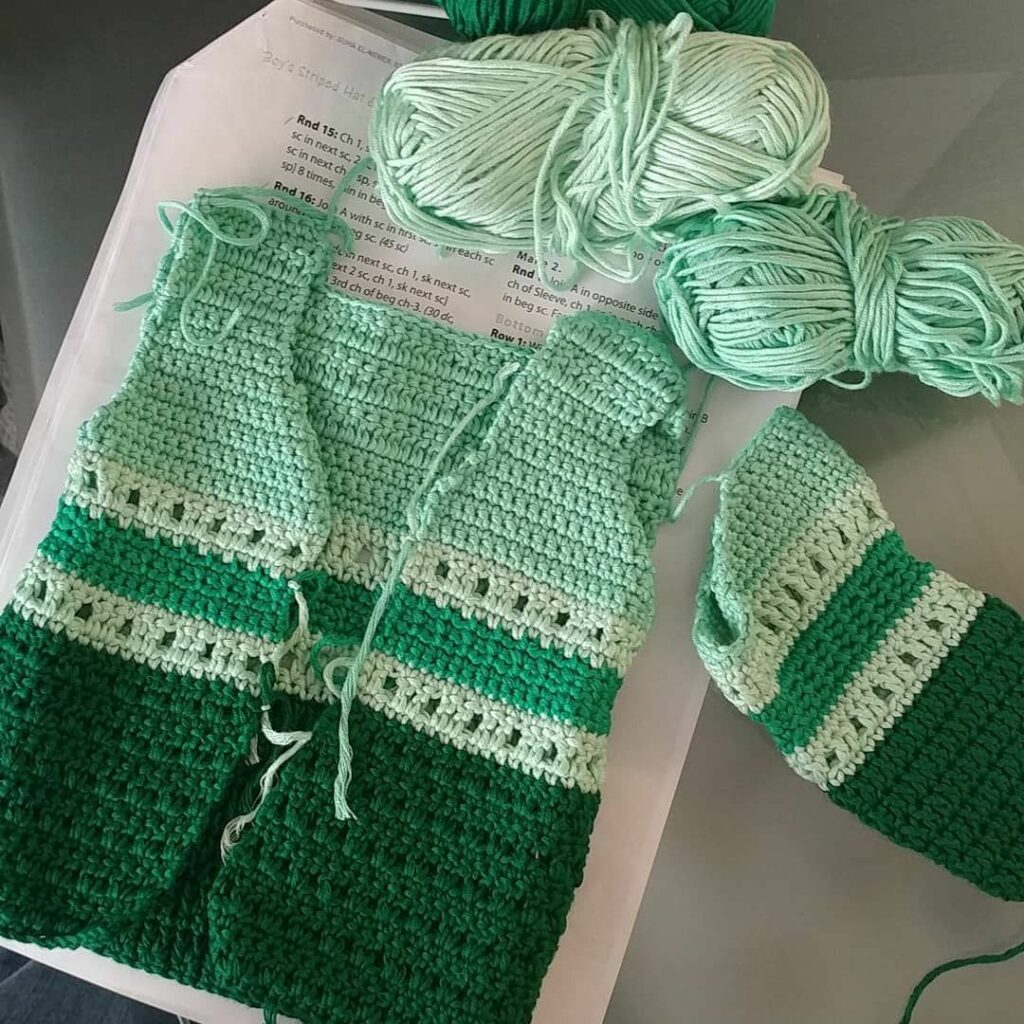
Chain one first, then work a single crochet into that stitch. Work in rounds, increasing as you go to create a bell-shaped pattern. By adding two single crochets to the same stitch, you can increase. Every few rounds, progressively increase the size until the sleeves are the appropriate length (about 6-7 inches).
Step 8: Neckline and Button Band
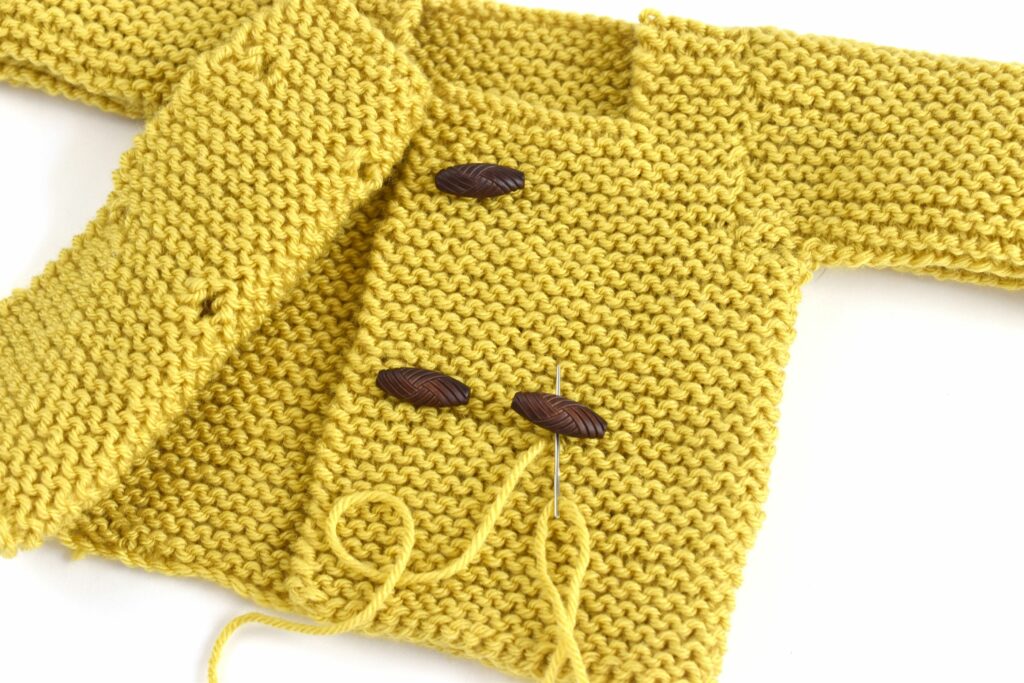
Reattach the yarn at the neck’s midpoint. Along the front edge and neckline, single crochet. The border and button band are so produced. Chain a few stitches, then skip a stitch where you wish the buttonholes to be placed. Single crocheting should go on.
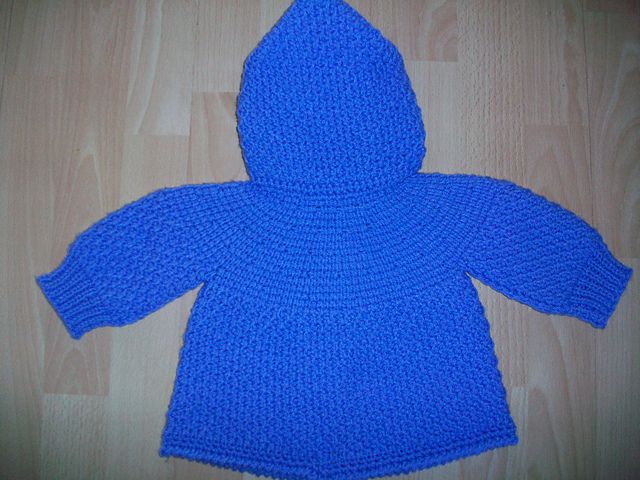
Step 9: Finishing
Any loose ends should be woven in using a yarn needle. By soaking your sweater in water, gently molding it to the appropriate size, and letting it dry flat, you can wet block it.
Tips and Tricks for Making Easy Crocheted Baby Sweater
You can now create a cozy and professionally made single-crocheted baby sweater by using the following tips and techniques:
- Choose a soft, hypoallergenic yarn that is ideal for delicate newborn skin. Cotton, bamboo, and soft acrylic blends are examples of natural fibers that make wonderful selections.
- Make a gauge swatch before beginning your project to ensure your stitches match the suggested gauge in the design. This process ensures the right dimensions and prevents surprises.
- Use stitch markers to keep track of key design elements, including stitch counts, decreases, and increases.
- Don’t save the weaving for the very end. To prevent a later tangled mess, discretely weave in the yarn ends as you finish each segment.
- Before you put your jumper parts together, think about blocking them. Blocking reduces stress and guarantees consistency, producing a professional look.
Other Projects to Make Using Single Crochet
- Chunky Infinity Scarf: Using chunky yarn and a big hook, crochet a warm and cozy infinity scarf, single crochet in rows to make a soft, thick cloth. Change up the color scheme or add fringe for some added flair.
- Set of Textured Dishcloths: Use single crochet and slip stitches to make a set of textured dishcloths. The dishcloths’ cleaning ability will be improved by the texture, making them more effective and pleasing to the eye.
- Single Crochet Baby Blanket: Using a soft and breathable baby yarn, crochet a baby blanket using single crochet stitches. For a delicate touch, add a scalloped border. Make the colors your own to fit the nursery’s theme.
- Crocheted Plant Hanger: Using strong cotton yarn and single crochet stitches, make a boho-chic plant hanger. Hang your favorite potted plants in style and add wooden beads for extra flare.
- Lacy Summer Shirt: Use single crochet stitches to make an airy, light fabric for a lacy summer shirt. For the greatest level of comfort in warm weather, use a breathable cotton or bamboo yarn.
Advantages & Disadvantages of Single Crochet
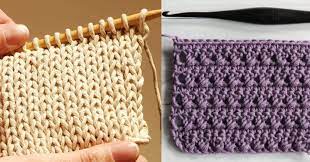
In the realm of crochet, the single crochet stitch is a fundamental stitch that gives both inexperienced and seasoned crafters a flexible tool for making various products. Single crochet has advantages and limitations that are distinct, just like any other technique.
Advantages of Single Crochet
- Since single crochet is the most fundamental crochet stitch, beginners may learn and practice it easily.
- Single crochet produces a tight, dense fabric that works well for durable objects like potholders, blankets, and backpacks.
- Single crochet makes it quite simple to maintain constant stitch sizes, giving the finished product a tidy and uniform appearance.
- Compared to taller stitches, single crochet stitches enable items to be finished more quickly.
Disadvantages of Single Crochet
- Single crochet is less ideal for clothing items that call for flow or drape because of the tight stitches that might produce a rigid fabric without a drape.
- Single crochet can still take a while to complete for large tasks like blankets while being quicker than taller stitches.
- Taller stitches like half-double crochet and double crochet give more textural variety than single crochet, which is shorter.
- Due to their density, single crochet stitches typically require more yarn for a given project size than taller stitches.
Conclusion
Creating a baby sweater using crochet involves more than just the final product; it also involves the process. It’s about setting aside time to work on the project, about the thrill of watching your creation take shape, and about the warmth and comfort your sweater will give to the precious child who wears it.
Whether you are a seasoned crocheter or a beginner, you may put your special flair and originality into each stitch. You can select hues that express your feelings, stitch patterns that highlight your talent, and embellishments to make the sweater one of a kind.
From choosing supplies to putting the finishing touches on your project, we have given a detailed road map to assist you!
Frequently Asked Questions
Can I Use the Single Crochet Stitch to Create a Baby Jumper?
Certainly! The single crochet stitch is simple to learn and ideal for a baby jumper. You can practice and gain confidence in crocheting thanks to its ease. Before tackling the jumper, start with smaller tasks to hone your skills. Online instructions and patterns will walk you through each step. Single crochet can be used to make a sweet baby jumper with time and practice effectively.
Is it Possible to Customize the Baby Jumper with Unique Stitching or Colors?
Of course, a creative method to make a baby sweater uniquely yours is to use special stitches and colors. Include unique stitch patterns like cables or shells, and select colors that suit your personal taste or the nursery’s decor. By modifying the design with these components, you give the jumper a unique flair that turns it into a prized collectible.
Can the Pattern Be Changed to Fit a Larger or Smaller Size?
Yes, the baby jumper pattern may be altered to accommodate various sizes. Increase the amount of rows and stitches to make it bigger. Reduce the number of stitches and rows to make it smaller. Ascertain accurate measurements, uphold stitch ratios, and modify hook size and yarn weight as necessary. To achieve the proper fit, testing and tweaking are essential.
What is the Most Satisfying Aspect of Creating a Single Baby Jumper in Crochet?
The concrete manifestation of your love and care for your child is the most fulfilling component of crocheting a single baby jumper. It’s satisfying and exciting to watch the silky yarn take shape into an item of warm clothing, stitch by stitch. It’s incredibly rewarding to create a one-of-a-kind item that will keep your kid cozy and fashionable.
Which Yarn is Ideal for a Baby’s Delicate Skin?
Choose yarn produced from natural fibers like cotton or bamboo for baby clothes with delicate skin. These fabrics reduce the possibility of itchiness or discomfort because they are gentle, breathable, and hypoallergenic. To ensure comfort, choose lighter-weight yarn, and always test the yarn on your skin to be sure it won’t irritate your baby’s sensitive skin.