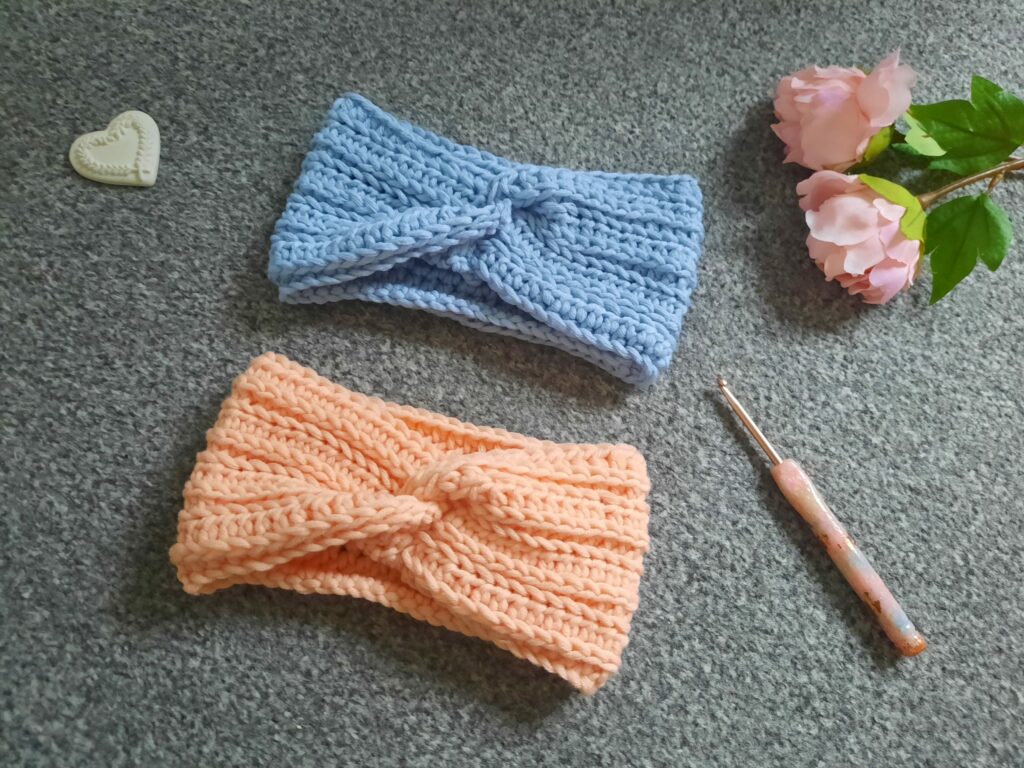
Scoured throughout and still didn’t find a reliable and detailed crochet twist headband tutorial? Don’t worry; we understand you and, therefore, came up with a step-by-step guide that will help you craft the velvet crochet headband with ease.
The instructions are designed in a way that is easily understandable to beginners as well, so even if you’re new to crocheting, you won’t face any hurdles.
The tutorial involves everything from attaching the yarn to the hook and making a foundation chain to methods that provide a neat finish to your velvet twist headband. In short, at the end of this tutorial, you’ll be able to transform yarns into a stunning velvet crochet headband.
So don’t hesitate any longer; read on till the end thoroughly, and explore how to craft a crochet twist headband quickly.
Essential Materials for Making Velvet Crochet Headbands

Before getting started with the weaving process, let’s quickly explore all the essential materials that will help make the crocheting process a breeze:
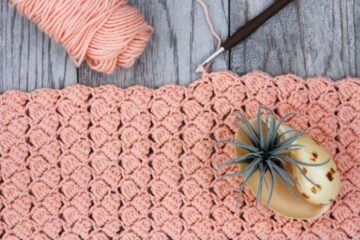
- Yarn: This decides the texture of the crochet twist headband. Choose a velvet or any soft, plush yarn that is comfortable to wear and creates a luxurious texture. The recommended weight for yarn is worsted (medium) or bulky for a thicker and warmer headband.
- Crochet Hook: Choose a hook that aligns well with the decided yarn weight. However, for a crochet twist headband, we recommend a hook in the size range of H-8 to J-10. Remember, the hook size will determine the thickness of your stitches.
- Embellishments (Optional): This includes beads, flowers, or buttons, which add some extra flair to the crochet headband.
- Scissors: Sharp scissors are a must for cutting and trimming the yarn, ideally whenever required.
- Tapestry Needle: Choose a blunt-tipped one with a large eye; it’ll help in weaving loose ends and sewing seams.
- Stitch markers: Helps keep track of stitches, especially when working in rounds. They are useful in marking the beginning of a round or specific stitch count.
- Blocking Tools (Optional): Blocking mats and pins can provide smoothness and shape to your finished headband. It helps to improve stitch definition and overall look.
Abbreviations
In the creative crocheting world, the abbreviations associated with the technical aspects play a crucial role in cutting short the time and executing their work flawlessly; some of the crucial ones include.
- St: Stitch
- Ch: Chain
- YO: Yarn Over
- SL ST: Slip Stitch
- FPSC: Front Post Single Crochet
- BPSC: Back Post Single Crochet
Steps to Weave a Crochet Twist Headband
With all the materials at hand, you have made the weaving process easier. Be careful while crocheting; follow these steps to know how to craft a crochet twist headband.
Step 1: Essential Steps Before Crocheting
Begin by bringing together all the required materials: crochet hook, velvet yarn, scissors, tapestry needle, stitch markers, and any desired embellishments that express your taste, adding a personal touch to your crochet twist headband.
- Choose Yarn and Hook: Before starting with stitches, spend some time selecting the right yarn and hook size. Properly understand the chosen pattern and accordingly choose yarn weight and hook dimension. If unsure, we recommend starting with a size 5 mm to 6 mm, along with worsted or chunky velvet yarn. This standard size and the worsted yarn add comfort and luxury.
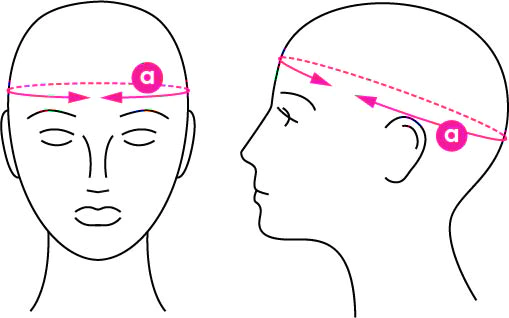
- Measure Head Size: Use a measuring tape to determine the circumference of the wearer’s head. Add a few extra inches to the measured circumference. This ensures that the crochet twist headband you’re going to work on turns out to be a perfect fit.
- Attach Yarn To Hook: Make a slipknot by forming a loop with the yarn, then gently pull the end through the loop to fasten it. Now, insert the slipknot onto the crochet hook, leaving a short tail. This step helps you make a secure beginning for upcoming stitches.
- Make a Foundation Chain: Craft the base for your velvet crochet headband by making a foundation chain. Following the pattern, chain the required number of stitches that perfectly match your headband’s determined circumference.
Step 2: Crocheting Velvet Twist Headband
Now that you have gathered all the materials and laid the base of your blanket, it’s time to move on to the stitches. But remember, tension matters a lot while crocheting, so be extra careful in each stitch you make.
- Join in Round: Begin the crocheting process by working a slip stitch into the first chain in order to form a ring. This forms the basis for your crochet twist headband. Add a stitch marker in this stitch to remember the beginning of the round.
- Round 1 (Twisted Single Crochet): Start working by chaining one stitch; remember, this doesn’t count as a stitch. Now, work a single crochet into the same stitch as the join in the round step, and continue it in each stitch around the ring. Finish the round by joining the slip stitch to the first single crochet. This makes a circular structure.
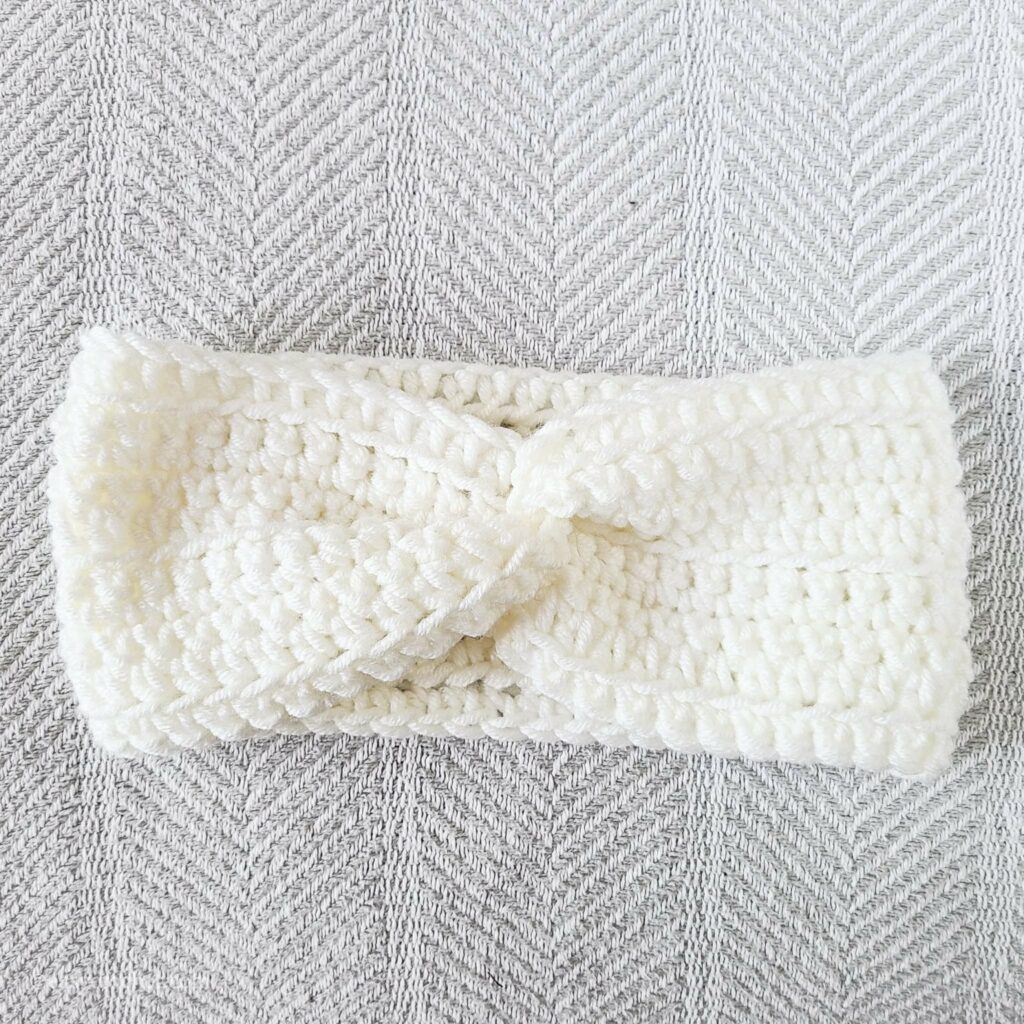
- Round 2 (Twisted Ribbing): For a twisted ribbing, chain a single stitch and alternate between front post single crochet and back post single crochet all the way around the circle. The front post stitches will provide an elevated appearance on the front side, while the back post stitches form a raised ridge on the back side, adding depth and texture to your crochet twist headband.
For Creating a Front Post Single Crochet, insert your hook from the front to the back around the post of the next stitch (the stitch from the previous round). Now, bring back the hook to the front on the other side of the stitch, wrap the yarn around the hook, and pull up a loop. Yarn Over again and pull through both loops on the hook.
For creating a Back Post Single Crochet, insert your hook from the back to the front around the post of the next stitch. Now, bring back the hook to the back on the other side of the stitch. Wrap the yarn around the hook and pull up a loop. Yarn Over again and pull through both the loops on the hook.
- Round 3-10: Repeat the pattern crafted in 2 for the required number of rounds. Consistently alternate between the front and back post stitches to craft the twisted ribbing texture.
- Decrease Round: Continue working on the Front Post Single Crochet and Back Post Single Crochet in the pattern mentioned in the earlier steps. Once you’re left with the final two stitches, work a front post single crochet stitch around the second last stitch and a back post single crochet stitch in the last stitch. Finally, join slip stitch to the beginning front post single crochet stitch to complete the decrease round.
Step 3: Final Touch To Crochet Twist Headband
Crocheting isn’t the last process in crafting the velvet twist headband. Once accomplished, give the final touch to your crochet twist headband, which not only elevates the look but also adds a professional touch to your work.
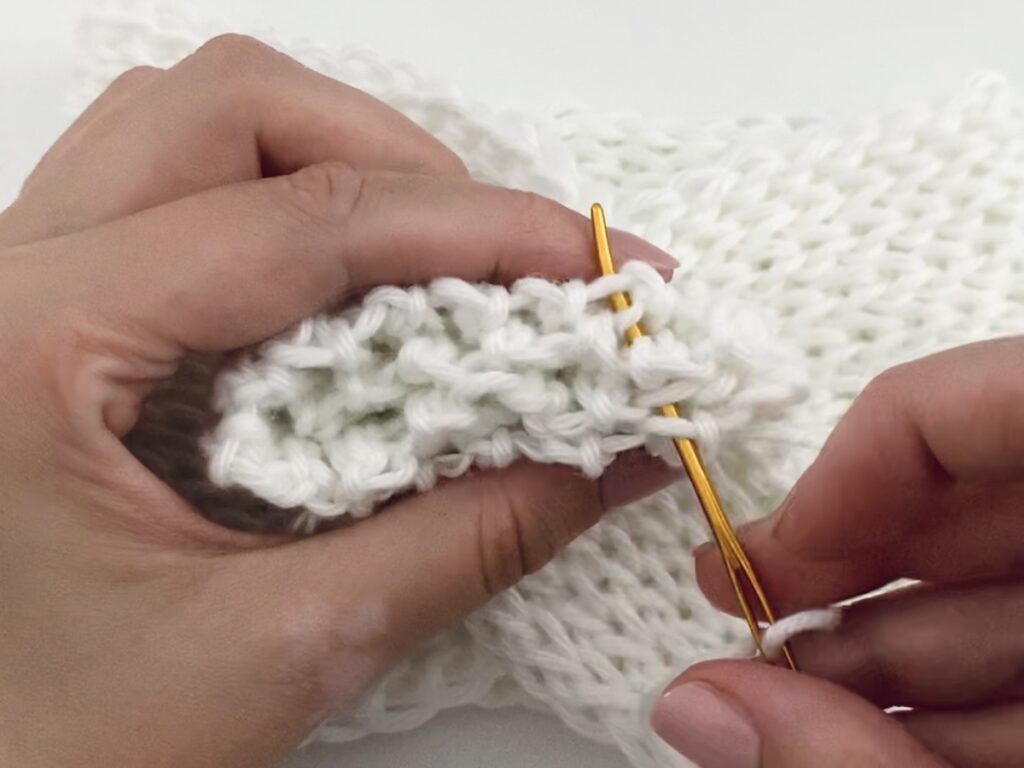
- Fasten Off Loose Ends: To end the crocheting process by providing a neat finish, cut the yarn with a scissor, leaving a considerable tail length. Wrap the yarn around the hook (yarn over) and pull through the last stitch to tighten. Now, insert the yarn tail in a tapestry needle and weave it through the stitches of the last round to secure the end.
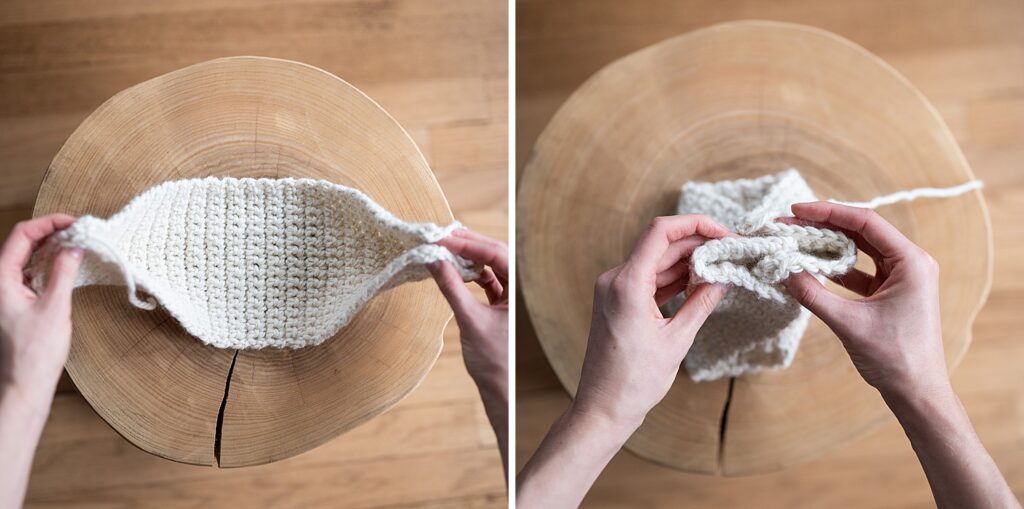
- Sew Both Ends Together: This particular step provides your work with an actual headband look. Bring your headband creation to light by skillfully folding the starting and ending edges of the finished crochet twist headband. Thread the tapestry needle with the yarn tail from the starting edge and weave the two ends using a whipstitch. This ensures a flawless finish and showcases your detailed finishing.
- Add Embellishments: Optional but recommended if you want to enhance your crochet twist headband look while adding a personal touch. Add beads, flowers, or any decorative elements and attach them to the headband using a needle and yarn.
- Utilize the Blocking Process For Refinement: Refine the finish of your velvet crochet headband by utilizing the blocking process. Start by placing your crochet twist headband flat on the blocking mats and secure it in place using blocking pins. This finely shapes the stitches and ensures even tension throughout the headband. Allow it to air dry completely. This adds a fine touch, enabling the stitches to settle down, resulting in a stunning and neat look.
Conclusion
Making a crochet twist headband isn’t a difficult task at all. All you require is the essential materials at your end and a passion for crocheting. Apart from our step-by-step instructions, we will back you as you get along crafting crochet twist headbands.
With each step, you will get technical knowledge that will arouse a more profound interest in crocheting. Once you have finished crafting, you will be confident to transform simple material into a wearable one.
Doesn’t matter whether you’re crafting for yourself or gifting; it is sure to add value to your skills. So don’t think any longer; buck up, grab your yarn and needle, and start crocheting—comment below which pattern you crafted and whether or not the fitting was perfect.
Also, feel free to ask if you face any issues.
Frequently Asked Questions
How to Ensure a Proper Fit for a Crochet Twist Headband?
Start by crocheting a gauge swatch that matches the intended pattern gauge for a proper fit. This will ensure that your stitches align well with the required measurements, which will work as a base for a well-fitted headband. Additionally, accurately determine the wearer’s head circumference and add 1-2 inches more.
What to Do When the Twist Pattern Doesn’t Meet the Expectation?
When the twist pattern doesn’t align, begin counting your stitches. This will help catch errors and the reason for deviating from the desired pattern. If you’re a beginner, it’s recommendable to practice stitch on a small swatch and then proceed with the crochet headband.
How to Adjust the Crochet Twist Headband Width?
It’s easy to achieve the desired width simply by altering the foundation chain length. But remember, the chain should be a multiple of the pattern. Or else you can play around with the stitch count per round, adding or subtracting stitches to get the intended width.