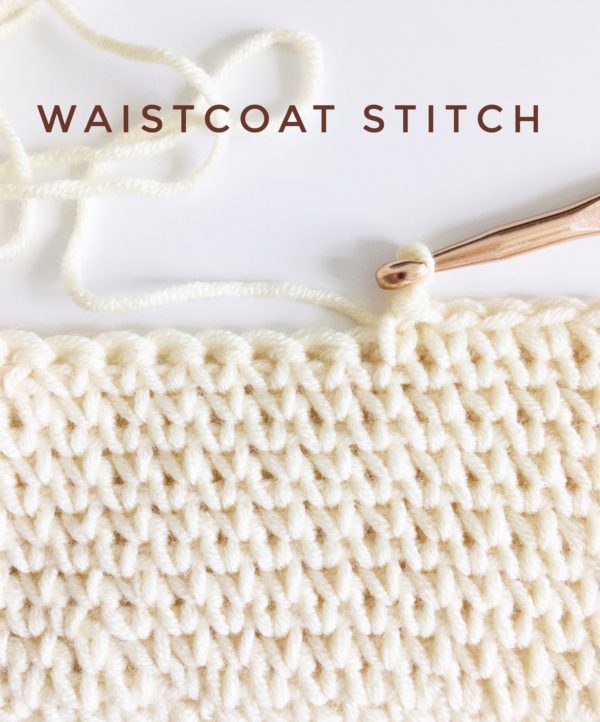
Have you considered improvising your crocheting skills yet? If not, now is the perfect time to begin with. Crochet Waistcoast Stitch is just the enhanced version of the Single Crochet Stitch. After learning the latter, it is easier to fine-tune the former skill.
The major difference that you need to practice hands-on between Single Crochet stitch and crochet Waistcoat stitch is ‘where you insert the hook to pull up the loop.’ This stitch is a dense crochet stitch and can become monotonous and tedious for bigger projects. Have patience and take breaks in between, not letting exhaustion take over.
Projects on crochet waistcoat stitch look quite similar to knitted fabric texture due to the shallow rows because of how we pull loops. Don’t be frit! Here, we will explain the step-wise process to make a dense and stable project with utmost ease.
But first, grab the required materials.
Materials Required for Crochet Waistcoat Stitch
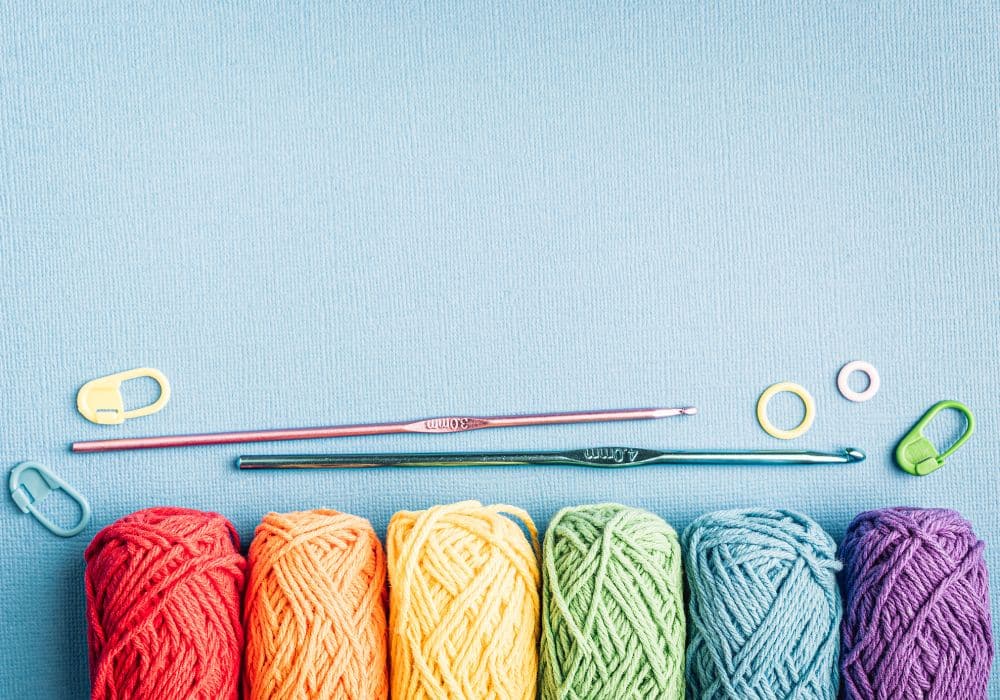
| Yarn | Tape Measure |
| Hook(s) | Tapestry Needles |
| Scissors | Blocking Kit |
Note: It is better to use a pointed crochet hook for this stitching project.
Abbreviations
Even though you might be aware of the crochet abbreviations, we prefer to brush up on the terms for you. These will help you understand the process better since we will be using them throughout the article.
| Abbreviation | Full Form |
| YO | Yarn Over |
| SC | Single Crochet |
| CH | Chains |
| ST | Stitches |
| SL ST or SS | Slip Stitch |
| WC | Waistcoat Stitch |
Now you are ready to understand and work on the crochet waistcoat stitch. Just make sure you brush up on the required skills before starting with this quirky stitching technique.
Stitch Skills
The crochet stitching skills differ from the general stitching skills and require the use of yarn and crochet needles. Crochet stitching needs you to form loops directly on the fabric with bigger stitches as compared to knitting. The resultant fabric is dense and textured, and the pattern requires basic knowledge and some practice. Each crochet stitching technique is different from the others in terms of texture and ways of placing the needle to tie the knot.
The six basic crochet stitching techniques are- chain stitch, single crochet stitch, double crochet stitch, half double crochet stitch, treble crochet stitch, and slip stitch.
There are basic stitch skills that you need to practice for a crochet waistcoat stitch.
1. Chain
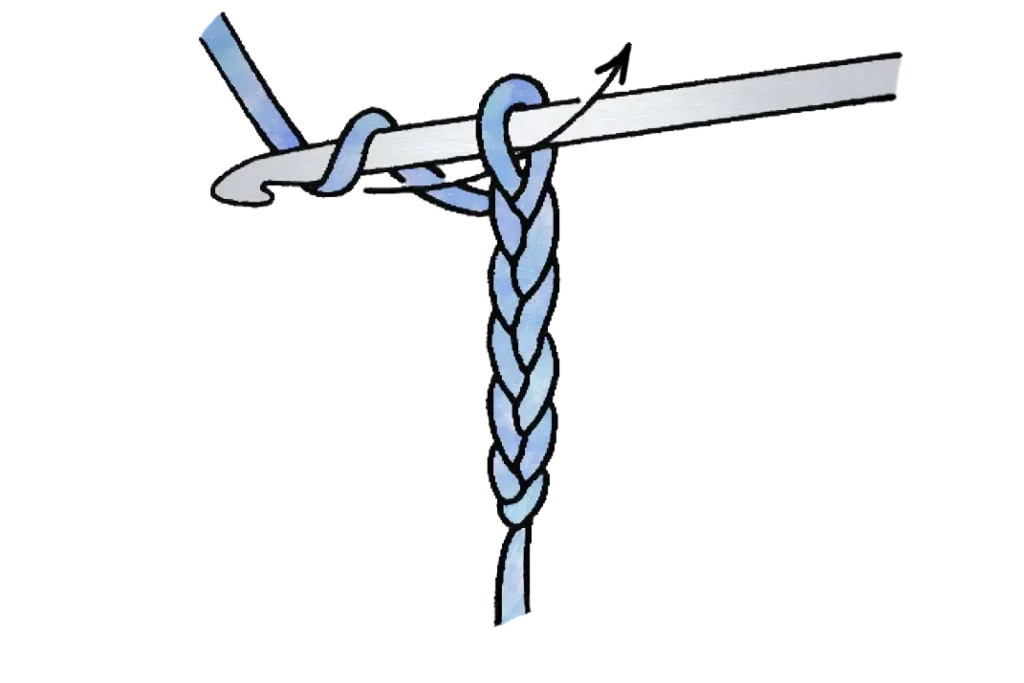
It is the base of any intricate design. For this, you need to start with a single small stitch and then come back through a spot in line with the stitch. For the grip, loop the thread through the first stitch and put the needle back through the hole it came from.
2. Slip Stitch
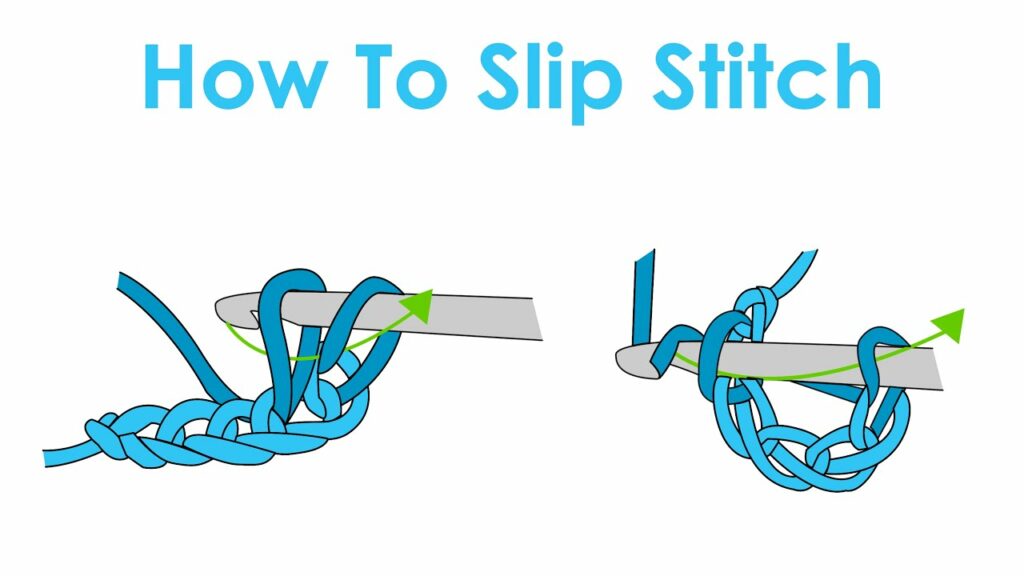
The stitch closes the seam with an invisible and strong stitch. It makes an invisible strong ‘horizontal bar’ when stitched from the left needle to the right needle without being knitted. Keep making slip stitches through the hem and knot the end of the thread, and finish by trimming the excess thread. Make sure to use the same color thread as used in knitting.
3. Single Crochet
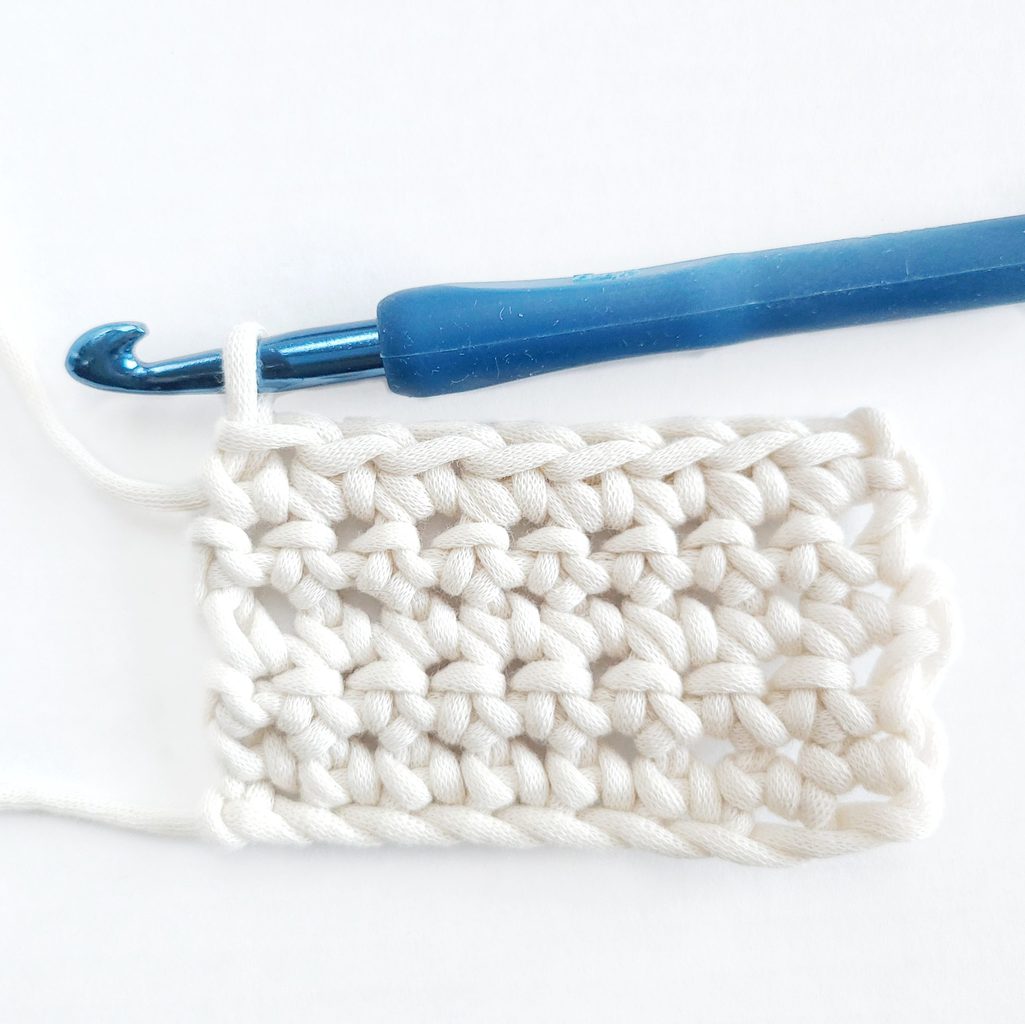
As a newbie, you must have learned this skill, and it should be very easy for you now to do it while watching the television. All you need to do is insert the crochet hook in the chain and YO and pull the loop. After that, YO and pull the yarn through both loops.
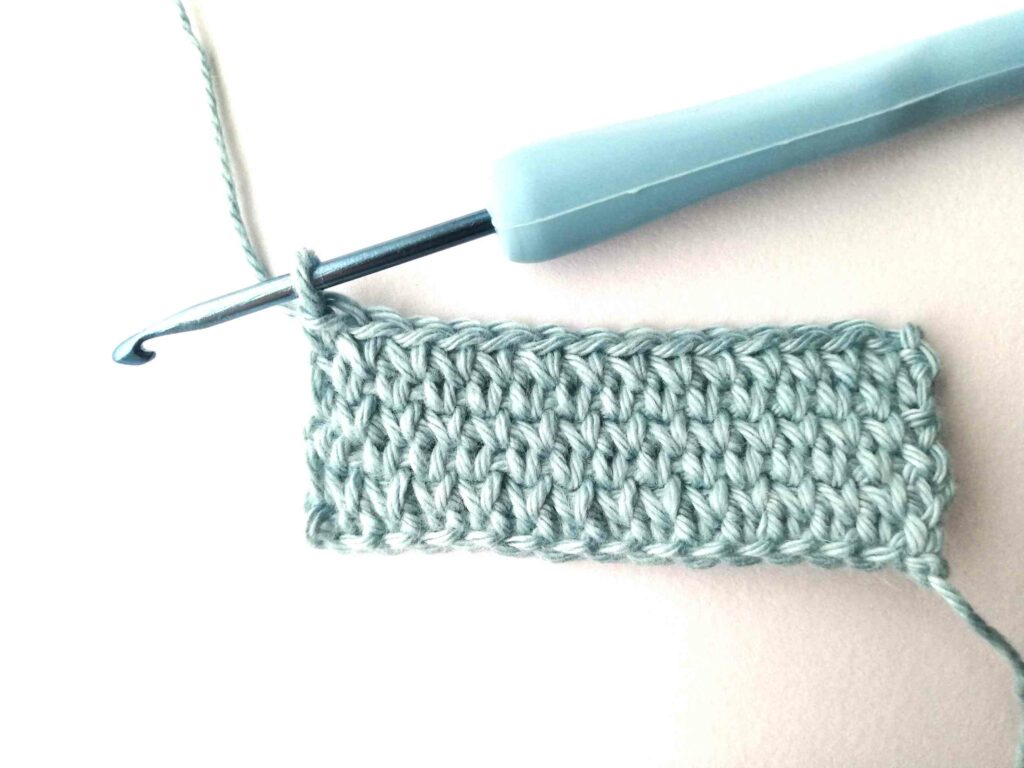
4. Waistcoat Stitch
It is more like the SC, explained just above. Just the difference of placing the hook into the center of the V below the stitch instead of the top of the stitch. YO, insert the hook into the center of the post of the next stitch, then pull up a loop. YO again, and now pull through both the loops on the hook.
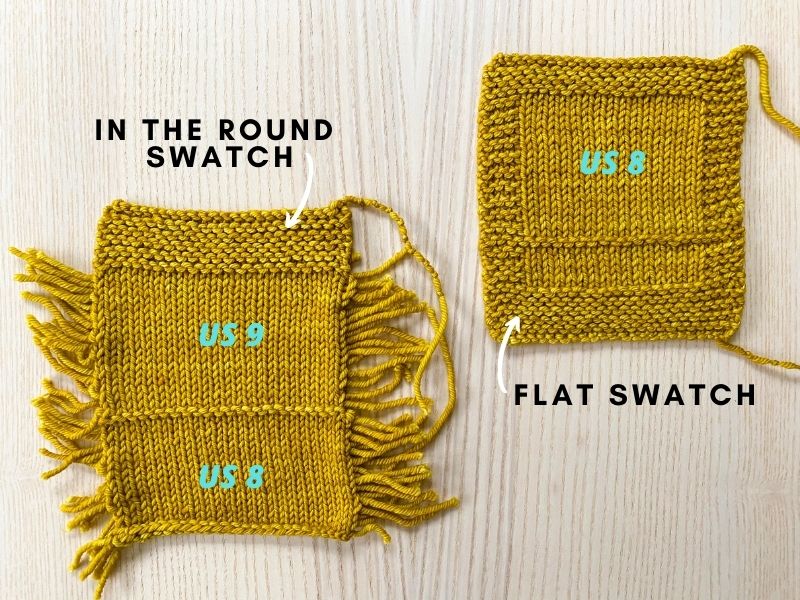
There are two types of crochet waistcoat stitch: Round and Flat.
The round stitch works with the SC into the V part of the Single Crochet. At the same time, the flat stitch works in a pattern of back and forth and crochets the single crochet stitch below the top of the stitch into the upside-down V.
The flat method is a bit tough to work with since it is sturdy and forms tighter fabric. It is easier to work with the round pattern since the stitches will always be on the right side of the work, which makes it easier to find the right spot to insert the hook. It results in more knit-looking work.
Let’s get into the practical aspects of these stitches and make the crochet waistcoat stitch structure.
Crochet Waistcoat Stitch
The crochet waistcoat stitch is also known as ‘Knit Stitch’ due to the knit-looking structure and ‘Center Post Stitch’ due to the placement of the hook. It is a perfect masquerade of the knit stitch but with yarn. It might be nerve-wracking at first, but you’ll eventually start liking it.
Knit Stitch in Round
- Chain any number of chains to get started.
- Single Crochet in the second chain of each chain and turn your work.
- Now WC in the first SC and place stitch markers at the top. This will help you keep track of the rounds.
- WC in each SC of the round, and you will eventually realize where to insert the hook.
- Continue spiraling with crochet and WC in the first stitch of the round. When you reach the end of the row, SC is the last remaining stitch. Add rows until you reach the desired height.
- Slip stitch to close the final round.
Knit Stitch in Flat
- Chain any number of chains to get started.
- Work the first row of regular SC, CH 1, and turn the work.
- Work your SC STs in between the legs of the post until there’s one ST left. Crochet one regular SC in the last ST.
Turn the work back to the right side of the first row and insert a pin or tapestry needle between the two legs of the second SC from the hook. Now, upon turning the work to the wrong side, you’ll know exactly where to insert the hook!
- For solid edges, make a regular SC in the first and last ST of the row. Likewise, complete the second row.
- Repeat the technique used for the second row to complete all the remaining rows.
Do you now know why we mentioned ‘flat crochet waistcoat stitch’ being more difficult and sturdy? Due to the extra work and extra attention it requires.
Do not forget to find the right spot by turning the work, inserting the needle in the center of the post of the single crochet, and turning again. Without the right spot, the texture will not come out the way it is expected to.
Essential Tips Associated with Crochet Waistcoat Stitch
- Since it is the first time you are trying your hands on this stitching technique, you need to keep certain things in mind.
- The Crochet waistcoat stitch uses more yarn than the general single crochet stitching. This is because of the shorter rows. So, make sure to have sufficient length of the yarn.
- Use one or two sizes of hook above the recommended hook size for the yarn. This is because the resulting work is very tight fabric which will be challenging to work with smaller hooks.
- Use this technique for smaller projects at first; once you are well acquainted with it, you can take up bigger projects.
- Use pointed hooks for ease of passing through the vertical bars.
- Do not rush with the vs. and stitching, or you might end up making the wrong pattern. The texture will not be completed without patience. Work Loosely.
What Can You Make with Crochet Waistcoat Stitch?
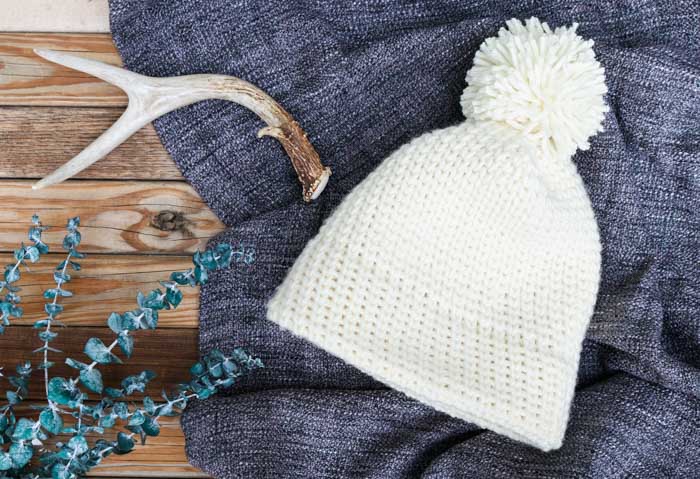
The Centre Post Stitch makes a solid, stable, and dense knit-like texture. It is better to use this technique when working in rounds since it then produces better results.
The following objects can be made out of waistcoat stitch:
- Hibernation Hoodies
- Cup Cozies
- Baskets
- Dishcloth
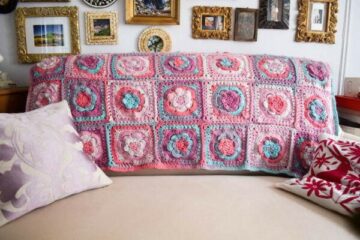
- Blankets
- Tote Bags
- Hats
- Rugs
- Cowls
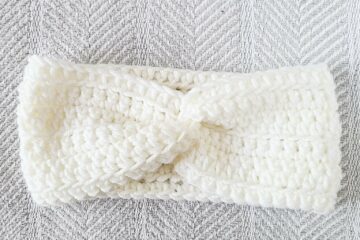
- Winter Accessories
As you master the skill with practice, you can mix a variety of techniques and creative ideas to make fancy things. You can also start working with two colors after sufficient practice.
How to Change Color?
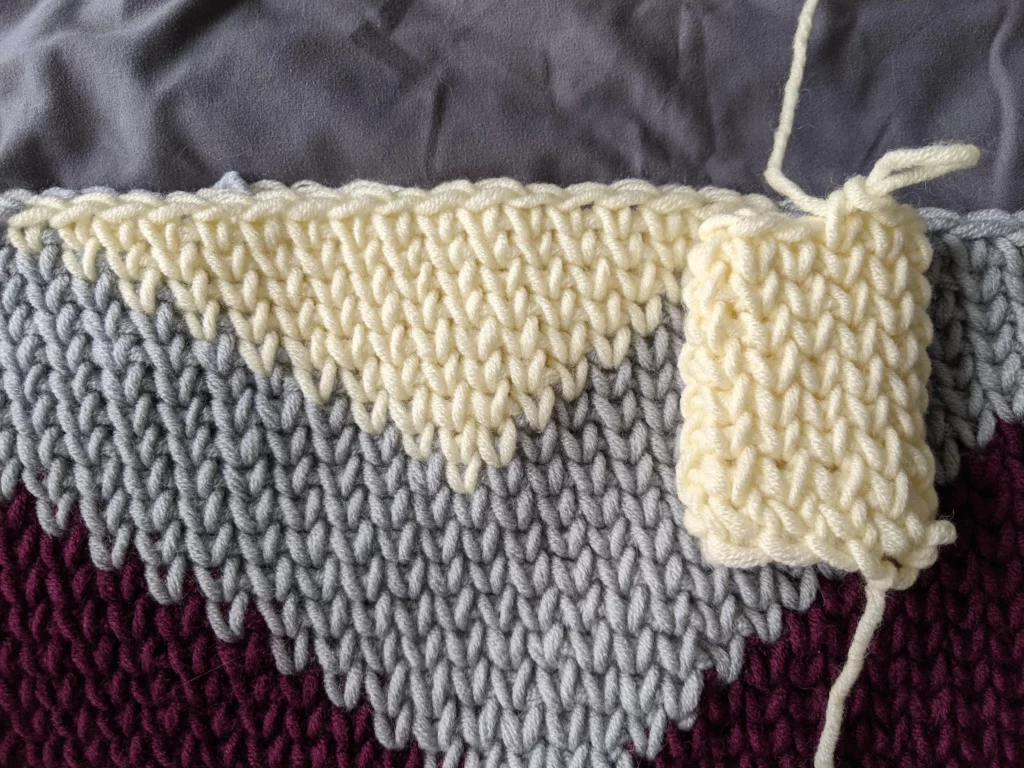
Don’t be baffled. There is no science behind changing the color of yarn while working with this sturdy crochet stitching.
Work till you generally work with the Waistcoat stitch, but when it’s time to change the color of the yarn, don’t pull over and pull through both loops. Instead, pull the new color through the two loops on the stitch and continue the work as usual.
You might find the stitch before joining the new color has become bigger than the new colored stitch. To avoid this from happening, even out the two yarns. For this, after you have completed the first stitch with the new color, make sure to give the new yarn a carry of the old color a little tug to tighten the stitch together.
Overview
Crochet Waistcoat Stitch is a complex-looking faux-knit pattern of knitting yarn. It is not really as difficult as it seems. We just explained the whole process in the most simplified manner.
When executed properly and with the right idea in mind, you will start enjoying this stitching technique. Make sure to be in touch with the basic stitching techniques so that you can try to make the complex ones without having to go through the trouble of learning again and again. After all, practice makes a person perfect.
We believe you understood the assignment well. So, get started with that beautiful basket and pot holder for your home. Let us know how the overall project turns out to be. We would love to hear your opinion!