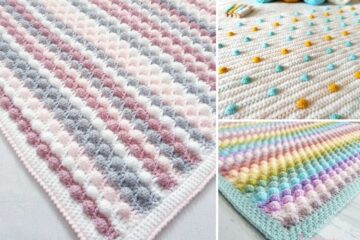
Crocheting a bohemian-inspired puff stitch blanket is a fun way to create a stylish, textured throw in almost no time. Repeated puff stitches result in a blanket with far more visual interest than the easy skill level suggests.
You can stitch up a cozy puff stripe blanket in just a few evenings by using super bulky yarn and a large crochet hook. The key is learning how to make the basic puff stitch by repeating yarn-over-half double crochets in each stitch across rows.
Work in the round while increasing and changing colors for striping effects. Add a simple border to finish it off. This complete tutorial guide breaks down how to crochet this on-trend boho blanket step-by-step. Detailed instructions and photos walk beginners through each stage of the process. Learn how to create consistent puffs, change colors easily, and end up with perfectly even stripes. Let’s get started on your next cozy creation!
Essential Supplies You’ll Need to Puff Stitch Crochet Blanket
The boho puff blanket is a fun and cozy crochet project. One of the great things about this boho puff blanket is that very few supplies are needed. Here are the key supplies you will need:
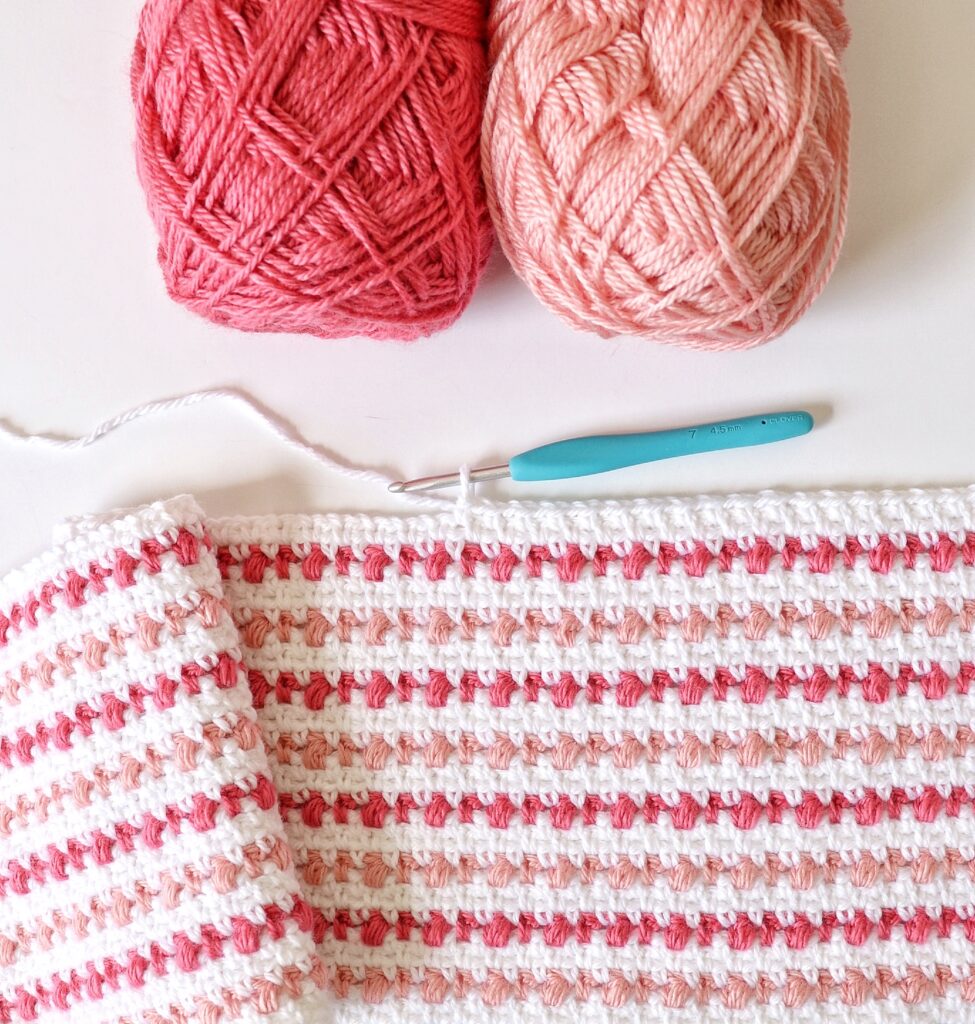
- Bulky yarn – About 300-400 grams total of a wool/acrylic blend. The acrylic provides bounce, and the wool provides warmth.
- Scissors – For cutting the yarn.
- Tapestry needle – For weaving in ends.
- Crochet hook – A larger 10.5mm-15mm hook makes working the puff stitches easier.
The bulky yarn is the main supply that gives this blanket its puffy texture. Just those few supplies of yarn, scissors, a needle, and a hook are all supplies you need. With just some nice thick yarn, suitably sized scissors, and a needle, you’ll be ready to start stitching up the puffs in no time.
Step-By-Step Guide for Puff Stitch Crochet Blanket

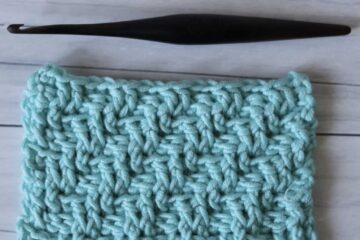
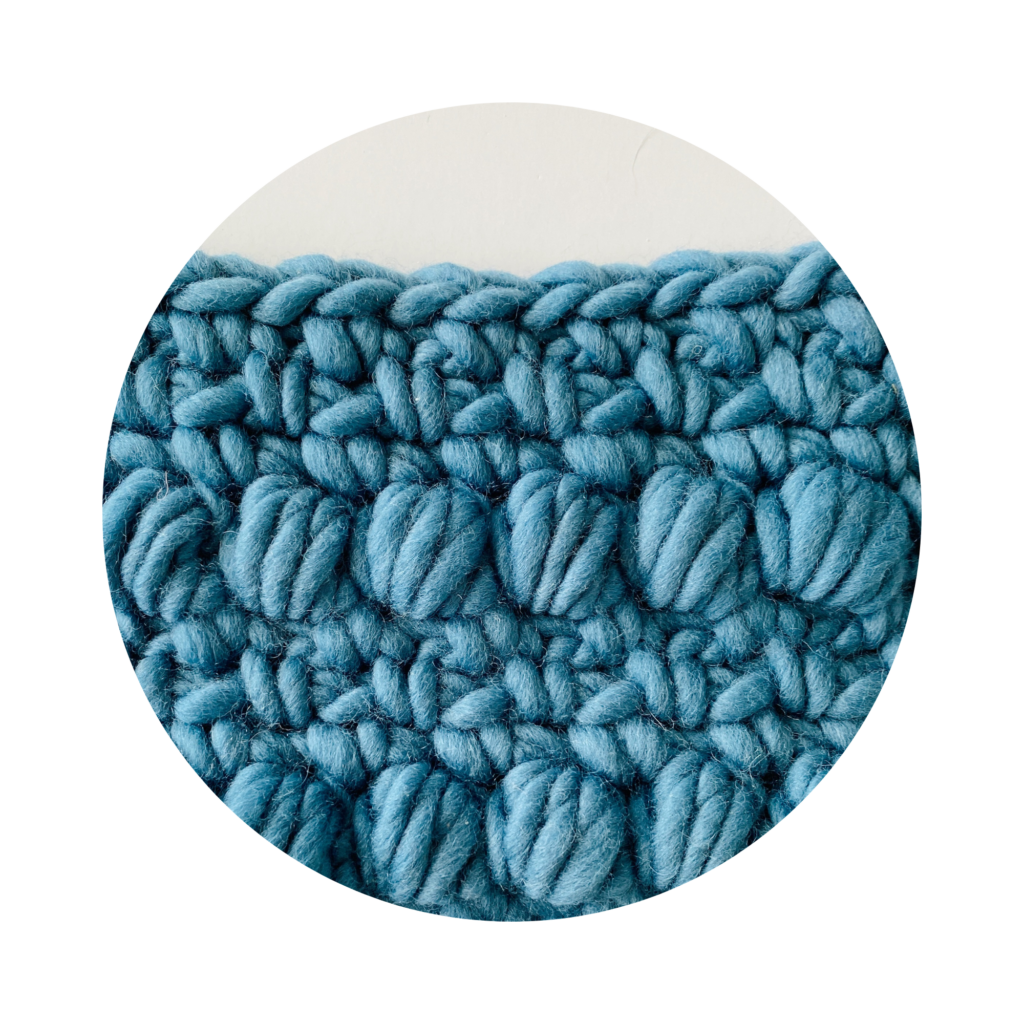
The key stitch used to create the textured fabric in this boho blanket is the puff stitch. While the name may sound intimidating, the puff stitch is a simple technique that even beginners can master.
The puff stitch is just a series of yarn-over-half double crochets all worked into the same stitch. Repeating the half-double crochet and stacking up the loops creates a rounded, puffy texture when closing off the stitch. Don’t let the puff stitch scare you off! Once you learn the motions, you can work up these textured stitches quickly.
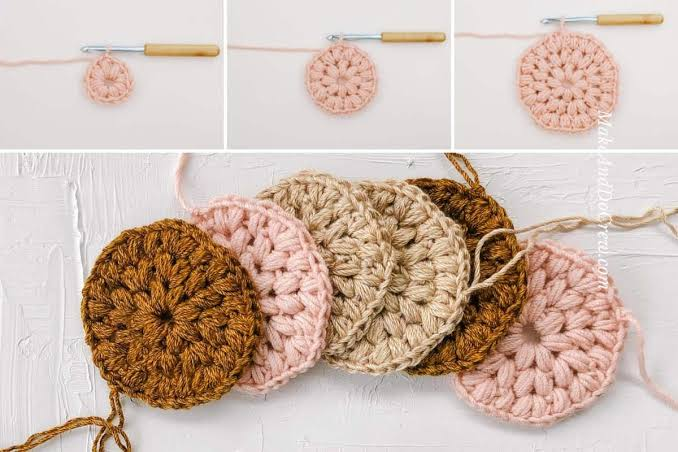
This section will teach you step-by-step how to crochet the puff stitch so you can use it to make your puffy boho blanket easily. We’ll break it down with helpful photos illustrating the key parts of the stitch. You’ll learn how to yarn over, where to insert your hook, and how to pull up and close off loops. The puff stitch might sound complicated, but it’s just a series of yarn-over-half-double crochets worked into the same stitch. Here’s a step-by-step guide:
- Yarn over hook, insert hook into stitch.
- Yarn over again and pull up a loop (3 loops are now on the hook).
- Yarn over and draw through 2 loops (2 loops remain).
- Repeat steps 1-3 greatly (5 loops on the hook).
- Yarn over and draw through all five loops. One puff made!
It helps to work tightly so the puffs are all uniform. Be sure to pull the yarn through each time. Following the same process, let’s try making a whole row.
Step 1: Crocheting the First Row

Now that you know how to crochet the basic puff stitch, it’s time to implement it! We’ll begin crocheting the first foundation row of puffs, establishing the pattern for the rest of the blanket. Start by chaining to the desired width, ensuring it’s a multiple of 4 stitches plus two extra chains. Bring the chain into a round and join with a slip stitch. To build the base, you’ll puff stitch into the 4th chain from the hook, chain 1, then skip the next three chains and puff into the next.
Repeat this sequence across the round. Having puffs with spaces between is what creates that distinctive raised texture. Get your stitch count right on this first row; the rest of the blanket will build from there. Take it slow, refer to the step-by-step photos, and properly set up your foundation. Once you complete the first puff row, you’ll have the skills to continue making your boho blanket grow. You’ll finish with a puff stitch in the first chain, where you joined the round. This gives the puff stitch foundation. Get your stitch count right on this row, and the rest falls into place!
Step 2: Increasing the Oval Shape
Once your first foundation row of puff stitches is complete, we can shape the blanket into an oval by increasing stitches. After finishing the initial puff row, chain two and turn your work. Make one puff stitch into the first stitch, chain one. Now, work one puff into each stitch across the row as you did for the foundation. But when you reach the final stitch, work two puff stitches into that last stitch instead of just one. Doing a double puff into the end stitch increases the total number of stitches in that row by one.
This subtly widens the blanket with every row. Repeat this process of puffing across, increasing at the end, on every other row as the blanket is still small. This gradual increase is what gives the oval shape. As the blanket reaches the desired width, you can stop increasing on every row and work even rows without any increases. But for now, consistently increase on every other row so your blanket has a nice, even oval shape. Keep referring to the photos, and you’ll get the hang of the increasing method quickly!
Step 3: Creating Stripes
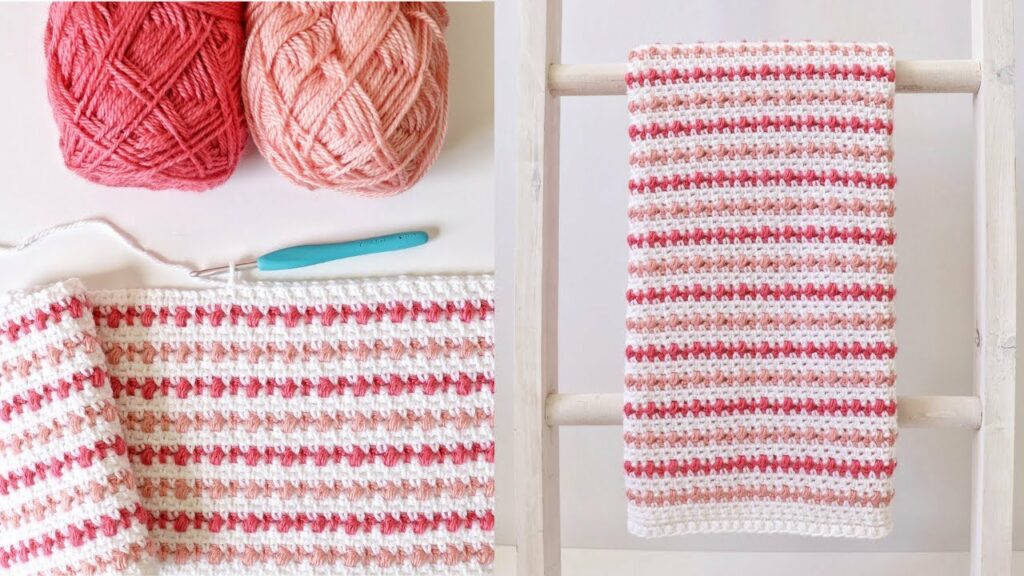
One of the easiest parts of making this boho blanket is creating stripes by changing yarn colors. There’s no tricky technique needed! Simply finish up a row using the current color you’re working with. Then, cut the yarn, leaving a 6-inch tail. Pull the new color through the last loop on your hook to join. Continue puff stitching as normal in the new color!
The color change creates a seamless stripe when switching on row ends. Count how many rows you complete in each color section for consistent widths before switching. Play with different color combos and stripe placements. The best part is that you can change colors whenever and as often as you like to design your boho color patterns into the blanket!
Step 4: Make It in the Size of Your Choice
The great thing about crocheting is that you can easily make a blanket as big or small as you need. Make your starting chain about 82-86 stitches long for a medium throw blanket. Then, work rows of even puff stitching until the blanket reaches approximately 45 inches wide and 60 inches long. Checking the measurements periodically lets you know when to stop. If you want to go bigger, start with a longer foundation chain.
For a smaller blanket, begin with fewer chains and work fewer rows before reaching your desired size. The size is all in your control! Adjust to any dimension simply by modifying the initial chain length and the number of rows. Just be sure to periodically measure width and length as you crochet to ensure you have the exact blanket size you want.
Step 5: Adding the Border
Adding a finishing border is the perfect way to give your puff stripe creation a clean, polished look. A border also helps cover uneven or wavy edges for a neat finish. To add one, simply join your yarn into any corner of the blanket with a slip stitch. Make one chain, then begin single crocheting evenly around the entire outer edge of the blanket. Having just one round of single crochet stitching is usually enough, but feel free to make additional border rows for a wider frame.
When you reach each corner, work three single crochet stitches rather than just one. This creates a rounded shape that contours nicely to the oval blanket edges. Complete the border by joining the first single crochet once you’ve gone around. And like magic, you now have a complete blanket with a professional feel! The border adds so much with very little effort. Your once-plain puff project is now a showstopper!
Essential Tips for Success
Mastering the perfect puff stitch may take some practice, but following these handy tips will help you achieve success with evenly shaped, well-defined puffs every time:
- Work Tightly and Pull Yarn Through Completely: Be sure to work the stitches tightly and pull the yarn through each loop when completing the puffs. Working tightly creates a compact fabric. Pulling the yarn through fully closes the puffs securely so they don’t end up holey or loose. Take your time with each puff, and don’t rush through them. Putting in that extra care results in professional-looking stitches.
- Using Stitch Markers: Placing stitch markers is tremendously helpful on the first foundation round to accurately track your stitch count. Mark the first puff stitch of the round with a marker, then move the marker up each subsequent round. This allows you to easily ensure you have the correct number of puffs in each row as the blanket grows. Proper stitch count on the first rows prevents mistakes down the line.
- Maintain Consistent Puff Size: Pay attention to inserting your hook into the same part of each chain or stitch when making the puffs. Be consistent about exactly where you insert the hook, such as always under two strands in the middle of the chain. This creates uniformly sized puffs across all stitches for a professional look. The puffs will be even, with no noticeable shrinking or growing in size.
Following these key tips for mastering the perfect puff stitch will set you up for success in crocheting evenly shaped, well-defined puffs. Don’t let the technique intimidate you.
With diligent practice, consistently working tightly, and tracking your stitches precisely, your puff projects will bloom into polished, professional-looking pieces. Pay close attention to maintaining equal sizing and shape throughout the process.
Add the finishing touch of properly blocking your blanket, and you’ll be able to snuggle up with your new puffed creation proudly. Trust the process and know that the extra care taken with each stitch is worth the effort.
Soon, you’ll be puffing like a pro! We hope these pointers have demystified this popular stitch and given you the confidence to incorporate this textured look into your next cozy crochet blanket.
Finishing Touches to Elevate Your Puff Stitch Project
Adding some finishing touches elevates your puff stitch project into a polished, professional-looking piece. Be sure to:
- Monitor Rows Between Color Changes When switching colors for striping, be sure to carefully count how many rows are worked in each color section. Make a note of the row count for the first color section, then repeat that same number of rows in the following colors. Counting rows diligently results in perfect stripes of equal widths.
- Periodically Check Size and Shape As you crochet, pause to measure the width and length of the blanket. This allows you to monitor the progress and make any adjustments needed to achieve your desired finished size. It also lets you check that the oval shaping is symmetrical. Count the number of stitches across the width and compare both short ends to ensure even shaping. Catch any inconsistencies early.
- Weave in Ends Neatly When changing colors or finishing up, weave in all ends neatly on the wrong side so they are invisible from the front. Take care to weave the ends in and out of the natural holes within the puff stitch texture. Pull the weaving taut, but be gentle so as not to distort the puffs. Trim any excess yarn. Properly cared-for ends make a polished project.
- Block the Finished Blanket Once your blanket is complete, the last step is to block it. Give the blanket a gentle bath in warm water, or use steam to block acrylic or wool yarn, respectively. Blocking evens out the stitches, helps the fibers relax, and defines the puff shape further. The texture will become more pronounced as the stitches bloom into perfection.
- Follow these handy tips as you crochet, and your boho puff blanket will come out looking like a professional made it! Don’t be intimidated by the puff stitch. With some diligence and these pointers, you’ll achieve flawless puffs in perfect rows. Blocking and neat finishing work give the result in a high-quality appearance. Before you know it, regularly checking the size, maintaining shape, and changing colors cleanly will become second nature. Trust the process and know that the effort spent will pay off in a showstopping blanket you can cherish for years.
The repetitive nature of the puff stitch makes this pattern ideal for beginners. And the bulky yarn works up so quickly into the coziest blanket. Snuggle up with your freshly puffed creation. We hope you’ve enjoyed learning how to crochet this on-trend boho blanket. Happy puffing!
Conclusion
This easy tutorial proves crocheting a stylish puff stitch blanket is a breeze with some single crochet, simple color changes, and super bulky yarn. The repetitive puff pattern creates a cozy texture that looks complex but uses beginner skills.
Follow the steps to make any size blanket you need. Add fringing for extra boho flair. The result is a trendy, decorative blanket to match any decor.
This project is perfect for using leftover yarn, too! With practice, anyone can master these stitches and techniques to start puffing out gorgeous blankets. Grab your favorite thick yarn, get comfy, and let your creativity flow.
We hope these instructions have inspired you to try this fun and satisfying crochet project. Enjoy the journey, and happy crafting!