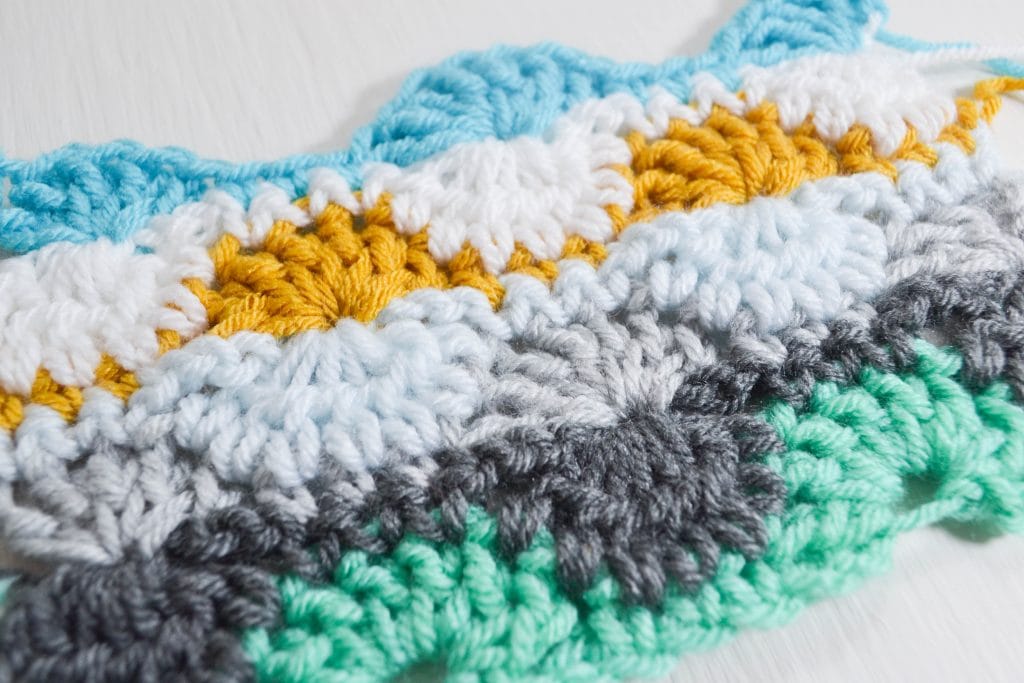

Are you a beginner at crocheting or a seasoned pro? No matter what level you are in your crocheting journey, challenge yourself with the ever-classic Catherine’s wheel stitch. With time, this Catherine’s Wheel Stitch is bound to become your favorite crochet stitch ever.
The “round” or “wheel” circular pattern of this crochet stitch is what makes the design of Catherine’s wheel stitch stand apart. The resemblance of a “wheel” creates an aesthetic appeal to the eyes. In fact, each row and rotation of the wheel weaves magic in every loop.
However, you might get a bit confused between Catherine’s wheel stitch and other crochet stitches like Harlequin and Starburst. So, to help you crack the code of Catherine’s wheel stitch, we have created a step-by-step tutorial for you along with the materials required, the experimentation of Catherine’s wheel stitch, and the possibilities to add a touch of flair to your projects, incorporating this stitch.
Basic Fundamentals Associated with Catherine’s Wheel Stitch
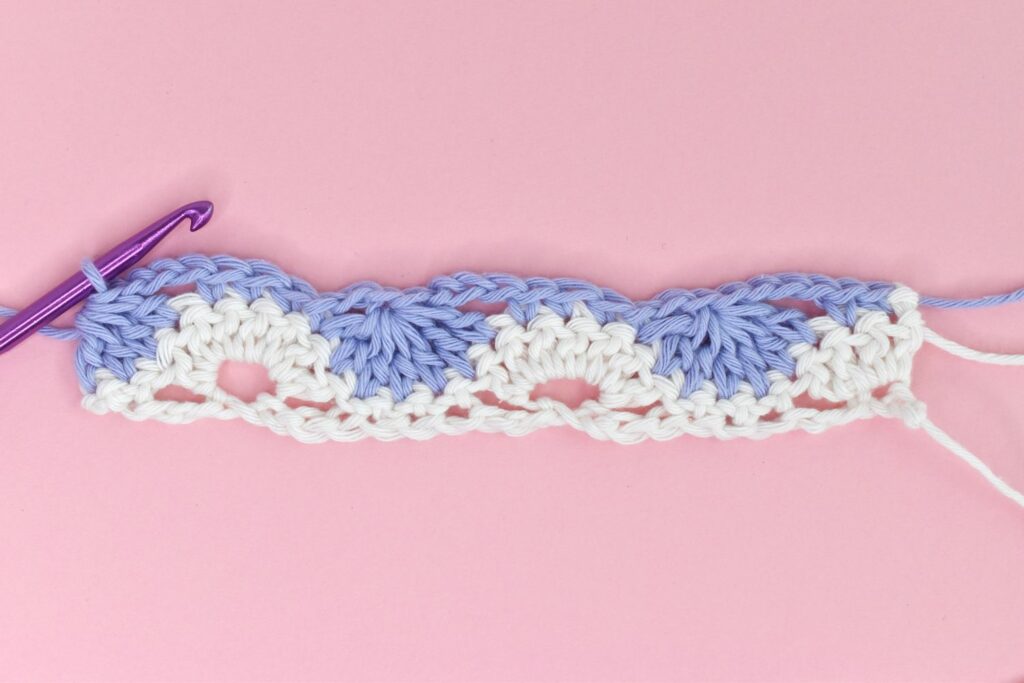
Catherine’s wheel stitch is a unique take on the “pinwheel” pattern. It is a rare combination of traditional stitches with a tinge of modern flair, isn’t it? The moment you look at Catherine’s wheel, it will transport you to the old vibe of crocheting with your nana as a child. However, it has got a very aesthetically striking beauty about it. Simple and unique. And that is exactly why younger people are getting intrigued by it even in today’s time.
Now, provided you approach Catherine’s wheel stitch with patience, you will be able to get a grip on it. All you have to do is follow our tutorial of Catherine’s wheel stitch to the T. The intricacies are not as daunting as they might appear at first sight.
Having said that, we do advise you to have a strong foundation of basic crochet stitches like double crochet and single crochet. Knowing the chain stitches and split stitches also makes learning Catherine’s wheel easier.
Once you combine all these stitches in a particular way, you create a pattern – we know as Catherine’s wheel stitch. Plus, as you get better at interlocking the loops in the classic “wheel” pattern, you can do Catherine’s wheel in the round or square format as well. So, are you ready to learn a new crochet stitch? Let us get you started!
Essential Materials Required for Catherine’s Wheel Stitch
Besides Catherine’s wheel stitch tutorial, guess what else you need? The right tools and materials! Having all the essentials on hand will make your experience hassle-free.
Here are the key materials to gather to crochet Catherine’s wheel stitch.
1. Yarn
No products found.
How can you stitch any crochet without yarn, right? So, the first thing to consider is the yarn. For Catherine’s wheel stitch, we suggest a medium-weight yarn. Stick to smoother yarns as it yields a better finish on your crochet project. Besides, do not hesitate to play with the color palette. It is where your creativity mixes with the technicality of Catherine’s wheel stitch.
2. Crochet Hook
No products found.
Pairing the right crochet hook with yarn is crucial to crochet Catherine’s wheel stitch. Generally, a 5 mm hook works well for this crochet stitch. That said, pick a hook that corresponds to the weight of the yarn you are using for this project.
3. Yarn Needle
No products found.
This tool will help you give your crochet a neat and clean look. A yarn needle is exactly what you need to stitch up the loose ends of your stitch.
4. Stitch Markers
No products found.
Although this is an optional tool, we highly recommend using stitch markers, especially if you are a beginner. They help you achieve proper transitions between Catherine’s wheels. You can even use it to keep track of specific rounds and keep crocheting the edges straight. In short, if you want a symmetrical and structured finish easily, stitch markers have got your back!
5. Scissors
No products found.
It is a very common tool for any form of stitching or knitting. Keep a pair of scissors with you to trim the yarn ends once you are done crocheting.
Abbreviations of Stitches Used in Catherine’s Wheel Stitch
Before we get you started with the tutorial, it is important to know the abbreviations of the stitches. This will help you to follow the tutorial without any complications. Here are the abbreviations we will be using in the tutorial:
- Ch – Chain
- Sc – Single Crochet
- Dc – Double Crochet
- St/Sts – Stitch/Stitches
Note: As we proceed further, get ready with your pen and paper to take notes. Also, stick till the end to get some handy tips to crochet Catherine’s wheel stitch.
Step-By-Step Tutorial for Making Catherine’s Wheel Stitch
Now, the much-awaited section of the article – it is time for the Catherine’s Wheel Stitch tutorial. We have divided the tutorial into rows for better understanding:
Step 1: Start with the Foundation Chain
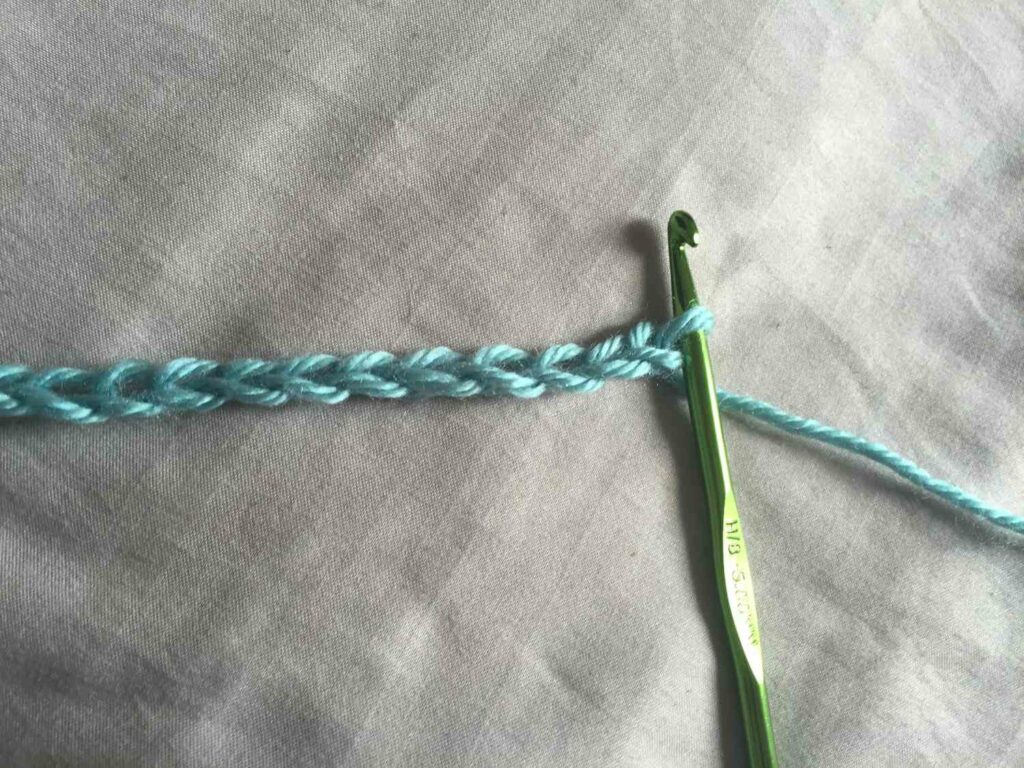
To begin, create a foundation Ch of any multiple of 10+7. A stable base makes sure the entire design comes together appropriately. You can adjust the length according to your expertise. Also, do not make the base chain too tight or too loose. Otherwise, it will be difficult to work your way into the subsequent rounds.
Step 2: Prepare the First Row
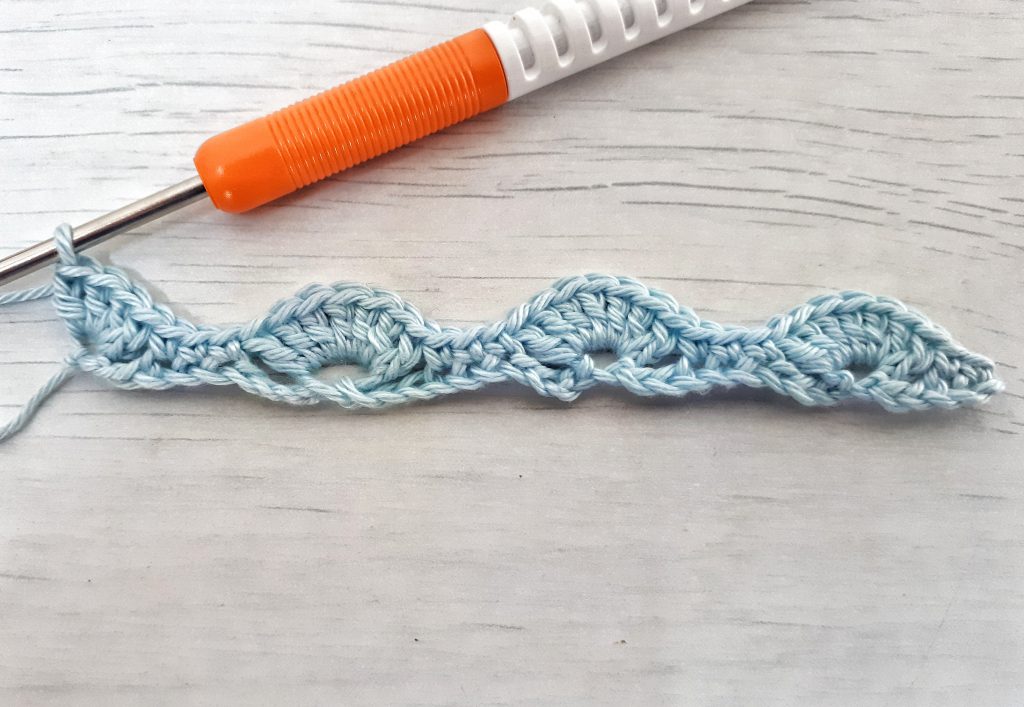
To start forming the “wheels,” set up the first row:
- Skip the first Ch and Sc in the next 2 Ch.
- Skip the next 3 Ch and make 7 Dc Sts all in the next Ch.
- Again skip the next 3 Ch and make 1 Sc in the 3 consecutive Ch.
- Then skip 3 Ch, and in the next Ch, repeat the 7 Dc Sts.
- Repeat this pattern for the row.
- As you reach the end, skip 3 Ch and do 4 Dc Sts.
Tip: If you are making multicolor crochet, you can change your yarn before the last stitch and create 1 Ch and turn over for the next row.
Step 3: Work to Create Row 2
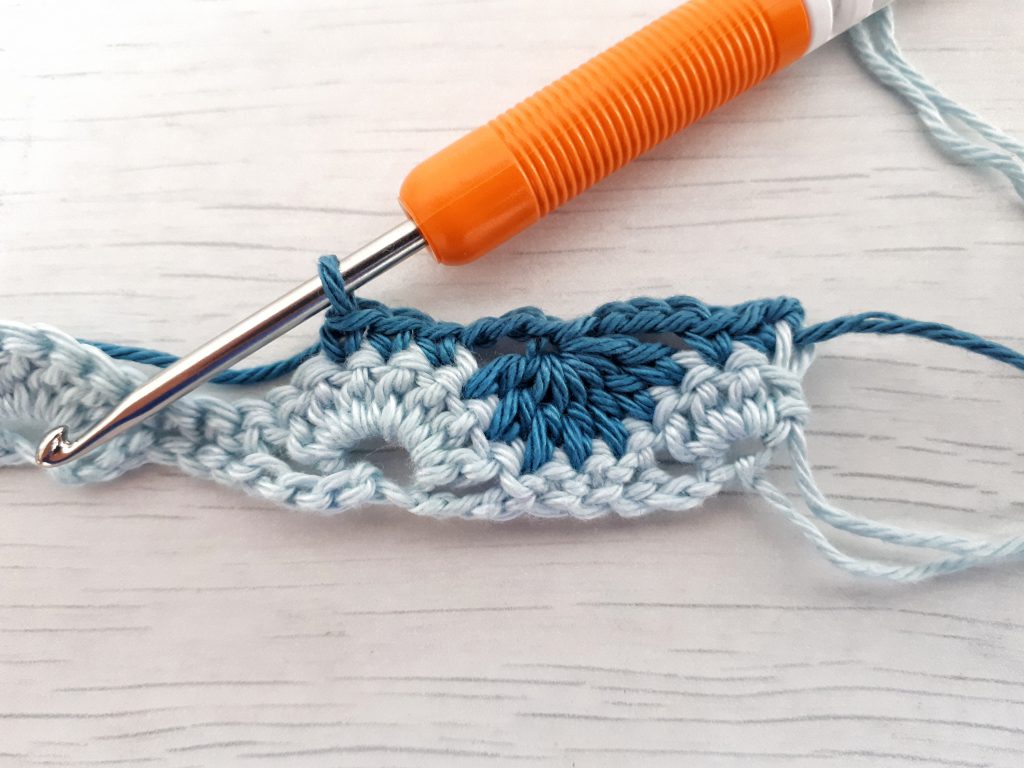
- Do 2 Sc Sts one after another and next create Ch 3 from 2 Sc St.
- For the next 7 Sts, do a decrease St of 7 Dc together (to break it down – all you have to do is yarn over to insert a hook and make a loop. Then, again repeat and pull through the two loops. Keep repeating until you have 7 Dc together).
- Once done with the 7 Dc, take the yarn over and pull through all the loops, including the starting one.
- Then, make 1 Sc in the next 3 Sts and create a Ch 3 again to repeat the process of 7 Dc together.
- Continue the process for the entire row.
- On the last Ch 3, make 4 Dc together St to move onto the next row by creating another Ch 3 and turning it around.
Step 4: Move to Work on Row 3
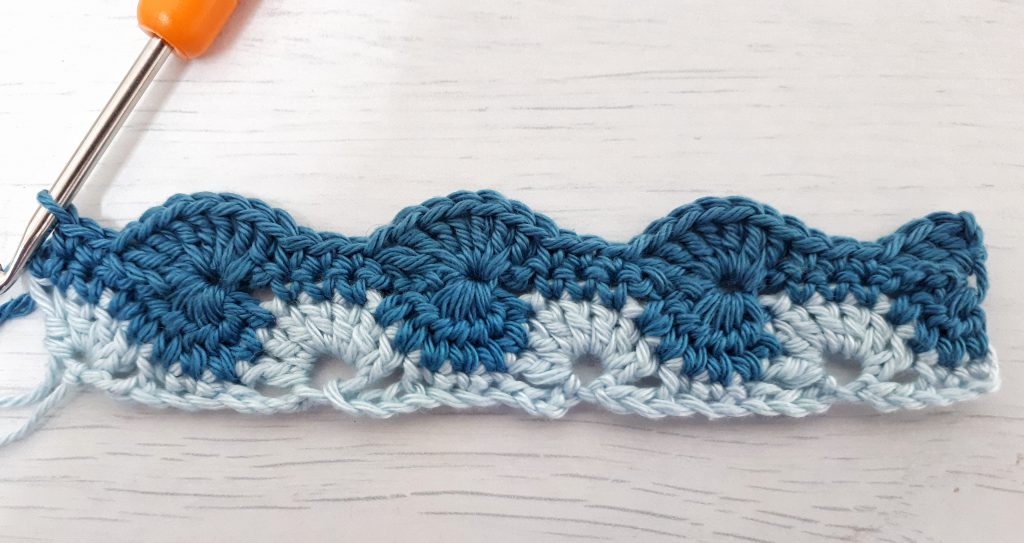
- In the first St, create 3 Dc Sts.
- Then just over the row, 2’s 3 Sc Sts make 1 Sc St in each.
- Next, in the center of the clump, make 7 Dc Sts (by now, you will be able to see the “wheel” taking shape).
- Now again, over row 2’s 3 Sc Sts, make 1 Sc.
- Repeat the process for the entire row 3 until the last 2 Sts and add 1 Sc in each.
- Create a Ch 3 and continue.
Step 5: Make up the 4th Row

- Begin with a 3 Dc together St (just like 7 Dc together).
- Make 1 Sc in the next 3 Sts and create a Ch 3.
- Over the next 7 Sts of row 3, make a 7 Dc together.
- Similarly, like row 3, make each Sc over row 3’s 3 Sc Sts and repeat till you make Ch3.
Step 6: On to the 5th Row
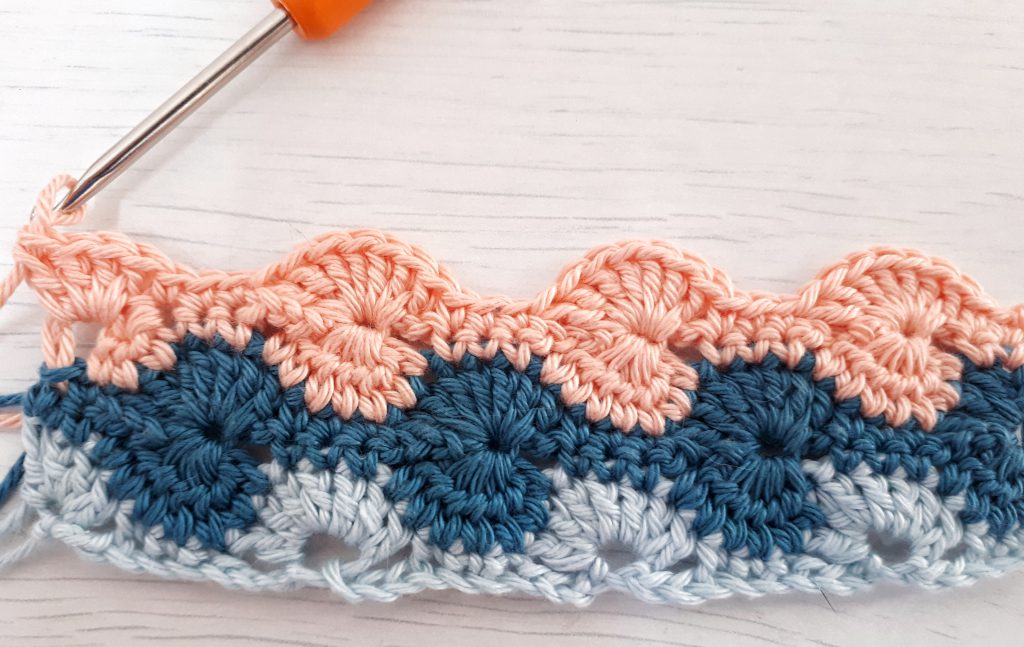
- Row 5 is exactly like row 1 – Start with 1 Sc in the first 2 Sts and follow up by 7 Dc and repeat.
- End with 4 Dc Sts in the very last St.
That’s how you crochet Catherine’s wheel stitch. We hope that you are done with the complete details on the making of Catherine’s wheel stitch. Keep on repeating the steps from 2 to 5 until you get what you actually desire for using the additional yarns.
Additional Step: Reduce The Gaps Between the Transition Wheels. Whenever you are working with such a circular pattern like the standard Catherine’s wheel, it is natural to get a larger space or gap between the wheels. But this gap takes away from the beauty of the crochet. So, to prevent the gaps – do a slip stitch. After completing each wheel, slip-stitch the side and the base; while slip-stitching, keep in mind the stitch counts and placement. It will ensure the wheels have a seamless transition.
Experimenting with Catherine’s Wheel Stitch
The potential of Catherine’s wheel stitch is not limited to its classic version. It opens up room for experimentation and allows your creative side to take over. We have a few ways that you can infuse to customize this crochet stitch:
1. Play with Colors to Create Unique Designs
The most versatile way to experiment with Catherine’s wheel stitch is by switching up the color palette. Add your favorite ones or the color that define you to make a statement!
Multicolored Design Palette
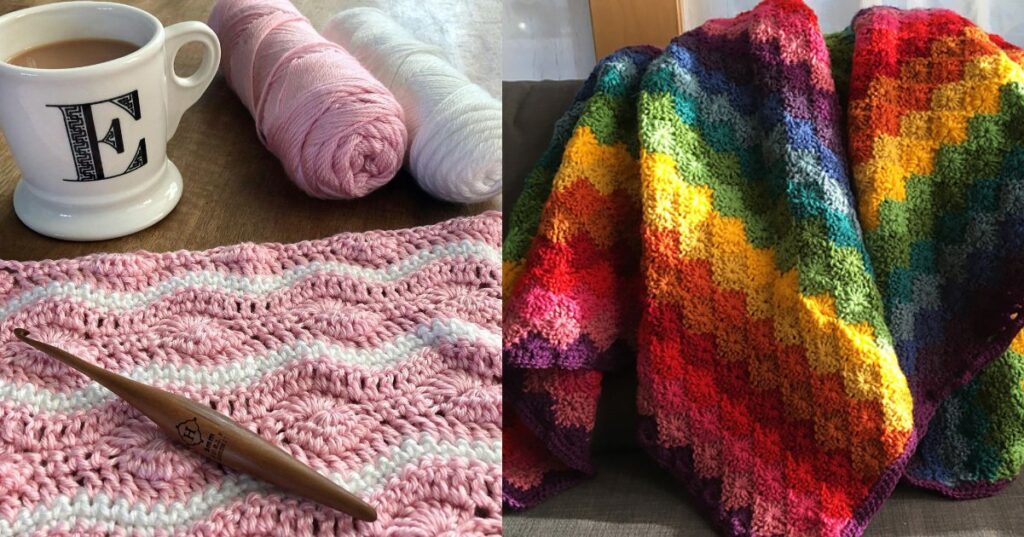
When it comes to Catherine’s wheel stitch, you must have already surfed through several images. Needless to say, the multicolored color palette is a common sight of this crochet stitch, isn’t it? There’s no way you will overlook a rainbow Catherine’s wheel. That said, you can pair bold contrasting colors or opt for subtle tones to add a new dimension to the stitch.
Monochromatic Color Palette
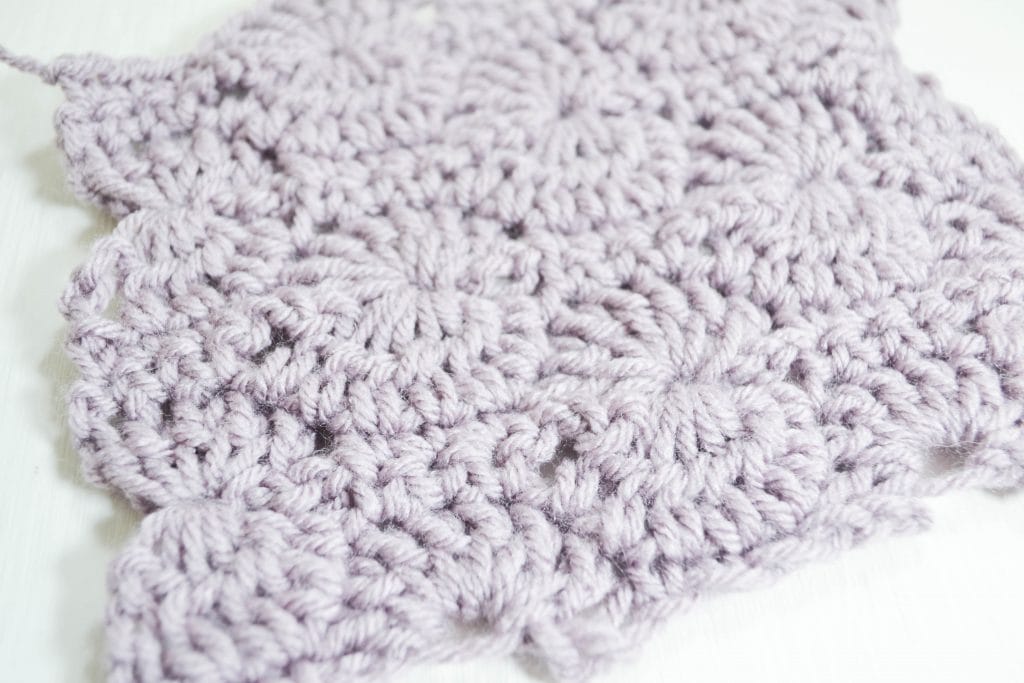
Unlike the multicolored crochet of Catherine’s wheel stitch, the monochromatic palette is not very common! But a good monochromatic palette can give equal competition as well. If you are someone who enjoys such a palette, then do not shy away from crocheting in mono tones.
2. Adding Different Textures to Create Depth
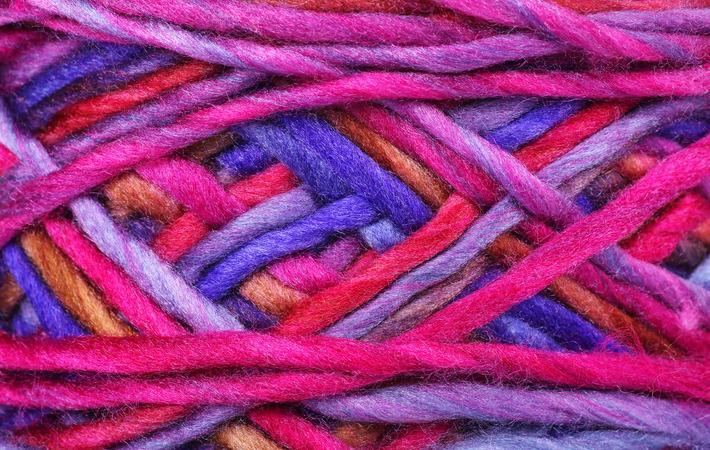
As you have already read, yarn plays a crucial role in bringing Catherine’s wheel stitch to life. In addition, it also does wonders when it comes to textural twists. You can combine smooth, textured, fuzzy, and glossy yarns. Adding it in the right way will elevate your crochet to another level.
3. Adjust the Size of the Wheels for a Better Visual Effect
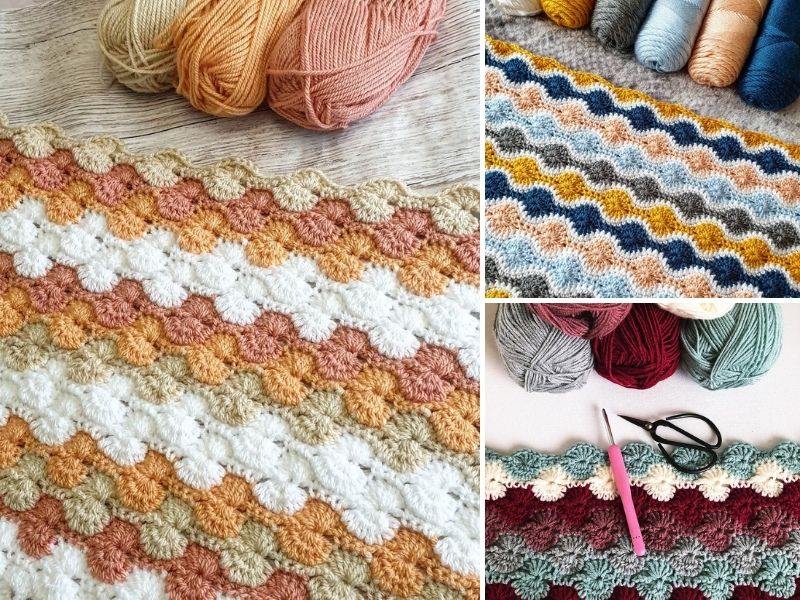
Another customization you can avail of is to adjust the “wheel” sizes. You can experiment with Dc Sts to experiment with the wheel size. The moment you alter between large and small wheels, your crochet will stand out even more.
Different Ideas to Craft Using Catherine’s Wheel Stitch
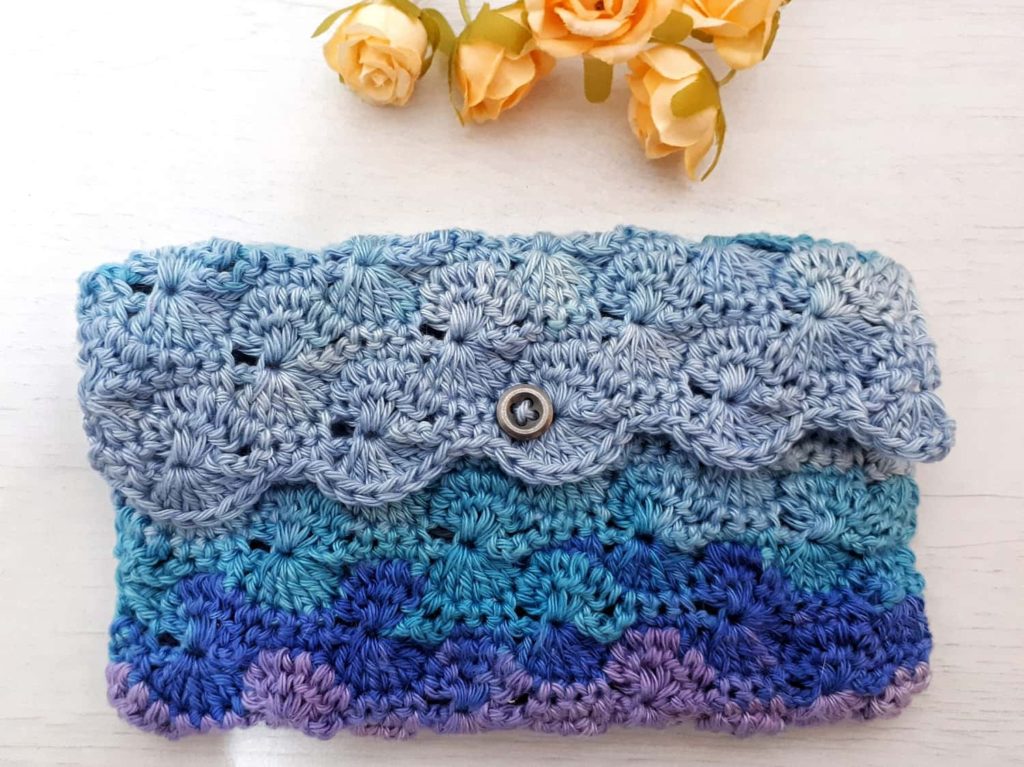
Being a reversible stitch, Catherine’s wheel stitch can be incorporated into many projects. Out of all, we have handpicked three project ideas that make the best use of this crochet stitch:
1. Blankets
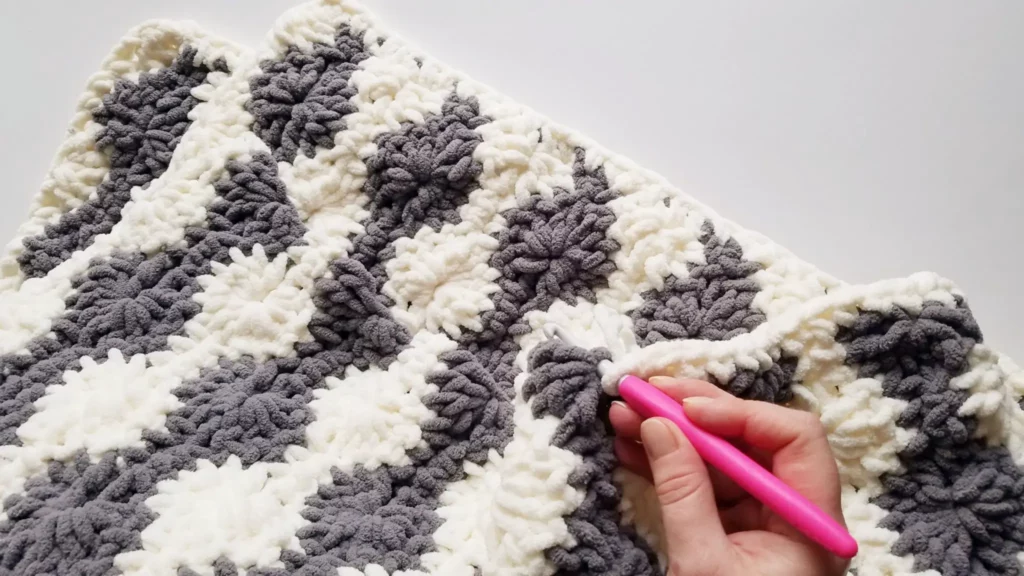
Is there anything better than a handmade crochet blanket? We don’t think so. And when you crochet it yourself in Catherine’s wheel stitch, it becomes extra special. Although crocheting a blanket in Catherine’s Wheel can be tedious, it is also worth the effort to create a cozy statement piece.
2. Cushions
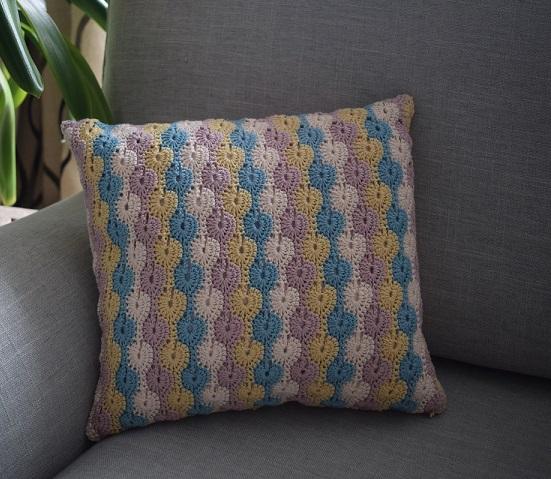
Cushions can transform any space in your house. If you want them to shine more and be a stroke of creativity, then crochet cushions in Catherine’s wheel stitch. It’s bohemian and funky yet chic and elegant. Catherine’s wheel stitch cushions are also a perfect way to add effortless art into space.
3. Scarves
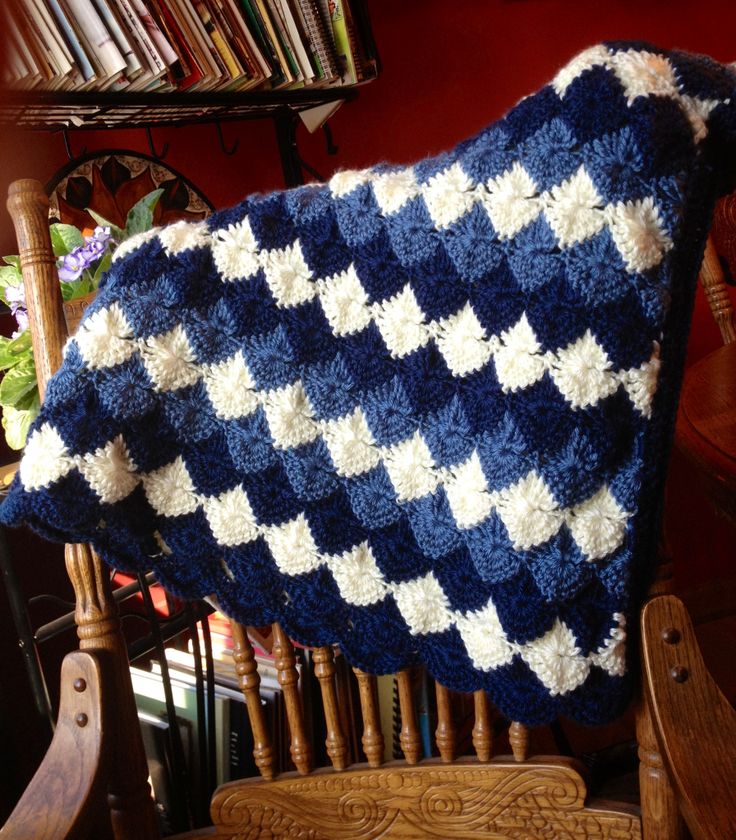
Be it a scarf or even a shawl, Catherine’s wheel stitch looks fantastic on them. You can even gift your loved ones such customized pieces. Plus, it is a great way to adorn your craft and show it to the world (that will fetch you some great compliments).
Catherine’s Wheel Stitch: An Expression Of Creativity
Catherine’s wheel stitch is a mixture of technique and innovation. With an easy-to-follow tutorial, varied experimentation, and application, you can easily embrace this crochet stitch. Once you master the basics of this stitch by practicing the written instruction, try other variations of Catherine wheel stitch. And above all, have fun experimenting. Infuse the ways we have suggested and create unique pieces. Here are 10 distinct patterns of Catherine’s wheel stitch for you to try!
By the way, have you tried this “pinwheel” stitch before? Did it get you hooked? If not, give the above tutorial a try. We are sure it will change your mind. And, oh yes, do not forget to share your experience with us in the comments. In case you get stuck with any hook and loop, reach out to us. We are always one comment away!
Frequently Asked Questions
What are the Similar Crochet Stitches to Catherine’s Wheel Stitch?
Harlequin and Starburst stitches are the most similar crochet stitches to Catherine’s wheel stitch. While Catherine’s wheel stitch is “pinwheel” in shape, Harlequin and Starburst are more like diamonds in shape when you look closer.
Is Catherine’s Wheel Stitch Appropriate for Beginners?
Yes. It is appropriate. Although it is in the intermediate level of crocheting, beginners who know the basic stitches can certainly achieve it with patience and practice. After all, practice makes things perfect.