Babies are the cutest creatures of God, and they get all the love with the simple cycle of ‘Eat, Sleep, Cry, and Repeat.’ The cute little babies deserve the utmost love of family and friends. One of the ways of expressing this love is in the form of gifts, especially handmade ones.
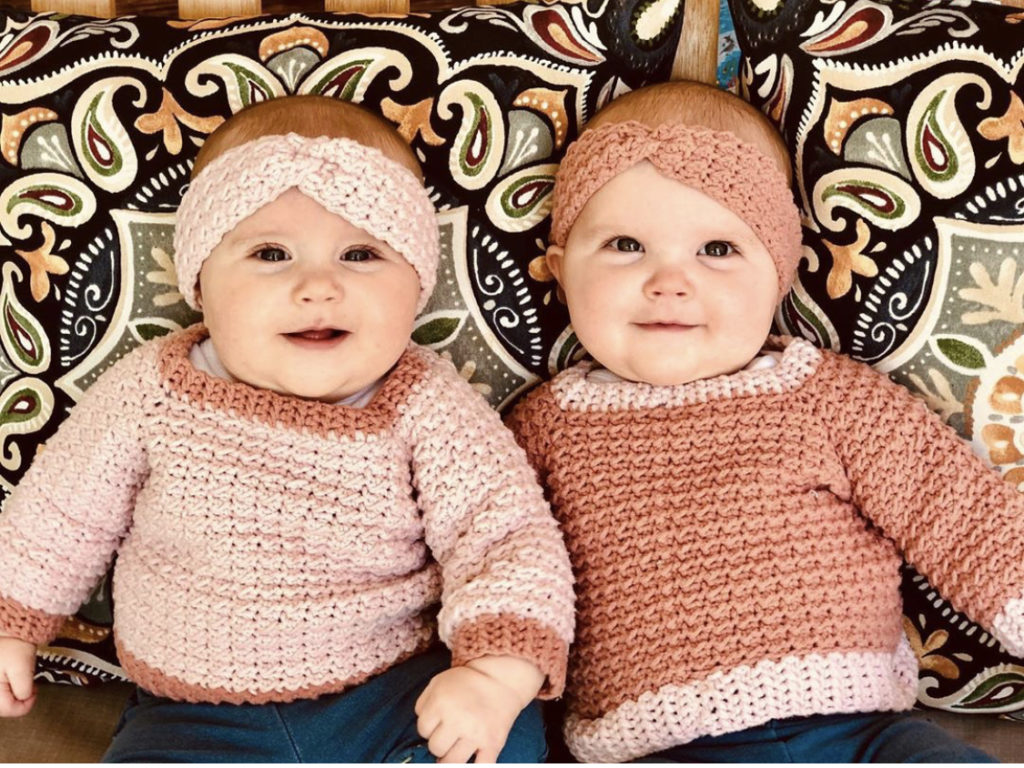
One such amazing handmade gift idea is the ‘Baby Sweater Crochet Pattern.’ If you love knitting or want to give it a head start, weaving an Even Moss Baby Sweater is the most convenient project you can take on. It is easy and looks adorable.
We will explain how easy it is to weave a baby sweater without much effort and in less time. You are going to love weaving, and the kid will love the sweater. First things first. Arrange all the requirements to avoid any last-minute rush.
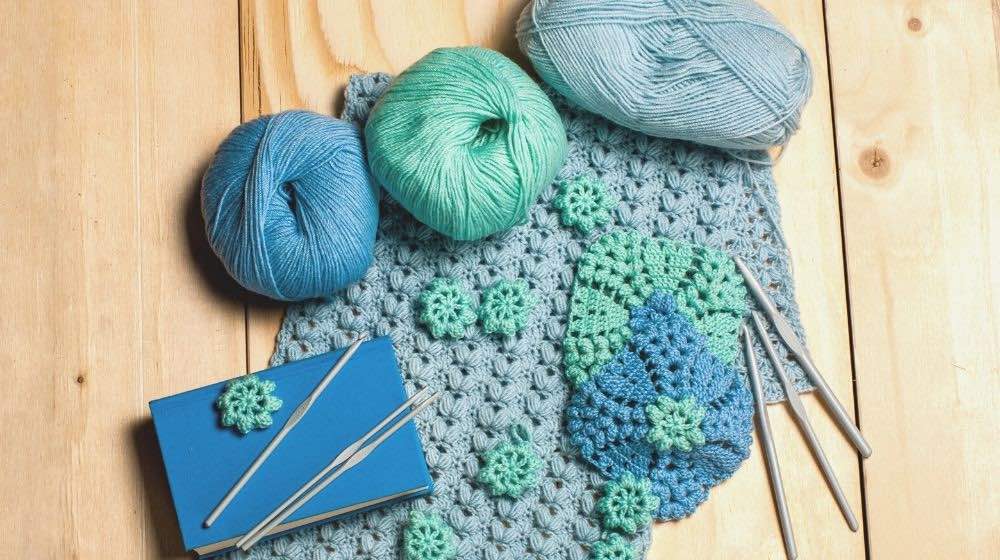
Materials Required for Baby Sweater Crochet Pattern
| Yarn | Tape Measure |
| Hook(s) | Tapestry Needles |
| Scissors | Blocking Kit |
Why Even Moss Stitch?
While there are endless weaving techniques, why did we choose the even moss stitch specifically for the baby sweater crochet pattern? Simple. Because it just requires the knowledge of the practice of basic stitching techniques, like- Half double slip stitch, abbreviated as ‘HDSS’ in the article, and slip stitch, which is abbreviated as ‘ss.’
Crochet Abbreviations
Familiarise yourself with some of the abbreviations which will be used in the article for easy understanding.
| Abbreviation | Full Form |
| HDC | Half Double Crochet |
| SC | Single Crochet |
| CH | Chains |
| ST | Stitches |
| SL ST or SS | Slip Stitch |
Various parentheses and other symbols are used for denoting measures and other technicals while crocheting. But, to keep this article a beginner-friendly module, we will not be using them. But, it is advisable to learn about them as you begin to refine your skills. Now, let’s start crocheting!
Even Moss Stitch Baby Sweater
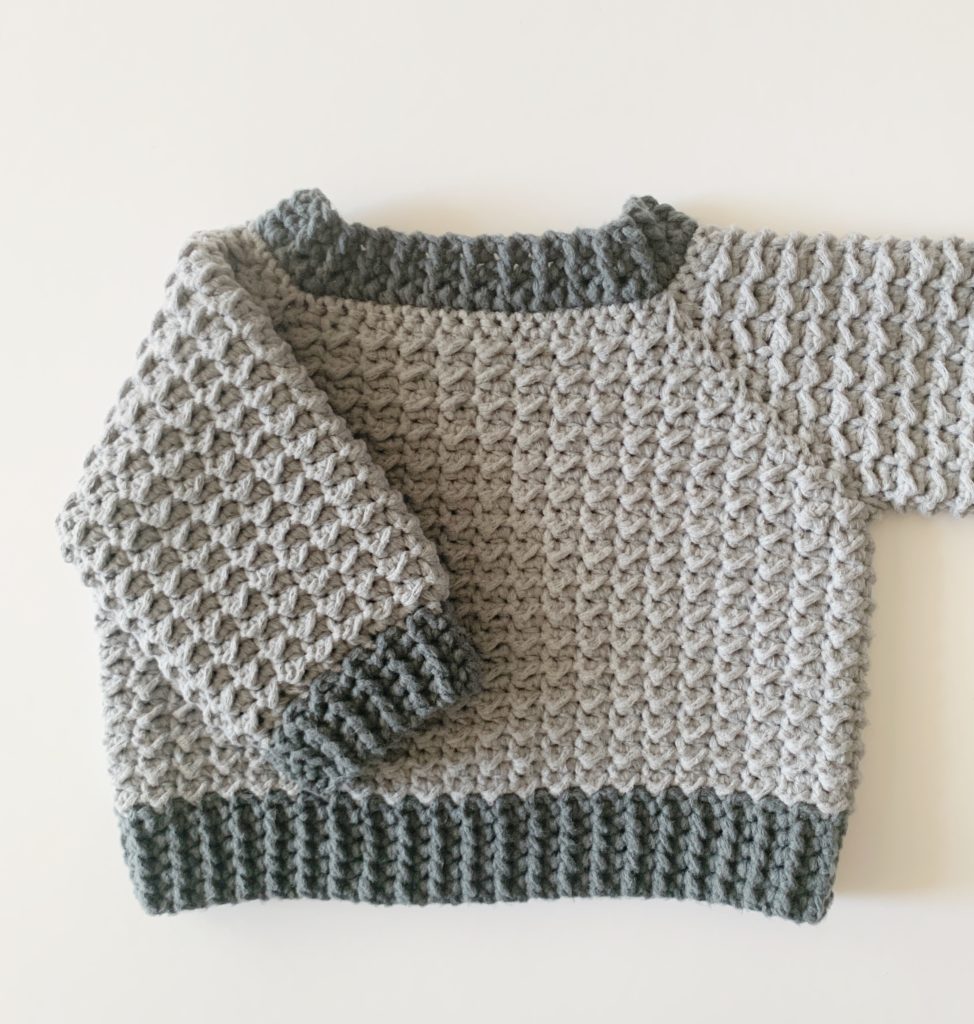
We hope you are ready with all the materials required. The crochet sweater we are weaving today can be adjusted to the size of 6 6-month-old to 24-month-old baby.
Stitching Skills
1. Even Moss Stitch
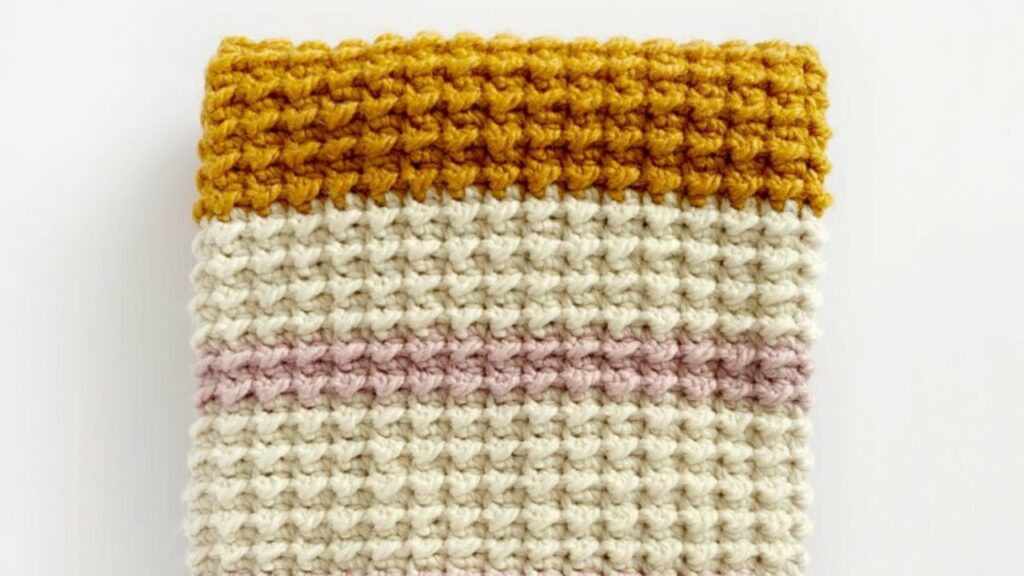
Even moss stitch is the working of alternating HDC and SS. Slip stitches are worked on top of slip stitches in the row below, and the half double crochet stitches are worked on the top of half double crochets of the row below. This is the basic working of even moss stitch that will be used while making this baby sweater crochet pattern.
2. Corner Stitch
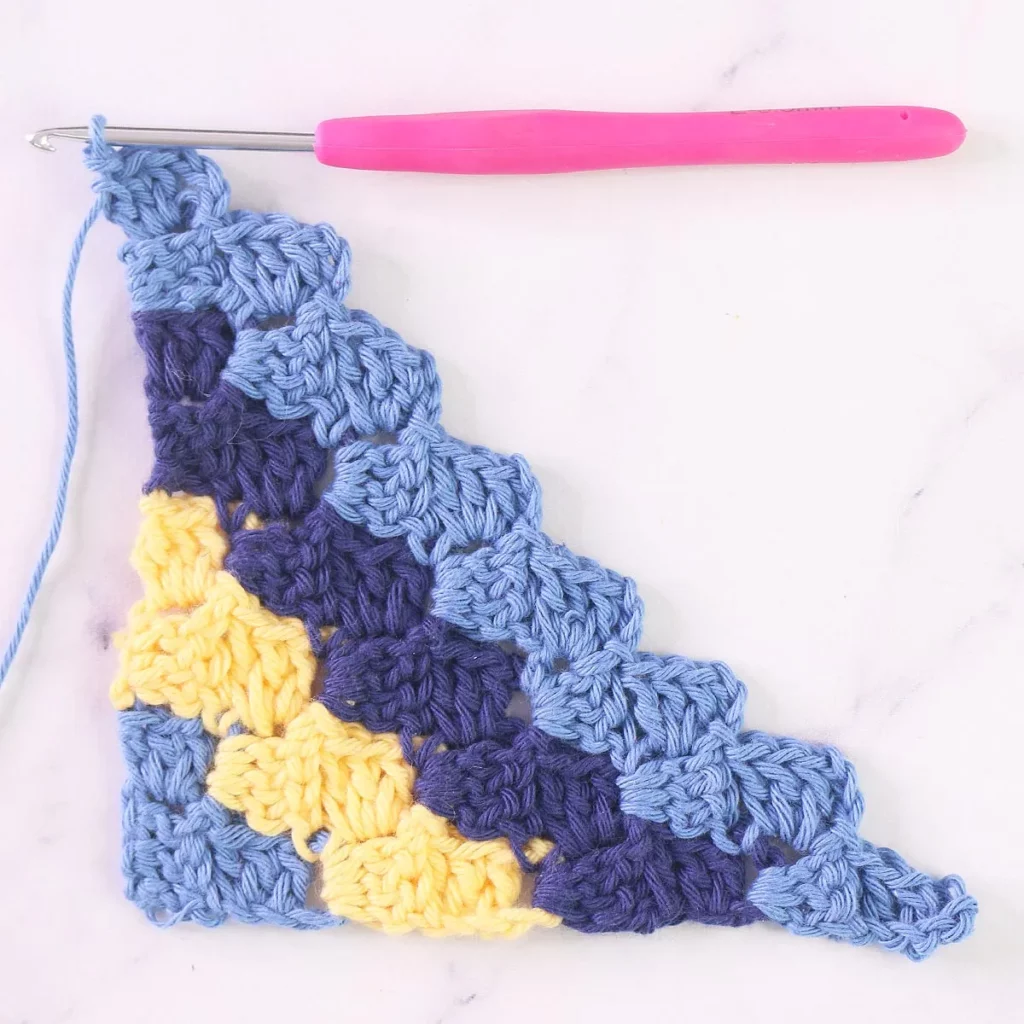
Work in the pattern of Single Crochet- Chain 2- Single Crochet in the gaps that are to be acknowledged as the corners of the sweater. This will be the corner stitch pattern all over the sweater weaving. The corner stitch provides the edge for transition to the next row; thus, be careful with it.
3. Half Double Slip Stitch
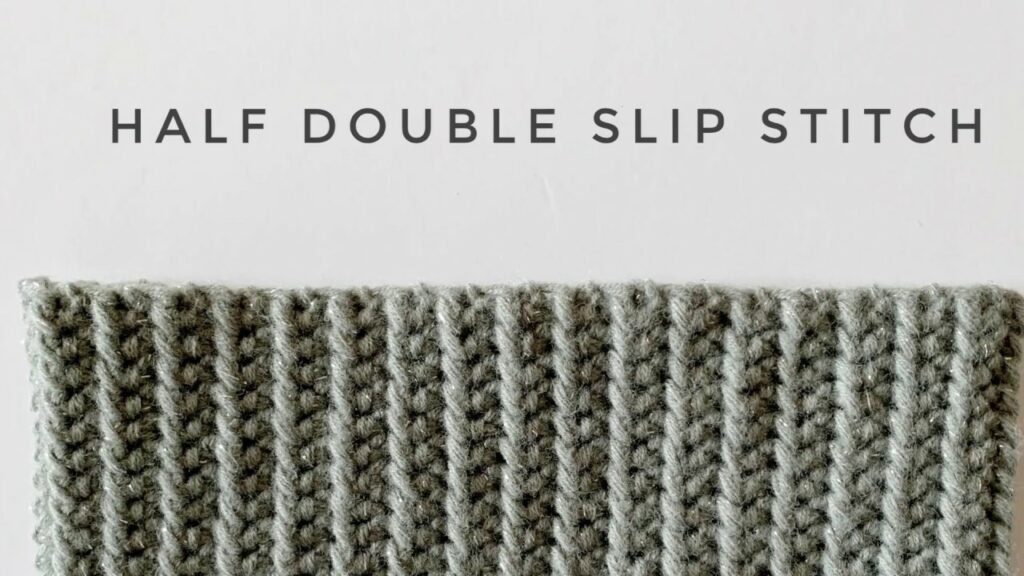
The half double slip stitch is done in the following pattern- Yarn over, insert hook, yarn over, and pull through all the loops on the hook. One stitch gets completed after one such round. This pattern will be used all over the sweater weaving.
How to Crochet a Sweater for the Baby: Step-By-Step Guide
There are different parts of the sweater, like the rib of the neck, sleeves, shoulders, and the body. It is easier to move step-by-step so that no part gets messed up, and the texture will not die this way.
Decide the color of the sweater and take two colored yarns, one named Color 1 and the other named Color 2.
Step 1: Start with the Rib of the Neck
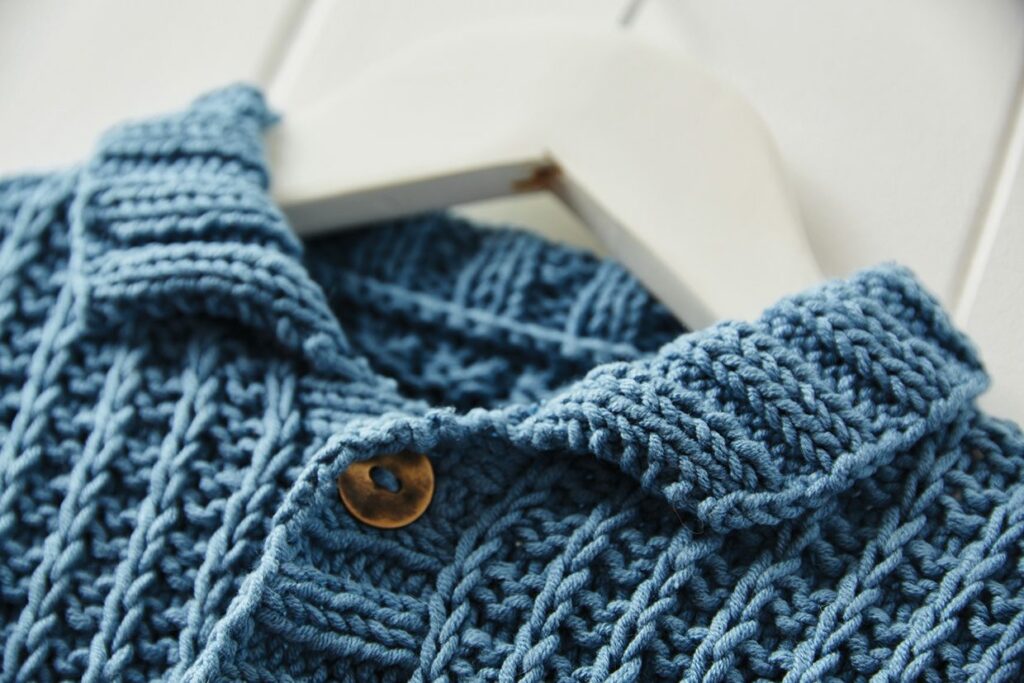
Attach the primary yarn (Color 1) to the crochet hook using the standard slip knot.
Make Chain 4 with this Color 1. For Row 1, HDSS into each chain- 3 times, and for Rows 2- 56, CH 1 and turn and then HDSS into each stitch- 3 times.
Now, with a tapestry needle, sew both ends of the starting tail together to form a circle. Cut the strand and pull up a loop of Color 2. SC around the circle and at the end of the row, work one SC into each space. Work one SC into the second chain from the hook, then one SC into each of the remaining chains. Join with the SS to the first SC, Chain 1, and turn the work. This is to be done for all 56 rounds.
The stitch that you slip stitched into mark it as #1. Then count from the first SC of the round and mark stitches #10, #19, #38, and #47. For the shoulders, you will have 8 stitches in between two markers, and for the front and back, there will be 18 stitches in between 2 markers.
Step 2: Switch the Process in Rounds Now
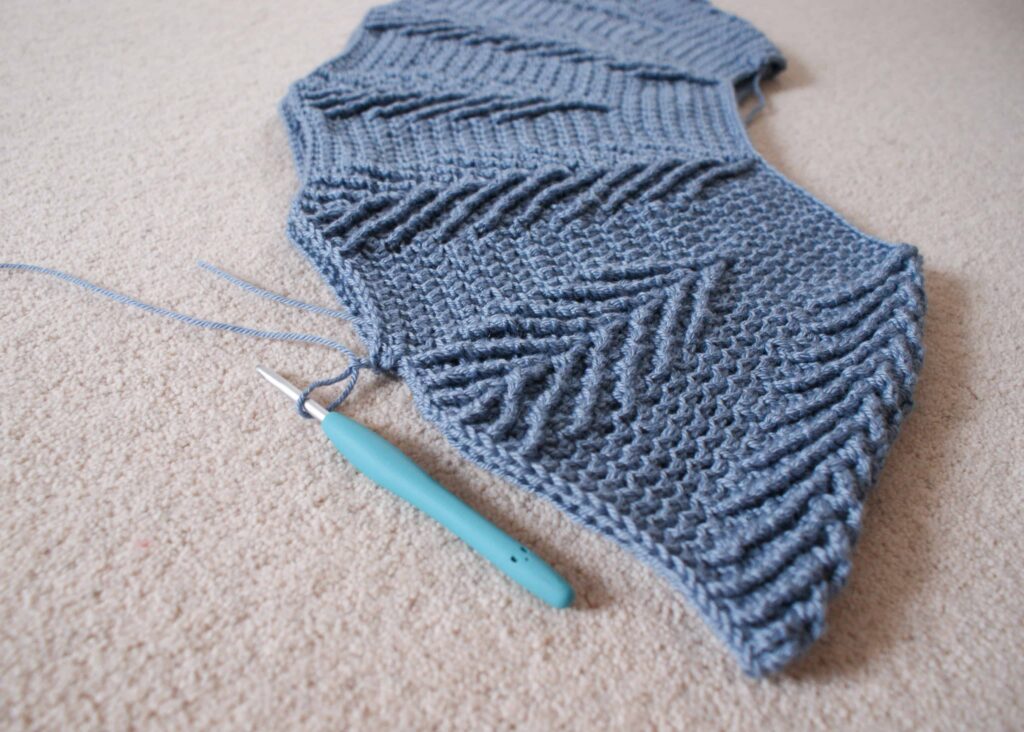
Round 1: Start with HDC in stitch #2 and then slip the stitch into the next stitch. Repeat the Even Moss Stitch structure to the first marker. Continue this pattern till stitches #8 and #9 should be SL ST. In the marked stitch #10, work the pattern of corner stitching- SC, CH 2, SC.
For the next marker, begin with HDC in the space after the corner and continue the Even Moss Stitch till marker #19. The corner stitches are supposed to break the pattern from which to repeat the even Moss stitch. Make sure your last stitch before the corner is SL ST. Until the next marked stitch, #38, continue the even Moss stitch. Same as the earlier mark, work the HDC with corner stitch till 8 stitches and then join the slip stitch to the starting stitch.
If you wish to get a detailed strategy for each stitch and each row, read thearticle that explains the basics.
Round 2: After Round 1 is completed, CH 1 turns into the first slip stitch of the row below the SL ST, work Even Moss Stitch. Then, up to and including the SC before the CH 2’s of the corner, work Even Moss stitch again. Work the corner stitch underneath and around the CH 2 space. From the row below, continue the Even Moss stitch in the SC. Complete the whole round in this manner; the last stitch of the round should be HDC. Join the slip stitch to the first stitch, like done in Round 1, and then CH 1 and turn.
Round 3: From the row below HDC, work HDC with Even Moss Stitch. Work Even Moss to the corner and corner stitch around CH 2 space. Repeat the process now. The last stitch of this round will be SL ST. Join this SL ST to the first slip.
Further, for the even-numbered round, repeat Round 2, and for the odd-numbered round, repeat Round 3. Continue the process until Round 9.
Note: Color 1 yarn is the primary yarn that will be used for the rib, body, and sleeves. The Color 2 yarn will only be used for edging.
By now, you must have noticed that the ODD number round begins the Even Moss pattern with HDC, and the EVEN round number begins with SL ST. Be careful and vary about this work so you do not make mistakes.
If you end the round with a slip stitch, you need to begin the next with a slip stitch.
Step 3: Armholes
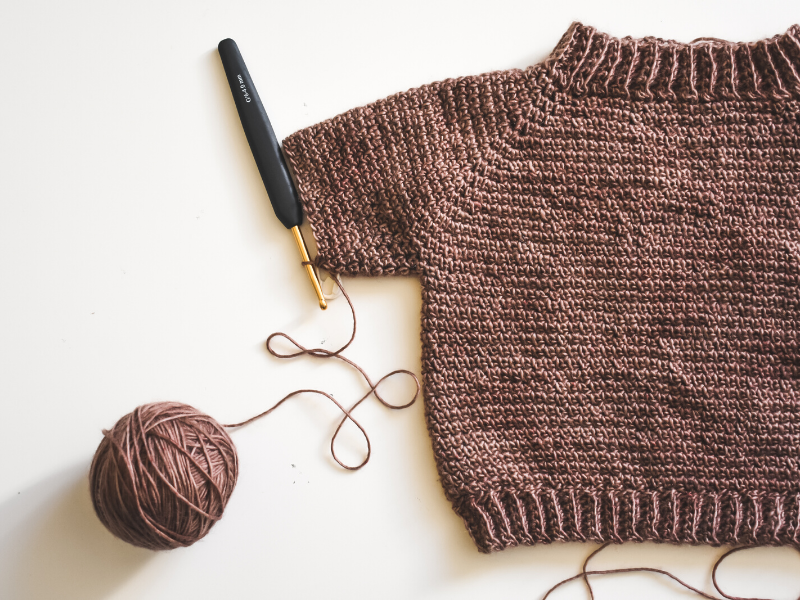
As usual, begin the round with Even Moss stitching to the first corner. This time, instead of the corner stitch, continue the Even Moss stitch in the CH 2 space. Then, pull the next corner space towards the hook and skip working all over the stitches. Work the next stitch in Even Moss stitch with HDC into the next CH 2 space. Continue the Even Moss stitch to the next corner and repeat from. Work the Even Moss stitch to the end of the round, slip stitch to the beginning stitch, CH 1, and turn.
Keep your measuring tape handy. Join the armholes as per the child you are weaving the sweater for. If the child is 6-9 months old, join the armhole on round 10. Also, keep the body measuring 7 inches from the back of the neck to the waist. If the child is 9-12 months, join the armhole at Round 11 and keep the body 7.5 inches long. For a baby of 12- 18 months, join the armhole at Round 12, and the body length measures 8 inches. If the baby is close to 24 months, the ideal body length for the sweater should be 9 inches, and the armhole should be attached at Round 12.
Step 4: Bottom Edging
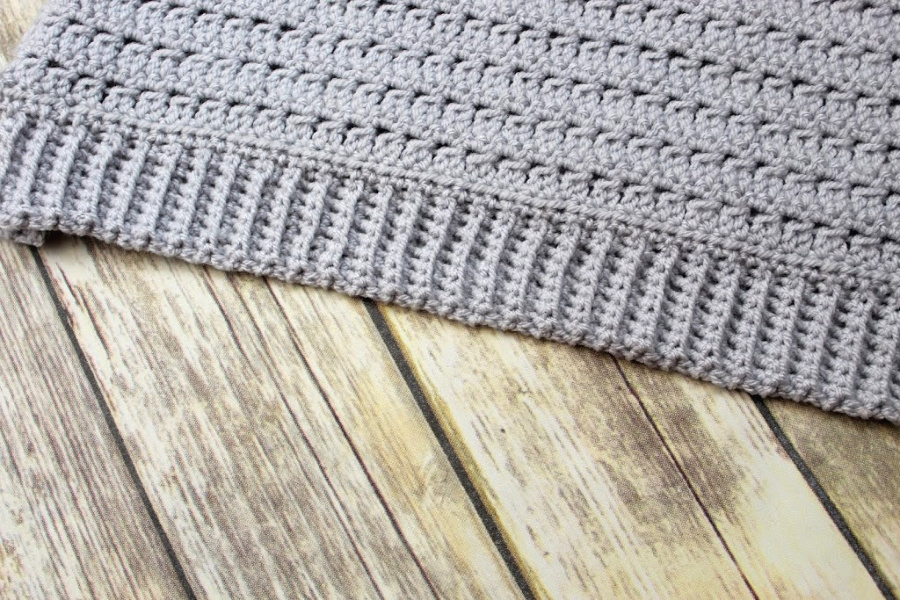
After you have reached the desired body length, pull through with Color 2 yarn for edging. Work on the CH 6. Towards the bottom of the sweater, work HDSS in each chain. Slip stitch into next stitch. Turn and work HDSS under both loops to the outer edges. CH 1 and turn. Again, work HDSS toward the bottom of the sweater, and this time, slip stitch into the next two stitches. Repeat the process, and on the final row(when the desired border length is reached), remove the hook and weave in all the ends.
Step 5: Work on the Sleeves
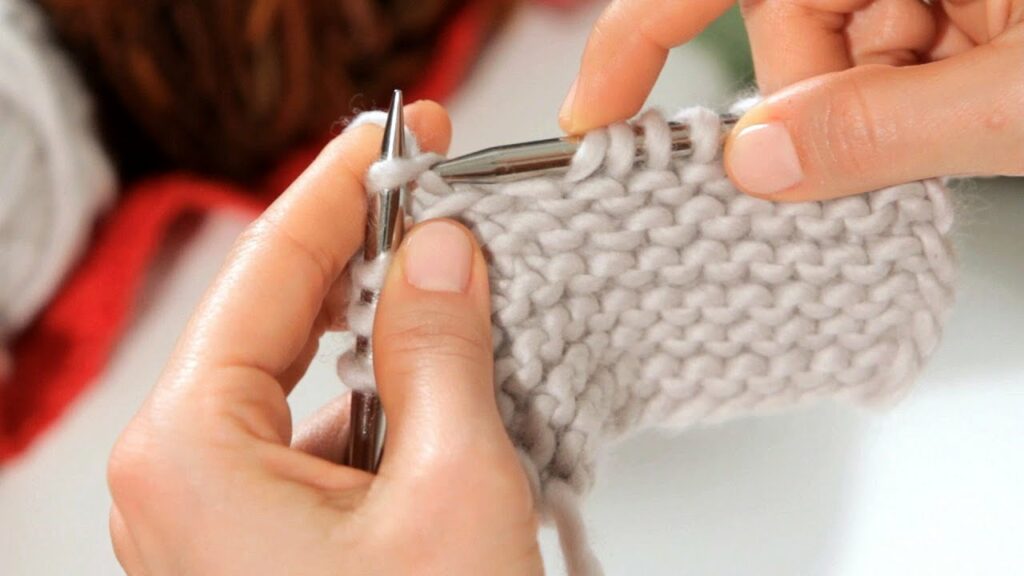
Pull up a loop in the base of the armpit in the direction away from you.
Round 1: In the same place as the loop of the armpit, CH 1 and SC work with Even Moss Stitch into the first stitch of the round. Even Moss stitches around every stitch in the armhole. Join with a slip stitch to the starting stitch.
Round 2: CH 1 and turn. Around the armhole, continue the Even Moss stitch and join with a slip stitch at the end of the round.
Repeat Round 2 until you reach the desired length of the sleeves. On the last row, work SC, SC, and SC2 to decrease the width of the sleeve. Pull through the Color 2 on slip stitch. Work the ribbing around the sleeves and finish the round by sewing the two ends. Tie off and weave all the ends.
Additional Tip: The ribbing around the sleeves and waist should match in terms of texture and direction.
Final Words
Even Moss stitch is one of the easiest crocheting techniques for beginner to intermediate-level weavers. Baby sweater crochet pattern is trending these days, and what would make a better gift than the classic and trending handmade crochet sweater?
A Crocheted sweater keeps the baby warm and comfortable. You should make sure to use the best quality material since certain yarns can affect the gentle skin of the baby. We suggest you use acrylic yarn since they are suitable for babies.
Well, this was all about Even Moss Stitch Crochet Sweater. Quickly finish off your weaving and let us know how the final sweater turns out. Share pictures if you wish to. We would love to hear your opinions.

