Whether an amateur or an expert in the field of crocheting, one aspect is common. You’re constantly on the lookout for experimenting. New designs, new stitches, new patterns, and new variations – you’re always Googling. So, here’s a new crochet pattern for you to try – the chevron crochet pattern.
Recommended for intermediates and skilled crocheters, the chevron stitch crochet is a popular choice for those who crochet as part of fulfilling their passion and professional needs.
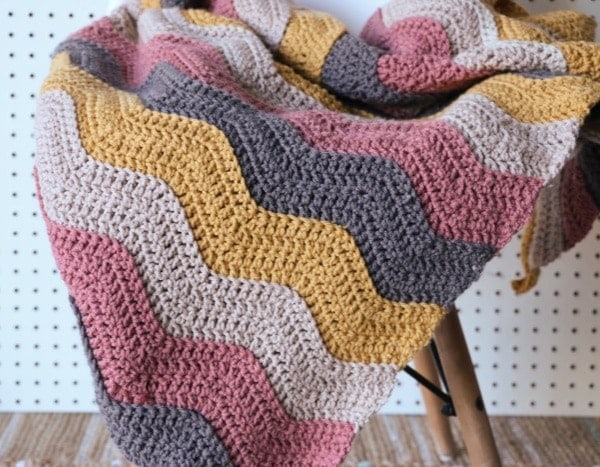
It presents a captivating zig-zag pattern that makes it a classic. Currently, it is one of the trendy crochet patterns that deserve all the attention and hype.
In this article, we attempt to make crocheting this pattern easier for you by presenting a basic tutorial on how to crochet for beginners.
What is a Chevron Pattern?
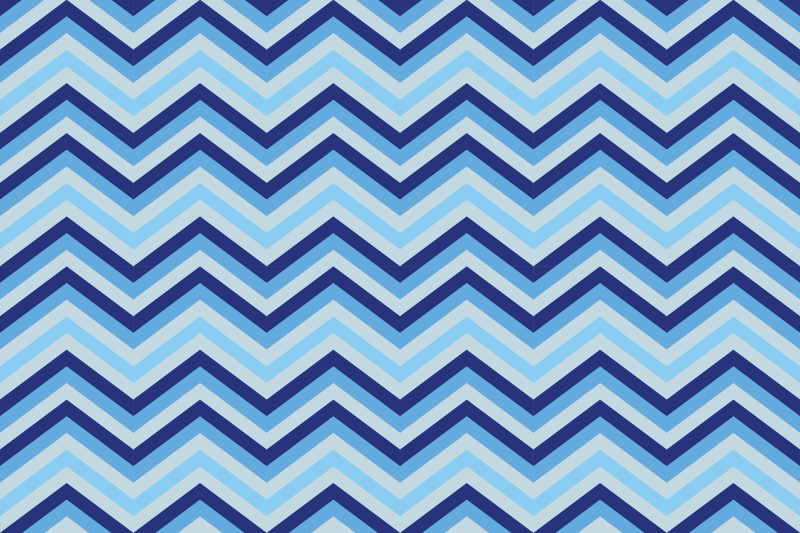
The chevron crochet pattern, as mentioned earlier, is a distinct “V-shaped” pattern. However, one should not confuse it with the “V-stitch” because, despite the striking similarity, they are different. The V-stitch is an interlinked crochet stitch that has a texture similar to the basketweave stitch. On the other hand, the chevron crochet pattern works up by any stitch of your choice. An easy chevron crochet pattern can be achieved by single, double, or treble crochet stitches. If you’re adept, you could also use the granny stitch for the pattern.
<iframe width=”1280″ height=”720″ src=”https://www.youtube.com/embed/NS3ydo_pcrs” title=”CROCHET: Chevron tutorial | Bella Coco” frameborder=”0″ allow=”accelerometer; autoplay; clipboard-write; encrypted-media; gyroscope; picture-in-picture; web-share” allowfullscreen></iframe>
About the Chevron Crochet Pattern
- Skill Level: Easy to Moderate
- Suitable For: Advanced beginners or Intermediates to Experts in Crocheting
- Pattern Characteristics: Solid
Many crocheters are of the opinion that the chevron crochet pattern should be worked in the back loop only to give it a ribbed texture.
Why is it Called the Chevron Pattern?
To know the reason behind its terminology, you will have to know what a chevron pattern looks like. As you have seen, the chevron crochet pattern looks like a “V” or, more specifically, like two beams of a roof connected at an angle. This is exactly how it got its name, from the Latin word “Caprio,” meaning rafters (of a roof).
How to Make a Chevron Crochet Pattern?
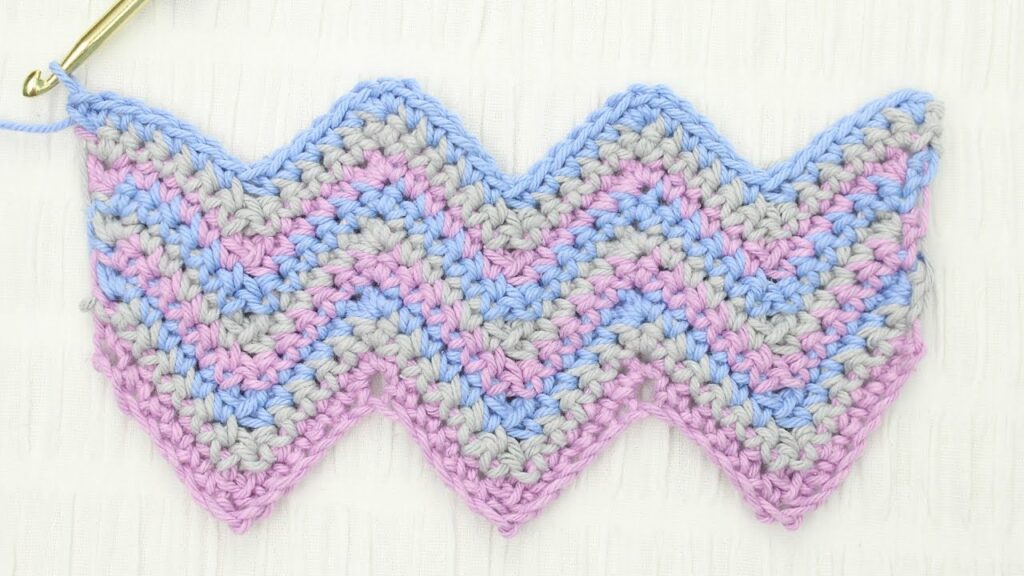
Now that you have sufficient information about the chevron crochet pattern, here is a step-by-step detailed guide on how to crochet a chevron pattern. But before we move on to the chevron crochet pattern tutorial, make a note of the essential requirements and the basic crochet abbreviations, as stated by the US Craft Yarn Council.
Essential Requirements for Crocheting the Chevron Pattern
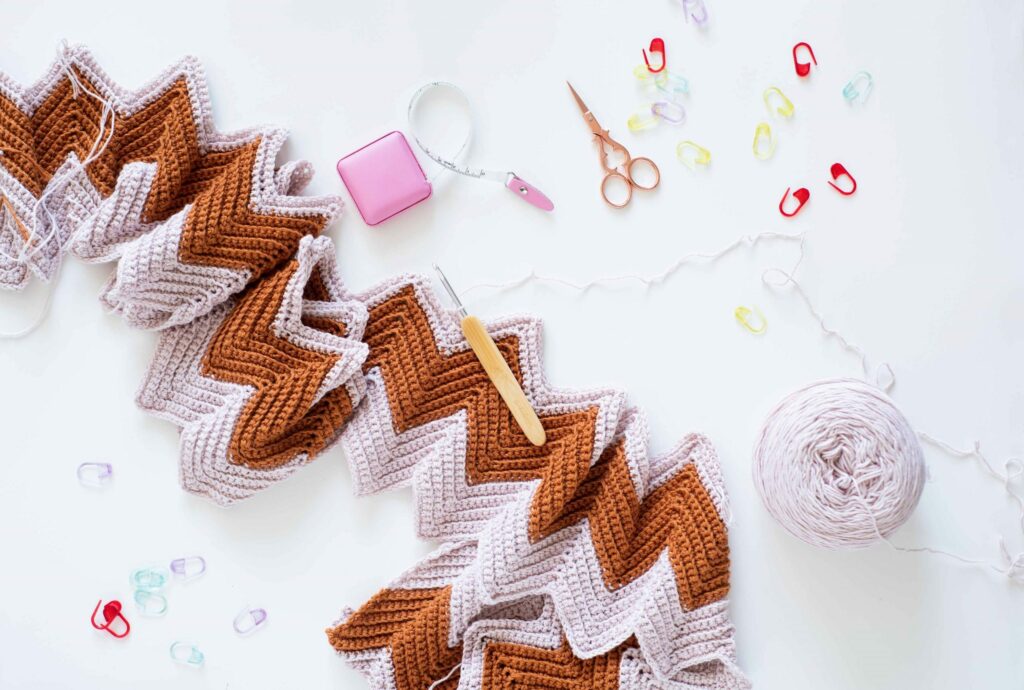
| Crochet Yarn (preferably lightweight to midweight) | Tapestry Needle |
| Crochet Hook | Yarn Scissors |
Basic Abbreviations in Crocheting
| Ch = chain | Sc = single crochet |
| St = stitch | Dc = double crochet |
| Sl St = slip stitch | YO = yarn over |
| Sk = skip | Rep = repeat |
Step-By-Step Guide to Making Chevron Crochet Pattern
As mentioned earlier, the chevron crochet pattern can be curated using different types of stitches, ranging from the basic ones right up to granny stitches and everything in between. In this tutorial, we have simplified the process of stitching the chevron crochet pattern for beginners.
<iframe width=”1280″ height=”720″ src=”https://www.youtube.com/embed/8k5evNaAjSE” title=”CROCHET: Chevron/Granny ripple tutorial | Bella Coco” frameborder=”0″ allow=”accelerometer; autoplay; clipboard-write; encrypted-media; gyroscope; picture-in-picture; web-share” allowfullscreen></iframe>
Step 1: Prepare the Foundation Chain
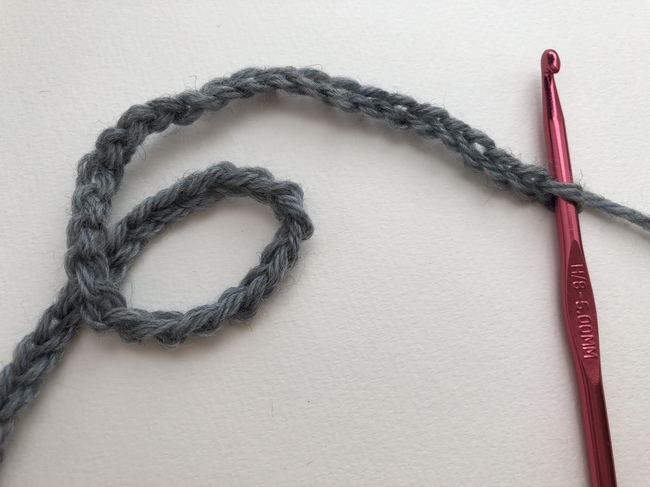
The foundation chain can come in different numbers, depending upon the number of peaks and valleys that you want, along with the length of each peak and valley. For this pattern, you can make a foundation chain that is a multiple of 12 + 2 (one for the extra peak at the end of the row and one for turning).
Step 2: Prepare the Special Stitch
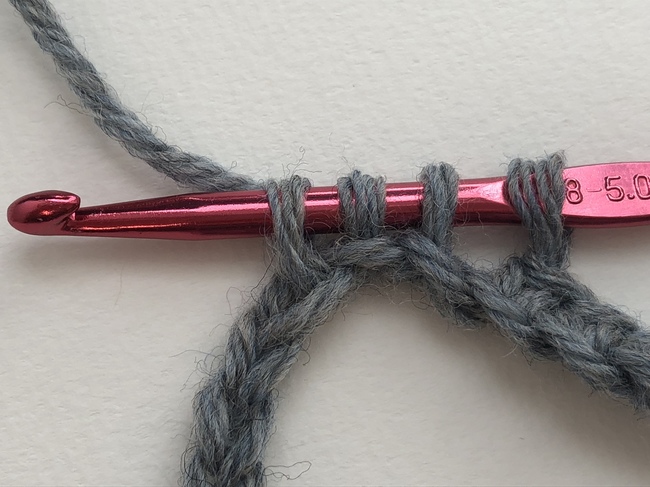
The special stitch that we will be using for this chevron crochet pattern tutorial is the Sc3tog, that is, single crochet 3 stitches together. We will tell you how to do it.
<iframe width=”1280″ height=”720″ src=”https://www.youtube.com/embed/Ny6foaqU8sk” title=”BEGINNER Single Crochet 3 Together sc3tog” frameborder=”0″ allow=”accelerometer; autoplay; clipboard-write; encrypted-media; gyroscope; picture-in-picture; web-share” allowfullscreen></iframe>
Insert the hook into the stitch. Yarn over and pull the loop through without completing the stitch so you have 2 loops on the hook. Insert the hook into the next stitch now and pull through. Repeat the same process on the next stitch. Now that you have 3 loops on the hook, pull through all the 3 loops with 1 loop on the hook.
Step 3: Stitching the First Row
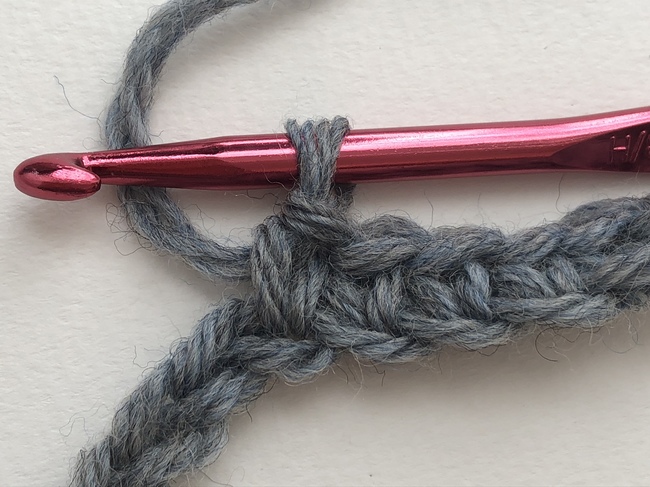
Make a single crochet stitch in the second chain from the hook. Single crochet into each of the next 4 stitches, followed by Sc3tog. Next, make 3 single crochets in the next 4 stitches.
The single crochets form the “peak” or the increasing pattern, and the special Sc3tog stitch forms the “valleys” or the decreasing pattern.
Now, repeat the above pattern, that is, Sc into 4 stitches, followed by Sc3tog, and conclude it with Sc into the next 4 stitches. Stitch additional 3 sc in the last stitch.
Step 4: Stitching the Second Row
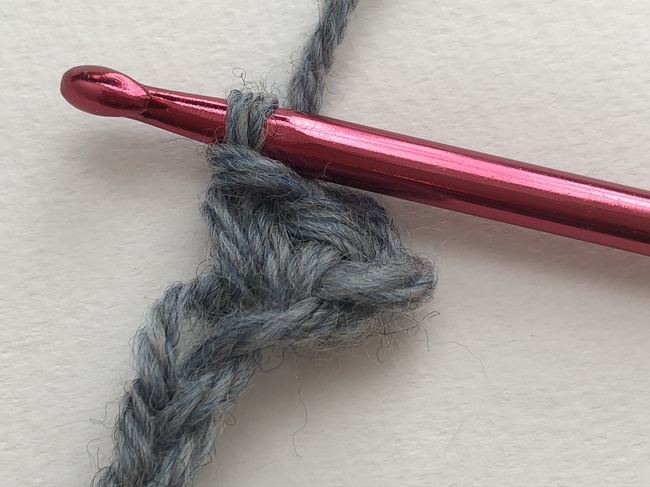
Use Chain 1 to turn and stitch 2 sc in the second single crochet (making up a total of 2=1=3 sc). This counts as the first 3 sc. Stitch 4 single crochets in each of the next 4 single crochets. Now Sc3tog, such that you’re working the peaks of the vs. into the peaks of the previous row and valleys of the vs. into the valleys of the previous row. Now sc in each of the next 4 sc.
As we did for the first row, repeat the pattern (3 sc, sc in each of the next 4 sc, sc3tog, followed by sc in each of the next 4 sc). Conclude by making an additional single crochet in the last stitch.
Step 5: Stitch Additional Rows
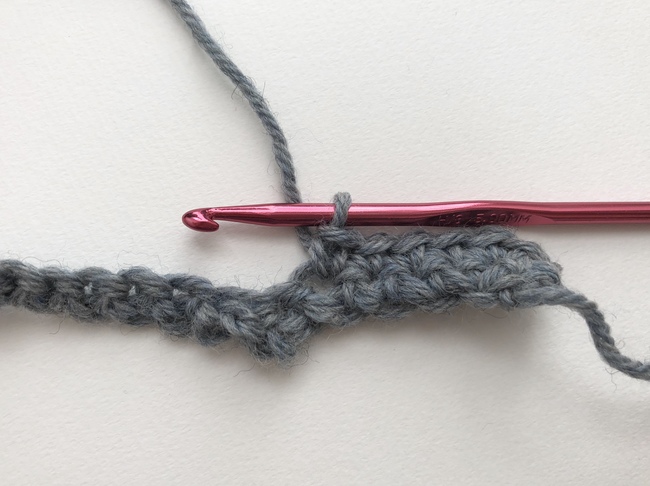
All you have to do for the additional rows is to repeat the process mentioned for Row 2. Stitch single crochets into each of the next 4 single crochets. This is the basic step of Sc3tog that you need to follow throughout the entire course of the piece that you are crocheting. Place removable stitch markers at the end of each peak and valley to avoid having to count all over again. Use a tally counter to stay on track regarding the number of rows.
Brushing up the Basics of the Chevron Crochet Pattern
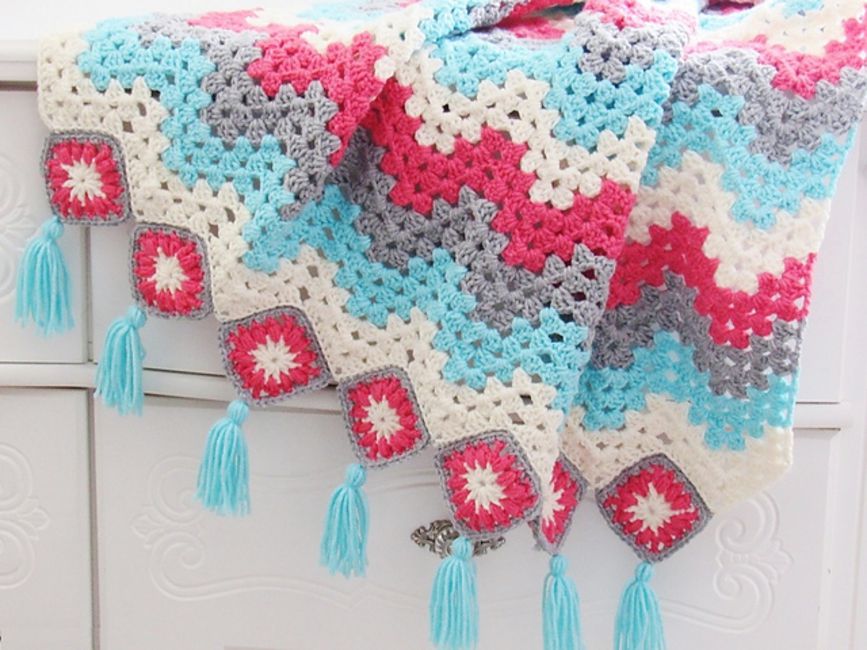
Now that you know how to make the chevron crochet pattern by yourself, here is an additional guide on making different variations of it. For this, you will need to know how to calculate the number of stitches for the foundation change, the different kinds of variations present, as well as changing colors in the pattern. Without further delay, let us proceed.
Calculating the Foundation Row Stitch
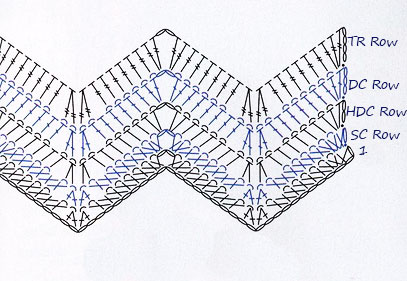
To calculate the total number of stitches you need for the foundation row of your chevron crochet pattern, you need to understand 3 basic factors:
- For the increasing peak, you need 3 stitches in 1, so you will need 1 stitch for one peak. For each decrease, however, you will need 3 stitches because you need 3 stitches worked together for the valley. Now that you have this simple info in hand, calculate the number of stitches you want between each increase and decrease and multiply it by 2 (one for the increase and one for the decrease). Add 4 stitches (1 for the peaks and 3 for the valleys).
- The number of multiples of stitches you need for the foundation row will depend on the number of repeats that you want. That is, the length of your chevron crochet pattern or the number of peaks and valleys you want will be the number that you multiply by the number of foundation chains that you calculated in the previous step.
- Add the number of turning chains that you need for the pattern after going through the first two steps. The number of turning chains you need depends upon the pattern of chevron you intend to create. As a general rule of thumb, for single crochet stitches, add 2 turning chains. For double crochet, add 4.
Simplifying the calculations, let us take the example of the written tutorial of the chevron crochet pattern above. So, we wanted 4 stitches between each increase and decrease, so we calculated 4×2= 8 stitches. To this, we added the 4 stitches as per the first rule, so our foundation row had 8+4 = 12 stitches. Now, for the basic tutorial, we only prepared a swatch having one repeat, so we multiplied 12 by 1, thus deriving 12 stitches for the foundation row. As mentioned earlier, we need 2 turning chains for the single crochet pattern, so our foundation chain adds up to 12+4 chains.
Variations to the Chevron Crochet Pattern
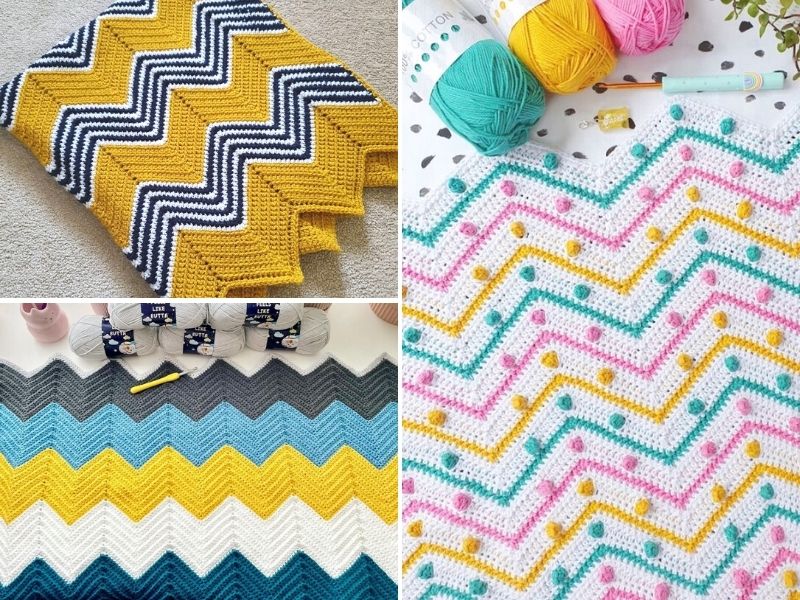
There are several variations to the chevron crochet pattern. This is because they can be made using a number of different stitch patterns. You can also make rounded chevron crochet patterns.
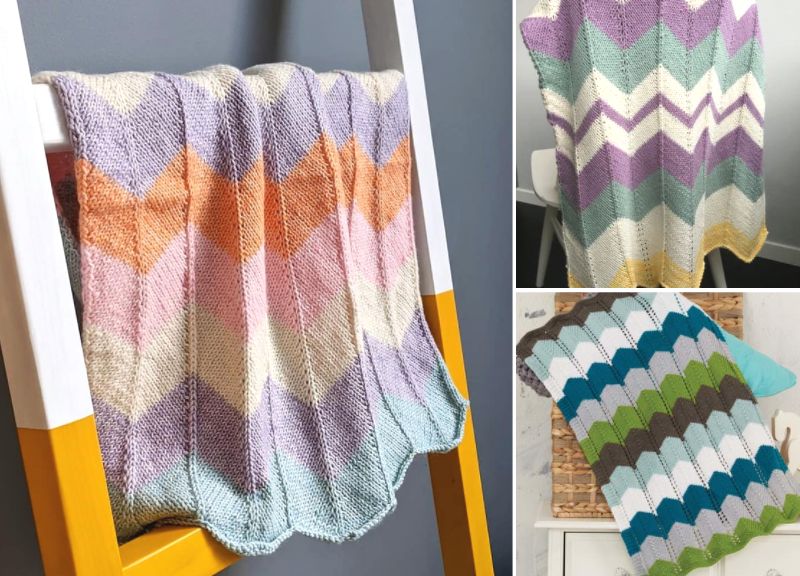
You can also modify the pattern simply by increasing the distance between the increases and decreases, giving them a toned-down pattern. By reducing the distance, the chevron pattern appears steep. You can also choose to make unequal increases and decreases, thereby adding to the creativity of the pattern. The zig-zags can be either horizontal or vertical.
Color Changes in the Chevron Crochet Pattern
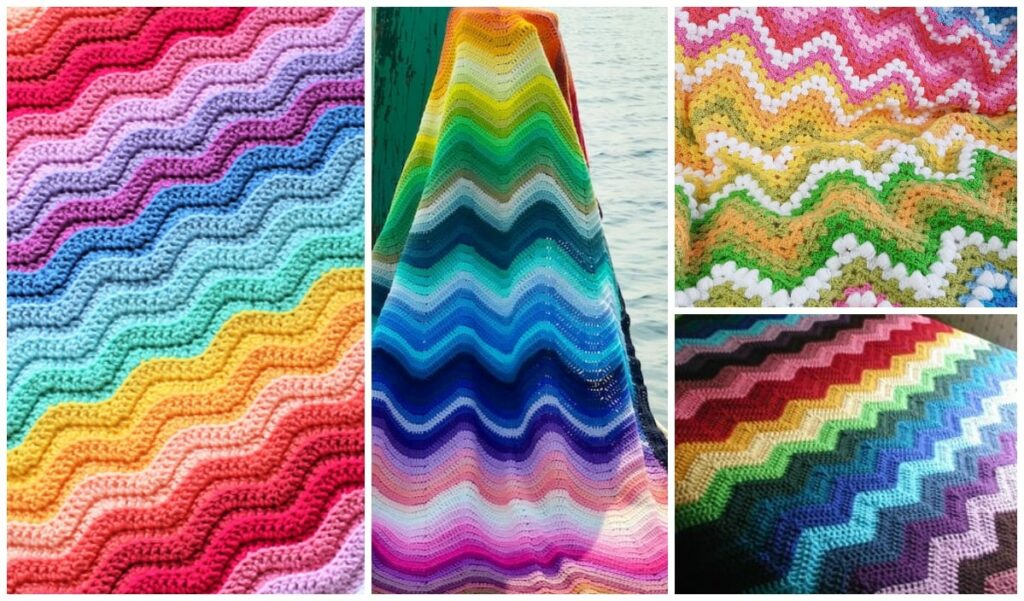
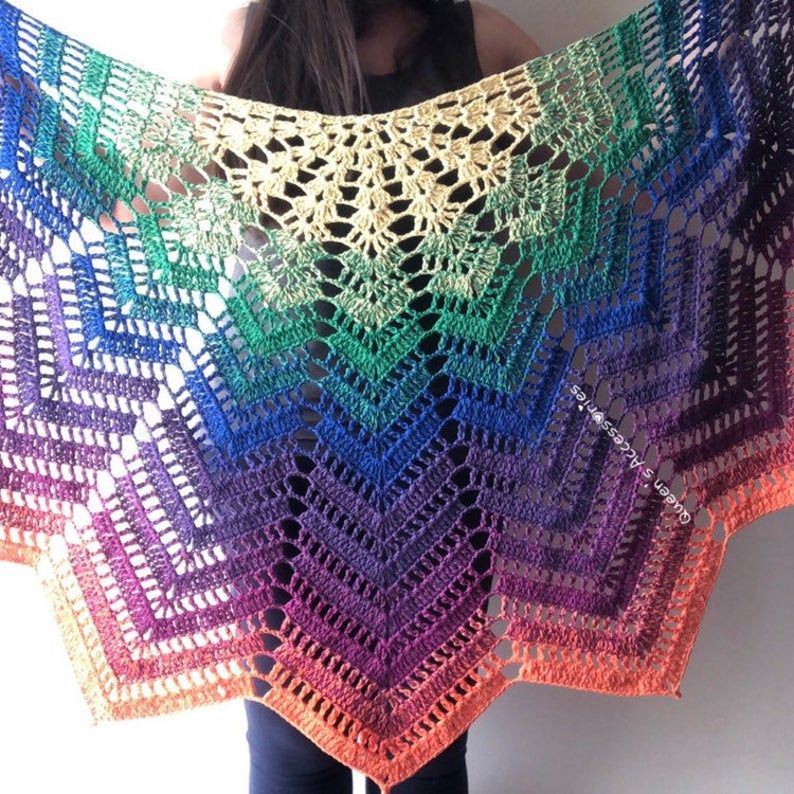
The chevron crochet pattern is one of the most fun stitches to work with, especially because of the interesting color changes that you can apply to it. Make a rainbow design, an ombre design, or alternate two to three colors, depending on the piece you are crocheting. Switching colors is simple. All that you have to do is fasten off at the end of the row when you want to change colors. Turn and join the new color in the first stitch. Use variegated yarns or self-striping yarns for the purpose.
Uses of the Chevron Stitch
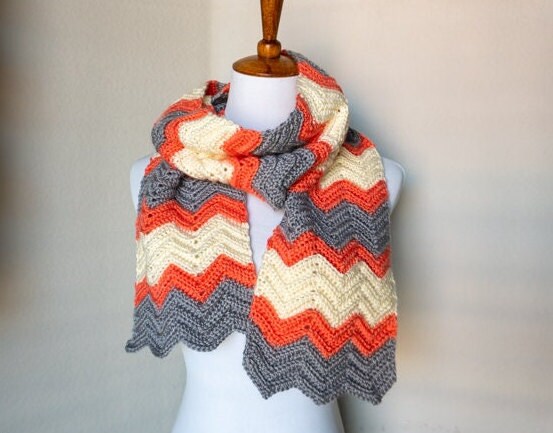
The chevron stitch can be used to make any of the other complicated stitches mentioned below:
- Double Crochet Chevron
- Half Double Crochet Chevron
- Wide Chevron
- Ridged Chevron
- Ribbed Chevron
- Peephole Chevron
The chevron crochet pattern, as explained, is an intriguing stitch to work with! And you can use this pattern to crochet blankets, scarves, cushion covers, sweaters, shawls, throws, or even formal tops.
Essential Tips Associated with Chevron Crochet Pattern
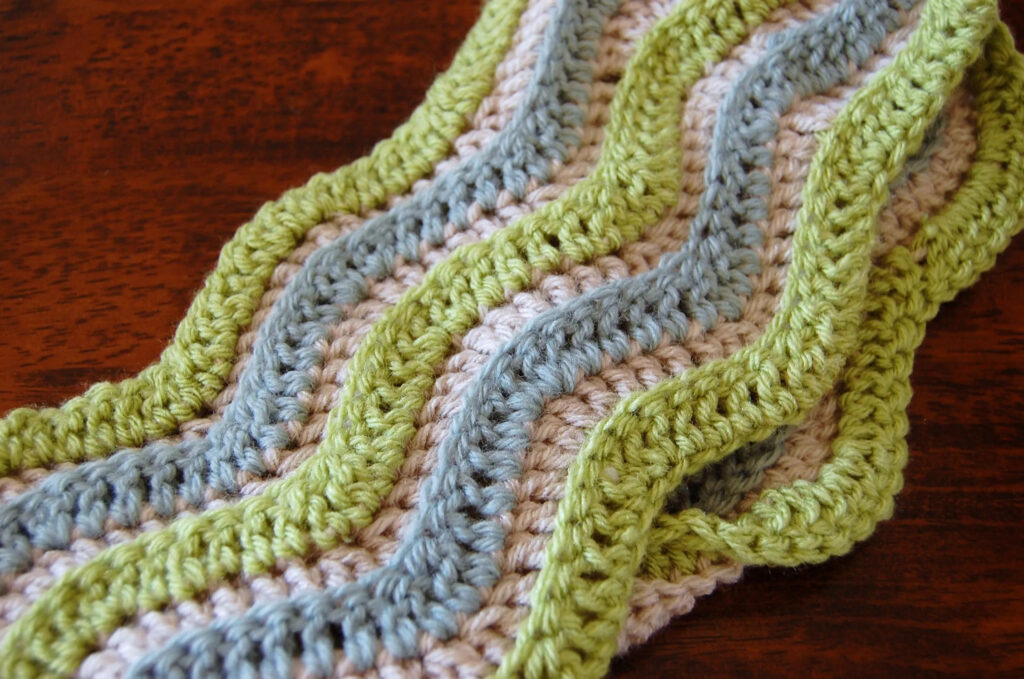
Here are some quick tips for making the chevron crochet pattern look even brighter!
- Work with more than two colors for a flashy appearance.
- The chevron crochet pattern is complete, just as it is. However, you can add a border at the end stitch if you want to.
- Work the double crochets in the back loop of the stitch for a textured feel and a ribbed outlook.
Conclusion
The chevron crochet pattern is a pronounced crochet pattern that speaks volumes of the refinement of the one who chooses to do it. Requiring repetition of any one particular stitch type that you choose, once you get the hang of it, it is just a matter of time and beginner-level skill to finish the existing project in hand. It is a meticulous stitch that involves patience and dedication. And when the look is complete, it flaunts a masterpiece that you can boast of!
The best part about the stitch is that it is highly versatile and flexible. That means you can try different variations of the pattern to create strikingly gorgeous art pieces, each of which has a life of its own! So, excited to try it out? What do you want to use the chevron crochet pattern for, and which stitch shall you use? Let us know in the comments section below.
Frequently Asked Questions
Is Chevron Crochet Easy?
The chevron crochet pattern is one of the easiest stitch patterns for beginners. All you have to do is enhance your skill level on a particular stitch and keep repeating the stitches in designated patterns. The calculation is basic, and once you start doing it, you can’t help but end up loving the process.
What is the Difference Between Ripple and Chevron Crochet?
The chevron crochet pattern is also popularly known as the crochet ripple stitch. It looks like an inverted V but is slightly different from the ripple stitch. The chevron stitch uses less number of stitches between the peaks and the valleys, which are worked into two sets of stitches.
Can You Mix Stripes and Chevron?
YES!!! Stripes and chevron crochet patterns whip up a significantly interesting combo. Right from dresses and beanies, you can use this delightful pattern for highlighting spaces like your living room or themed zones. It is an ultra-modern design if that’s what you’re concerned about.
