Crocheting is a creative way of self-expression that becomes an exquisite masterpiece with time. The rich texture of the crunch stitch is what makes it different from other crocheting techniques. The crocheting journey starts right from choosing the correct yarn to blocking the final product for a professional look.
This crunch stitch ripple crochet is beginner-friendly, making it loved by crocheters of all levels. In this guide, we have discussed the required materials, the detailed steps to make a blanket, the advantages and disadvantages, and much more. As you progress and reach the end of this guide, you will find yourself more experienced in the world of crocheting. Do not forget to explore variations of the crunch stitch and use them to make your blanket more appealing.
Join us as we unravel the magic created by Crunch Stitch Ripple Crochet!
What is Crochet Crunch Stitch Ripple?
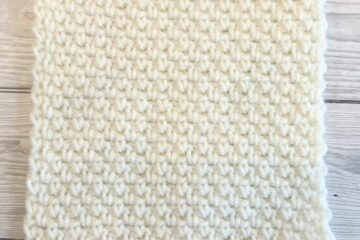
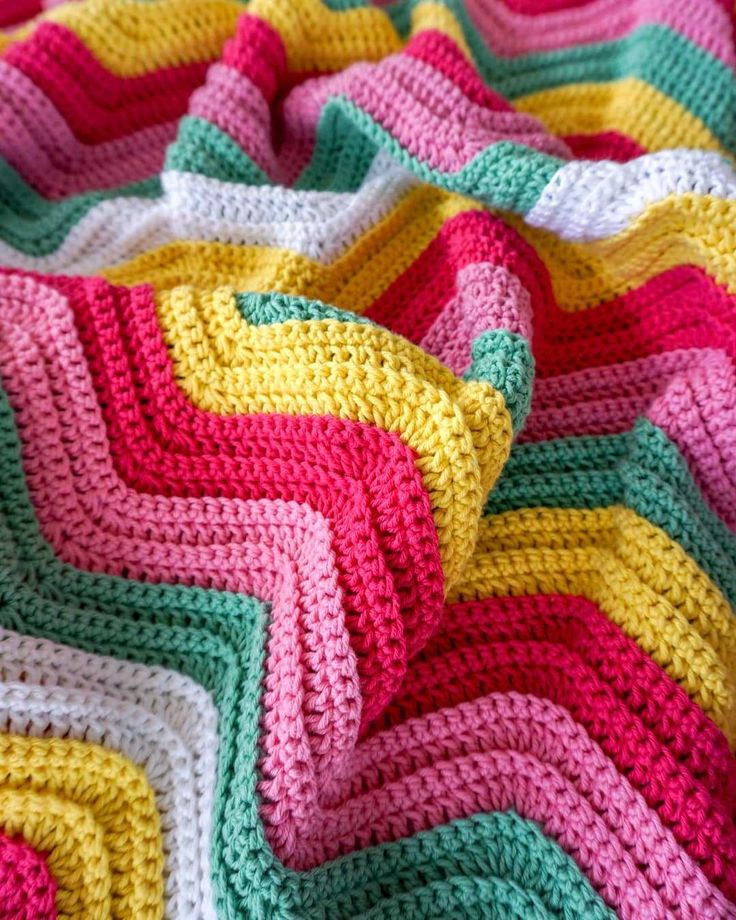
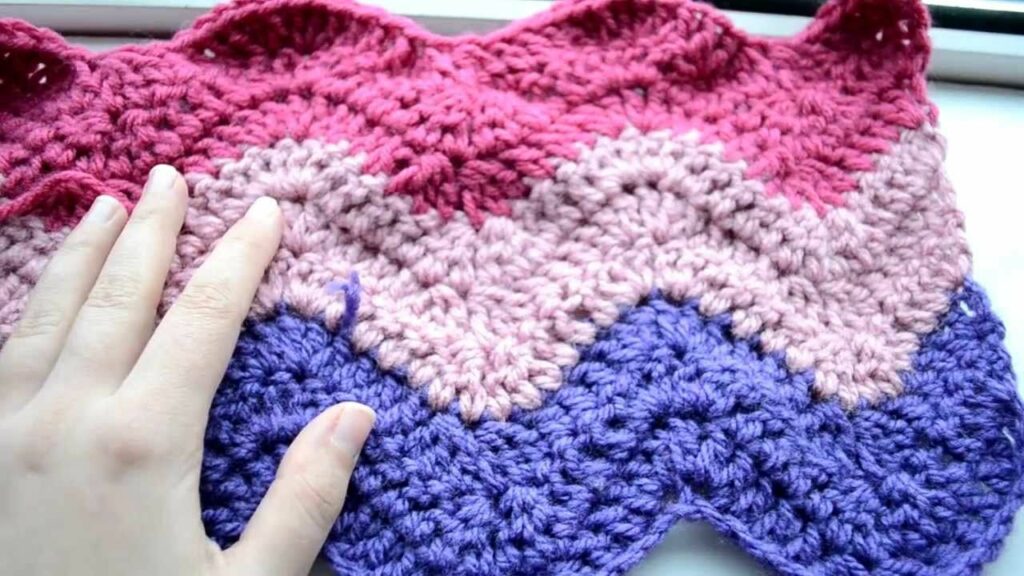
The Crochet Crunch Stitch Ripple is an alluring and adaptable stitch pattern that fuses the rhythmic undulations of the traditional ripple design with the sumptuous crunch stitch texture. A unique crocheted cloth is produced as a result of this combination that is both visually appealing and pleasing to the touch.
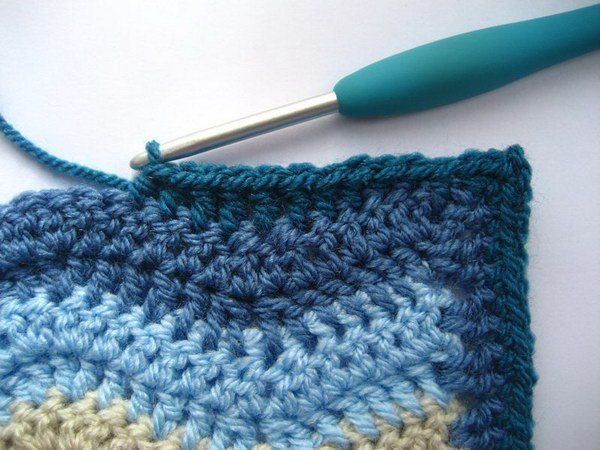
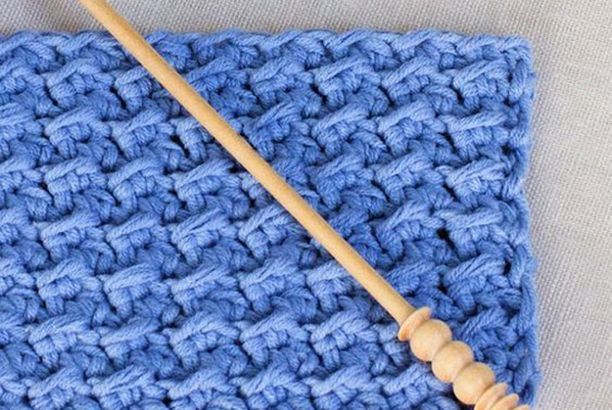
The core of this ripple variety is the crunch stitch, which is distinguished by its elevated texture. Single, double, and slip stitches are sequentially worked into the same stitch to create it. The cloth gains depth and character thanks to this trio of stitches, which creates a noticeable hump. When used in conjunction with the ripple design, the crunch stitch increases the play of light and shadow across the surface, producing a lovely interplay of visual appeal.
Materials Needed for Crunch Stitch Ripple Crochet
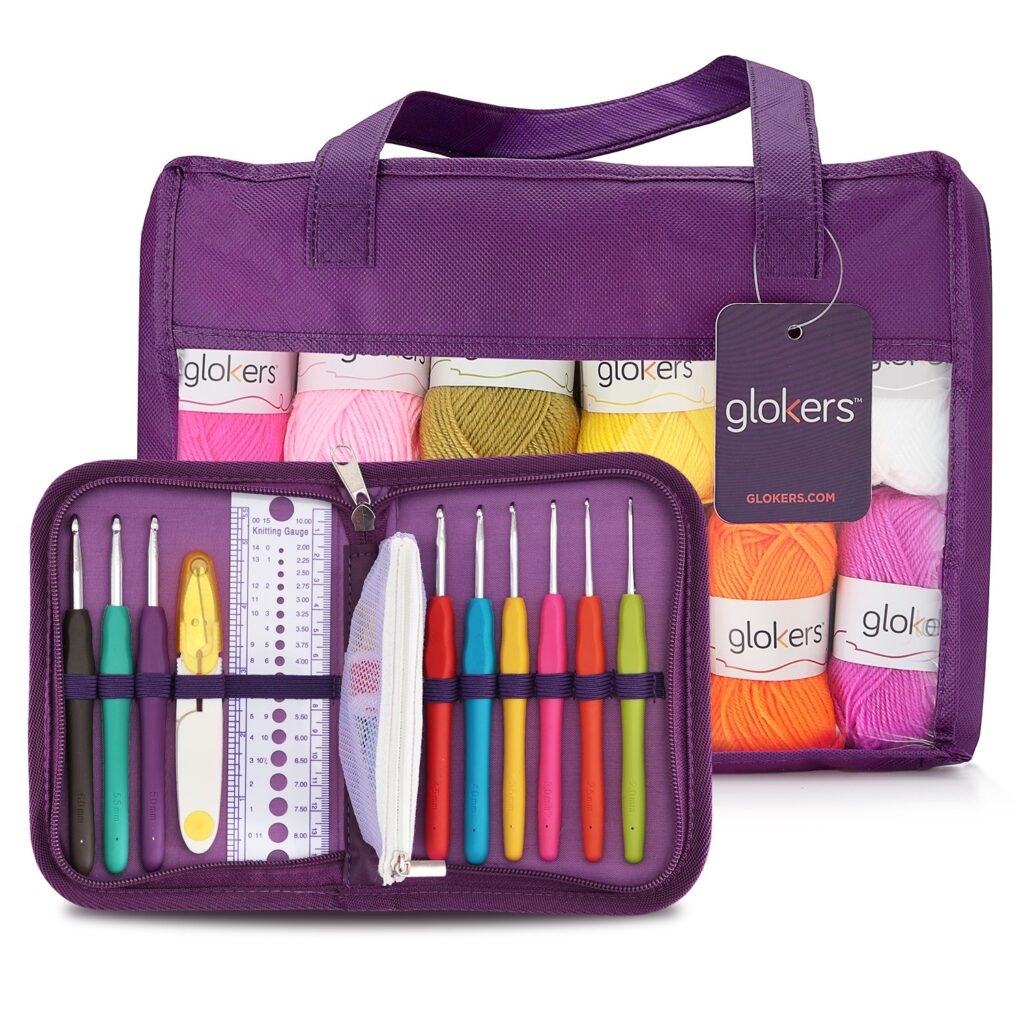
Embark on the journey of crocheting using the following pieces of equipment:
| Yarn | Stitch Markers |
| Crochet Hook | Scissors |
| Yarn Needle | Measuring Tape |
- Yarn: Pick a worsted-weight yarn in the colors you like. Your blanket’s size will determine how much yarn you need. Choose yarn according to the warmth and texture you desire.
- Crochet Hook: Based on the suggested hook size for your yarn, choose an appropriate crochet hook size. Normally, this is stated on the yarn label.
- Yarn Needle: A yarn needle is necessary for carefully weaving in ends and completing your creation.
- Stitch Markers: You can keep track of significant pattern elements, like increases and decreases, with the aid of stitch markers. They guarantee that your ripple pattern is constant.
- Scissors: To cut yarn precisely and tuck away stray ends, you’ll need a nice pair of sharp scissors.
- Measurement Tape: You can keep track of the blanket’s proportions as you go by using a measuring tape. It’s necessary to get the size you want.
Directions for Making Crunch Stitch Ripple Crochet
Check out the following steps to make a crunch stitch ripple crochet blanket:
Step 1: Creation of a Foundation Chain
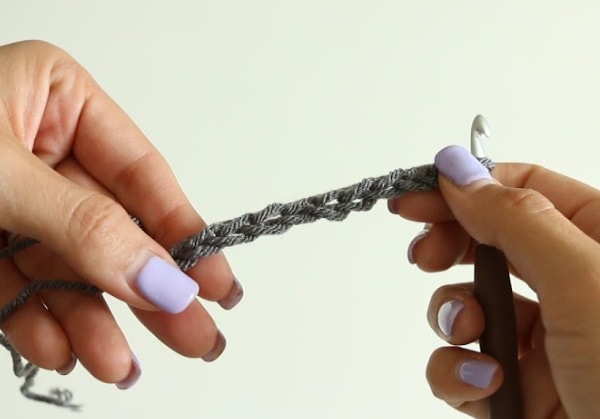
The first step is to chain a multiple of stitches to get the desired blanket width. For example, if you want a width of 40 inches, the foundation chain has to be in accordance with that. In addition, do not forget to add a few extra chains that will be used for the turning chain.
Step 2: Making of the First Row
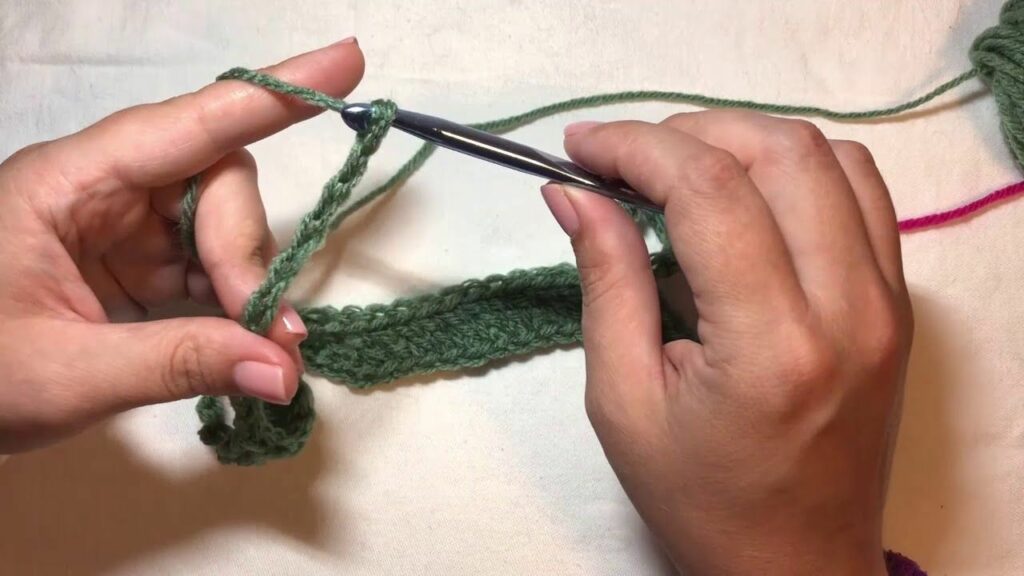
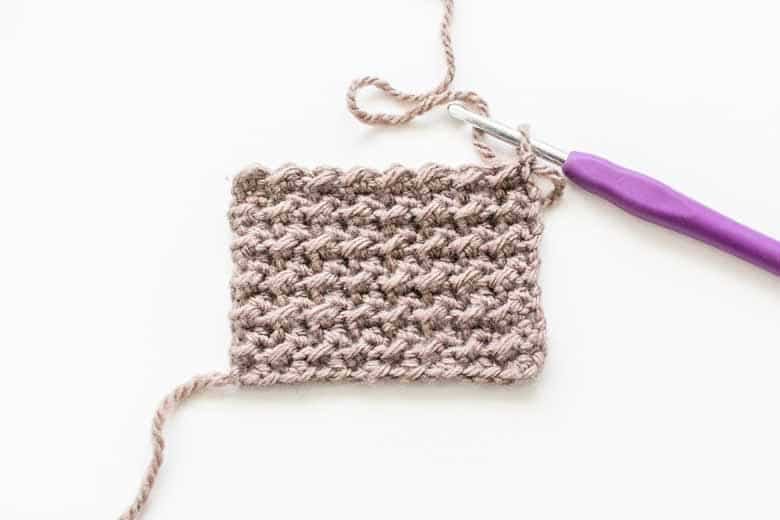
You must work a single crochet in the second chain from the hook. Now, you will need to skip the next chain and work a double crochet in the next chain. Keep continuing this pattern across the row.
Step 3: Second Row and Beyond
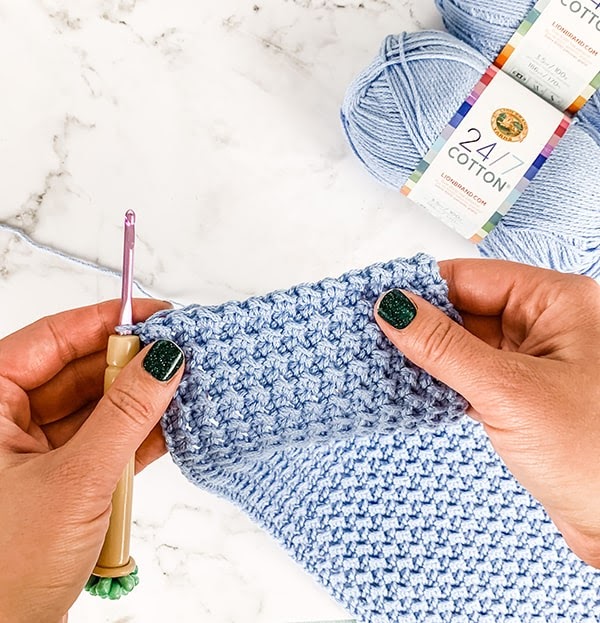
Turn your work. Chaining twice counts as your first double crochet stitch. Work a crunch stitch by working sc, dc, and sl st all within the same stitch in the initial single crochet of the preceding row. Work a crunch stitch (sc, dc, sl st) in the following sc after skipping the following dc from the previous row. Up to the final stitch, repeat. In the turning chain of the row before, do a double crochet.
Step 4: Creating Ripples
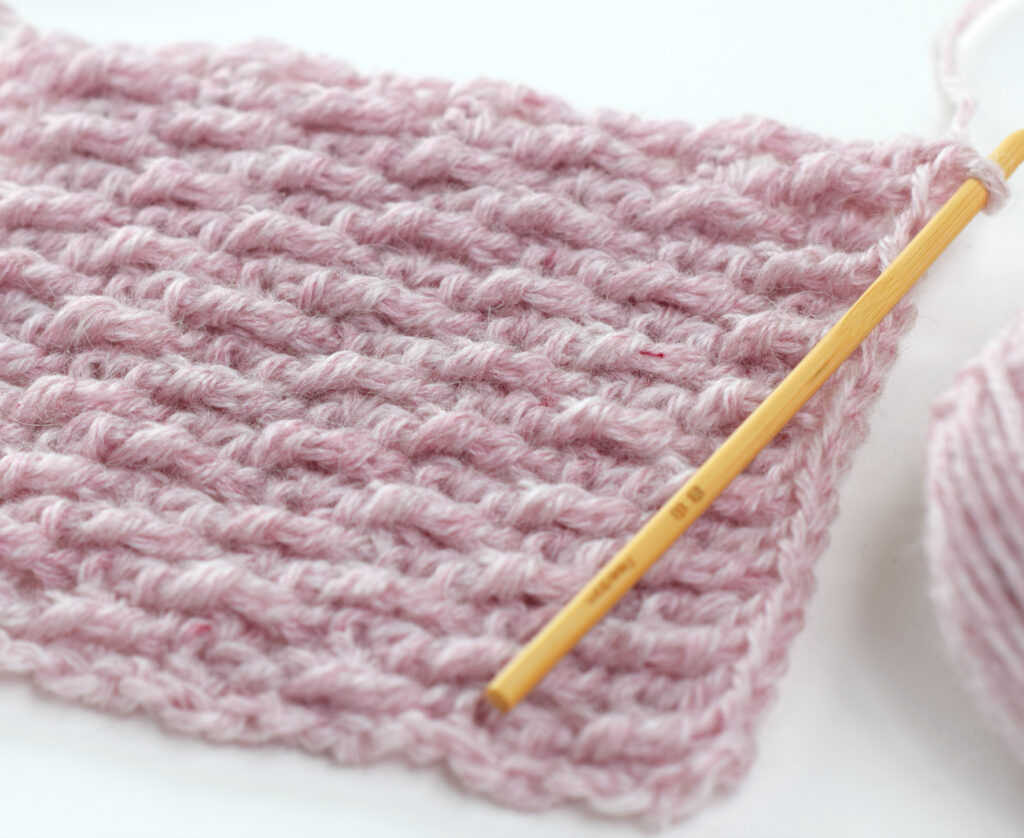
You’ll need to add and decrease stitches to get ripples carefully. This will create a recognizable ripple effect. Working two crunch stitches (sc, dc, sl st) in the same stitch will create a peak. At the same time, work a crunch stitch (sc, dc, sl st) in the single crochet after skipping the next dc to create a valley. To get the ripple effect, repeat the pattern of increasing and decreasing stitches across each row. Always finish the row with a double crochet in the space left by the turning chain.
Step 5: Changing Colors
If you want to change colors, you can do that at the end of a row before starting the turning chain. Finish the last stitch of the old color with the new color to make the color change neat and perfect. After that, you can continue with the turning chain in the new color.
Step 6: Working on the Edges
Now, when your blanket has reached the desired length, you will need to add an edging to give the blanket a polished look. A simple single crochet border or a decorative shell stitch border will work well.
Step 7: Blocking and Finishing
Once you are done with the blanket, you should get it blocked. This helps in evening out the stitches and gives it a professional appearance. Depending on the yarn you have used, you can either wet-block it or steam-block it.
Step 8: Weaving in the Ends
Now, using a yarn needle, weave in all the loose ends from changing color and finishing the blanket. This step makes your blanket look more professional and pleasing to look at.
Tips and Tricks to Make Crunch Stitch Crochet Ripple Blanket
Following are some techniques you can follow to make your crocheting easier:
- Pick a yarn that will give your blanket the desired warmth and texture. For a balanced outcome, twisted-weight yarn works best, but you can experiment with various weights for interesting results.
- To ensure your tension complies with the pattern’s specifications, start with a gauge swatch.
- Keep the tension up throughout your work. Pulling too tightly or too loosely might cause uneven waves, so be careful.
- Blocking is necessary to straighten stitches and improve your blanket’s overall appearance.
- Consider the intended color arrangement as you plan your color adjustments.
- Ensure the ends are tight and hidden by tucking them beneath the stitches on the back of the piece.
Variations of Crunch Stitch Ripple Crochet
Crunch stitch is a versatile crochet technique that provides rich texture to various projects. Following are some of the variations you should also look out for:
- Half Double Crochet Crunch Stitch: Instead of using a double crochet cluster, you can use half-double crochet clusters. This will give the item a tighter texture and a structured finish.
- Colorful Crunch Stitch: To emphasize this stitch pattern, you need to experiment with different types of colors. You need to alternate between two or more colors in each row and create a vibrant look.
- Mixed Cluster Crunch Stitch: For this stitch, you need to combine different kinds of stitches within a cluster. This fusion adds a layered texture and enhances visual interest.
- Diagonal Crunch Stitch: To get this type of stitch, you need to work the crunch stitch diagonally across the rows, creating a unique slanted texture. They look great when used for making blankets, throws, and others.
- V-Stitch Crunch Stitch: You must alternate the runch stitch with a V-stitch pattern. These types of stitches add an elegant look and contrast to the bumpy texture of the crunch stitch.
Advantages and Disadvantages of Crunch Stitch Crochet

When learning a particular art form, it’s essential to know its pros and cons as well. Listed below are the advantages and disadvantages you should know:
Advantages of Crunch Stitch Ripple
- A visually striking and visually pleasant material is produced when the crunch stitch’s elevated texture is combined with the ripple’s undulating pattern.
- Crocheters can experiment with different yarn kinds, color schemes, and stitch patterns to create unique and personalized creations.
- The crunch stitch ripple’s textured quality makes it ideal for blankets, scarves, and clothing intended to offer warmth and comfort. Raised stitches provide an additional layer of insulation by trapping air.
- The crafter is kept engaged and fascinated by the rhythmic alternation between crunch stitch clusters and normal stitches.
Disadvantages of Crunch Stitch Ripple
- When compared to crochet patterns that are easier to make, the crunch stitch ripple pattern can take more time.
- Compared to smoother stitch designs, the texture of the stitch may require more yarn to complete the project.
- Both the ripple stitch and the crunch stitch are used in the crunch stitch ripple pattern, which could be intimidating for novices.
- Uneven edges or differences in stitch height caused by inconsistent tension might affect the project’s overall appearance.
Projects to Make Using Crunch Stitch Crochet
This type of crochet opens up multiple options of creative possibility, which is not just limited to blankets. Here is a list of other interesting projects that you can work on:
- Shawls & Wraps: The crunch stitch is a stylish shawl and wrap design technique. This is highly appropriate for various events due to the sophisticated texture of the cloth they are made up of.
- Beanies & Hats: In order to stay warm during the winter months, you can make textured beanies using this technique of crocheting. You can use different color and thread combinations to get a unique-looking product.
- Pillows & Cushions: You can enhance the comfort of your living space by using textured pillows and cushions made using this technique of crocheting. These pillows are not only visually appealing but also attractive due to the crunch stitch.
- Scarves & Cowls: You can use this crunch stitch technique to create warm scarves and cowls as fashionable accessories. Do not miss out on using different color mixtures to make a unique-looking crunch-stitched scarf or cowl.
Conclusion
Crafters are given the freedom to venture out on a creative adventure and create a stunning fusion of the classic ripple pattern and the charmingly textured crunch stitch. This technique of crocheting helps in making cozy heirlooms as well as decorative masterpieces. The versatility provided by this crocheting technique is truly remarkable. Crocheters can start a journey of creating distinctive and treasured items that express their talent and love by perfecting the crunch stitch ripple blanket.
You can go through the meticulous breakdown of each step in this guide, accompanied by visuals to make your learning process easier and more worthwhile. On the accomplishment of a finished product, the artistic fulfillment achieved will be nonpareil. So, keep learning and infuse art with care, dedication, and joy.
Frequently Asked Questions
How Do I Choose Colors for My Blanket?
Make your blanket’s mood unique by carefully selecting its colors, using a unified color scheme to achieve harmony or using strong contrasts to add life. Consider the overall aesthetic and the feeling you wish to convey. Your color selection will determine the visual impact of your crochet Crunch Stitch Ripple Blanket, whether it is subdued or colorful.
Can I Mix Different Variations of the Crunch Stitch?
Absolutely! By combining different crunch stitch types, you can give your crochet masterpiece personality. Try out textures like lattice, bobbles, or stretched stitches. To create a special blanket that displays your sense of design, mix & match. Accept the opportunity to let your Crunch Stitch Ripple Blanket become a rich symphony.
How Do I Weave in the End Neatly?
To conceal the yarn, tuck the needle under the stitches on the back of your item. Repeat this technique for a short distance, then reverse directions and weave. Remove the extra yarn. Your crochet project will now look professional and organized because the ends are hidden.
What if the Ripples of My Blanket Are Not Even?
When ripples seem uneven, try checking the tension consistency. Make sure to apply the same amount of pressure to every stitch. Use a swatch to practice the crunch stitch if necessary until the tension is balanced. Make sure to adjust the tension to keep the ripples consistent for a professional appearance.
How Can I Care for the Finished Blanket?
Do not forget to check the yarn washing instructions. Mostly, you will need to use a mild setting on the washing machine or cold water when washing by hand. Using a gentle detergent is essential. Do not wring or hang since it can cause the stitches to get distorted.