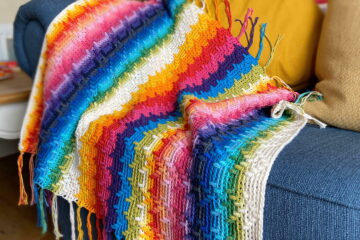

Crocheting gives off a certain charm that mixes the beauty of traditional handcrafts and modern aesthetics. One such pattern is the basket weave crochet blanket.
The detailed interweaving can also be seen in old handwoven baskets; this crochet design creates a unique experience that is both visually appealing and amazingly cozy. For the newbies, the basket weave pattern may seem a bit difficult.
The alternating raised and lowered squares and the stitching may look complex. The reality is actually quite surprising. The beauty of the design lies in its simplicity.
A newbie can recreate this beautiful weave-like texture with a few stitches and patience. In this tutorial, we aim to explain the basket weave crochet blanket in its most accessible form. Whether you are making one for yourself, making it for someone as a gift, or looking for a piece of art for your home, a basket-weave blanket is your way to go. Join us to learn more about this blanket, stitch by stitch.
Why Choose a Basket Weave Crochet Blanket?
In the expansive world of crochet, with its number of stitches and patterns, the basket weave crochet blanket stands out while holding a special place in the hearts of crocheters. But what is it about this pattern that makes it one of the most used and sought-after for crafters?
1. Texture
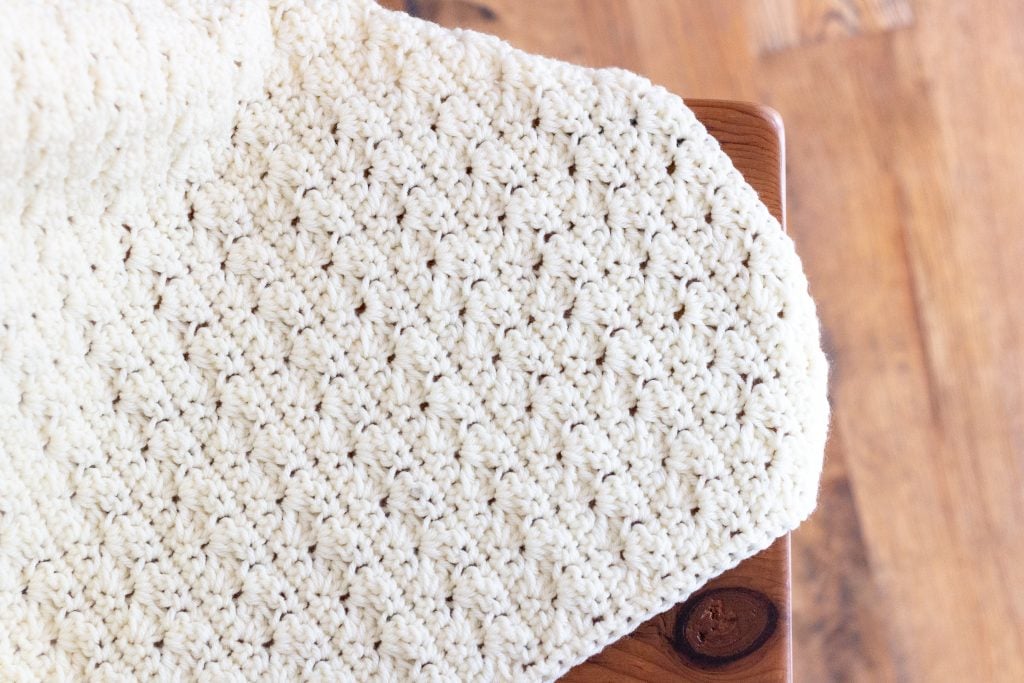
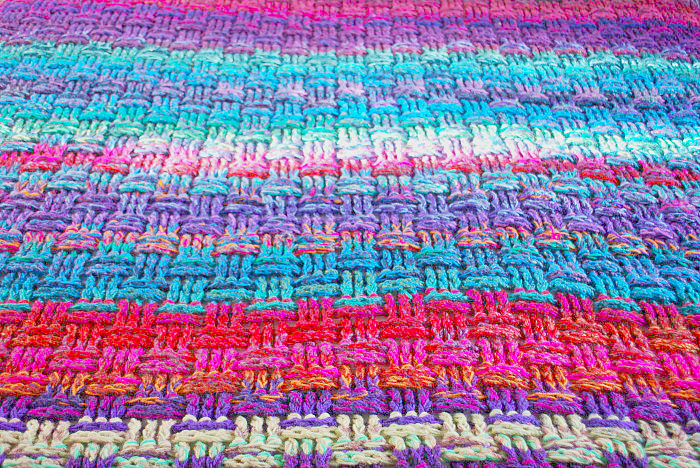
At the core of the beauty of basket weave, the texture stands out the most. The basket weave, as the name suggests, covers the over-and-under pattern of woven baskets. This results in a sophisticated blanket that is luxurious to the touch.
2. Versatile Design
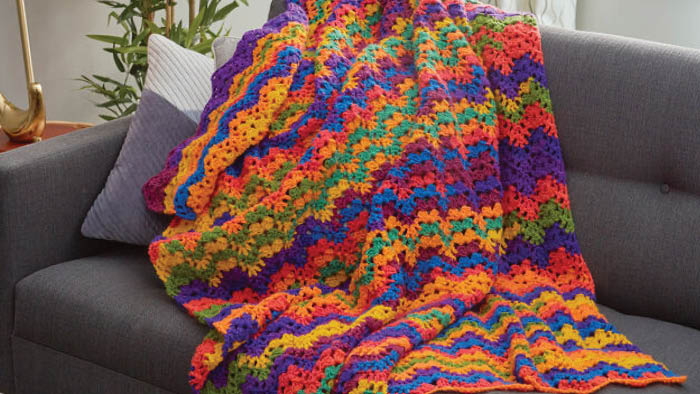
The basket weave crochet blanket works in all seasons. The dense design helps keep you warm during the cooler months, working as an ideal snuggle companion. The breathable design makes it suitable for warmer seasons as well.
3. Skill Enhancement
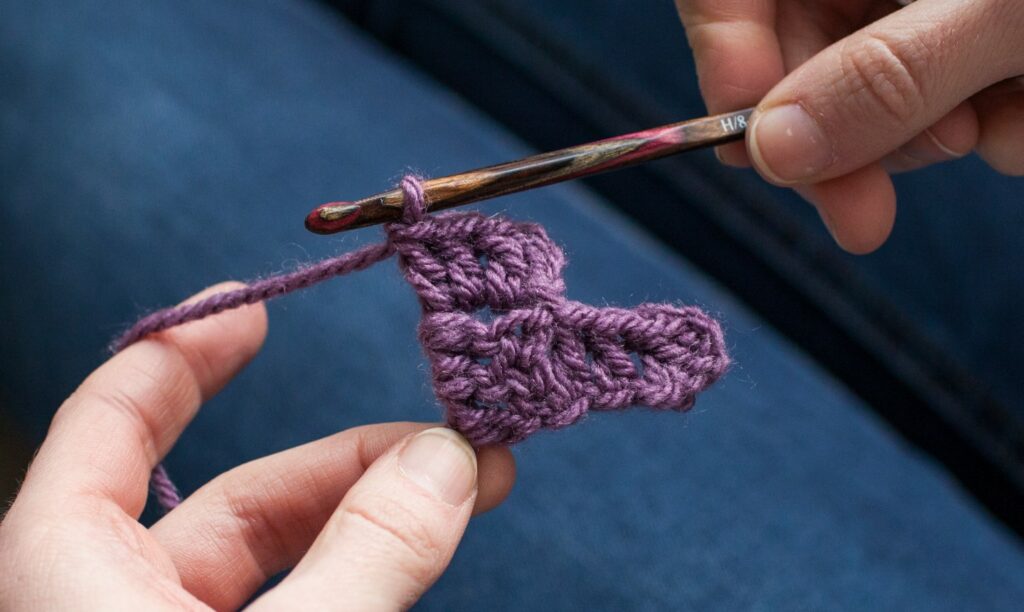
For people who want to progress from basic stitches quickly, the basket weave gives a superb challenge without being overly complex. This blanket is a great way to improve your skills, especially in understanding how post-stitches can be manipulated for enhanced depth and texture.
4. Timeless Piece
The basket weave remains an all-time favorite of all crochet enthusiasts. Whether the blanket is draped over a modern couch or a vintage chair, the basket-weave crochet blanket elevates the aesthetics of your room effortlessly.
Preparing for Your Basket Weave Crochet Blanket: The Essentials
To start your journey for crafting a basket-weave crochet blanket, the path to success includes both skill and the right tools. Before you begin the stitching dance, it is important to ensure you have everything required to complete the project efficiently. Let us have a look at the items that are essential to create your masterpiece. You need to invest time in preparation to ensure that the process goes smoothly.
1. Yarn Selection
No products found.
No products found.
No products found.
No products found.
No products found.
The heart of each crochet project is choosing the right yarn. For the basket weave crochet blanket, the best option is to choose a yarn that complements the rich texture of the weave. The weight should be medium to chunky, which can improve the depth of the basket weave. With the lighter yarn, you can create delicate basket weaves.
Fiber plays an essential factor in choosing the yarn, as natural fibers like cotton and wool enhance the texture. In contrast, acrylic and blended fibers make the yarn durable and easier to maintain. Color is a crucial factor for the basket weave crochet blanket as, in addition to just feeling great, the color helps accentuate the detailed design by using multiple colors for a unique twist.
2. Crochet Hooks
No products found.
To start your project, the next most important thing you require are crochet hooks. The sizes vary according to the yarn you have chosen. For chunky yarns, the best hooks to choose from are in the range of 6mm to 8mm. For light and medium yarns, you can choose a hook size of 4mm to 5.5mm. The end goal is to create stitches that are defined without making the fabric too tight or loose.
3. Measuring Tools
No products found.
Provided that you want your basket weave crochet blanket in a specific size, it is important that you use a tape measure. This makes sure that the desired size, width, and length are achieved. Whether you are crafting a baby blanket, a full-sized bedspread, or a throw, it is essential for you to use measuring tools.
4. Tapestry Needles
No products found.
Finishing the crochet blanket is as important as starting it. A tapestry needle is a must-have to weave in the yarn ends. This makes sure that the blanket looks polished and stays in shape for a longer time.
5. Scissors
No products found.
Every crocheter knows the importance of a sharp pair of scissors. This helps the artist in more ways than just cutting yarns. The right scissors ensure that your basket-weave crochet blanket remains a masterpiece for years to come. Choose a pair that provides a clean cut and reduces the chances of fraying while being lightweight and compact for easy transportation.
6. Stitch Markers
No products found.
While stitch markers are not absolutely necessary to make your own basket weave crochet blanket, they are a helpful tool if you are a newbie in crocheting. They help you in tracking the pattern repeats and help in keeping the symmetry.
Mastering the Basket Weave Stitch: Details
At the heart of the beautiful basket weave crochet blanket, the most important aspect hides the basket weave stitch, which is the key to making the alluring texture that reminds one of a woven basket. It may look delicate and detailed at first, but breaking down the elements reveals a logical and satisfactory pattern. The basket weave stitch relies on two fundamental stitches: Front Post Double Crochet (FPdc) and Back Post Double Crochet (BPdc).
Front Post Double Crochet (FPdc)
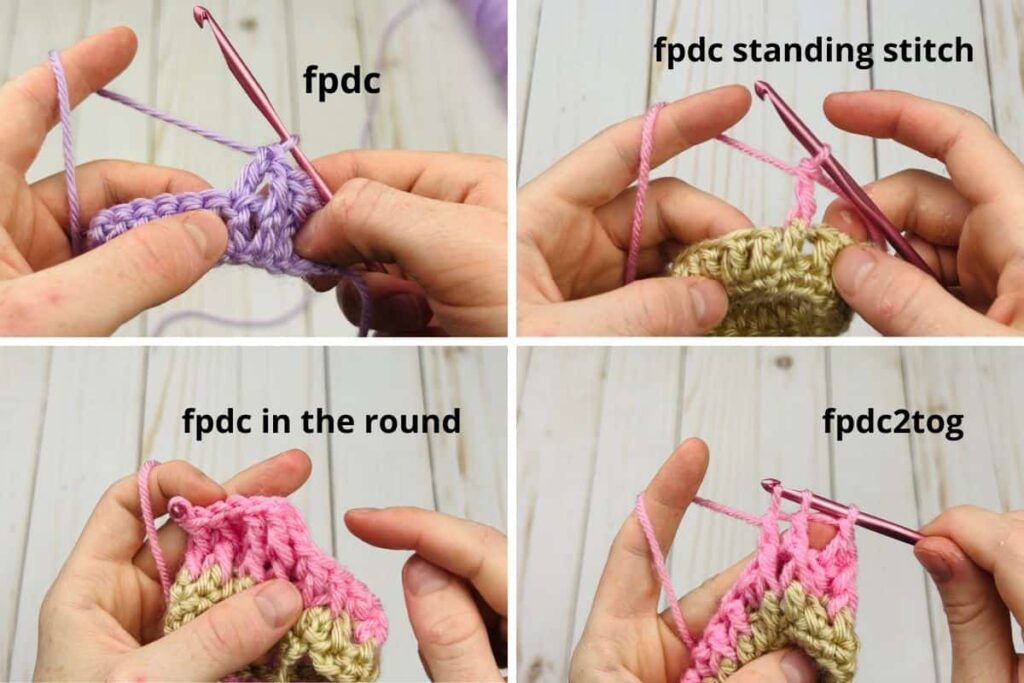
The stitch involves crocheting around the post of a stitch from the previous row instead of the top loops. The result of this process is a raised stitch on the front of the design that creates a textured effect. To create an FPdc, the first step is to yarn over, then insert the hook from the front to the back and around the post of the stitch from the previous row. You can then complete the double crochet using the yarn over and pull through technique, two loops, twice.
Back Post Double Crochet (BPdc)
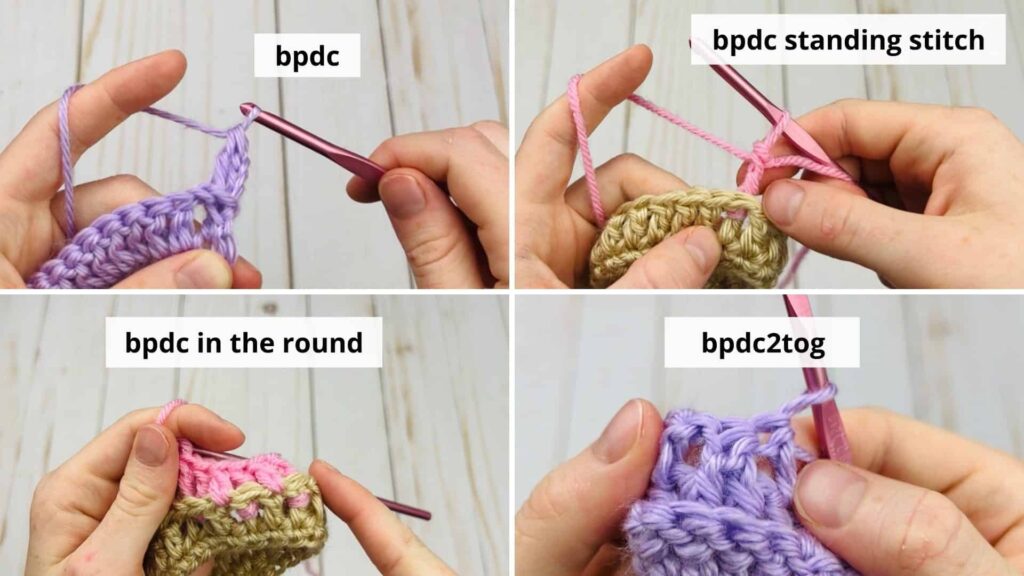
This process is similar to FPdc; however, the BPdc is executed around the post of a stitch from the previous row but from the back. This creates a valleyed stitch on the front of the design. To create a BPdc, the first step is to yarn over, then insert the hook from the back to the front and around the post of the stitch from the previous row. You can then complete the double crochet using the yarn over and pull through technique, two loops, twice, just like FPdc.
Creating the Weave: Dance of Stitches
The magic of the basket weave crochet blanket is brought out by alternating between FPdc and BPdc stitches. The sequence gives an illusion of woven square patterns that are visible in baskets.
It is important to follow the sequence, making sure that the raised and depressed stitches align correctly. This creates a beautiful interwoven texture that gives a different feel to the basket-weave crochet blanket.
The most important part is patience and practice. Crocheting the basket weave becomes easier once the rhythm of FPdc and BPdc stitches is set. As the pattern becomes visible, row after row, the sense of accomplishment becomes unmatched. Mastering the weave stitch allows you to make a blanket that keeps you warm and shows the elegance of the woven design.
Step-by-Step Guide to Create Basket Weave Crochet Blanket
As you begin creating a basket weave crochet blanket, the journey to create a cozy and textured masterpiece starts. With all the important tools and knowledge of how to create a basket weave stitch, here are the steps that you are required to follow:
Step 1: Foundation and Initial Rows
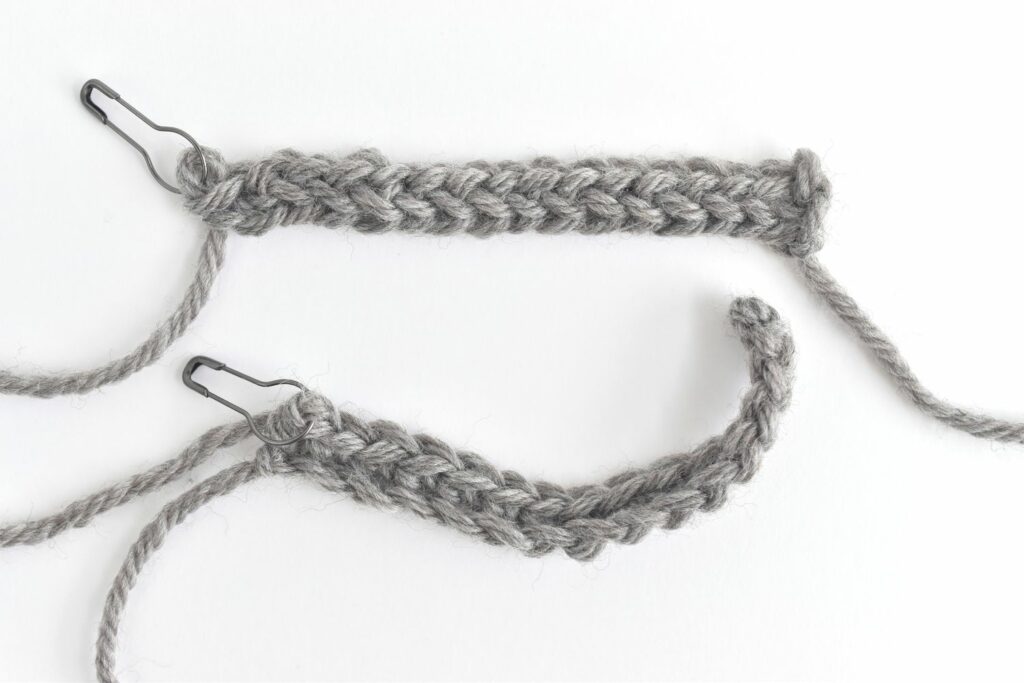
You start by creating a foundation chain that is in multiples of the required width of the blanket. You can add a few extra chains so that the edges remain straight. Continue by working a row of double crochet stitches across the foundation chain. This provides a groundwork for creating the basket weave pattern.
Step 2: Setting the Weave Pattern
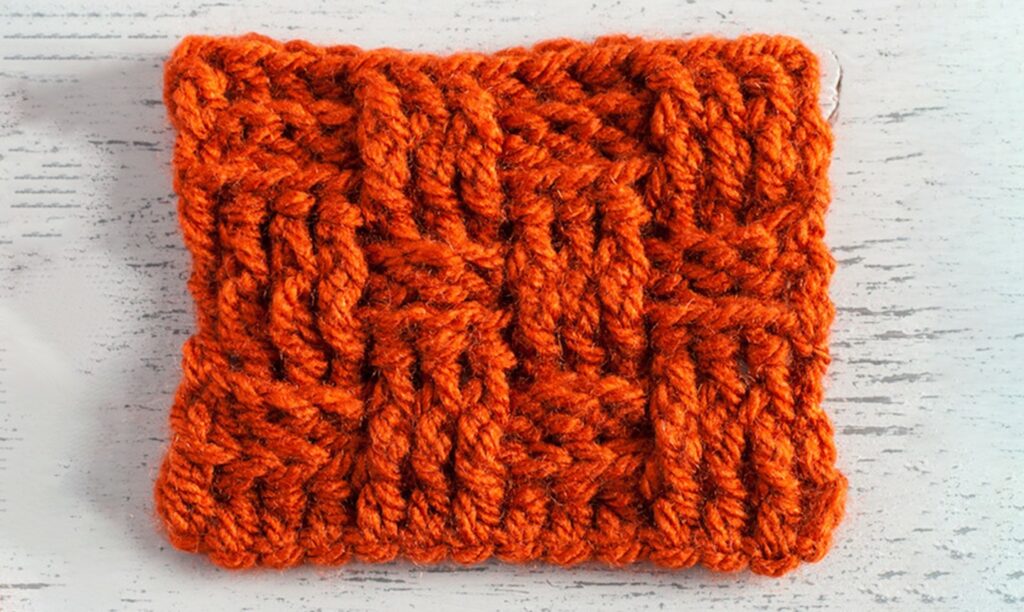
The second row marks the start of the basket weave pattern. With the third chain, you start making the first double crochet. Next, you have to create 3 Front Post Double Crochet (FPdc) stitches followed by 4 Back Post Double Crochet (BPdc) stitches. Continue alternating between FPdc and BPdc stitches across the row and complete it.
Step 3: Creating the Weave Effect
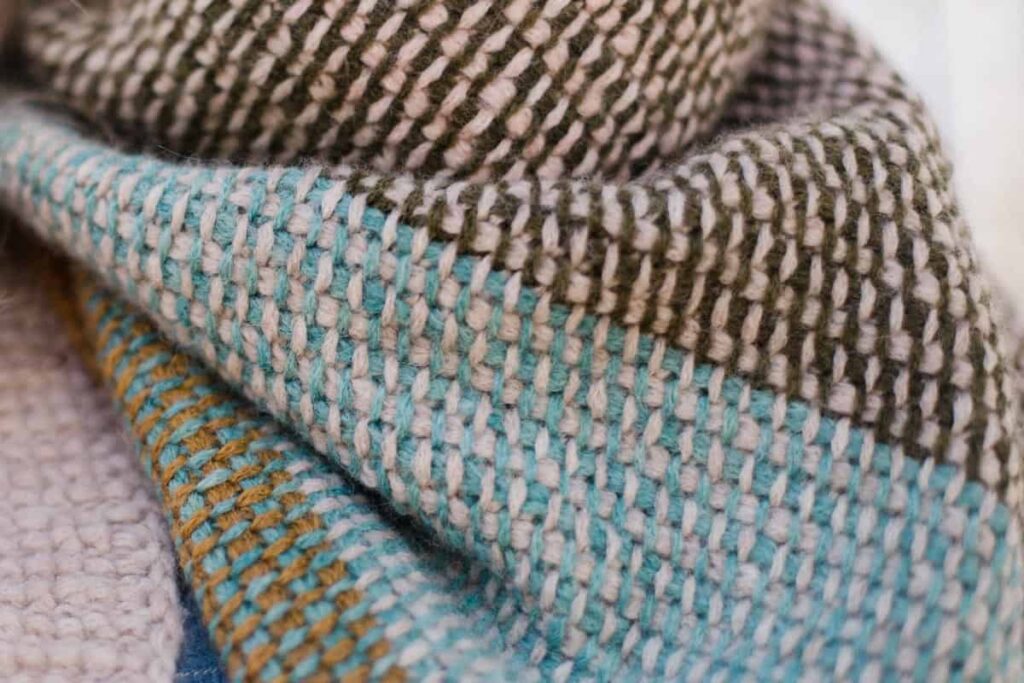
The third row introduces the interaction between FPdc and BPdc that gives the basket weave its unique texture. Chain 3 and design an FPdc around the FPdc stitch from the previous row. Similarly, work a BPdc around the BPdc stitch from the previous row. Repeat the pattern across the complete row. Ensure that the raised stitches align with the depressed stitches of the previous row.
Step 4: Building the Pattern
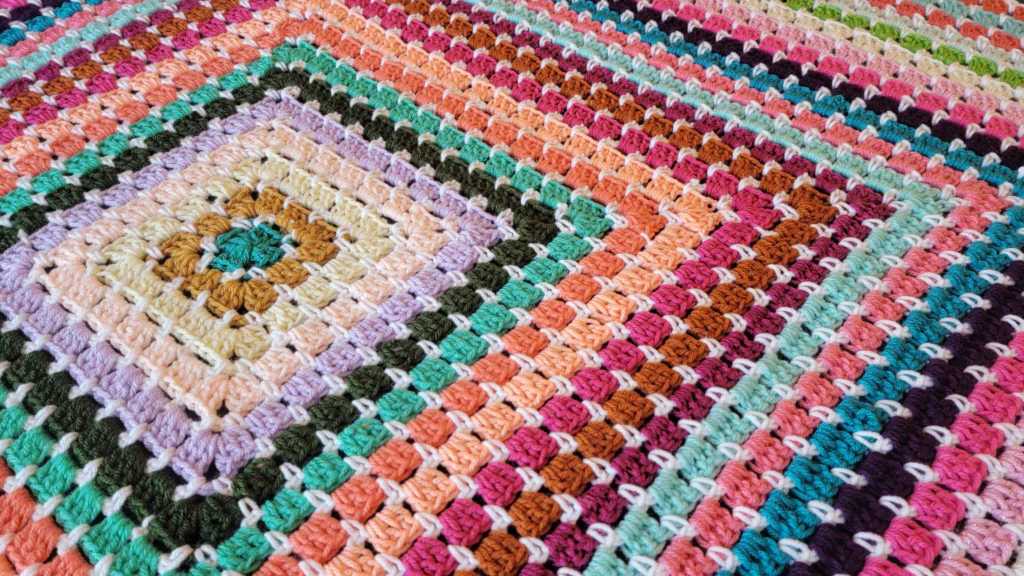
Rows 4 to 7 follow the exact same sequence as you had followed in step 3 while maintaining the alternating FPdc and BPdc stitches. By the end of row 7, the basket weave pattern will start to make its appearance.
Step 5: Shift and Continuation
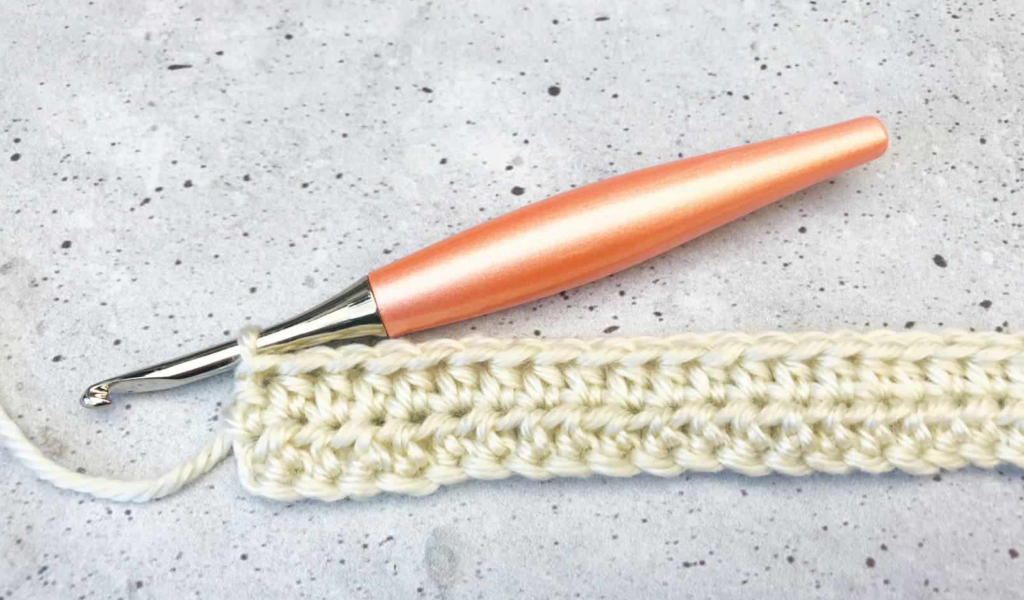
With the starting of row 8, a new pattern will emerge that makes sure the weave looks as it should. As you crochet, the steps to continue the perfect stitch are to work an FPdc over any FPdc from the previous row that you encounter. Similarly, for any BPdc encountered from the previous row, another BPdc is to be drawn over it. This reversal stitching pattern creates an illusion of woven squares, making the heart of the pattern.
Step 6: Repeating the Pattern

From rows 9 to 12, you have to continue the weave pattern that was started from row 8. The alternating FPdc and BPdc stitches maintain the rhythm of the pattern. This repetition enhances the texture and makes you appreciate the woven design taking shape.
Step 7: Setting the Blanket Length
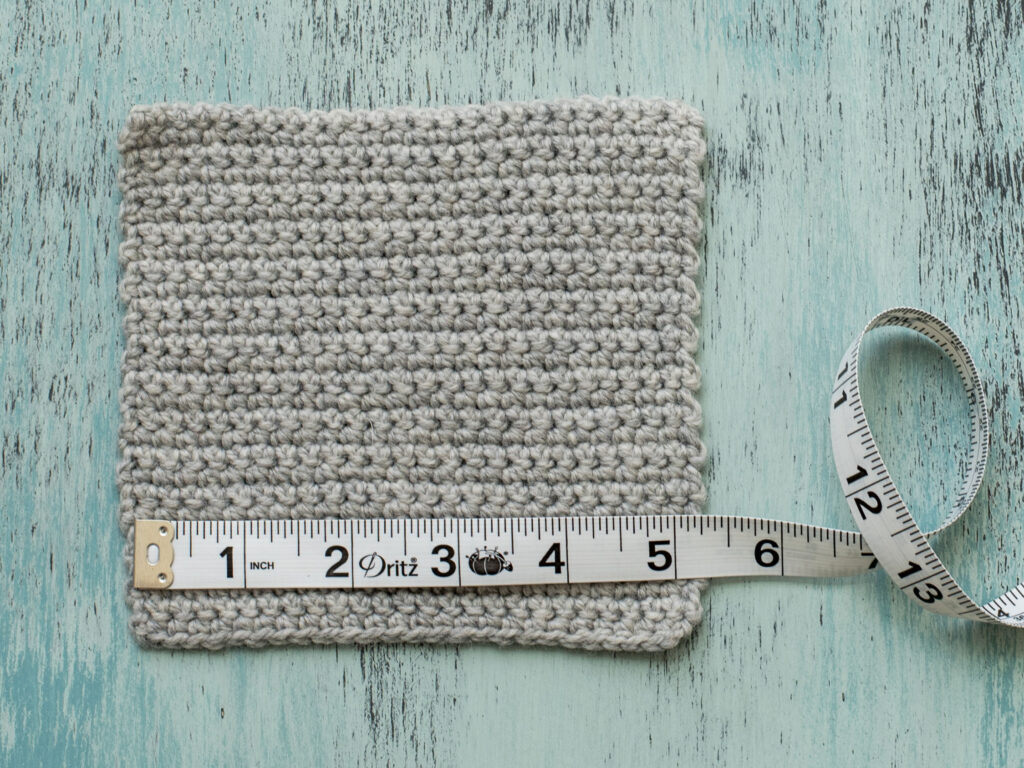
Alternate weave pattern rows and shifted rows allow you to set the length of the blanket. Keep your thoughts clear beforehand on what should be the length of your blanket so that you can proceed to work accordingly.
Step 8: The Finishing Touches
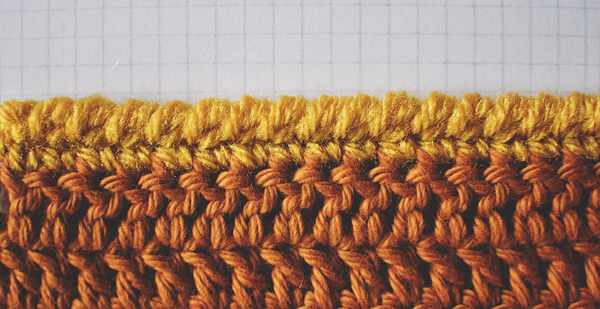
Once you have completed the basket weave crochet blanket to its desired length, finish the design with a final row of double crochet stitches. This row makes a neat border that frames the textured weave within. Cut the yarn and leave a tail to weave later. The tapestry needle will help you weave in the yarn end for a clean and polished finish.
As the basket weave crochet blanket gets completed, you get to hold a masterpiece that combines your craftsmanship and artistry. The alternating FPdc and BPdc stitches create a visually appealing textured fabric.
Customizing and Caring for Your Basket Weave Crochet Blanket
Creating a basket-weave crochet blanket is all about passion and patience. Once this masterpiece is complete, you can easily customize it to make it unique and care for its longevity.
Uniqueness
1. Embroidery
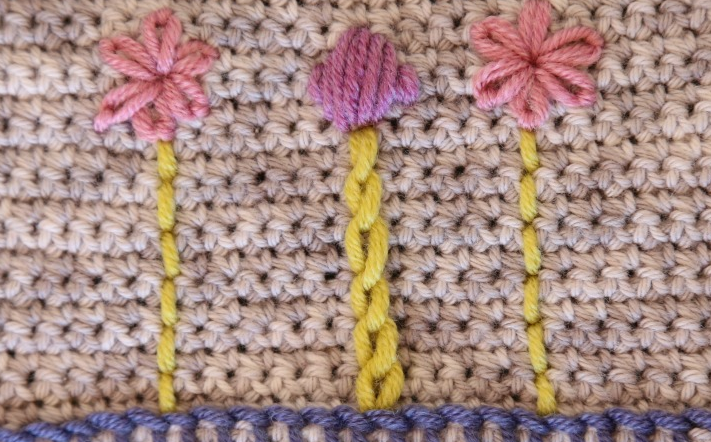
You can add personal touches to the blanket by embroidering important details like initials, dates, or small details on the blanket. This adds sentimental value to the blanket while making it a heirloom piece.
2. Applique Details
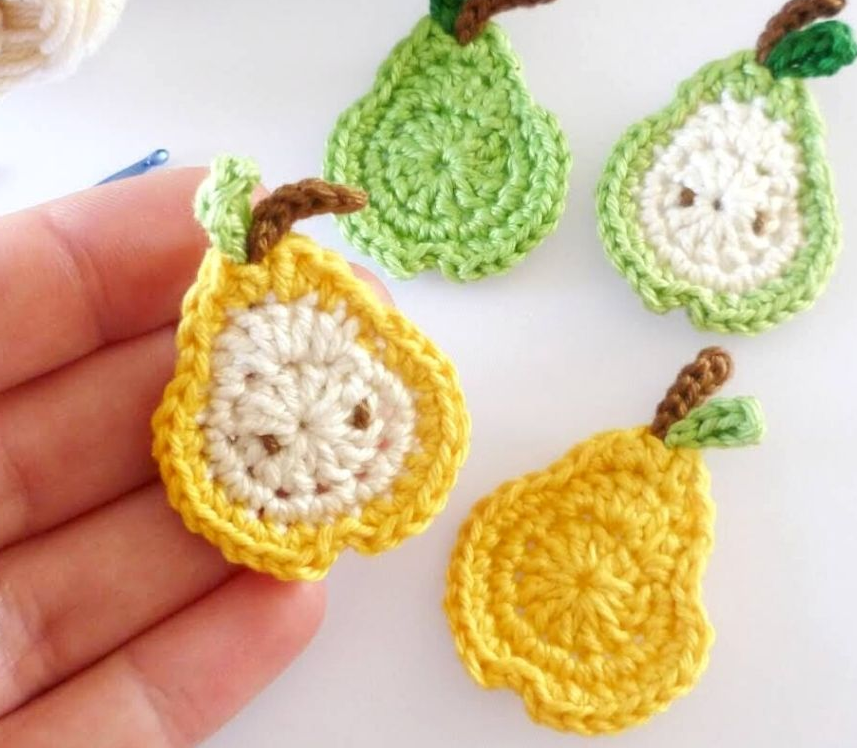
Add fabric or crochet detailing like flowers, animals, or other details that will add a touch of color and depth to the blanket. This helps in denoting the sense of personal and adorable touch through which you can create a definitive aura of your craft.
3. Fringe
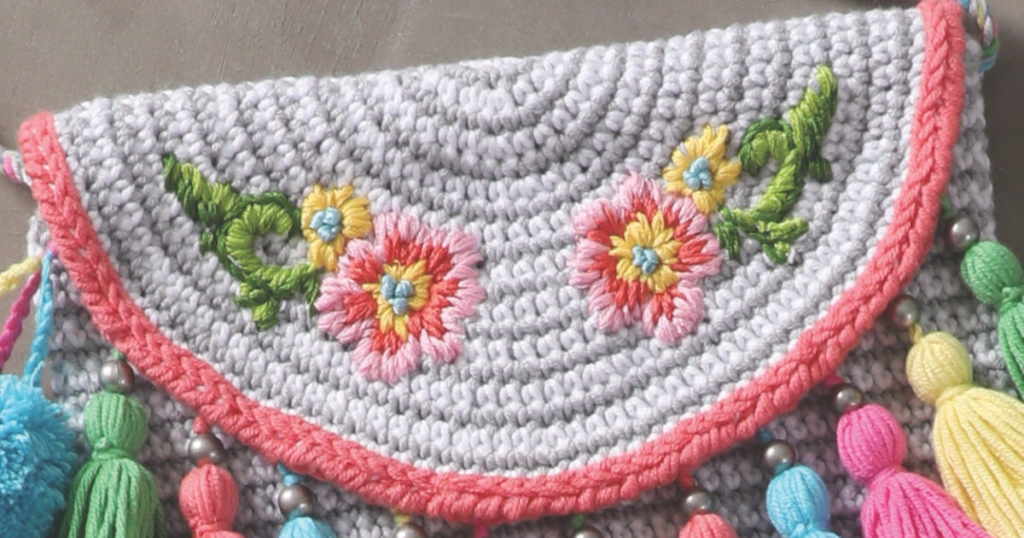
A fringe or tasseled edge gives a vintage appeal to the blanket. You can add beads, bells, or other detailings to the blanket to create a bohemian-themed blanket.
4. Memory Patches
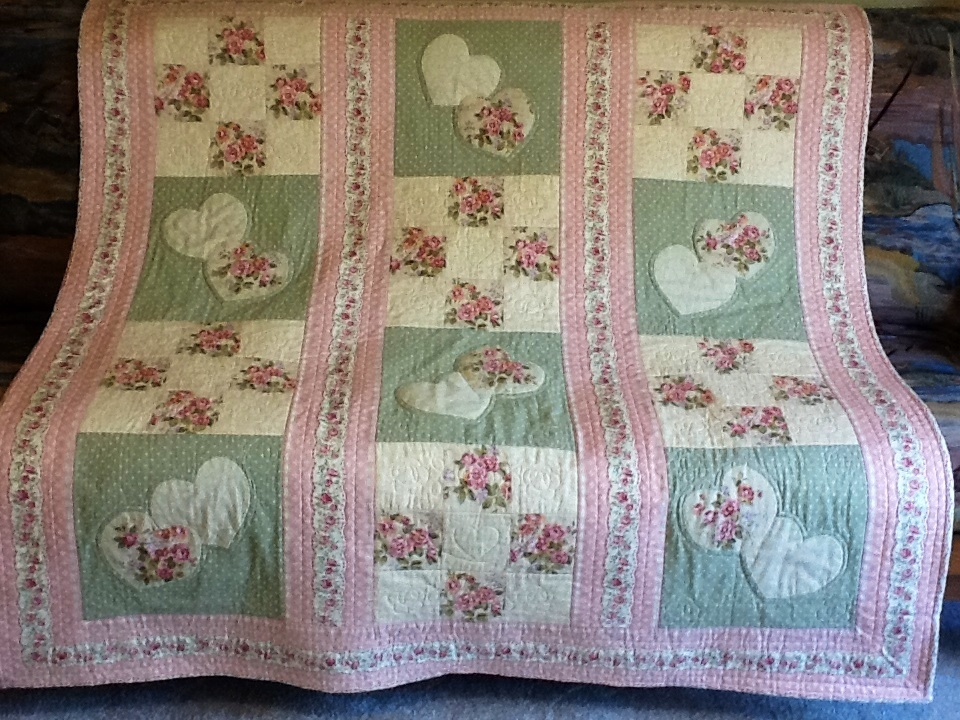
You can stitch in small patches of fabric to the blanket that marks important memories, turning it into a quilted storybook. It is a beautiful and meaningful addition to the blanket to treasure important moments.
Delighting Care
Gentle Wash

To maintain the texture and color of the basket weave crochet blanket, you can hand wash the blanket using cold water with mild detergent. Press out the excess water between towels without wringing.
Dry Flat and Storage

Lay the blanket flat on a drying rack to avoid stretching or distortion of the weave. You can store the blanket in a cool and dry place, folded or rolled, using a lavender sachet to keep the pests away.
Conclusion
As the details of the basket weave crochet blanket unfold, each weave captures your dedication and creativity. Like every good story, a new chapter unfolds that includes its personalization and care.
The beauty of the classic basket weave lies in its uniqueness and adaptability. The blanket can be made as unique as your imagination allows. As you continue, crocheting is a continuous process of learning and evolution.
Basketweave is one stepping stone in this lifelong adventure. Whether you are a newbie or a seasoned crocheter, be inspired and challenged by the beautiful basket-weave crochet blanket.
If the basket weave has interested you, proceed ahead and expand your crochet journey, refine your skills, and create more amazing masterpieces. Check out more tutorials, explore vibrant yarns, and immerse yourself in the vibrant world of crocheting. Begin your crocheting journey today with the rhythm of the weave leading the way.