A good border on your hand-knitted piece can enhance the overall look and give it a professional touch. Just by a well-designed, well-knitted border, your piece can be transformed from a boring-looking beginner piece to something crafted by professional hands.
Moreover, even a single crochet border can take your blanket game from 20 to 200 in no time, as they are so easy to add to the borders as they require just a single crochet row.
Crochet blanket borders are very helpful when you need to provide that extra look to your blanket, but without the hassle of stitching a whole length of a border, they look stuck on and don’t match the overall style the way a crochet blanket border does.
In this article, we’ll discuss the materials required, a step-by-step guide, troubleshooting tips, and some professional tricks that will help you take your art of crocheting a level up. Let’s Knit!
What are Crochet Blanket Borders?
In simple terms, a crochet blanket border is a border for your hand-knitted piece or otherwise that you knit yourself, using the crochet technique; these can be made using single crochet, double crochet, or other crochet techniques, depending on your taste, preference, and level of expertise with a crochet hook.
For example, if you hand-knitted a piece for yourself, where you added crochet patterns, ribs, etc., to make it interesting, you would love to have a border for that piece that follows the same aesthetics as your base piece.
In this regard, instead of stitching on a pre-made border (lace, for example), if we’re to go for a hand crochet border, your purpose would be fulfilled beautifully. This is one example, and as far as knitting goes, the sky is the limit.
You can try hundreds of thousands of different combinations of borders with the base piece, sometimes matching and sometimes complimenting the base-piece design.
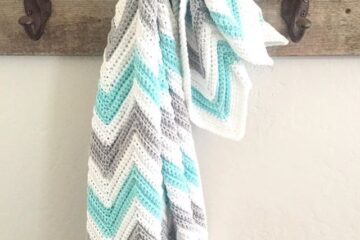
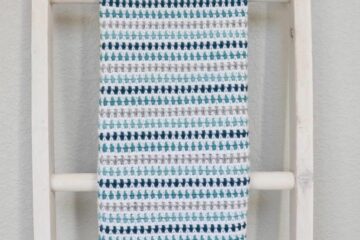
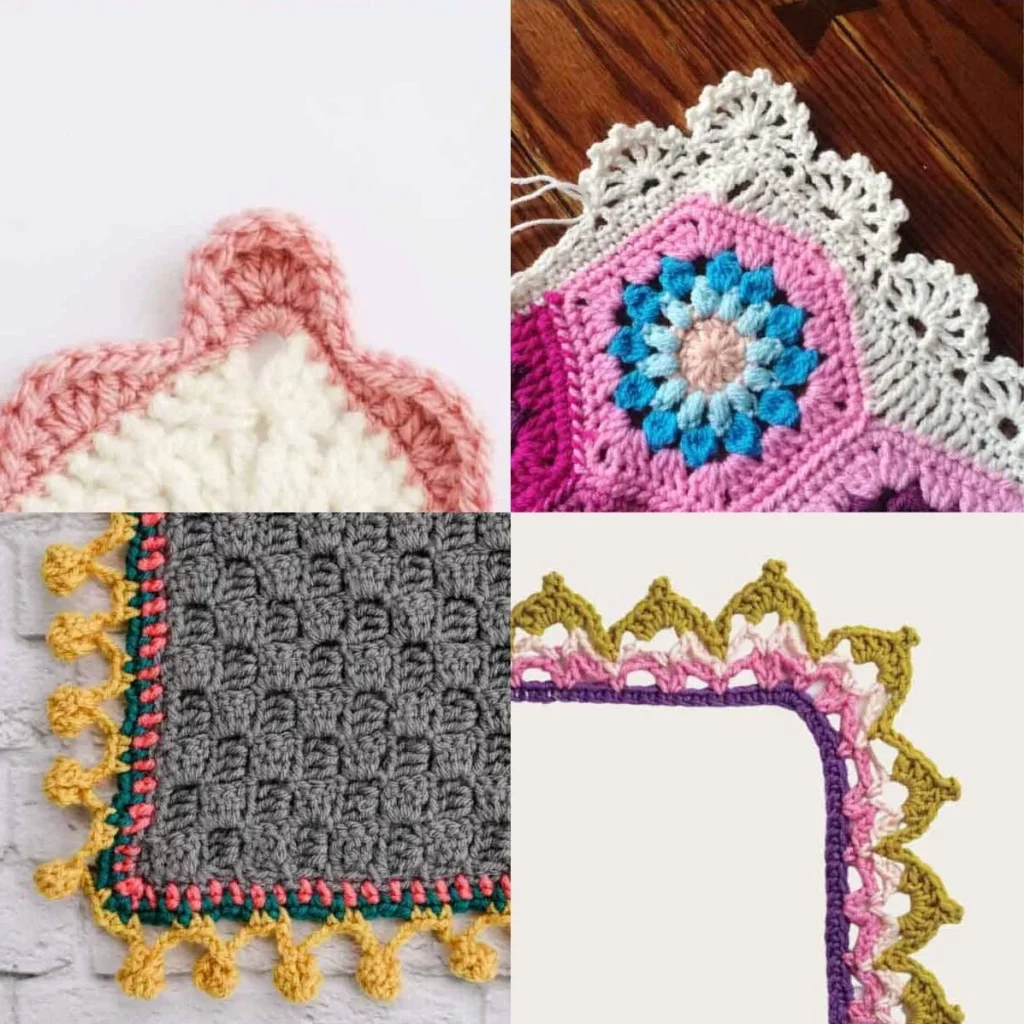
Even as a beginner, you are not limited; there are a ton of designs for borders that you can crochet yourself at home, for example:
- Picot border
- Linen stitch border
- Little ridges border
- Camel stitch border
- Tied-loops border
All of these borders listed above require beginner to intermediate skills when it comes to crochet blanket borders, and we would encourage you to try these for your next project. Having said that, when it comes to crochet blanket borders, we would like to emphasize the point that deciding on the crochet hook size and picking the right yarn for your border is crucial.
This is very important as the wrong hook size can make the border look shabby or sometimes uneven, whereas the wrong yarn will make the border look out of place and might not match the overall aesthetics of your finished piece.
This is something to be decided early on as after the borders are done, undoing the border and doing the entire length again is a very laborious and frustrating task. So make sure you have decided on the hook size of your crochet and pick the right yarn for your crochet blanket border.
Preparing for Your Crochet Blanket Border
For the preparation, we would first like to talk about all the materials required for making the perfect crochet blanket border. All the materials that are to be used can easily be found at your home if you are a crochet enthusiast like us, but if you don’t find these at home, all of these are widely available online and offline at stores near you.
Coming to the list of materials and tools required for this project, the following things are required:
- A crochet hook
- Yarn needle or a tapestry needle.
- Scissors (We prefer craft scissors, but you can go with yarn scissors also).
- An edge design and a pattern (we got that covered through this tutorial)
- A blanket or another knit piece for your crochet blanket border.
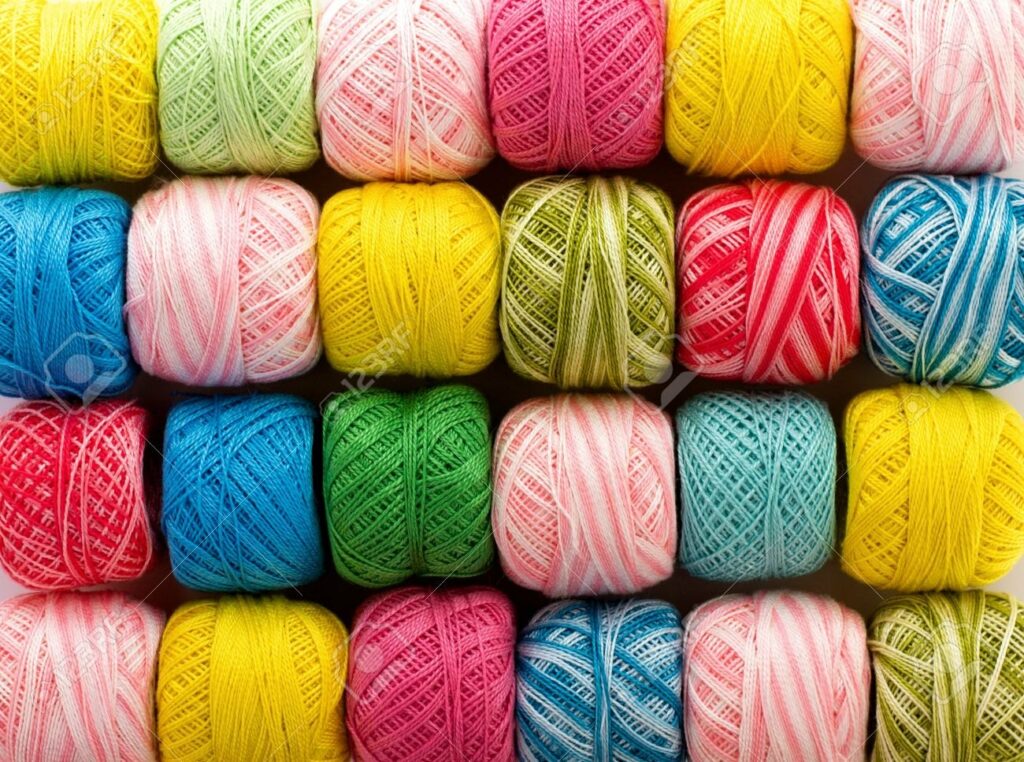
This is as far as the list goes; now, let’s talk about the various colors and textures of the yarn to choose the right yarn for your crochet blanket border. This choice is greatly influenced by the overall style and aesthetics of your base piece. A crochet blanket border is made sometimes to complement and sometimes match the base piece; this choice is entirely up to you, but nine times out of ten, you won’t go wrong with choosing a complimentary style and finish of your crochet blanket border rather than matching it.
When it comes to matching the style, it’s the easiest decision, as we know it’ll never look out of place no matter the crochet pattern you choose to make the border with, but when it comes to complimentary style, a little out-of-the-box thinking is preferred rather than going by the book.
Picking the Right Hook and Yarn
1. Pick the Color that Ideally Match
When selecting a yarn color, we advise you to go with a shade darker than your base piece; this makes the crochet blanket border have more border-like characteristics and greatly improves the overall look and appeal of your blanket.
2. Velvet on The Side
On the note of yarn type, we feel the best course of action is to go with the same gauge and texture yarn as used for the base piece. Having said that, the rebels of the online knitting community are all in favor of choosing a velvet texture yarn for a crochet blanket border.
For a beginner, we’d highly recommend going with the same yarn as used for the base piece but of a different shade, preferably a complementary color. We advise this since, as we discussed above, re-doing the entire piece can be frustrating, and we’d hate to see you lose your flow.
3. The Importance of Having Right Hook
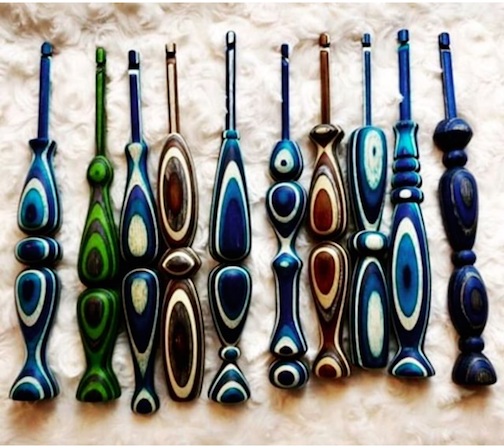
Having one or two crochet hooks that you normally use and are proficient with is good and would help you through most of the projects, but we recommend having a crochet hook set. This is because some borders may require a different crochet technique that might be way easier to perform using a different hook size than your current one. Hence, having a crochet hook set at your disposal is much better than running to the shop for a different one in the middle of your project.
Step-By-Step Guide to Work on Crochet Blanket Border
Now, with all the essentials handy, let us dive into the most crucial aspect of the detailing of the functioning of crocheting the blanket borders.
Step 1: Measure the Size for Estimating Yarn Requirement
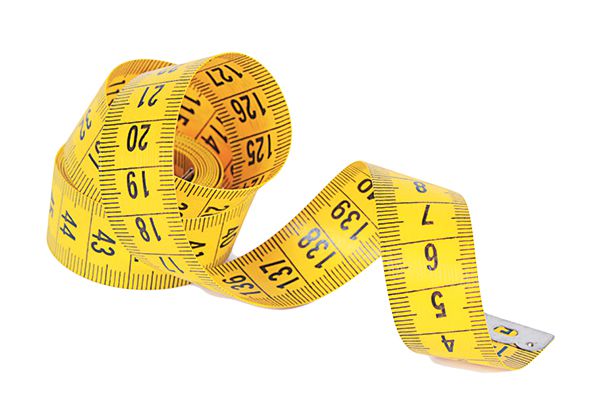
Measure the blanket; this is done to estimate the amount of yarn that will be required to make the border. It is always good to pre-estimate the amount of yarn that is to be used. Use a measuring tape and measure the entire perimeter of the blanket; note this down for further reference when buying the required amount of yarn.
Step 2: Decide on the Pattern

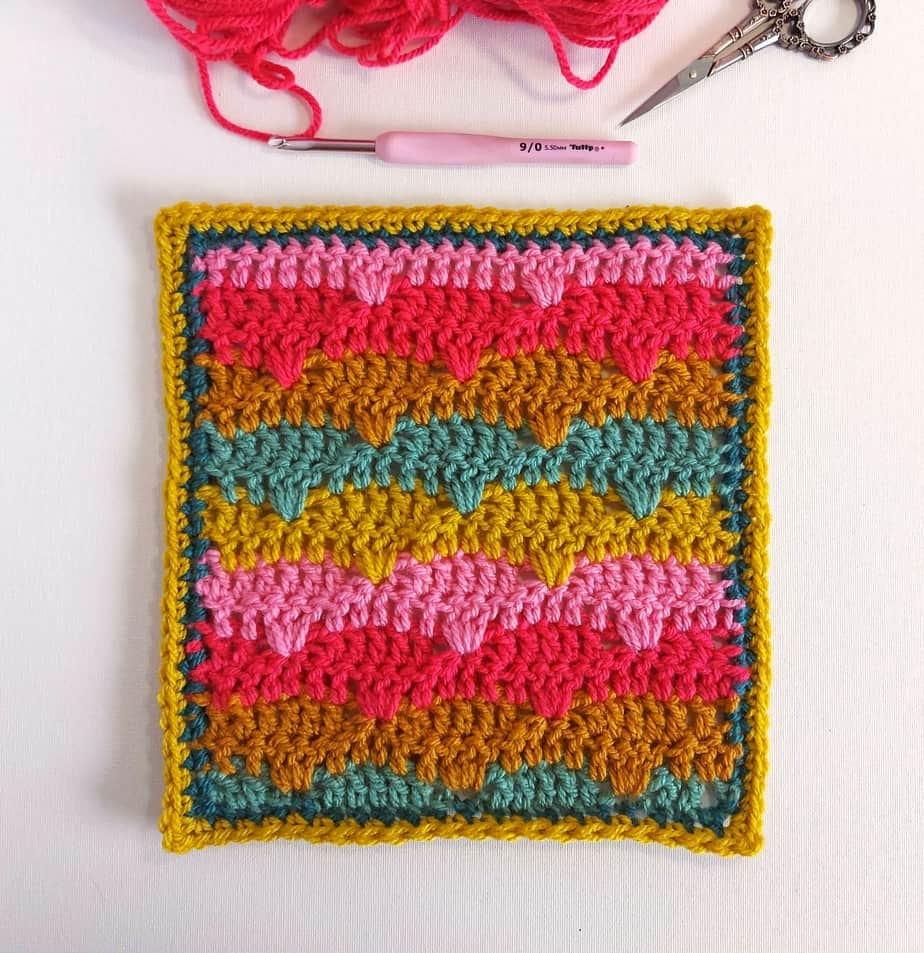
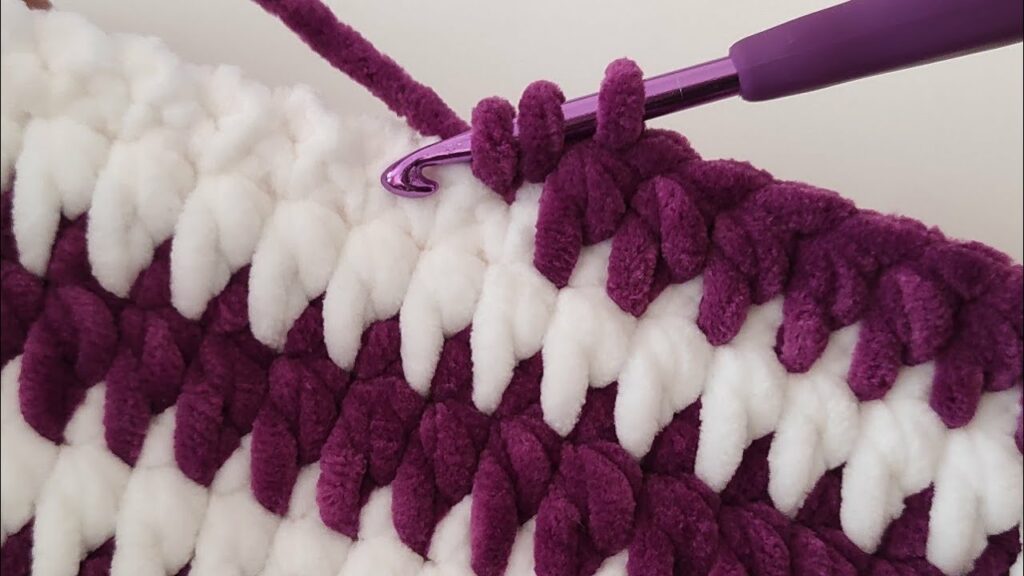
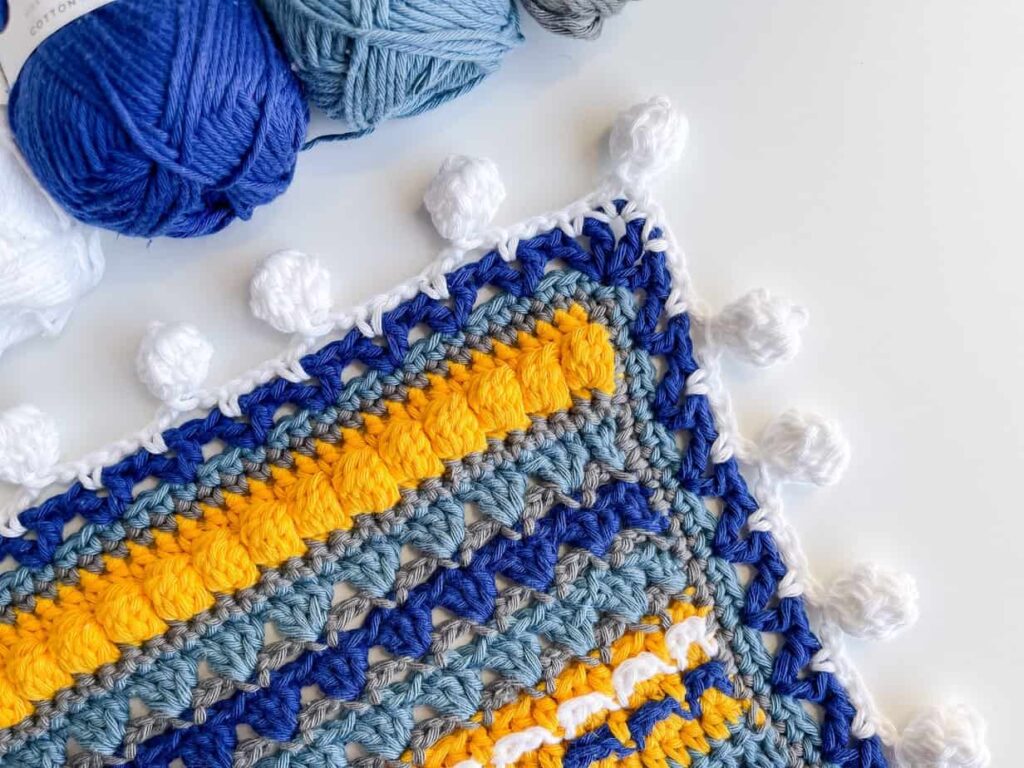
Decide on the pattern that will best suit your base piece. You can choose from the list of crochet blanket border patterns that we mentioned above, all of which are beginner-friendly patterns. In our case, we’re choosing the ‘Camel Stitch’ because it is one of the easy patterns to explain and understand and, at the same time, will help us teach at least one pattern fully, from start to finish, to you to make it along. If we talk about the Camel stitch, it is very widely appreciated by crochet enthusiasts on the internet for its beginner friendliness and for how well it turns out to be.
It is also lauded for the fact that it’s a very easy-to-blend pattern and can be added to almost any blanket or any other hand-knitted piece. This pattern uses one of the simplest, the half double crochet (hdc) stitch; it is one of the easiest crochet techniques and can be performed easily by beginners. A simple trick that is widely referred to by the online knitting community is to put the stitch in the correct point, and we felt it worth sharing.
Also, when we talk about the Camel stitch, we would like to give a special mention to the fact that it can gobble up your waste or excess yarn and is a very color-friendly pattern; mixing various colors can be done in this pattern without breaking a sweat. In this pattern, the stitch multiple number is entirely up to you and depends on how wide you want your border to be.
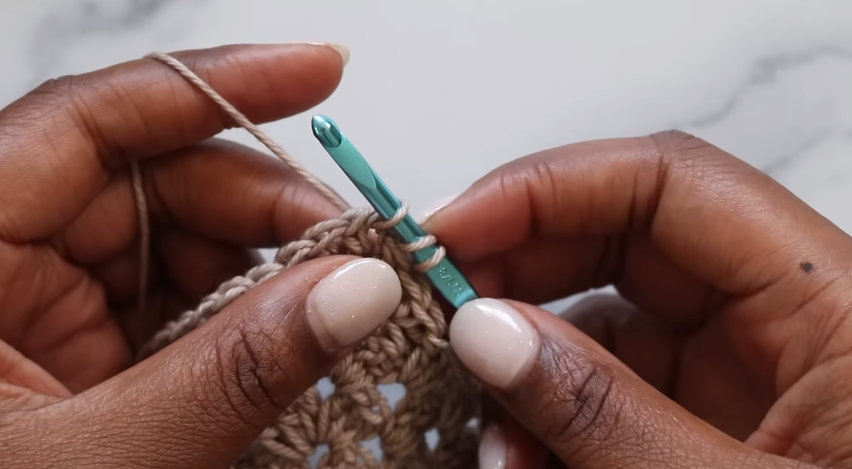
Step 3: Work on Joining One Corner
Start by joining one corner with a standing half double crochet (hdc) in, followed by hdc in each of the stitches (st) to the corner. Now 3, half double crochet in the corner. While performing these, make sure you keep track of the stitches, such as where to make the half-double and where to make the straight stitch; this is a common area where mistakes can happen and spoil the entire piece, so make sure you’re re-checking your work at this step.
Step 4: Repeat the Last Row
Repeat it around to the last corner, then 2hdc in the corner, move along by joining the first hdc to the sl st, and then tie it off securely. Essentially, these steps require little attention when performing the first time, after which they’re so easy that it just becomes muscle memory, and you won’t even have to look twice! So, a little attention here and there will result in a beautifully crafted piece at the end. Trust us; it will make you smile when you see your little munchkin wrapped in one of these.
Step 5: Join Half Double Crochet

Next, we will join with a standing half double crochet in the third loop of the second stitch of any corner. Now, camel stitch in each stitch to the second stitch of the next corner, then 3 camel stitch in the corner stitch. This will be followed by repeating around the last corner, 2 camel stitches in the last corner, and then joining with a single stitch the first half double crochet of round and tying it off securely.
Step 6: Makeup with the Second Row Again
When you’ve reached this far, all you have to do is repeat the second row to as many as you like. It’s entirely a matter of taste and preference, but we recommend you go with a proportional approach.
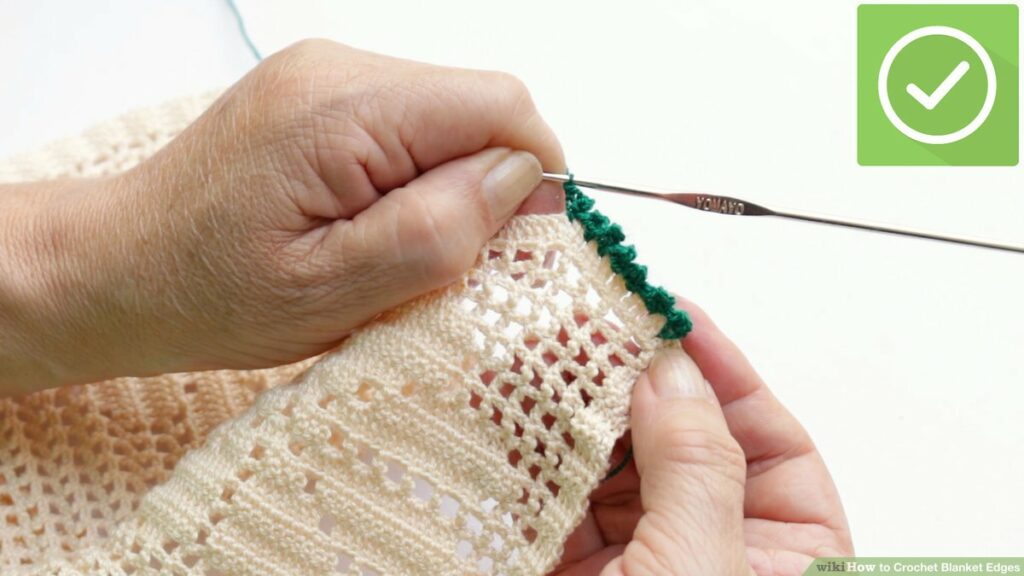
Step 7: Working on the Final Row
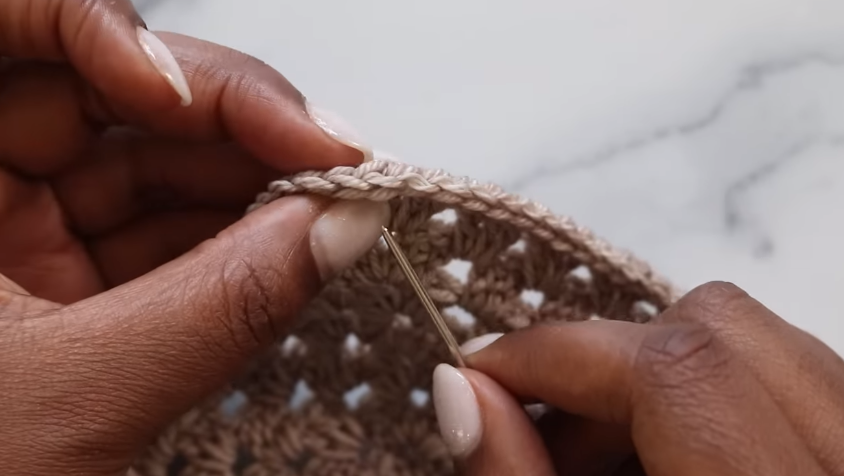
For the final row, we need a single stitch into the third loop of any stitch, then a single stitch in the third loop of each of the stitches around; now, it is very crucial to pay attention and not to increase the length in any corners. Then, all you need to do is tie the last single stitch of round and knit in the ends. We recommend doing so by using the invisible join.
We understand this might be a little tricky at first. Still, to make things easier, we would recommend taking suggestions from video tutorials to get a detailed idea for flawless execution. And there you have it, a crochet blanket border, all made by yourself! We hope it puts a smile on your face when you see the finished piece.
Conclusion
Summing up, we discussed the importance and appeal of a crochet blanket border, how it enhances your hand-knitted piece, and the many types of easy and simple crochet borders.
We also discussed a step-by-step guide for you to make a border yourself. We’d like to revisit the point of using the correct yarn and having a crochet hook set.
Crocheting is an art that has no limits; we’d like to encourage you to let your creativity fly and try as many combinations as possible of various colors and patterns while making the borders for your blanket.
We highly recommend you try to level up your border game by adding multiple colored yarns and playing with the texture. The video attached to this article is also one to watch for added support and guidance. So Grab your crochet hook, and let’s make art with yarn! Happy Knitting.
Frequently Asked Question
What is the Best Crochet Stitch for a Blanket Border?
There are many, some of which we mentioned above and are discussed in the article, but we go by the people’s opinion; the single or half-double crochet is the most widely preferred border for a blanket.
Which is the Easiest Border for a Crochet Blanket?
The easiest border, according to us, would be the single crochet border for your crochet blanket. This is because it uses just one simple crochet technique and can be very easily learned and performed by beginners.
Should We Block the Blanket Before Adding the Border?
Yes, it is a very simple yes because blocking helps to settle in the shape of the blanket and evens the ends of the yarn; this way, it becomes easier to add the borders and makes things a lot less complex.
What to Do When Dealing with Wavy Borders?
Wavy borders are a common problem, but it’s okay; these can be fixed very easily by choosing a hook that is one or two sizes smaller than what you are currently using. Doing this will pull in the crochet, increase the tension of the yarn, and straighten out the borders.