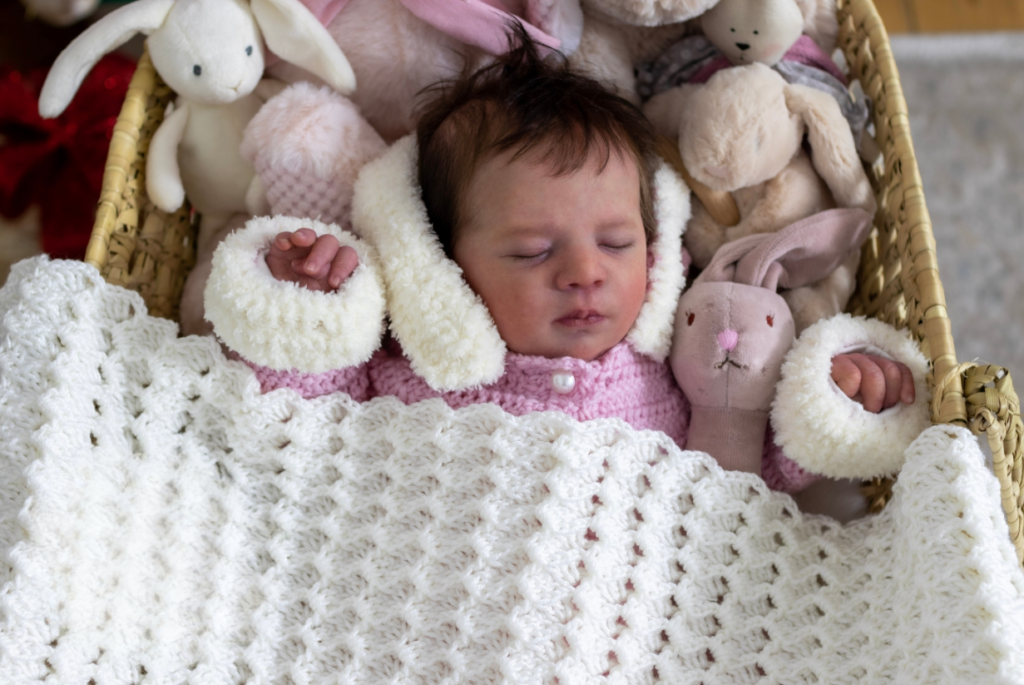
Babies love to snuggle in hand-knit blankets, and we’ve found so many of them not letting go of these blankets even after they grow out of them cause they become a favorite.
We know our readers love to crochet blankets for their babies, and one of the best blankets to go for is the crochet shell stitch baby blanket; this is because it’s one of the easiest crochet stitches to make and doesn’t require a lot of skill and effort.
It’s so simple to make that you can do so while watching your favorite Netflix series, and you won’t have to take your eyes off it. The best part about the crochet shell stitch baby blanket is that it can be for a little boy or a girl.
Just simple mini triangles of yarn, and it’s done, so pick up your crochet hooks and essential supplies, and let’s get started!
The Charismatic Art of Shell Stitch
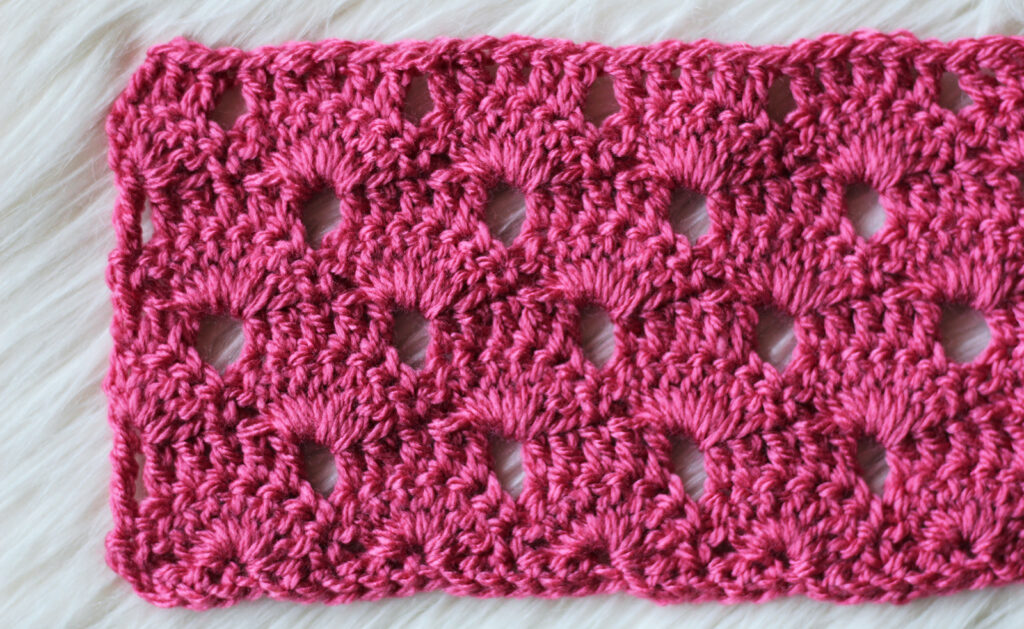
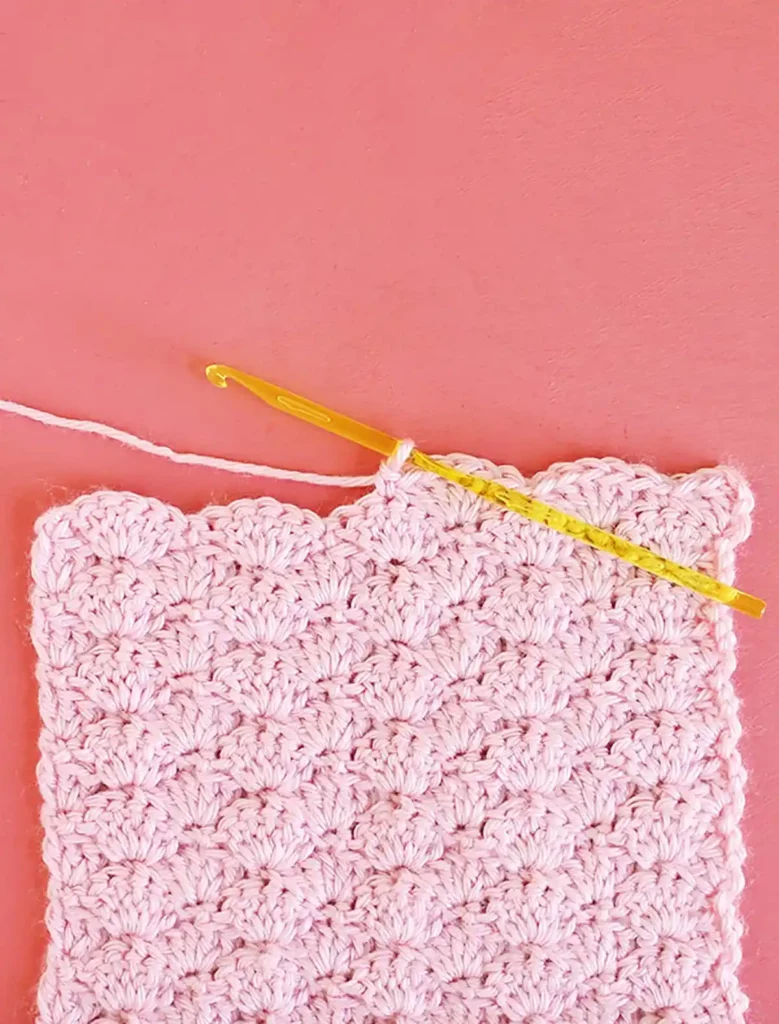
If we talk about the shell stitch, as mentioned above, it’s just a cluster of mini triangles of double crochet stitches that are, in a way, held together by single crochet stitches. Since it comes together to look like tiny sea shells, hence the name shell stitch. In crochet stitching, we see shell stitches used to make anything from blankets to sweaters to scarves. These are great for adding intricate patterns to your piece and also add some fluff to increase the amount of insulation.
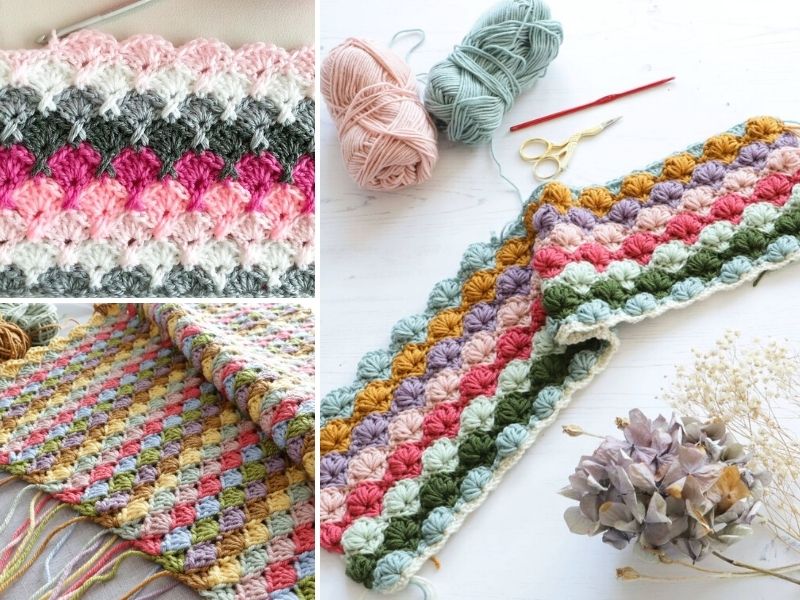
If we deep dive into the shell stitch and its variations, we see a lot of people making these shell stitches by using different colored yarns at the same time. This gives a beautiful look to the rows of shells on the piece and makes the overall piece look professional, too.
We see the online knitting community going berserk and using these shell stitches to make tassels. Also, we can imagine how well that must look when paired with an Afghan throw.
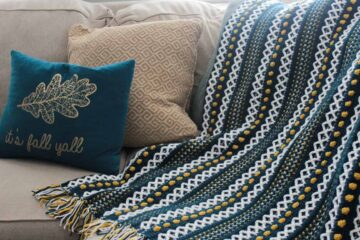
The shell stitch is also one to look best when used to make a border for a hand-knitted piece as it provides that beautiful wavy shell-shaped design that makes the overall piece look just perfect; on this note, if you’re going to try one, we’d highly recommend going with a complimentary colored border as that would make your piece have that extra self-design factor that we’re all so eagerly looking for.
Materials Required for the Shell Stitch
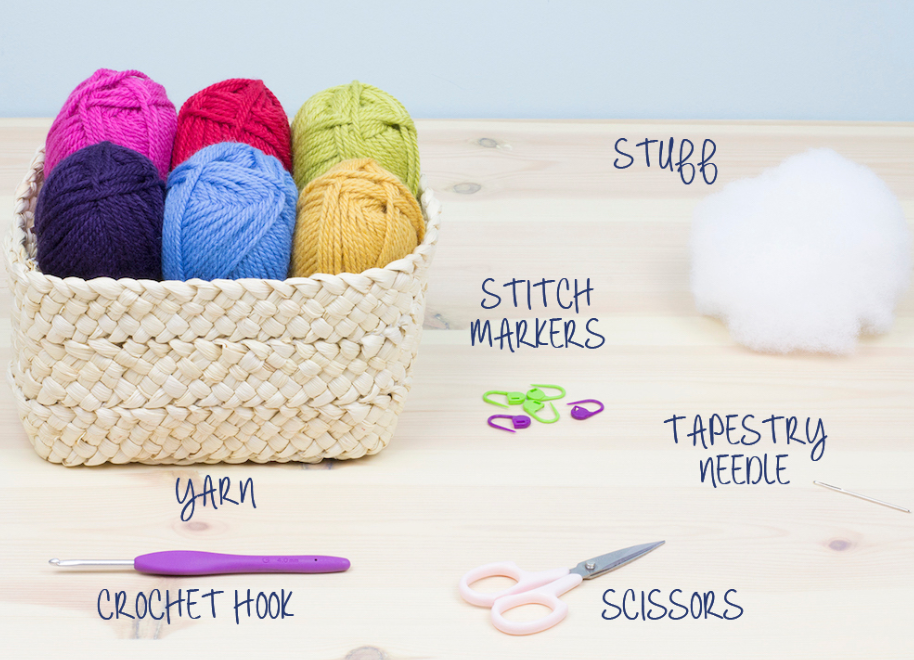
It’s a simple list of quite easily available materials both online and at the stores near you. So the materials needed for a crochet shell stitch baby blanket are:
- Yarn (quantity, type, and color are entirely up to you)
- Crochet hook set
- Scissors
- Tapestry Needle
- Beads and buttons (For decoration, this is optional and can be skipped)
Detailed Step-By-Step Guide to Make a Shell Stitch
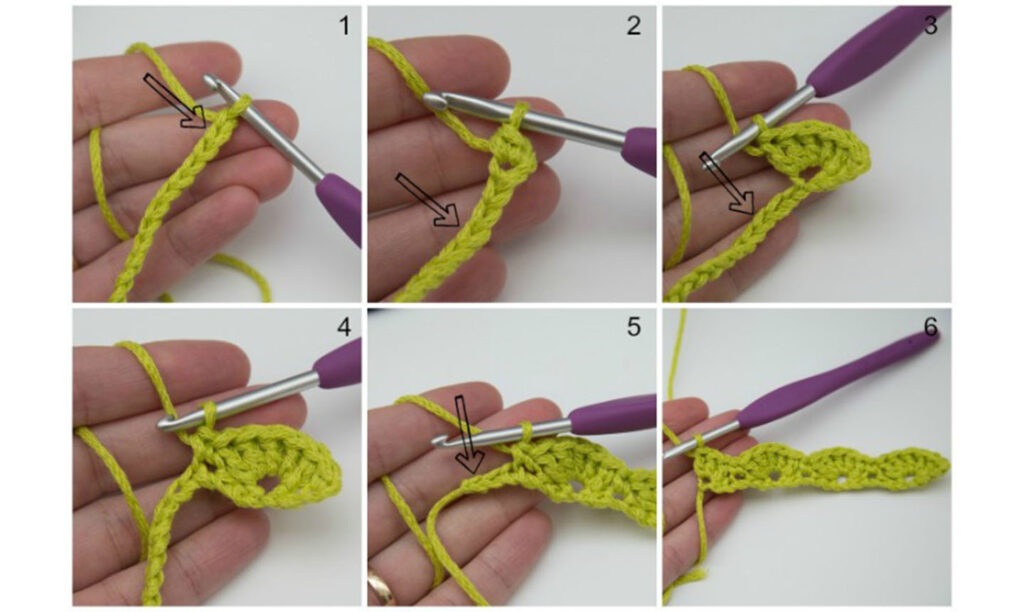
It’s very simple and easy to stitch a shell stitch; for your ease, let’s have a look at a step-by-step guide to shell stitch:
1. The First Row
- You start with a chain that’s made up of any multiple of six, and you add two more to it.
- Next, you will skip the first chain and make a single crochet stitch in the next chain.
- After this, you will single-crochet each of the five chains that follow and make it a total of six single-crochet stitches.
- Moving on to the second chain, here you will do just about the same thing as above. We will skip one chain, and in the following five chains, you will make one single crochet stitch each. So far so good? Moving on
- So for the rest of your row, you’ll just repeat these same steps until you reach the end of the row. Upon reaching the end, you’ll find six remaining chains; for these, you will make one single crochet stitch in each chain.
- Now, to verify, you can inspect and notice that you both started and ended with six single crochet, and you will have five single crochet in the middle; this will vary according to the number of chains you started with.
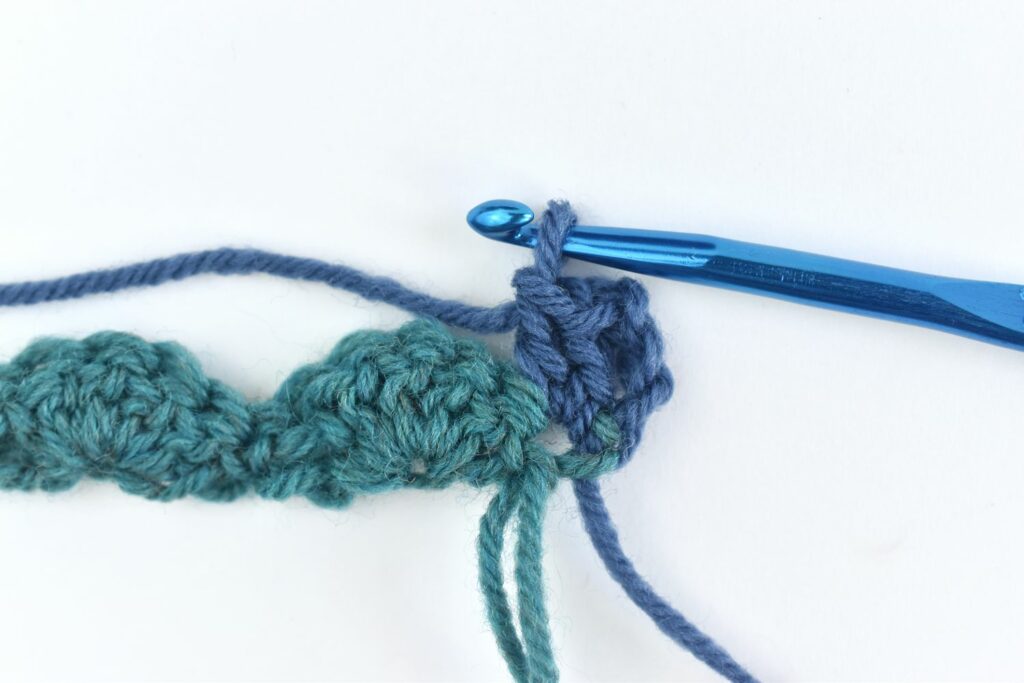
2. The Second Row

- Now, coming to row two, for this, you will start with the third chain and turn.
- In the first stitch, you will be making three double crochet. Upon counting, you will realize that there are four double crochet stitches; if you don’t, retrace your steps and rectify any errors you made along the way.
- Now, amongst the five stitches, you will pick the third one and make a single crochet stitch there.
- Next, you need to make seven double crochet stitches in the last chain two’s space.
- Then, in the previous five stitches, the third one, you will now make a single crochet stitch, followed by seven double crochet stitches in the next chain of two spaces. Easy enough, right?
- Now, continue across this row, repeating the same pattern with a single crochet stitch in the middle stitch.
- You’ll be starting to see a shell-type pattern now; imagine this throughout the piece, and that is what the result will look like, cute, right?
- Again, at the end of the chain, you’ll find six remaining stitches; here, in the third stitch, you will make a single crochet stitch.
- For the last stitch, you will make a total of four double crochet stitches to match the four stitches we started with.
3. The Third Row
- Now, if you want to change colors, this is the step to do so as we’re approaching the third row.
- For the third row, you will start with a single crochet in the first two stitches, and then in the single crochet stitches that you made between the shells, you will make a double crochet, make two chains, and then a double crochet stitch.
- Next, you will look for stitches number three, four, and five and make a single crochet in each of the three stitches.
- Now, in the previous single crochet that you made earlier, you will make the ‘V-Stitch’; this V-Stitch will comprise a double crochet, chain two, and again a double crochet.
- Next, you will repeat the three single crochet stitches along the upper part of the seven double crochet shells that you made previously.
- Moving along, now you will repeat the V-Stitch in between the shells you made previously.
4. Finishing Up
- This pattern will be carried on throughout the row; when you reach the end, you will make one single crochet in the last two stitches each, and you’ll see that we ended this row at the same place as we started.
- Now, these rows that we discussed will be repeated for as long as you wish, and the same stitch pattern will be repeated.
5. Additional Help
We understand that reading these instructions step by step and following them practically could be a bit difficult, especially for beginners, so we have a detailed video for you to watch and stitch along. We feel these video tutorials can be very helpful during crochet as you get to see the person making the same thing as you, and any difference in your piece and theirs can be easily identified and rectified as per the needs. This tutorial will also give you a glimpse into how easy it is to make a crochet shell stitch baby blanket. Having said that, we hope that most of you will find the written instructions befitting to your needs.
Yarn and Hook, Make The Right Choice
1. Choosing the Right Gauge
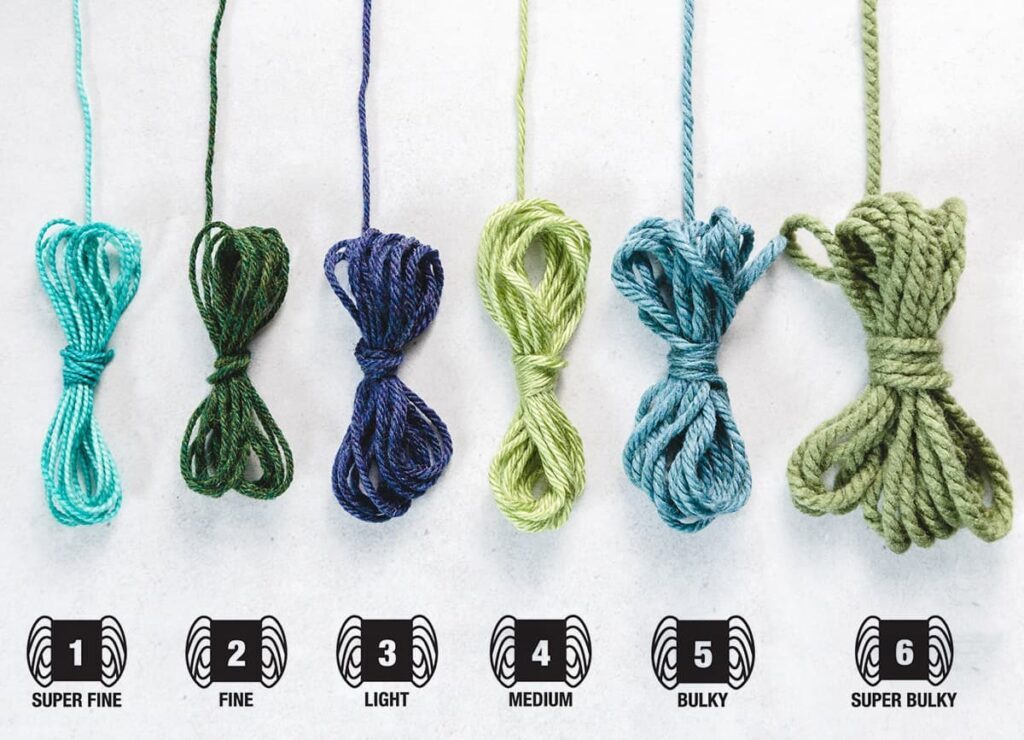
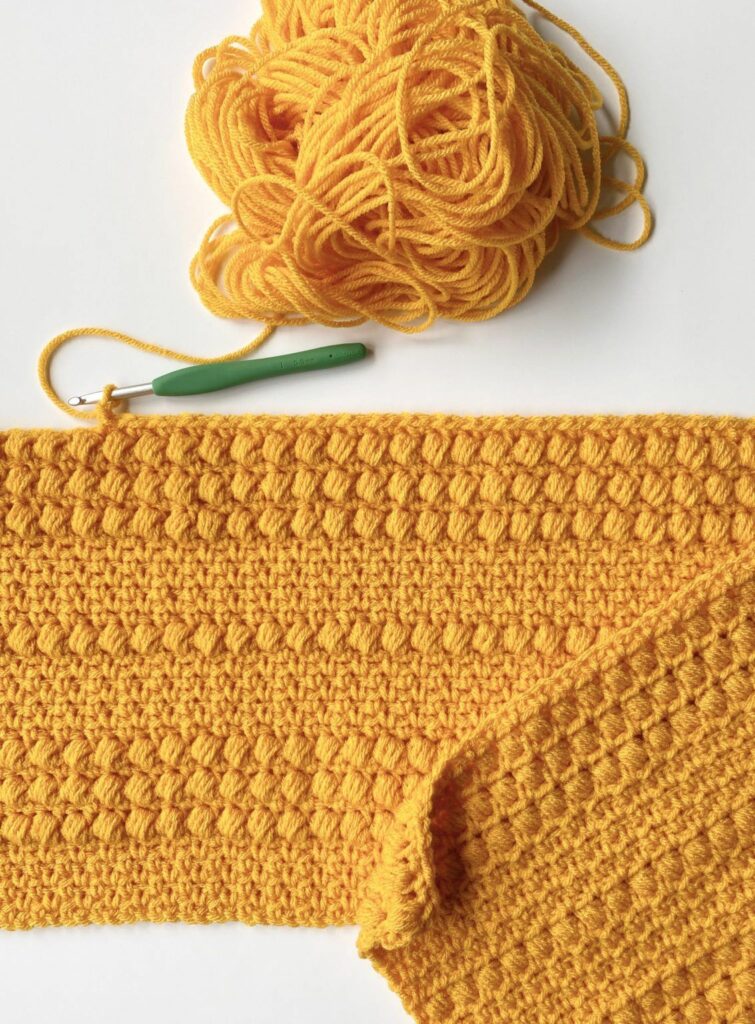
When it comes to making a crochet shell stitch baby blanket, we recommend using bulky yarns; this is because baby blankets are supposed to be fluffy and provide comfort and insulation from the cold to your little ones. Gauge 5 and Gauge 6 yarns are, according to us, the best in this regard as they have the right thickness.
Also, as we have mentioned in previous articles, these yarns are comparatively easier to work with because they have the right and comfortable diameter to hold and move easily. Essentially, there is a lot of surface area to work with, which decreases the chances of slipping out of hands; all this makes it suitable for elderly people as well as for beginners learning to crochet and have just started out knitting.
2. The Right Material
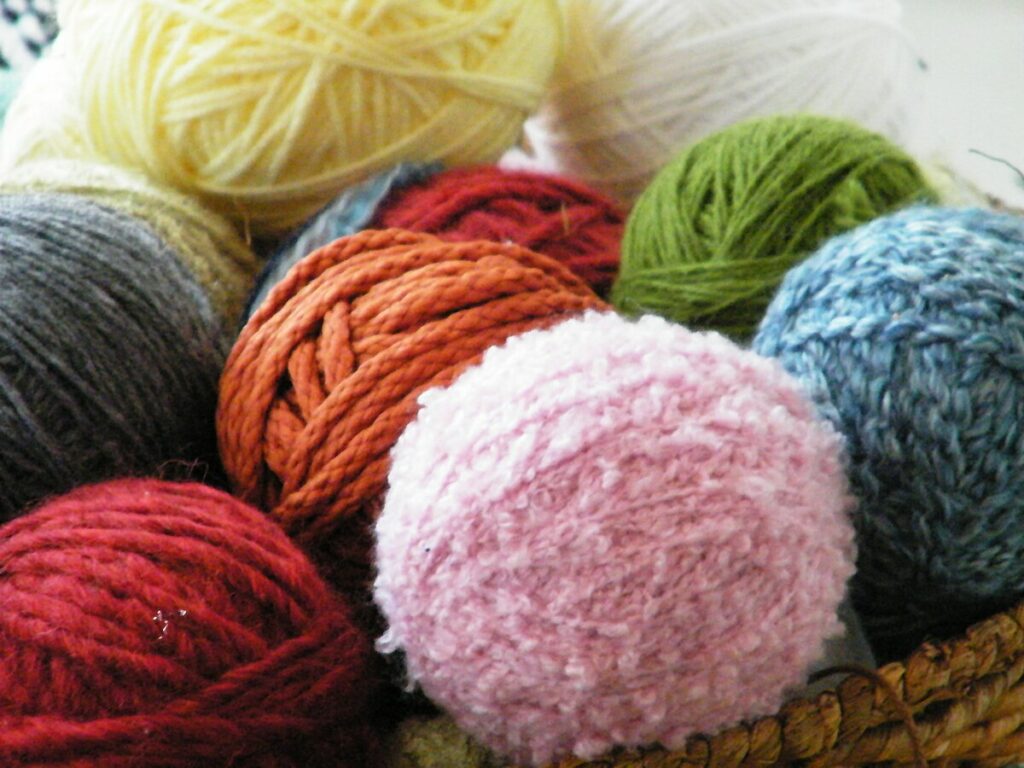
All things considered, when it comes to a crochet shell stitch baby blanket, or just baby blankets in general, the material of choice should be organic cotton, plain cotton, or muslin since these are naturally soft and don’t have polymers in them, which we recommend you should avoid in case of baby blankets. Now on the matter of yarn, cotton yarns are best suited to make baby blankets and will be a great choice for your crochet shell stitch baby blanket project.
Special mention to Chenille Yarn, which is another good choice for a baby blanket as they are considered by many to be the softest of the bunch; this will make these the perfect choice to make the blankets that will keep your precious little ones warm and cozy during the chilly winters.
3. Thinking of a Long-Term
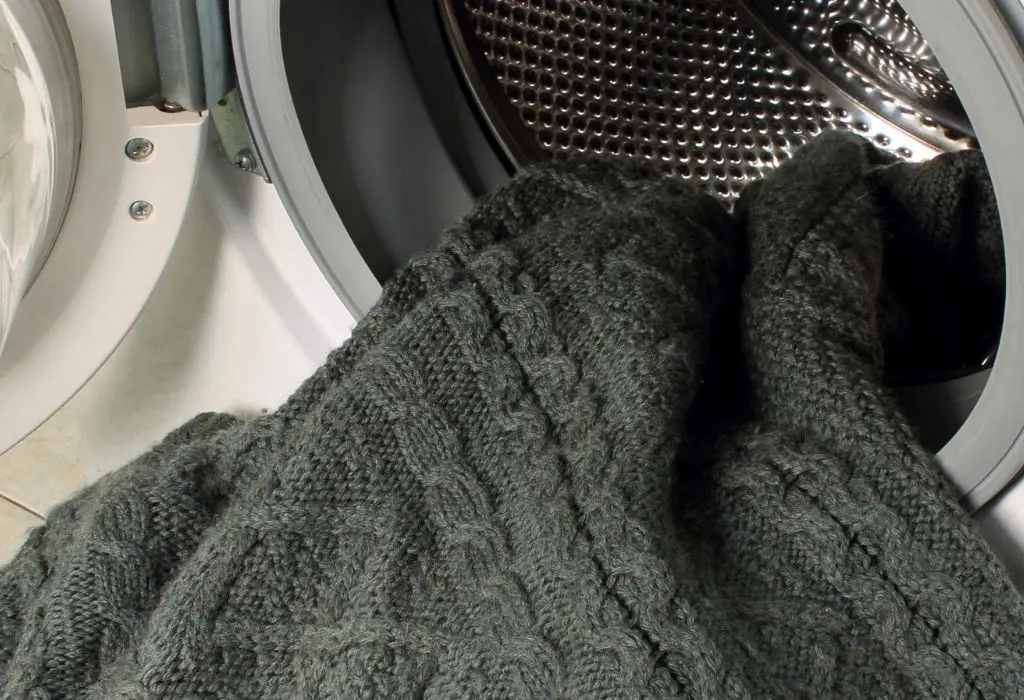
Boiling down, a general rule we’d encourage you to follow would be to use yarn that you can easily throw in the washing machine and not worry much about; we have to consider the fact that it shouldn’t itch or irritate the baby’s skin, with these factors into place, acrylic yarn, cotton or a blend of both (avoid the ones with wool) would be the ideal choice.
4. Take the Hook of Your Choice
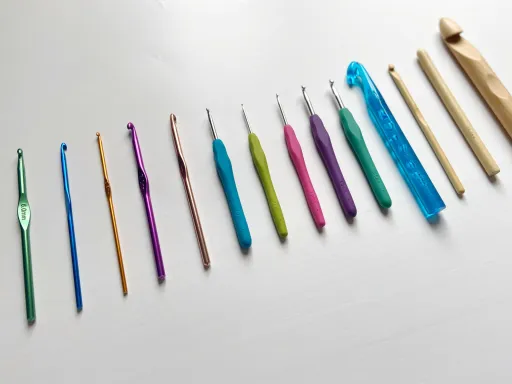
As for the Hook, for making a crochet shell stitch baby blanket, we’d recommend you go with a more ‘by-the-book’ approach here and read the labels on the yarn to figure out the hook size that is prescribed to be used with the specific yarn that you choose. Nevertheless, we always encourage our readers to go ahead and buy the entire set; we recommend this since, at some point while knitting the crochet shell stitch baby blanket, you will want to switch yarn, be it for color or gauge size, to add more patterns, blend in some creativity or any other approach that you may find suitable. Hence, having an entire set at your disposal will make things more user-friendly.
We would like to encourage you to try out different hook sizes and get creative, as different hook sizes will produce different results, and if it puts a smile on your face when you look at the finished piece, it’ll be a job well done for us.
The Crochet Shell Stitch Baby Blanket
So far, we’ve discussed the materials required and the shell stitch that will make up the entire blanket with a series of repeating rows. As for the blanket itself, we’d recommend adding a good border to finish things up pretty nicely; you can go with a single crochet stitch border for your crochet shell stitch baby blanket to give it a smoother look that’ll be pleasing to the eyes and gives your blanket the professional finish that we all love to see.
When you start this project, breaking the entire thing down into easy segments would be the best approach, for example, the base chain, deciding on the number of rows you’ll go with, then the borders, any finishing touches, or adding any ornamental touches. We find this approach to be very helpful as then you don’t miss out on any important part that you planned on doing. So, keep a pen and paper with you when you start this project and jot down the segments of this project in a step-by-step format for reference at a later stage.
Now, even if you are a beginner and this is your fourth or fifth project, we’d encourage you to try and mix different colored yarns for this project. It’s a baby blanket, and it should give off the same vibe. Also, babies love colorful objects, and who knows, when they grow up, this crochet shell stitch baby blanket might become their perfect companion for those tummy times.
Conclusion
Summing up, in this article, we discussed the key benefits and features of the crochet shell stitch baby blanket, the what and how of a crochet shell stitch, the simple materials required for this project, and some essential recommendations while picking out the yarn and crochet hook for your crochet shell stitch baby blanket.
We’d like to re-visit the point that a shell stitch blanket, due to its looks and fluff, is one of the best for babies, as your little munchkin will look very cute when wrapped in one of these at the same time; the blanket will keep them warm and cozy.
Also, we’d love to hear from you about your experiences when making a crochet shell stitch baby blanket and the little innovation and personalized touches you added to it. So why wait? Pick a yarn, grab the hook, and let’s wrap the baby in love!