As a crocheter, everyone loves to create different patterns, such as a flower pattern, that provides their work with an appealing look. Have you ever looked at a daisy and, out of curiosity, thought if it is possible to recreate its imitation with your hook and yarn? Well, it’s an absolute yes; you can easily create a charming daisy pattern by following our daisy stitch crochet tutorial.
Our tutorial details everything from making a slip knot, crafting a foundation chain, and weaving in loose ends. The best part is it also includes changing yarn colors, allowing you to create a daisy stitch pattern exuding different moods with a stunning appearance.
Further, the guide has been designed keeping beginners in mind, i.e., it starts everything from scratch and is easily understandable.
So why wait any longer? Carry along with us to infuse life into your thoughts.
What is a Daisy Stitch Pattern?
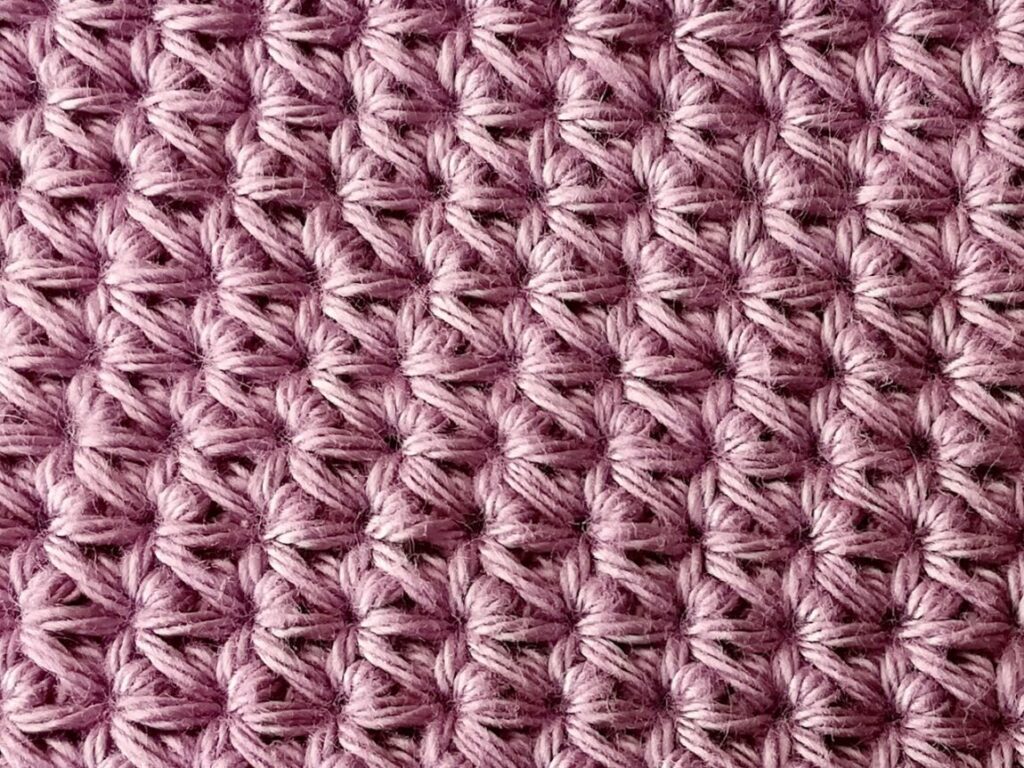
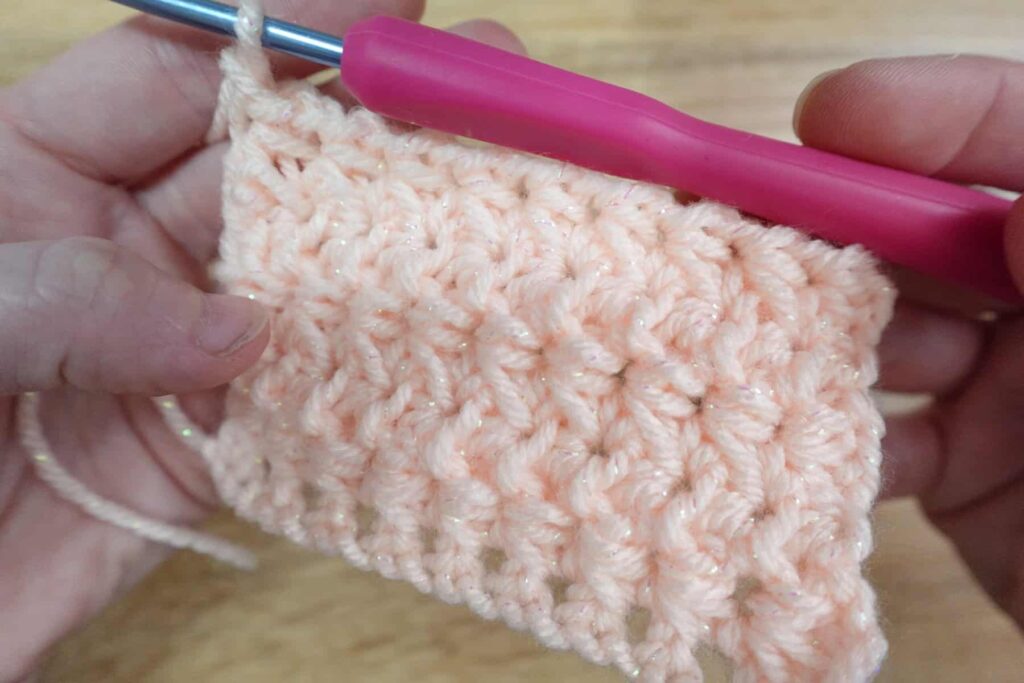
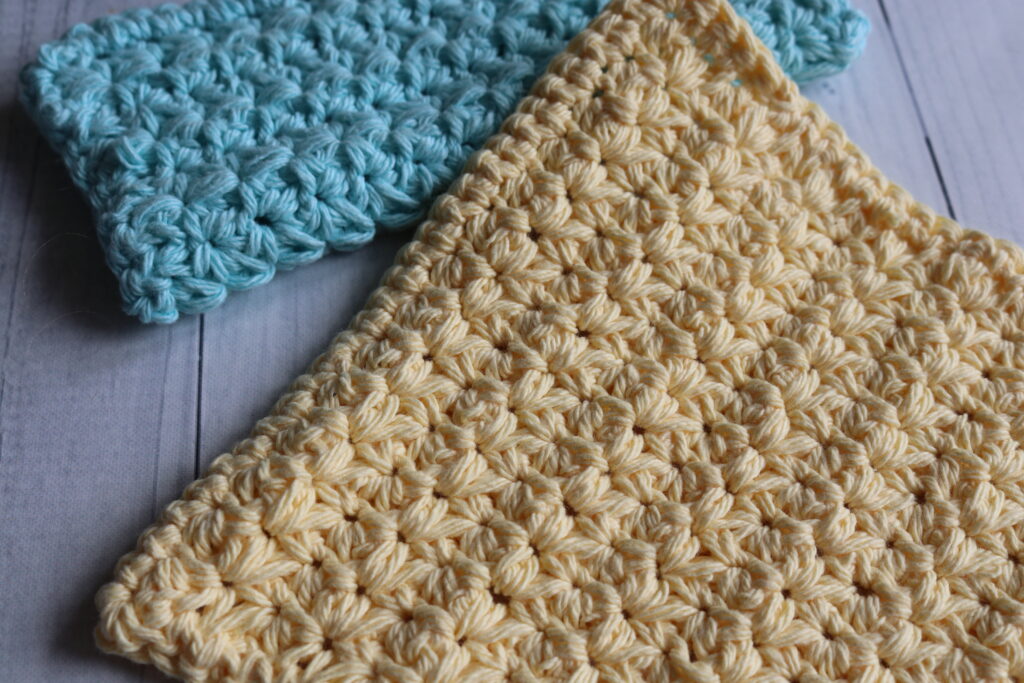
Daisy Stitch crochet, often called star stitch, is a type of crocheting technique that results in a pattern resembling daisy flowers. The method involves a series of steps and combinations of single crochet, double crochet, and other stitches, crocheted circularly to form a daisy’s petals. The stitch is frequently used in different crochet projects, making it a popular choice for a floral look.
Essential Material Required for Daisy Stitch Crochet
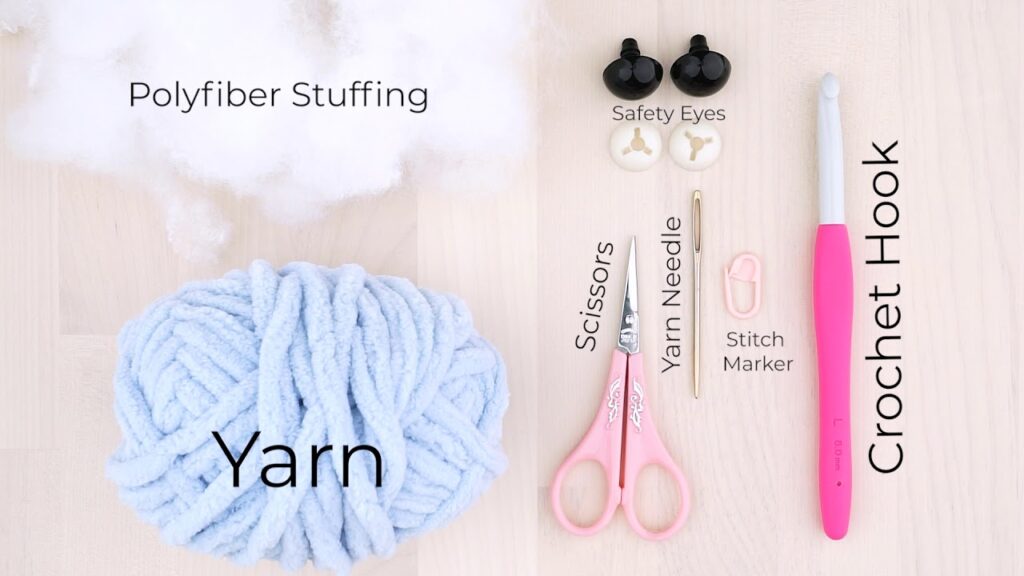
It goes without saying that crocheting requires skills, but along with that, focus is the key. Having all the materials at hand helps you stay focused during crocheting. For the same reason, we have listed below all the essential elements to make a daisy stitch crochet:
- Yarn: Choose yarn of your color and weight. If you want to create a mesmerizing daisy stitch crochet, choose yarn colors that resemble a daisy, like white and yellow. We recommend choosing a worsted-weight acrylic or cotton yarn. Remember that thinner yarns would crochet small daisies, while thicker ones will create larger daisies.
- Crochet Hook: Select a crochet hook size that aligns with your chosen yarn. This simply means referring to the hook size mentioned on your yarn label. If you want tight stitches, choose a smaller hook; a larger hook will result in loose stitches.
- Yarn Needle: A must-have tool to give your daisies a neat and professional finish. Choose one with a large eye, as it easily weaves loose ends.
- Scissors: Ensure you’re using a sharp one for cutting the yarn or wherever required, as blunt blades can make the yarn fray.
- Stitch Markers: This helps you keep track of the beginning rounds or specific points, such as when you have to switch yarn colors.
- Yarn Bowl: A storage to keep all your yarns and helps prevent your yarn from being tangled while crocheting.
Detailed Steps to Master the Art of Daisy Stitch Crochet

Being ready with all the elements makes you better prepared for crocheting. But the materials aren’t the only prerequisites; along with it, you require skills, dedication, and passion for crocheting. We assume you have prepared yourself well, so why wait any longer? Let’s dive below to explore the steps to craft a daisy stitch crochet.
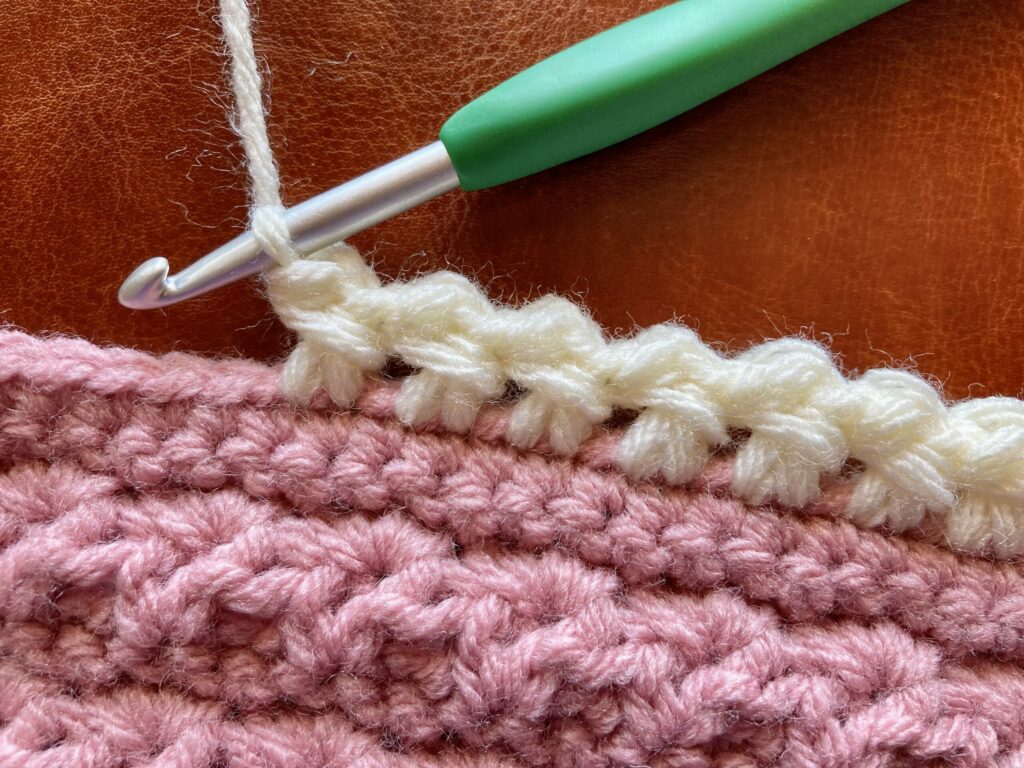
Step 1: Crocheting a Foundation Chain
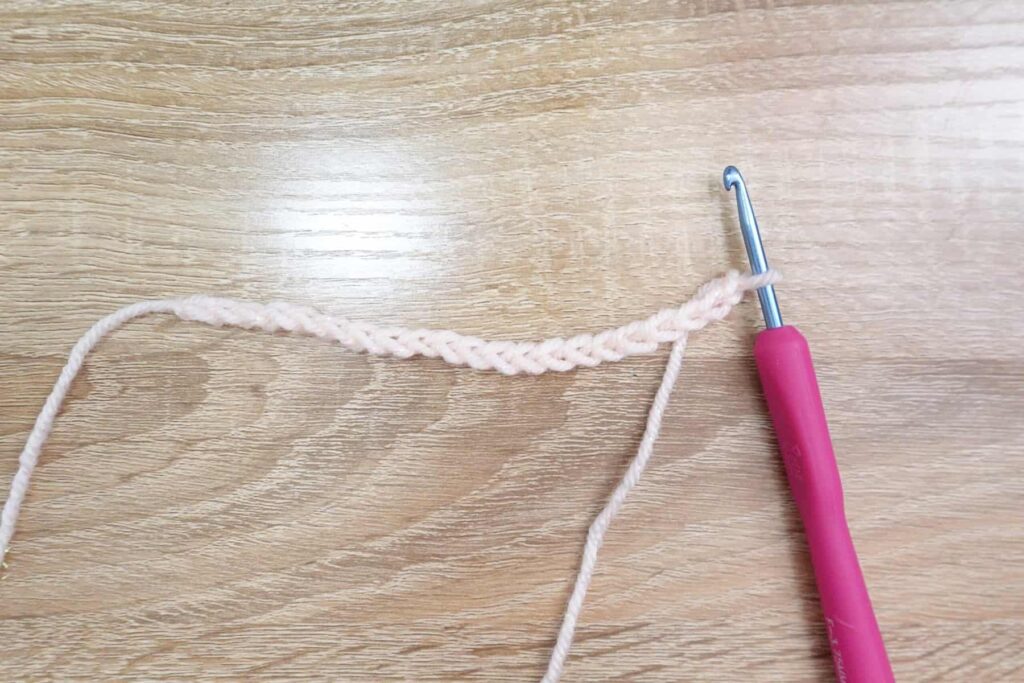
Begin by leaving a 4-6-inch yarn tail; now, wrap the yarn around the hook to create a loop. Once you’re done making the loop, pass the working end through it and gently pull it to secure the slip knot onto the hook. Hold the working yarn with your non-dominant hand and use the hook to bring it over from back to front.
Step 2: Making a Chain Stitch
Insert the hook into the slip knot from front to back. Now, wrap the yarn around the hook and gently pull through the slip knot loop. Now you have one chain stitch on the hook. Continue making chain stitches by repeating the process as mentioned. The number of chains depends on your project’s required width. For this tutorial, we have chained 17 stitches.
Step 3: Crafting First Daisy and Chain Spaces
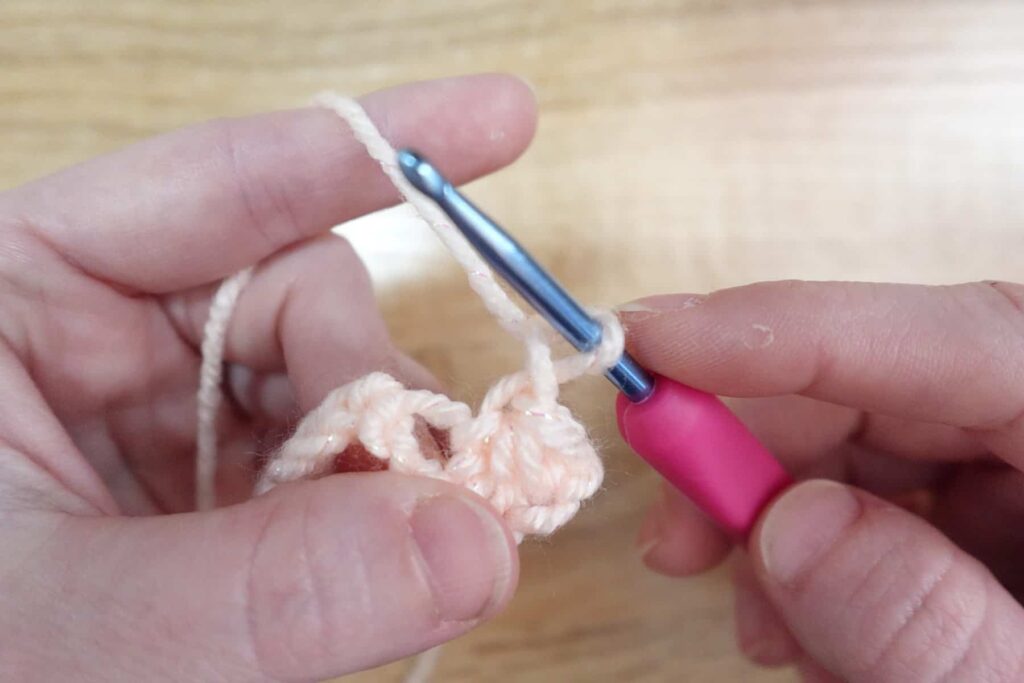
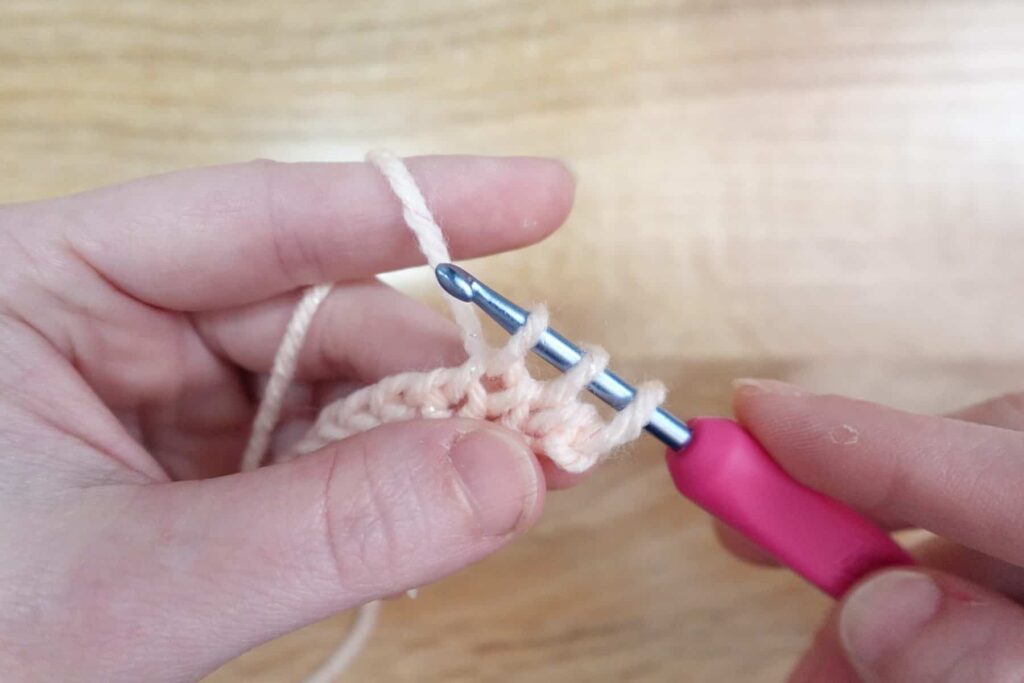
- Start by working a single crochet in the second chain from the hook. For this, insert the hook into the second chain, wrap the yarn around the hook, and pull through both loops on the hook.
- Skip the next 3 chains and work a double crochet in the subsequent one. To make a double crochet yarn over, insert the hook into the chain, yarn over, and pull through. Yarn Over again and pull through the first two loops on the hook.
- Now, make a single chain stitch; this adds a small gap between stitches.
- Work another double and single crochet stitch in the same chain as the previous double crochet. This completes the very first petal.
- Skip the next 3 chains to leave space for the next petal.
- Create a single crochet stitch in the subsequent chain.
Step 4: Repeating the Daisy and Chain Spaces
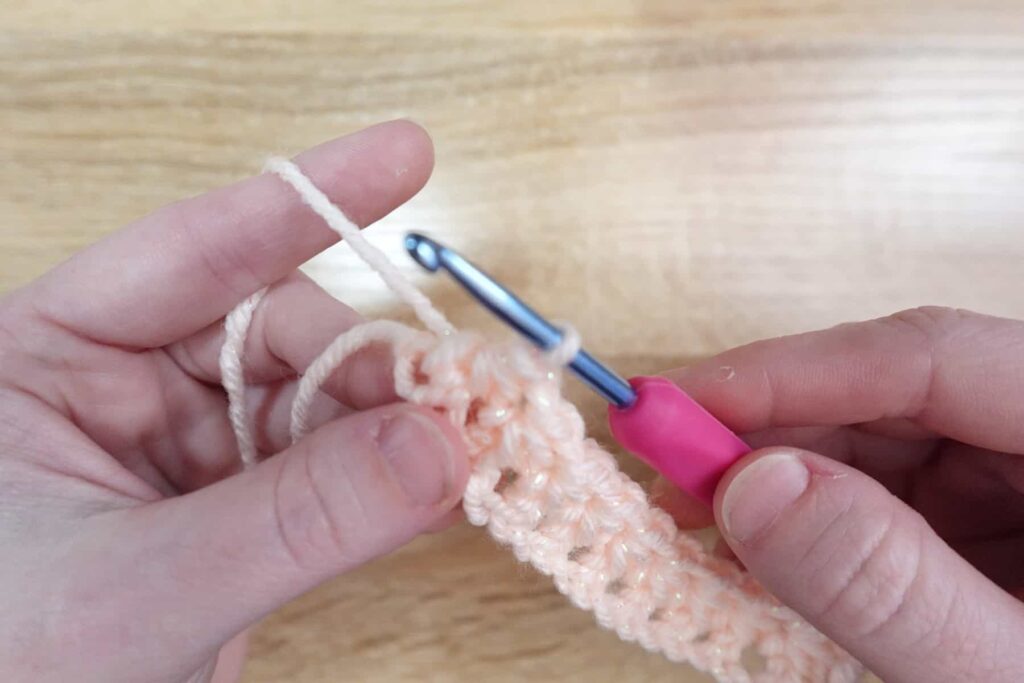
Repeat step 3 above until you reach the foundation chain’s end. This will help you complete your first row of daisy stitch crochet. Once you’re at the end of a row, make a chain of 3 stitches and turn your work to begin the next row (turning chain).
Step 5: Continue with the Designated Pattern
- To begin with a new row, in the first chain-1 space of the previous row, i.e., the space between the two double crochets of a daisy, work a daisy with the help of steps mentioned in step 3 (single crochet, double crochet, chain 1, double crochet, single crochet).
- In the next chain-1 space, work a single crochet.
- Repeat steps 1 and 2 throughout the row, creating daisies and single crochet stitches in the chain-1 spaces.
- At the end of the row, make a chain of 3 stitches as a turning chain.
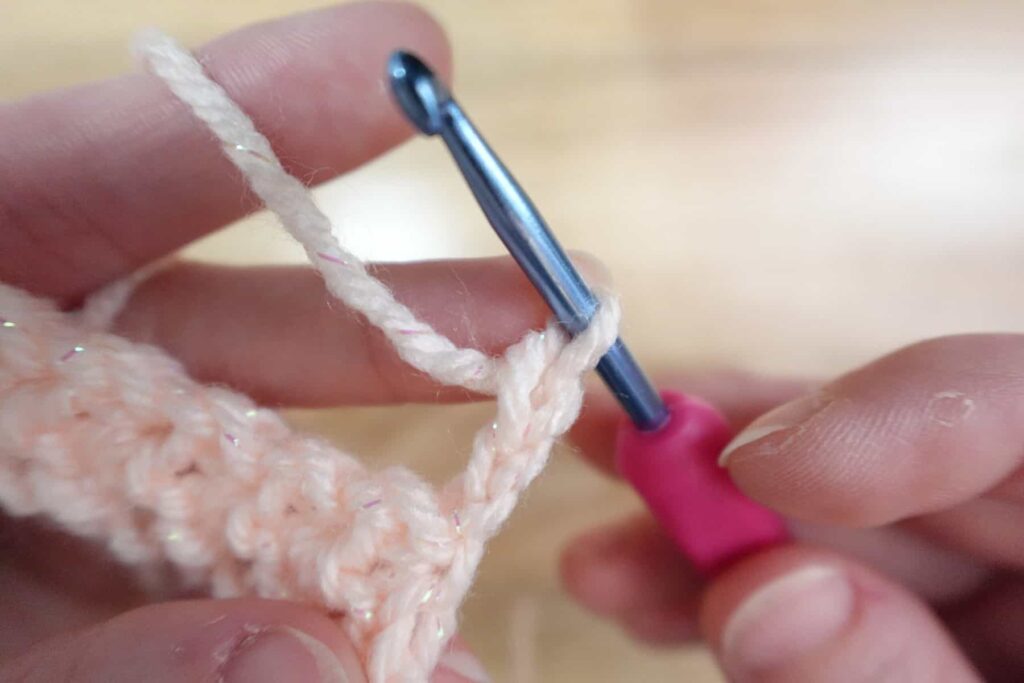
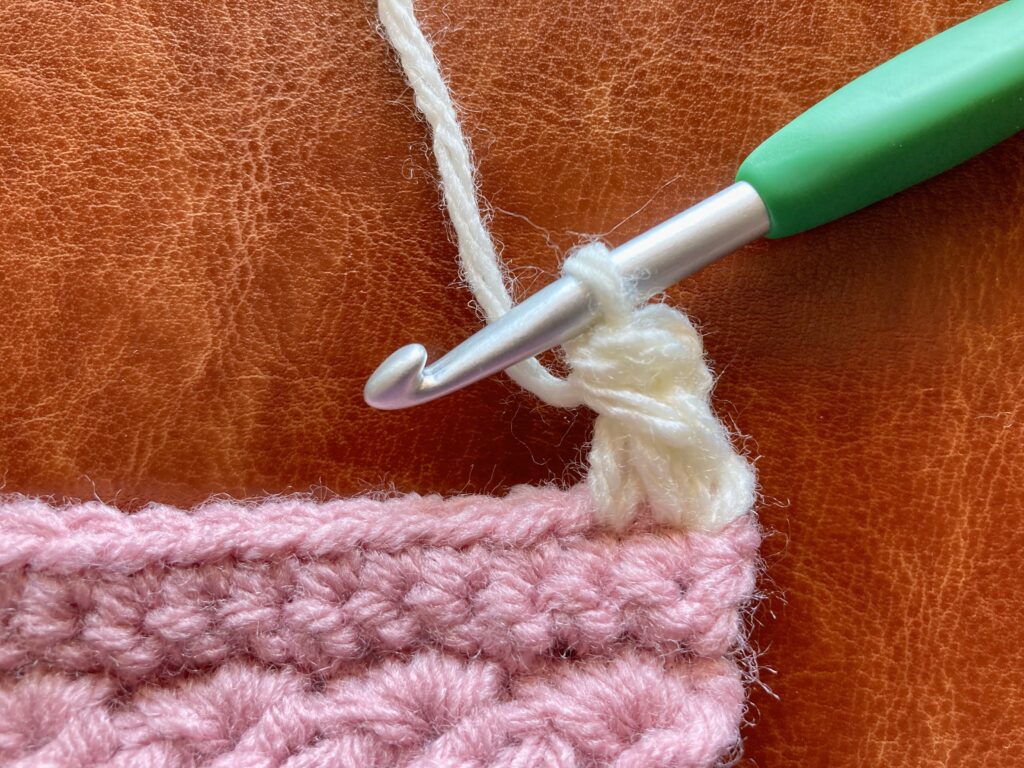
Step 6: Changing Colors For Daisy Centers
- When you reach the step of working the center of the daisy, i.e., after double crochet, chain 1, and double crochet, prepare to switch colors.
- Wrap the new color yarn around the hook and pull through the last 2 loops of the second double crochet. This will complete the stitch with the new yarn color.
- Work the chain 1 of the daisy center with the new color yarn.
- Yarn over and complete the final double crochet of the center.
- You have successfully changed the color for the center of the daisy.
Step 7: Completing Daisy and Chain Spaces
- Work a single crochet in the same chain space. Continue with the new yarn color to complete the daisy. For this, work a single crochet in the same chain space with the new color.
- Now skip the next 3 chains and continue with the new yarn to create the next daisy center.
Step 8: Changing Colors Again with Additional Rows
Switch to the original yarn color when working the center stitches of each daisy. Further, to work on a new row, repeat step 5, altering the colors of each daisy center as explained above.
Step 9: Finishing Your Project
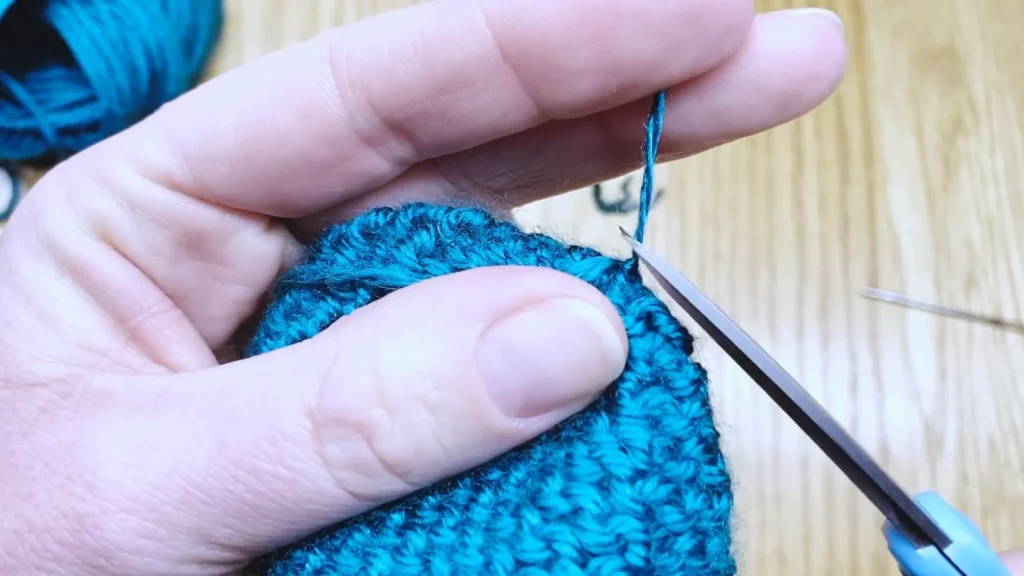
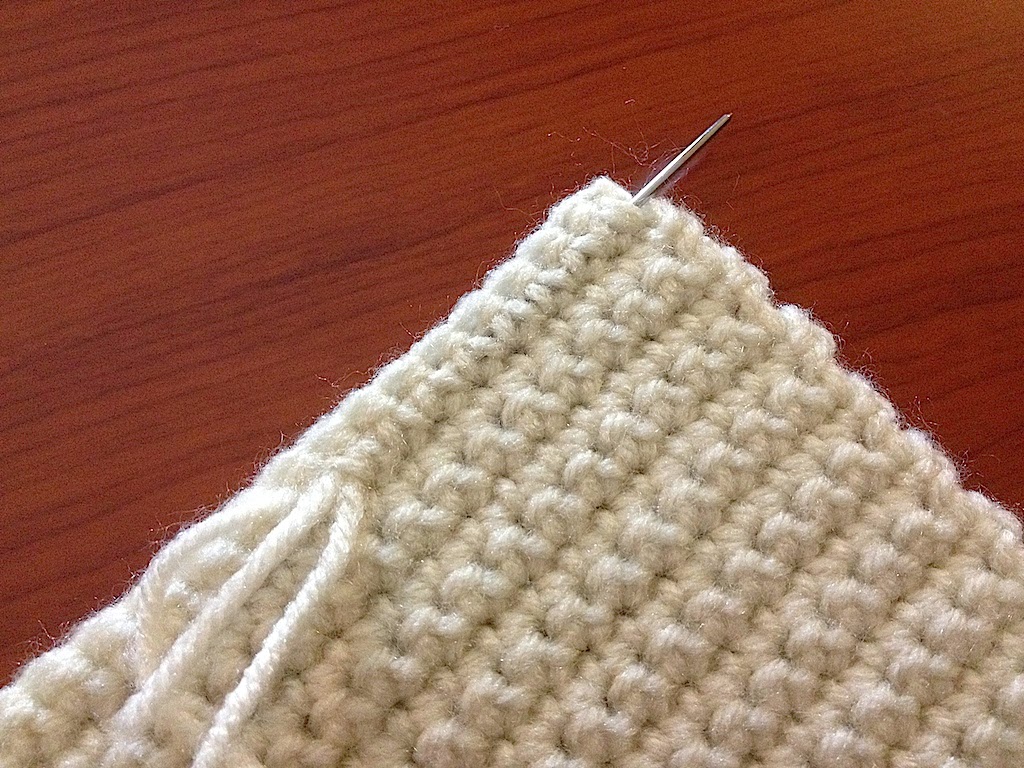
- Once you’re done crocheting the daisy stitch crochet, cut the yarn, leaving a 4-6-inch yarn tail.
- Now, wrap the yarn around the hook and pull its end through the loop on the hook to secure it.
- Use a yarn needle to weave loose ends. This provides a neat and polished finish to your work.
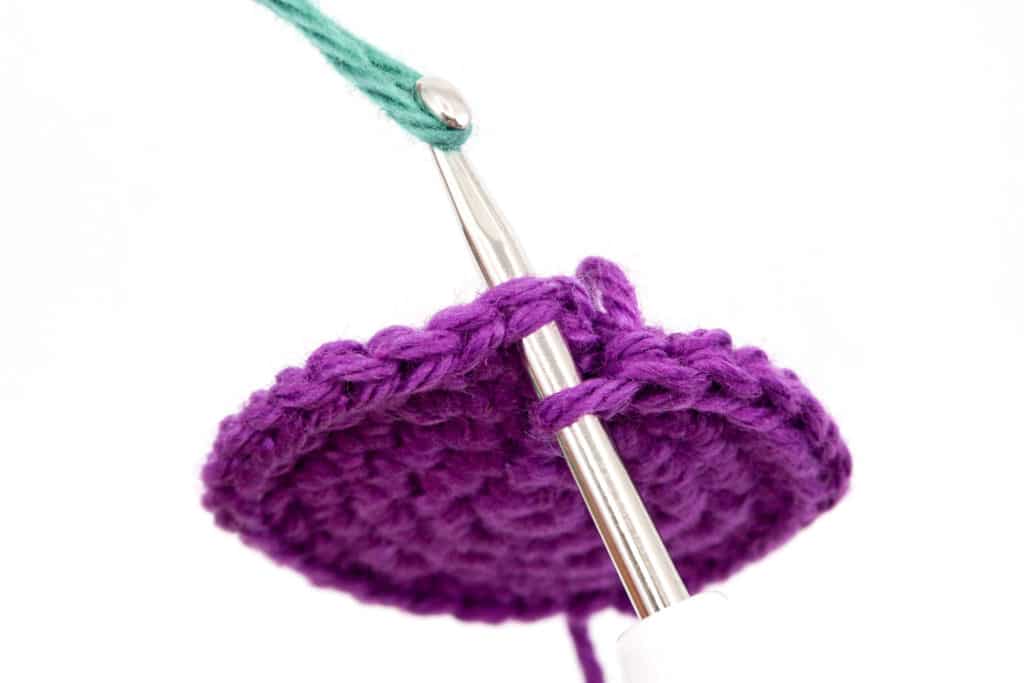
Why is Blocking Essential for Daisy Stitch Crochet?
When working with different yarn colors, the fabric sometimes becomes tangled or uneven; blocking fixes these, offering several benefits to your work. Further, it ensures cohesive tension is maintained throughout and that edges are smooth. In short, it elevates the overall look and symmetry, providing a professional finish to your work.
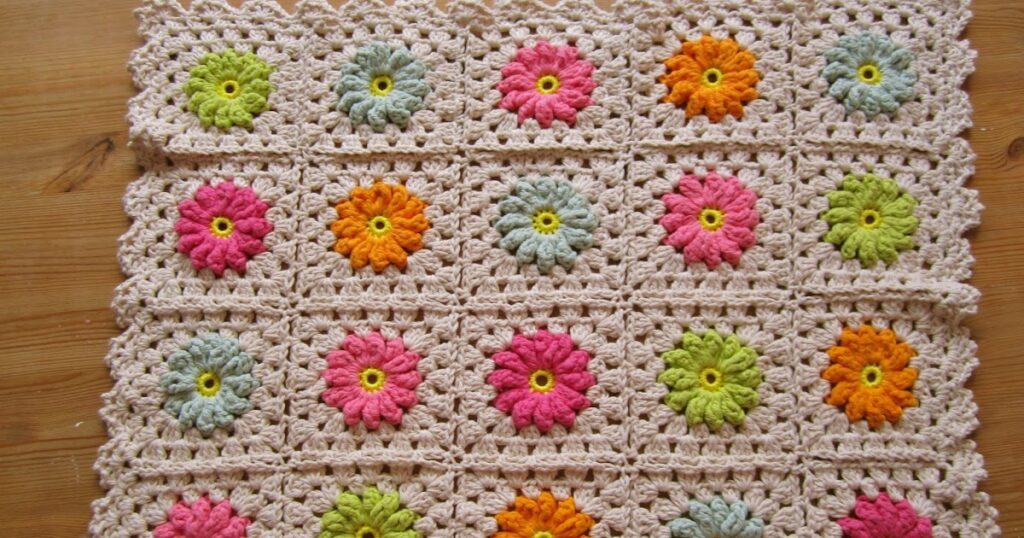
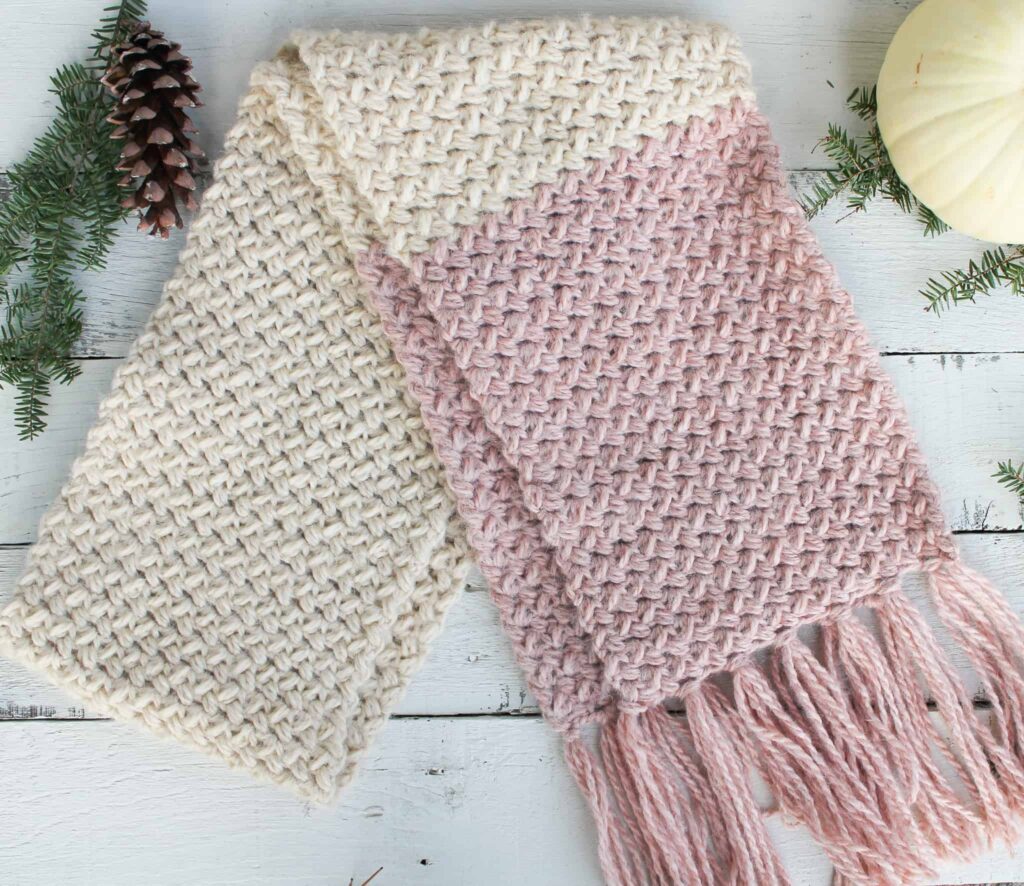
Things You Can Make With Daisy Stitch Crochet
- Dishcloth
- Scarf
- Headband
- Pillow Cover
- Market Bag
- Blanket
For the matter of blankets exclusively that completely adore the value, through such Stichting pattern, the best part is you don’t have to work much if you want to make it. All you need to do is add a few more steps to the steps mentioned above to create a daisy stitch pattern. Check out the steps contained below that will help you make a blanket following basic steps.
Step 1: Completing the Main Blanket
- Continue till step 5, as mentioned above in the steps to master daisy stitch crochet, to create rows, altering colors for the daisy centers as desired.
- Change colors when required with reference from step 6 above.
- Work additional rows until your blanket reaches the required length.
Step 2: Preparing For the Border
- Once you have reached the required length, fasten off the yarn, leaving a tail.
- Check and ensure that the edges are even and the stitch is consistent throughout.
Step 3: Adding the Border
- Join the chosen color for the border at any corner of the blanket using a slip knot on your crochet hook.
- Chain a series of 3 stitches and count it as the first double crochet. Now work additional double crochet stitches evenly along the edge, placing 1 double crochet in each stitch or space. Once you are on a corner, work 3 double crochets to turn the corner smoothly.
- Continue working double crochet stitches evenly along each side of the crochet daisy blanket, and in the corner, work 3 double crochet and chain 2,3 double crochet to create the corner space.
- Once done with the first round of double crochets, slip stitch into the top of starting chain-3 to close the round.
Step 4: Completing Border Length
For each round, repeat step 3. Continue adding the rounds of double crochets with the same yarn color or a different one for a striped effect. Also, you can play with different stitches, like half-double crochet or clusters for a fine texture.
Step 5: Finishing the Border
Once you have reached the desired width, fasten off the yarn. This will give you two loose ends: the one you fastened off and the other you left at the beginning. Both these ends need to be woven to prevent unraveling. To weave in the loose end, pass the yarn end into the tapestry needle and start stitching on the backside of your work. Weaving in different directions and through multiple stitches would firmly secure the yarn ends.
Step 6: Blocking the Completed Blanket
After completing the daisy stitch crochet blanket, consider passing it through the blocking process. This will ensure your blanket looks neat and polished, exuding a professional look. For blocking, follow the steps below:
- Soak the completed crochet daisy blanket and flatten it on a blocking mat.
- Carefully pin the edges using a blocking pin.
- Allow it to air dry completely.
Conclusion
Making a crochet daisy stitch is simple, but what it requires is your time and effort, along with all the materials listed above. Further, with our beginner-friendly steps mentioned above, making a daisy stitch crochet is really easy, but you need to be careful while crocheting every stitch.
Now that we are at the end of the tutorial, we assume you have thoroughly read the steps and have taken the first step to make a crochet daisy stitch. Was the tutorial easy to follow? Share in the comments what you made with a daisy stitch pattern, a blanket, or anything else. Feel free to ask us if you face any issues while crocheting.
Frequently Asked Questions
Why are Daisies Uneven in Size in the Daisy Stitch Crochet Pattern?
If your daisies are uneven, that’s mainly because of tension variations between the stitches. Practicing consistent tension can make it right, especially at the center, to stitch uniform daisies. Additionally, blocking the finished daisy stitch crochet work can help get rid of any irregularities.
How to Manage to Switch Colors without Knots in Daisy Stitch Crochet?
To hide or avoid knots, change colors at the beginning of new rows as you create the turning chain. Hold the new color alongside the old color yarn for the first stitch of the new row, concealing the know. Carefully weave in the ends to maintain a neat and professional look.
How to Avoid Tangling of Edges in a Daisy Stitch Crochet?
To prevent tangling or uneven surfaces of edges, create a border using a double crochet stitch. This will add weight to counter the tangling tendency of edges. Further, maintain a consistent tension throughout the stitches and pass the work through the blocking process for even edges and a polished look.