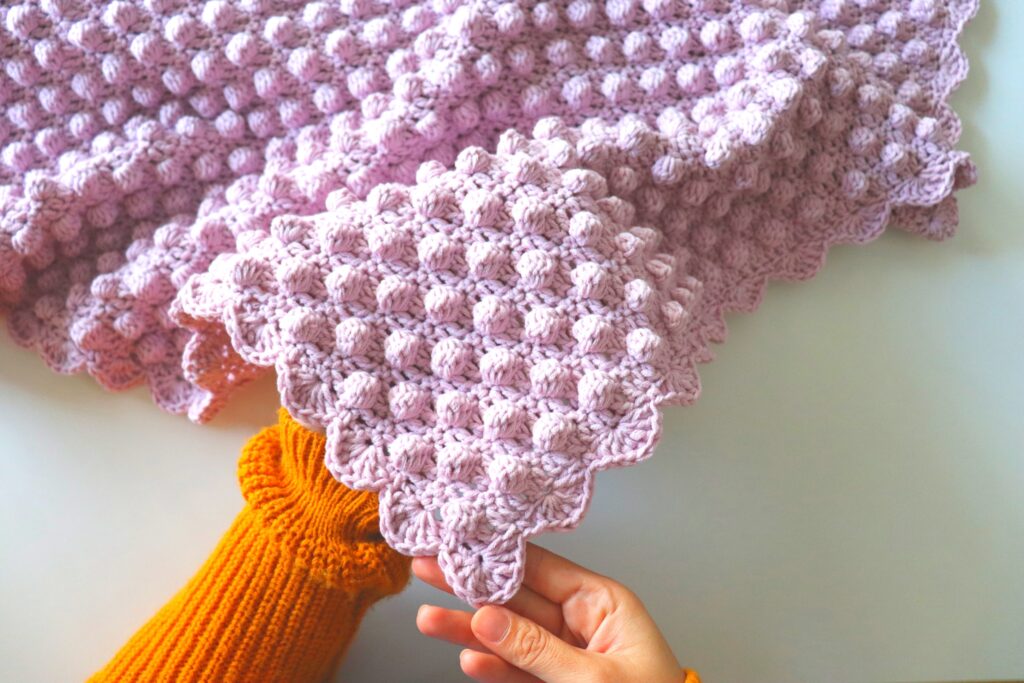
Are you looking to weave a blanket full of warmth for your precious little ones? Search no more! Our crochet bobble blanket tutorial will fulfill all that you desire and will definitely signify the love and care you want to wrap around your little ones.
We will guide you step-by-step to create a bobble blanket that looks appealing and imparts warmth and compassion. And the best part…whether you are a beginner at weaving or just confused with some parts, this will help you master making crochet bobble blankets real quick.
From choosing the best yarns to the easiest way of crocheting a bobble blanket, you’ll learn everything. So why wait any longer? Let’s quickly dive into and learn how to craft a bobble blanket easily.
Prerequisites of Crocheting a Bobble Blanket
We know you’re eager to learn how to craft a crochet bobble blanket, but before that, having the essential material will make your weaving a breeze. Therefore, we have compiled a list of must-have items that will help you make an adorable bobble blanket for your loved ones.
Materials Required
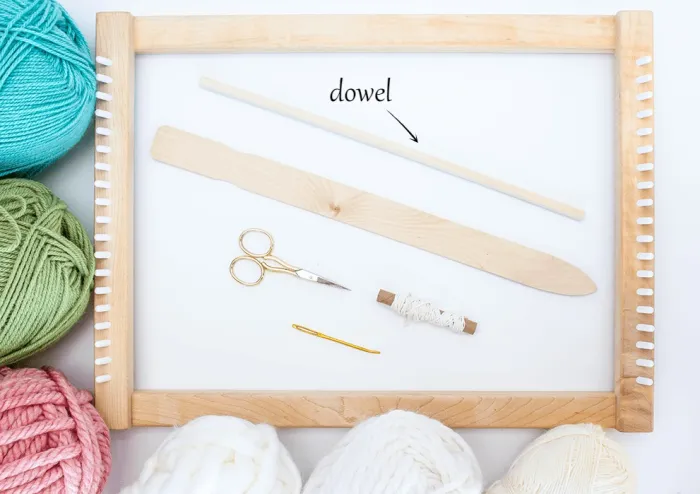
- Yarn: Opt for a soft and durable yarn like a high-quality acrylic or cotton to ensure comfort, smoothness, and longevity.
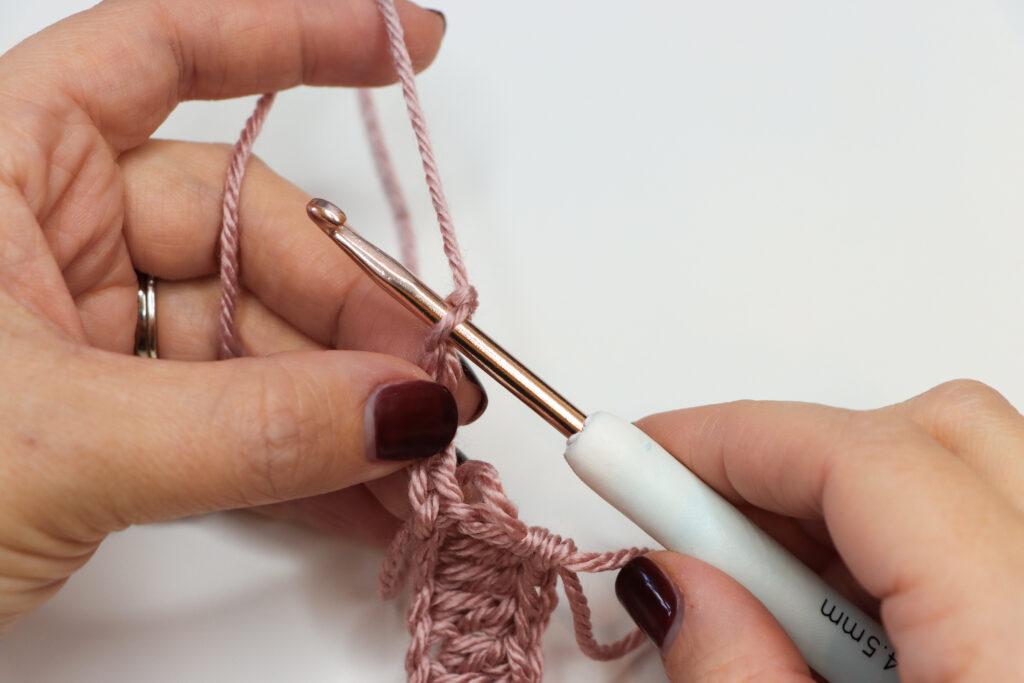
- Crochet Hook: Generally, a crochet hook larger than what you use for regular stitches is preferred. We would suggest using an H (5.0 mm) hook, which balances the tension between your stitches, hence influencing the crochet bobble blanket drape and texture.
- Tapestry Needle: This helps for seamless weaving in loose ends and tides up your craft, preventing unraveling and adding a professional touch to your bobble blanket.
- Scissors: A must-have tool for trimming excess yarn and snipping any unwanted strands, making crocheting smooth and efficient.
- Stitch Markers: An optional one. This helps you keep track of stitches, ensure bobbles are aligned perfectly, and ensure the overall pattern remains consistent. It’s mostly recommended for newbies or if you’re making a larger bobble blanket.
Getting Started with Bobble Blanket
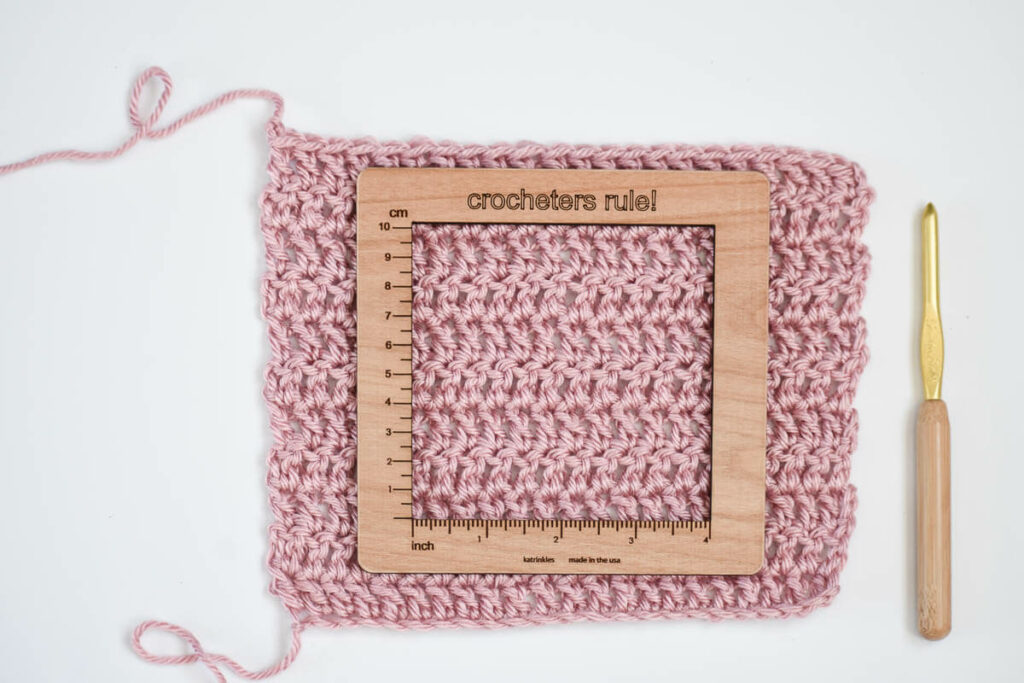
- Gauge Swatch: Creating a gauge swatch ensures your blanket remains within the desired size limit. Following a basic stitch pattern, crochet a square using the yarn you chose and the hook. Now measure that the swatch size aligns with the gauge, and if required, adjust the hook.
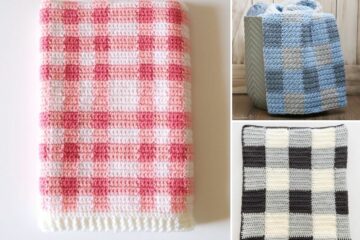
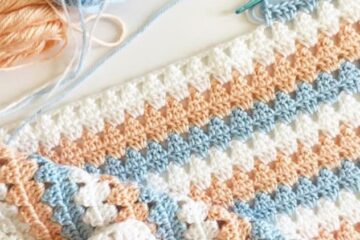
- Choosing Colors: Choose the color pattern for your crochet bobble blanket. Here we will use two white and pinkish purple yarns for two different bobble blankets. If you want, you can choose a monochromatic or a combination of colors.
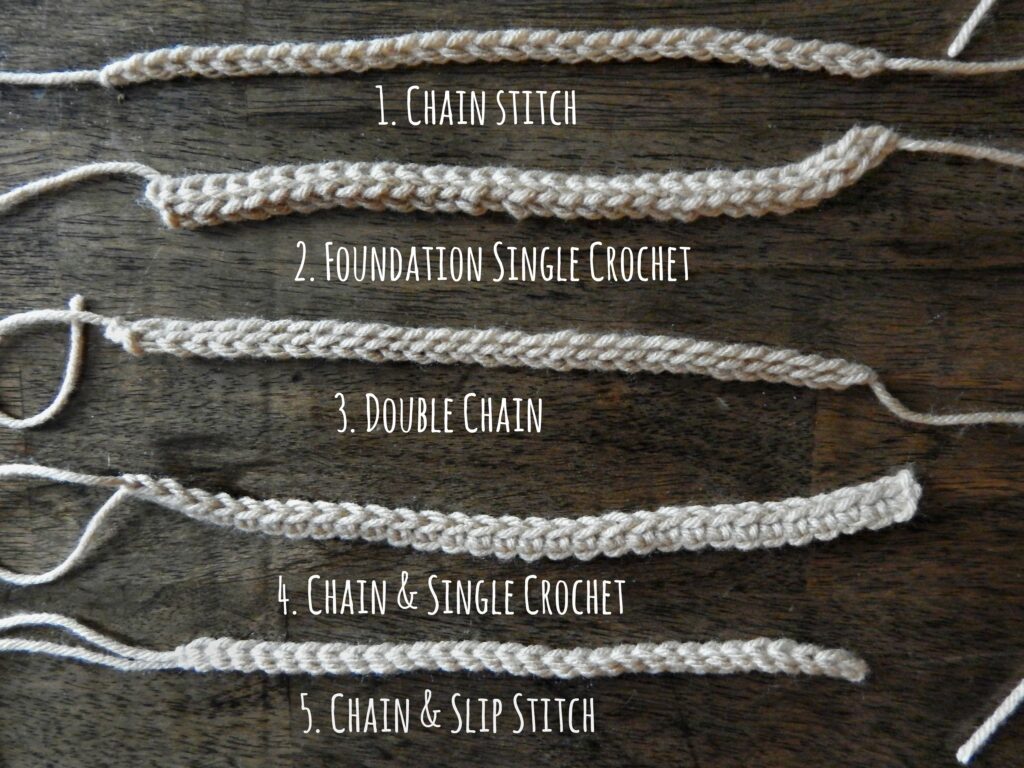
- Foundation Chain: Initialize by crocheting a foundation chain that determines the width of your blanket. Remember that the bobble stitches involve a series of multiple stitches, so make sure your blanket length is divisible accordingly.
Abbreviations
- YO: Yarn Over
- DC: Double Crochet
- SC: Single Crochet
- Ch: Chain Stitch. For, Ch 1 means you need to create one chain stitch.
Weaving a Crochet Bobble Blanket
Now that you have all the materials and you are aware of the basics of crocheting a bobble blanket let’s quickly learn how to make a bobble stitch. Here are the steps that will help you make the same:
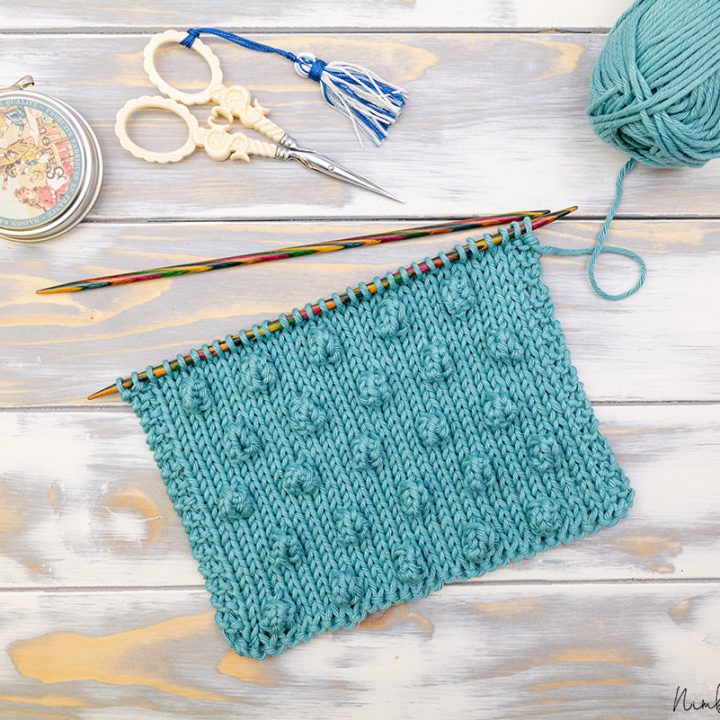
Making the Bobble Stitch
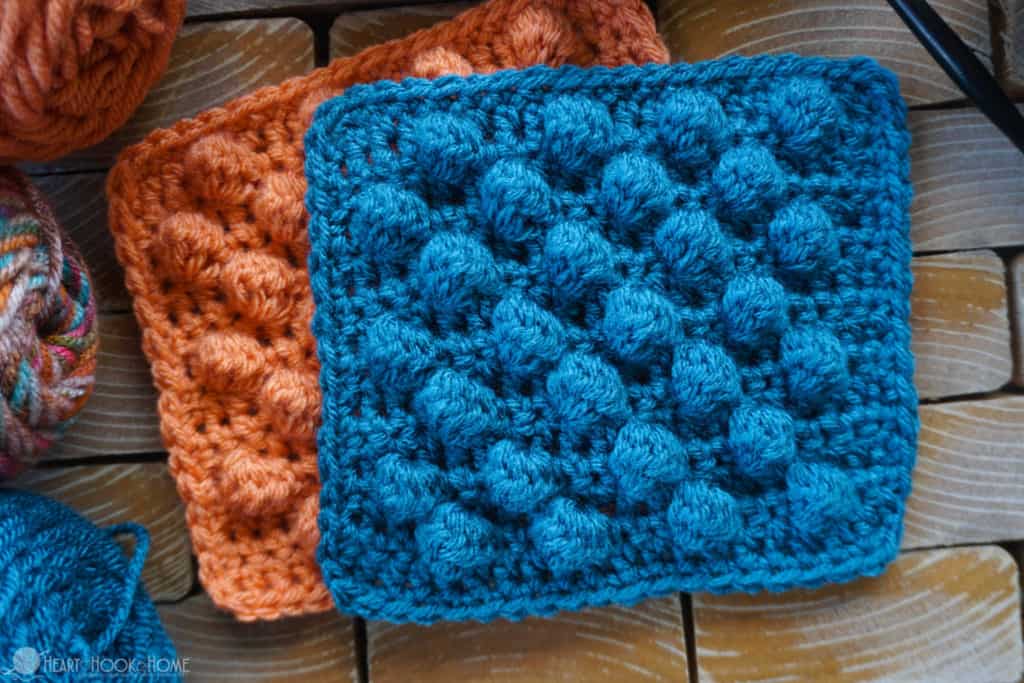
Let’s practice creating a bobble stitch separately before working directly on the blanket. This will help prevent any flaws with the starting bobbles and help create even tension throughout the crochet bobble blanket. Below are mentioned steps which help you achieve the same:
- Start with a slip knot on your crochet hook. This is the very first loop on the hook before you start working with the yarn. It allows you to pull through and secure the yarn easily.
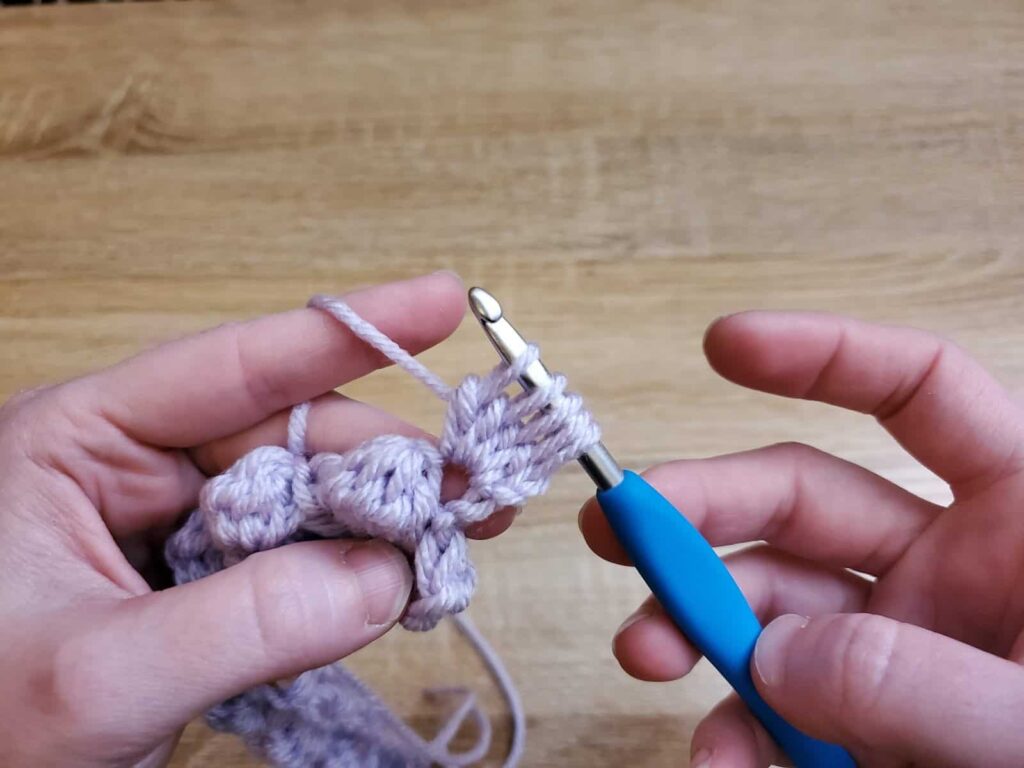
- Yarn Over, i.e., wrap the yarn around the hook and insert the crochet hook into the required stitch where you want to create the bobble stitch.
- Wrap the yarn around the hook and pull up a loop. Now you have a total of three loops on your crochet hook- the original slip knot and two new loops from the yarn over and pull through the stitch.
- Yarn Over again and then pull the yarn through the first two loops on your hook, similar to the first step of making a double crochet stitch.
- Yarn Over again and pass the hook into the same stitch. YO, and pull up a loop; this will make 4 loops on your hook.
- Again, wrap the yarn around the hook and pull through the first two loops on the hook, leaving 3 loops remaining on the hook.
- Repeat steps 5 and 6 as mentioned two more times. This will give you a total of five bubbles on your hook.
- Yarn Over and pull the yarn through all five loops on your hook at once. This will close all the loops together, forming the bobble stitch.
- After completing the bobble stitch, create a chain by wrapping the yarn around the hook and pulling it. This helps secure the bobble stitch and adds space between them.
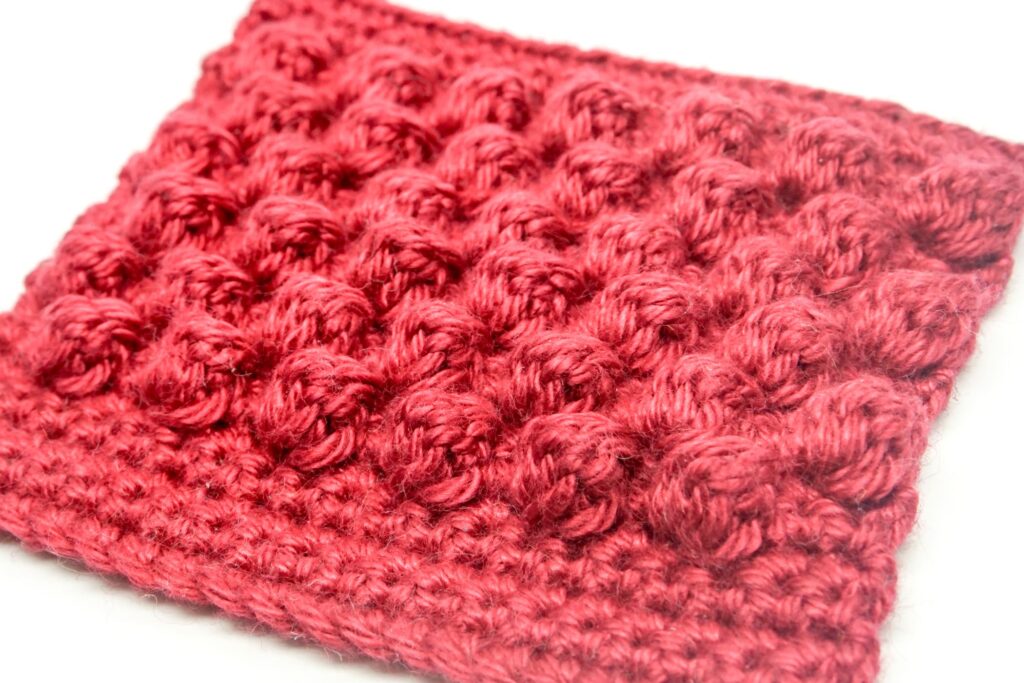
Designing the Crochet Bobble Blanket
Step 1: Choosing the Size
Choose the size of the blanket and decide on the width and length of the same. Here, we will focus on crocheting a bobble blanket, which is 30 inches wide and 36 inches long.
Step 2: Adding Stitches To Foundation Chain
Remember, we made the foundation chain with multiple stitches that align with the desired width, 30 stitches as per the size we mentioned above. Add a few extra stitches to it for the turning chain.
Step 3: Crafting the First Row
Work with the first row of the bobble stitches:
- Create a chain of 3 stitches that serves as the turning chain.
- Skip the first chain from the hook.
- Now bobble stitch in the next stitch, skip 2 stitches, and repeat until the last three stitches.
- Bobble stitch in the second last stitch, skip 1 stitch, and double crochet in the last stitch.
Step 4: Working on Row 2
Turn in your work such that you face the opposite side of the crochet bobble blanket and start working with the next row. Create a turning chain. For this wrap the yarn around the hook and pull through the loop three times; this will create a chain of three stitches.
Step 5: Making Bobble Stitch in Each Row
Crochet the bobble stitch in each row.
- Bobble stitch in the space between the first two bobbles of the previous row and then skip two stitches. Repeat this until the end of the row.
- Bobble stitch in the space between the last bobble and the turning chain of the previous row; skip 1 stitch and double crochet in the top of the turning chain.
Step 6: Attaining the Desired Length
Wrap the yarn around the hook and pull through the loop three times; this will create a chain of three stitches. Repeat this till your desired length is reached. We repeat it 8 times (total) to attain the length of 36 inches.
Step 7: Choosing Border Pattern
Now, choose a border pattern for your crochet bobble blanket. We would suggest a simple single crochet border or a shell stitch border; both work well.
Step 8: Creating a Border
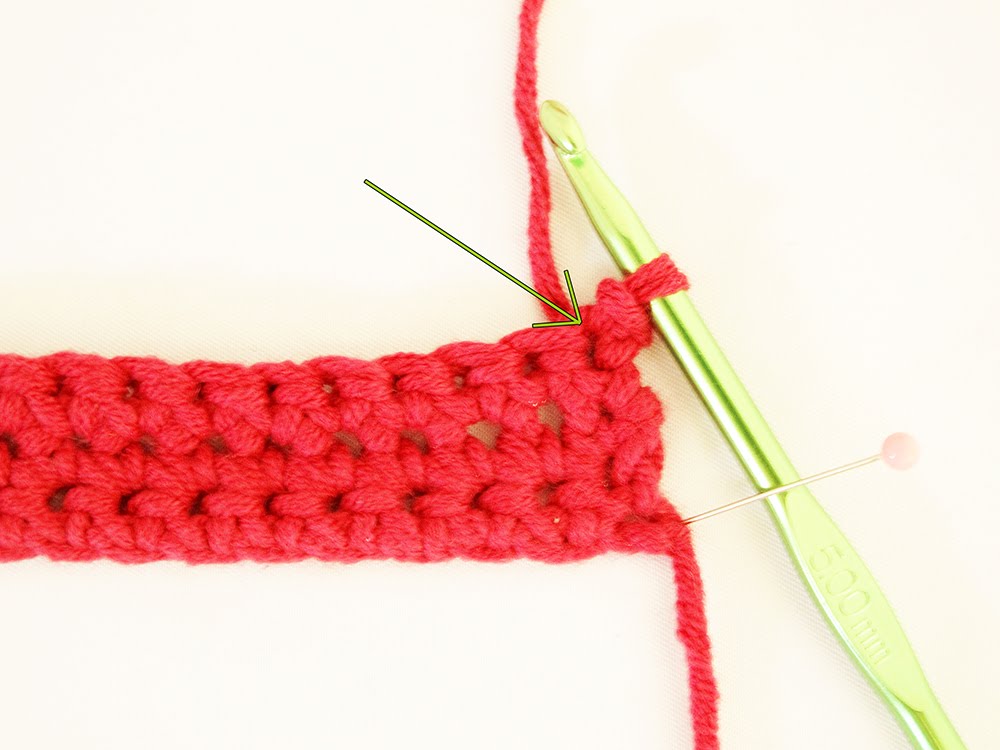
Simple Single Crochet Border
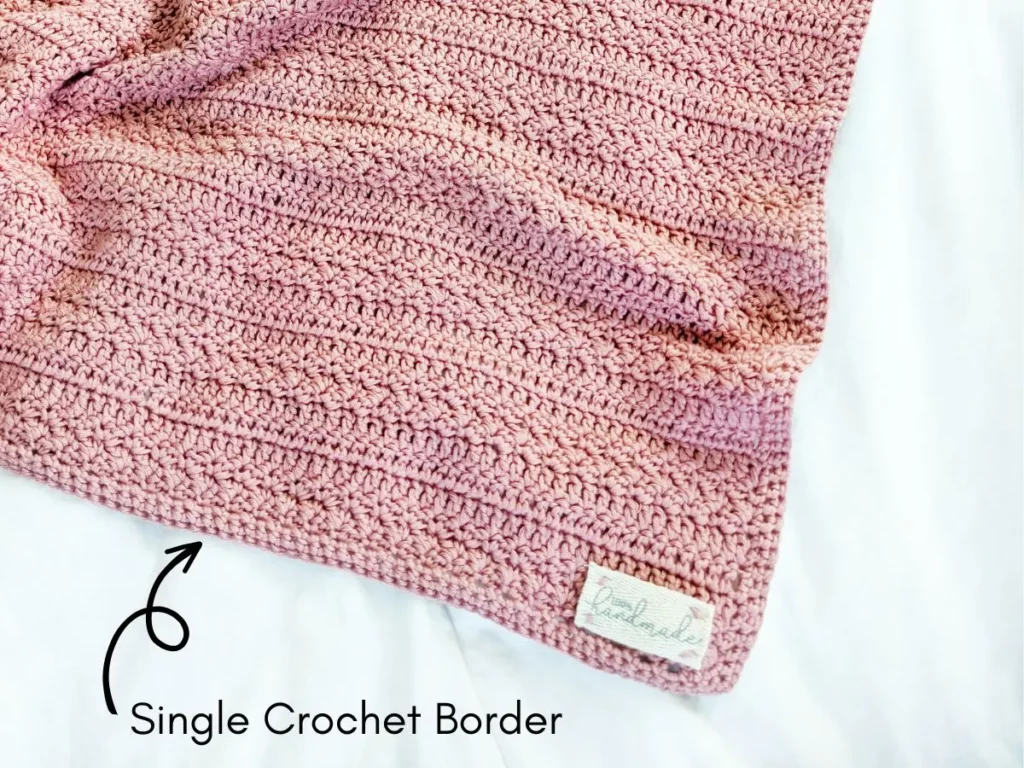
- Attach your yarn to any corner of the bobble blanket.
- Create a single chain stitch (don’t count as a stitch), then work a single crochet in the same corner space.
- Work 1 single crochet in every stitch along the edge of the bobble blanket. Once you reach a corner, work 3 single crochets, this will help you turn the corner smoothly.
- Repeat the process – 1 single crochet in each stitch along the edge and 3 single crochet on corner space for all sides of the crochet bobble blanket.
- Now join with a slip stitch to the very first single crochet made in the border.
Shell Stitch Border
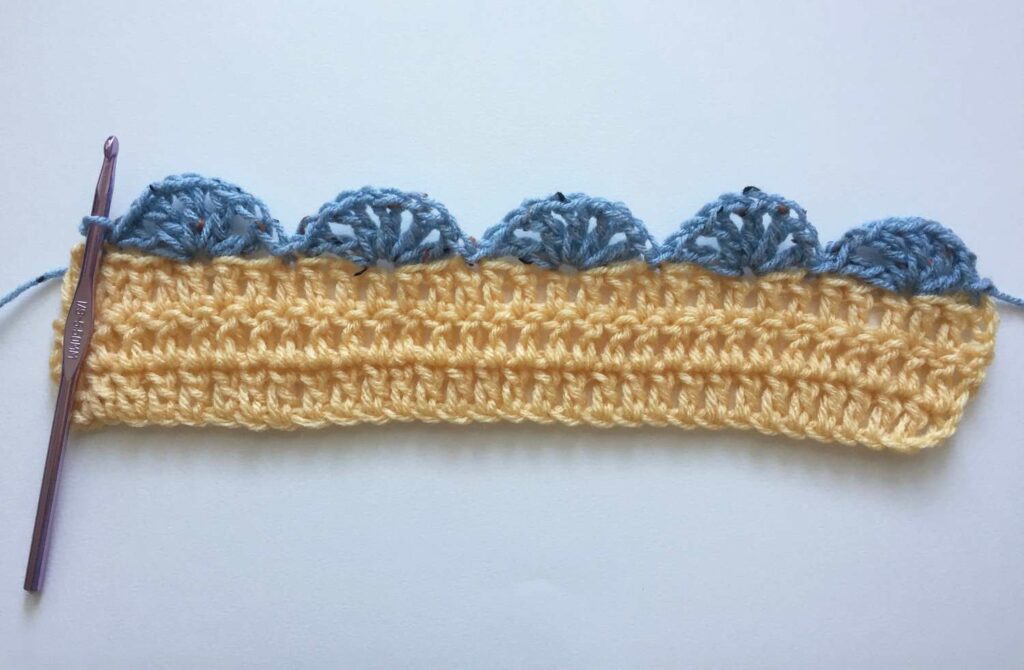
- Attach the yarn to the corner of the blanket.
- Create a chain of 3 stitches (count as the first double crochet), then make 2 more double crochet in the same corner space.
- To create a space between shells, create a single chain stitch, then skip 1 stitch and work 1 single crochet in the next stitch.
- Create a single chain stitch, skip 1 stitch, and work 5 double crochet in the next stitch; this forms a shell.
- Repeat the last two steps along the whole edge of the crochet bobble blanket. On reaching corner work, 3 double crochet, 1 single chain stitch, and 3 double crochet in the corner space to create a shell.
- Continue making the shell stitch pattern around the entire blanket, including the corner shells.
- Now join with a slip stitch to the top of the very first chain of 3 stitches to accomplish the round.
Step 9: Final Touch
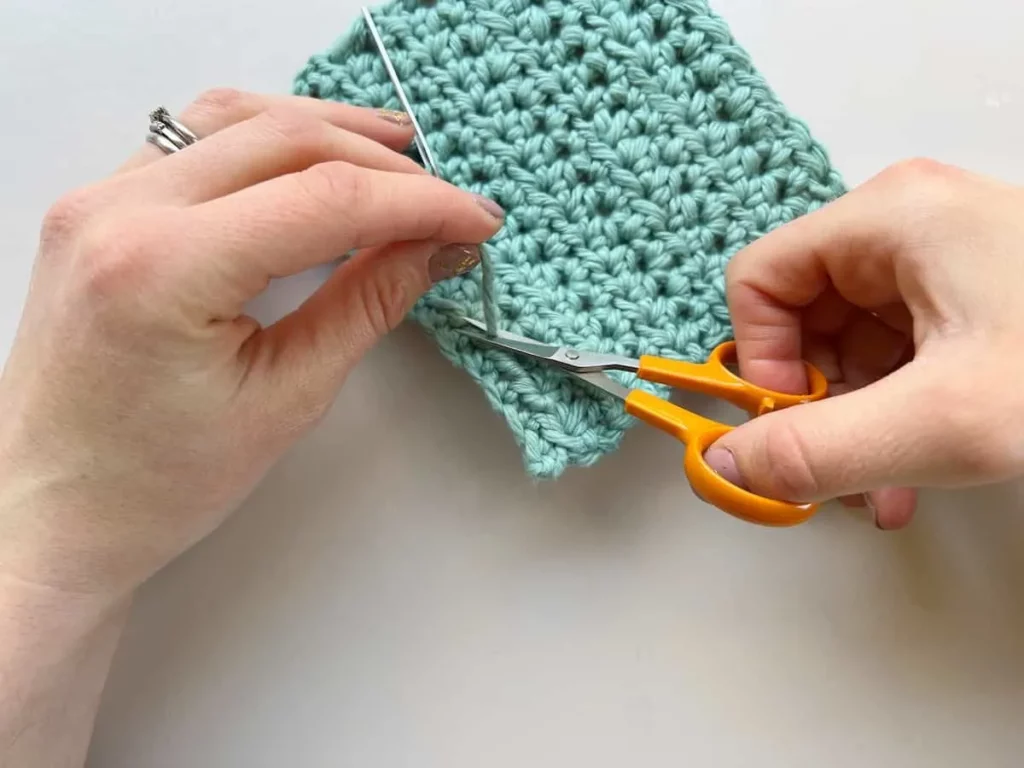
Check for loose ends in the blanket, including the border. If any, fix it using a yarn needle.
Conclusion
A Crochet bobble blanket may seem tedious to design, but once you get started and have a firm hold on the crocheting technique, there is no way of looking back.
Further, it can be completed real quick by following the steps mentioned above. Be careful while making a gauge swatch, foundation chain, and crocheting – as these are the building blocks that ensure you get a heartful outcome.
Do let us know if you face any difficulties. What color yarn did you choose, and do you prefer a simple or a shell stitch border?
Frequently Asked Questions
Is a Gauge Swatch Necessary?
Not really, but recommendable. A gauge swatch ensures that your crochet bobble blanket matches your desired dimensions. Further, it prevents any unwanted variations in size, fit, or appearance, resulting in a satisfying final outcome.
How to Calculate the Number of Rows According to Gauge?
To calculate the number of rows based on your gauge swatch, divide the desired length by the number of rows per inch. For, if your desired length is 36 inches and your swatch is 5 rows per inch, the calculation will be 36 inches / 5 rows per inch = 7.2 rows. Round it up to 8 rows.