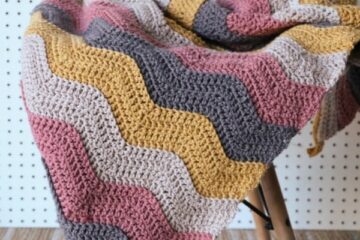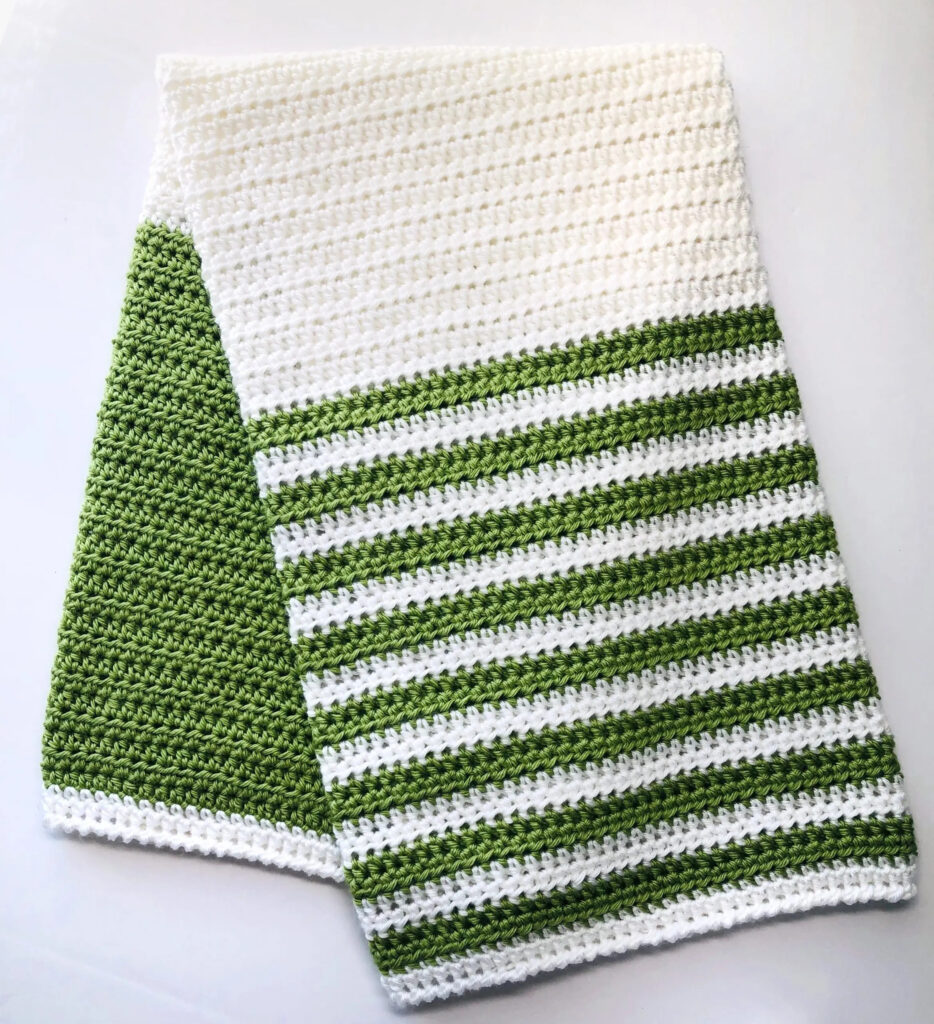
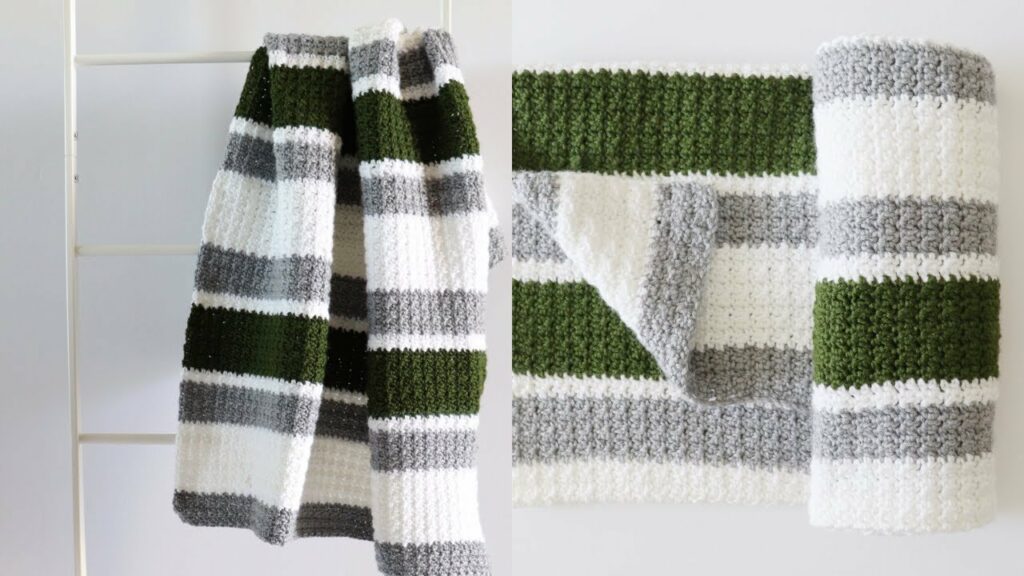
Crocheting is easy, but when it comes to stripes, whether a newbie or an intermediate, both hesitate to proceed for a bit. So if you’re among them, rest assured our ‘beginner striped crochet blanket tutorial’ has your back. The tutorial will help you to make a striped crochet blanket from scratch. It will help you make a perfect foundation chain, carrying along with different stitches, changing yarn colors, and, the best part, it will help you provide excellent borders to your striped crochet blanket.
From crocheting to providing the final touch, we’ll be your guide, accompanying you at every step as you craft along the striped crochet blanket. Further, with our detailed steps, you’ll be confident in weaving the simple yarn that turns out to be a stunning blanket. So why wait any longer; let’s master crafting the stripes pattern.
Materials Required for Striped Crochet Blanket
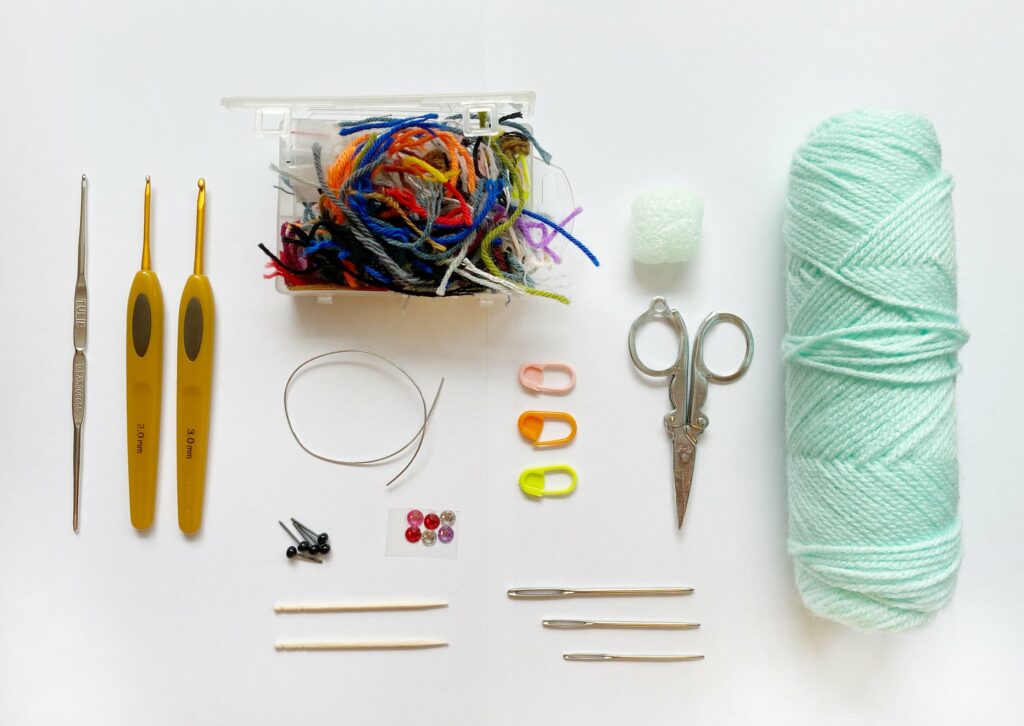
Having materials at hand allows for efficient and hassle-free crafting. The materials listed below are a must-have for a striped crochet blanket. So, ensure you don’t miss out on any before starting with the crocheting process.
- Yarn: Threads that form the body of your blanket. So choose wisely that aligns with your taste and comfort. A high-quality soft yarn like acrylic and cotton will work wonders.
- Crochet Hook: Hook size matters; a slightly bigger hook can make your blanket loose and flexible. Therefore, choose a hook size that aligns well with the yarn weight.
- Scissors: Precisely cut the yarn with a sharp tip to easily change colors, ensuring your work is neat.
- Tapestry Needle: Choose a blunt-tipped yarn needle; this allows for smooth integration of loose yarn tails into the work, providing a clean finish.
- Measuring Tape: A must-have tool for beginners and even pros that ensures your blanket measures are accurate and up to your desire.
- Stitch Markers: Guides that help you stay consistent with the crocheting pattern.
- Yarn Bobbins: Helps in organizing different color yarns, preventing tangles and, hence, smooth transitions between stripes.
Step-By-Step Instructions to Weave Striped Crochet Blanket
Now that you have all the materials grab your yarn, crochet hook, and start crocheting. You won’t face any problem following the step-by-step instructions mentioned below to weave a striped crochet blanket.
Step 1: Choose a Color Pattern and Decide on the Size
We begin by setting the foundational aspects for a striped crochet blanket. Start by determining the dimensions of your blanket. This includes making a choice for width and length that aligns well with the intended use on completion. Once you’re done determining the dimensions, decide on what yarn colors you will use and how you will order them to form a striped pattern.
Step 2: Creating a Foundation Chain
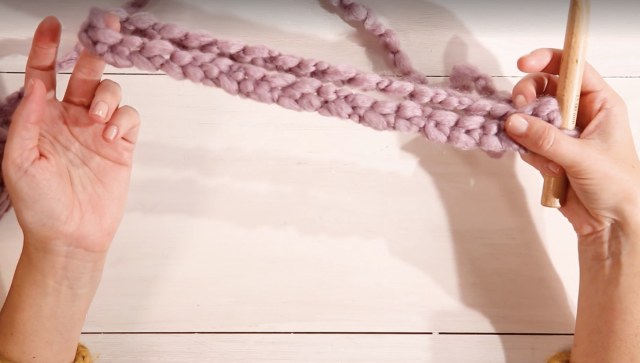
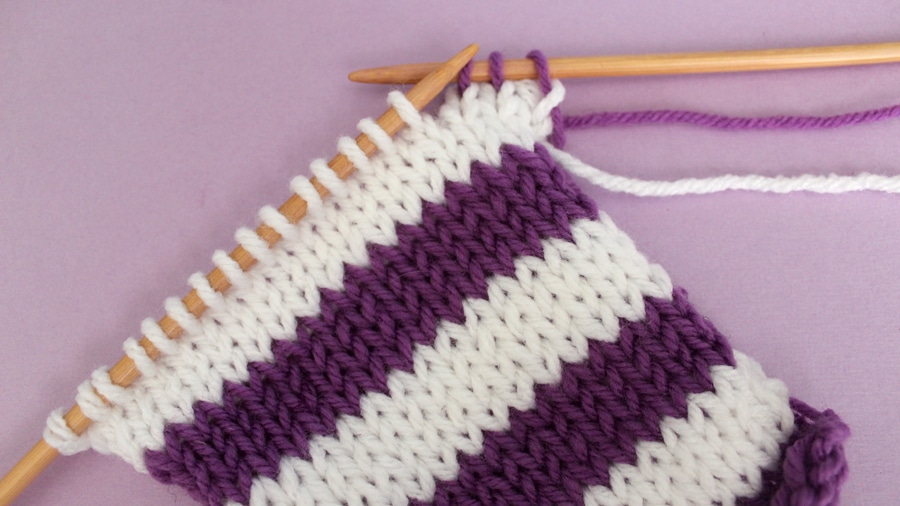
Now, we begin the crocheting process by crafting the foundation chain that will serve as the backbone of your striped crochet blanket. Weave the foundation chain, keeping its length and breadth; as such, it aligns with the determined dimensions in Step 1. Further, remember that the number of chains you create must be a multiple of the chosen stitch patterns. This will back the symmetry and balance of your blanket, e.g., if you opt for single crochet stripes, the number of chains should be in a multiple of 2.
Step 3: Working on the First Row
Choose a yarn color for the first row that aligns with your decided color pattern. Start creating the first row by joining the chosen yarn to the foundation chain using a slip stitch. Ensure it is securely placed and neat. Now, chain a single stitch that serves as a non-counting stitch for further steps, and work with single crochets along the entire row of the foundation chain. Repeat this until you want to change the color(making a stripe).
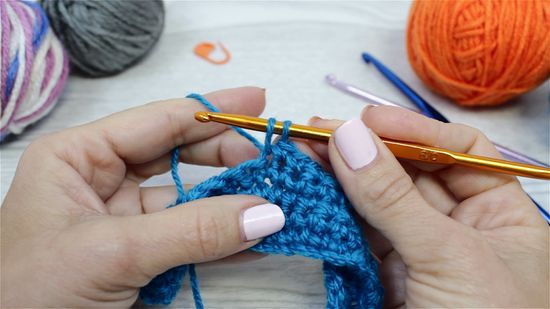
Step 4: Altering Yarn Colors
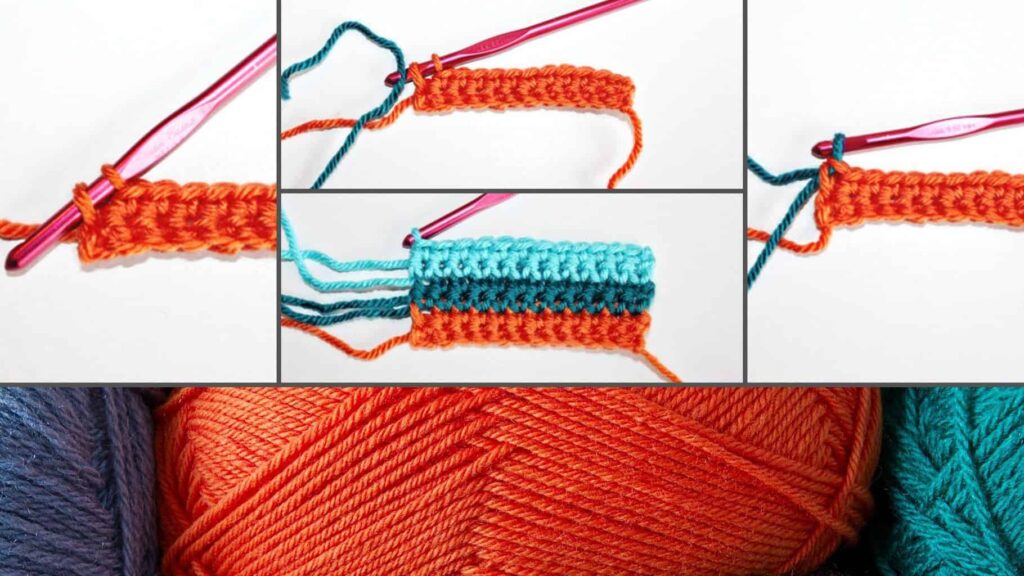
Be extra careful because this is the step where many fail to maintain the tension. When you want to begin a new stripe color in your crochet striped blanket, smoothly finish the final stitch of ongoing color, leaving two loops on your crochet hook. Now, skillfully remove the current yarn and introduce the new yarn by drawing it through the remaining loops on the hook.
Step 5: Crafting Stripes
Now that you have changed the yarn color work single crochets in a row and unto the height you want your stripe to be. As you have decided on the pattern, transition between colors accordingly with the help of step 4. All you need is to take care of the unused yarn alongside crocheting, such that it remains neatly attached to the fabric of your striped crochet blanket. This will prevent unnecessary bulk and, hence a better finish to your blanket, providing an attractive look.
Step 6: Making Stripes with Different Stitches
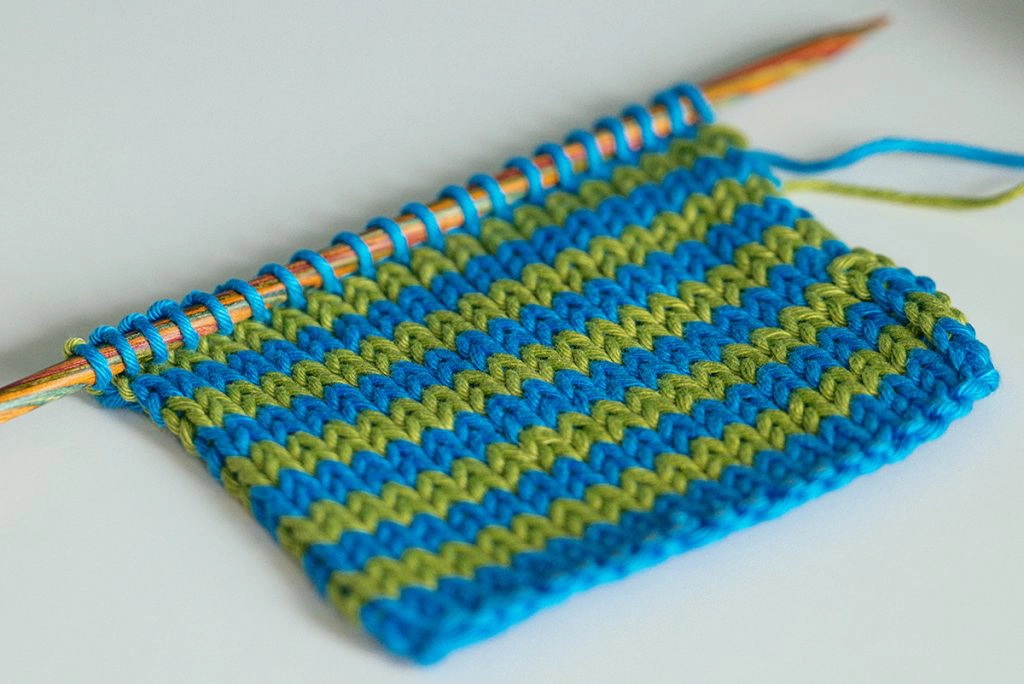
This step mainly involves providing an appealing and professional touch to your striped crochet blanket. This involves adding different stitches for enhanced depth and texture. For instance, you can consider working a chain of double crochet stitches in selective rows. This will help craft taller stripes that stand out, adding a stunning look to your blanket.
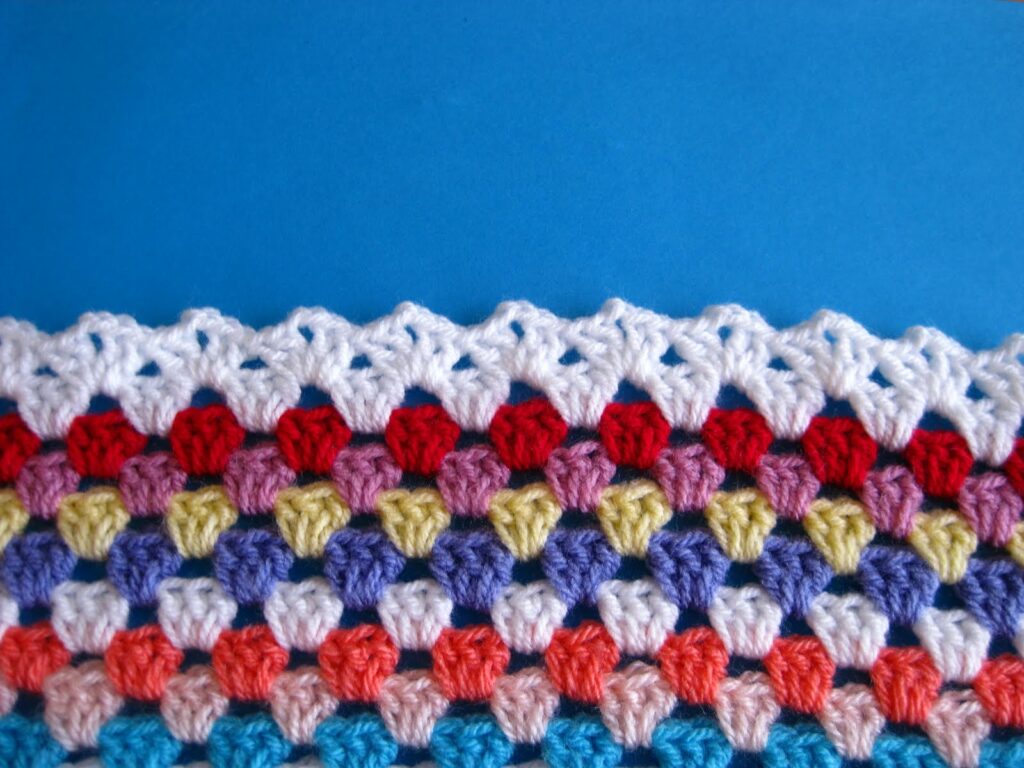
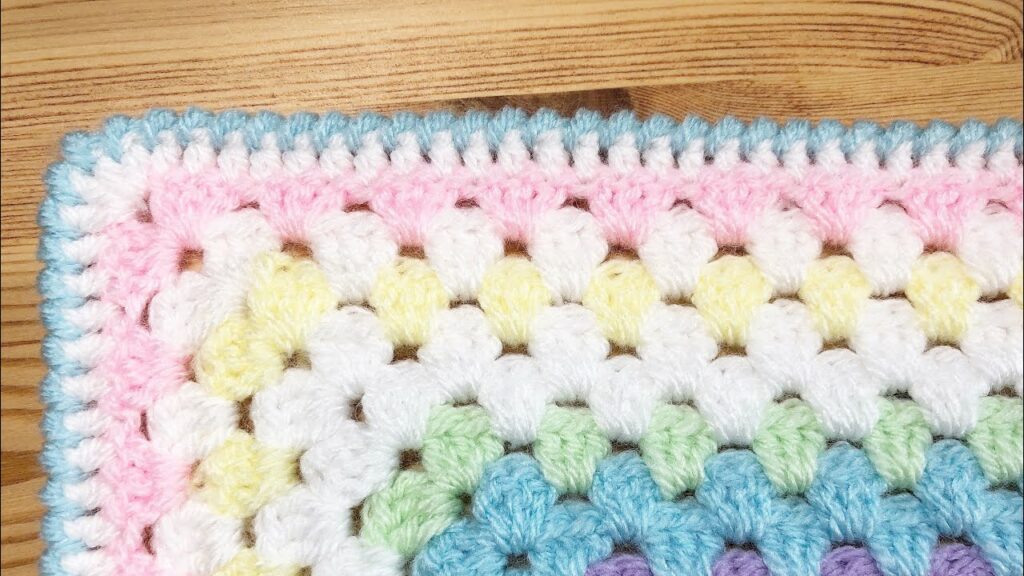
Step 7: Working with Border
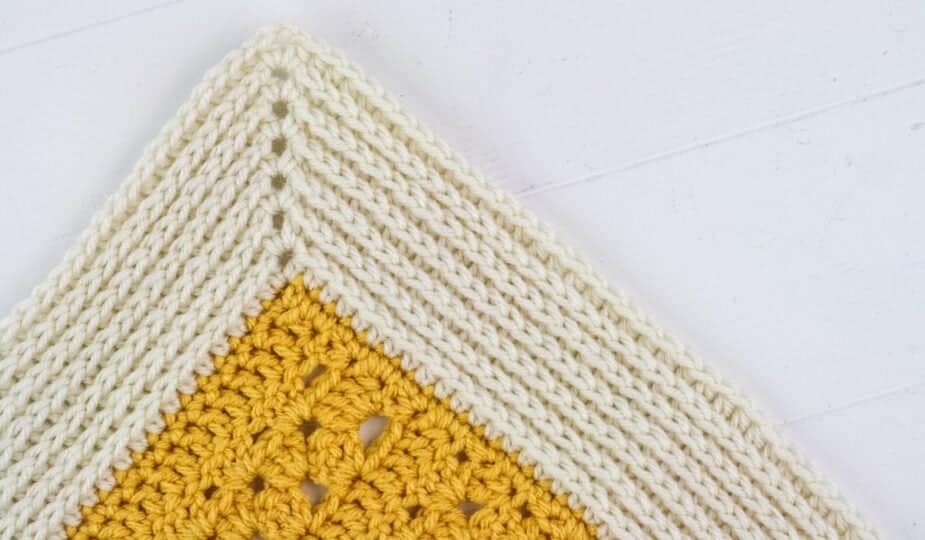
Once done with the body of the striped crochet blanket, it’s time to add some decorative borders that align well with simple striped patterns. This not only completes but also works as a safety measure that holds the edges tight.
The two border options we recommend that go well with a striped design are ‘v-step’ and ‘crab step.’ Follow the below-listed steps to craft the same.
1. V-Stitch Border
- Attach your yarn to any corner of the blanket using a slip stitch.
- Make a chain of 3 stitches; this counts as double crochet, then work 2 double crochet, one single chain stitch, and again 2 double crochet in the same corner stitch.
- Now skip 2 stitches and work 2 double crochet, a chain of one single stitch, 2 double crochet in the next stitch. Repeat this pattern along each side of the striped crochet blanket, placing a V-stitch in the middle of each side.
- Once you reach the corner, work 2 double crochet, chain one single stitch, and 2 double crochet in the corner stitch.
- Repeat step 3 for each remaining side of the blanket, including the corners.
- Slip stitch to the third chain of the starting chain-3 to join the round.
2. Crab Stitch Border
- Initialize by turning the striped crochet blanket to the wrong side, i.e., the side facing you as you crochet the blanket.
- Attach your yarn to any corner of the blanket using a slip stitch.
- Make a chain of one single stitch, but this doesn’t count as a stitch. Now work a single crochet in each stitch around the whole blanket, and place 1 single crochet in each stitch and 2 in each corner stitch.
- Once you reach the starting corner, continue with the crab stitch. Place the hook into the next stitch to the right; if you’re right-handed, otherwise left.
- Wrap the yarn around the hook and pull up a loop. Again, wrap the yarn around the hook and pull through both loops on your hook. This step is similar to a single crochet but in a reverse way.
- Continue with step 5 on the whole blanket, working the crab stitch opposite to your usual crochet stitches.
- Finally, slip stitch to the first crab stitch to join the round.
Step 8: Final Touch
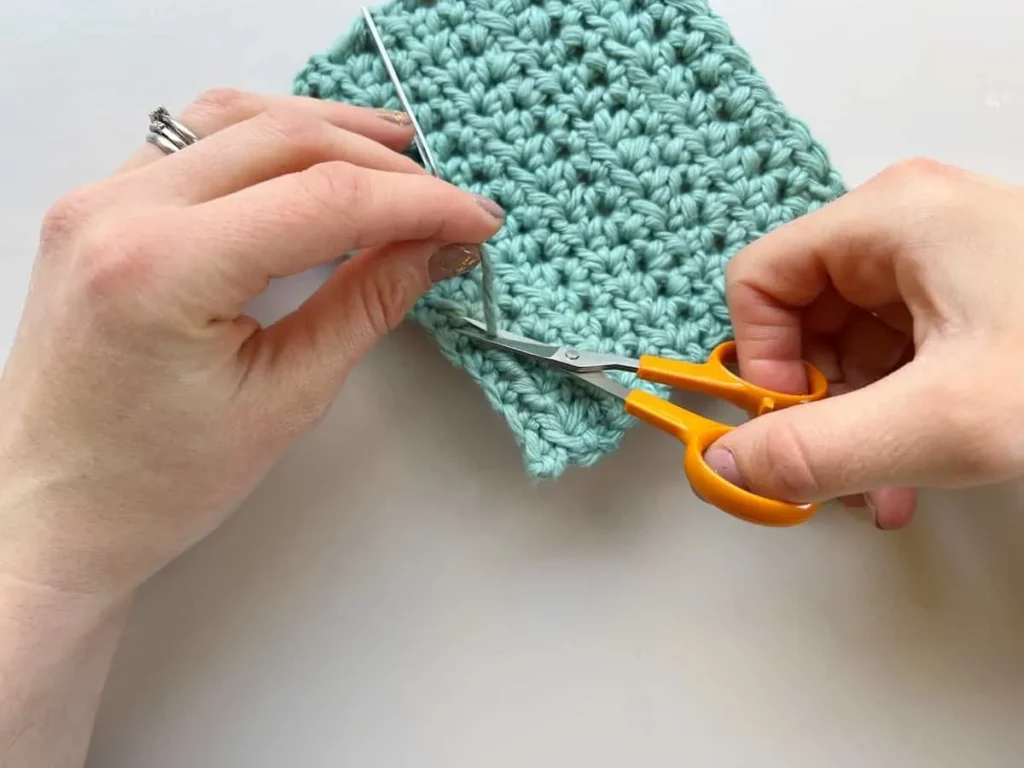
Once you are done crocheting your striped crochet blanket, spend some time paying attention to the finishing touch; this will ensure your blanket is polished and enduring. Gradually weave in all the loose ends that have been formed because of color changes or yarn shifts with a yarn needle. Work both sides to avoid future yarn tangling. Doing this not only elevates the look but also adds to the overall structure that showcases your skills.
Step 9: Refining with the Blocking Process
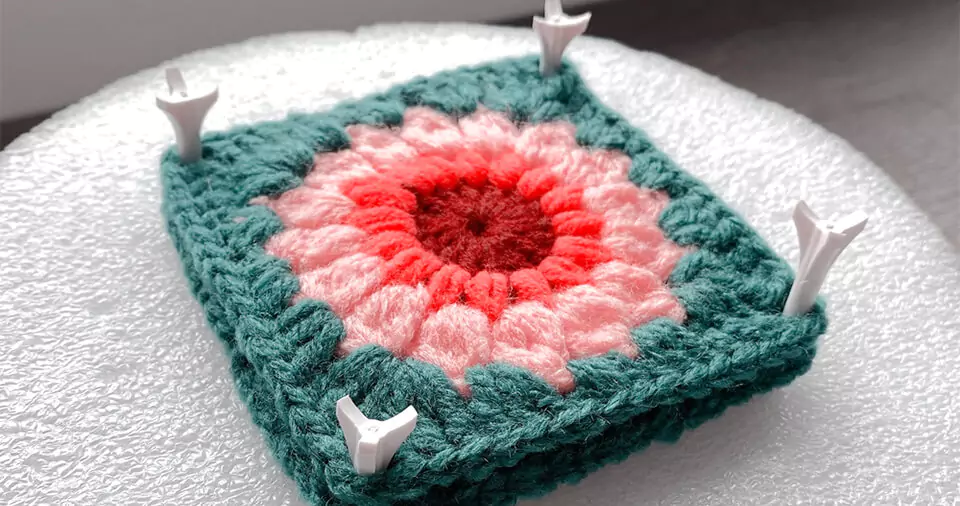
We recommend blocking as it takes your striped crochet blanket to new heights of refinement, but it’s optional. Begin by wetting the blanket, and wait for a while till the fibers absorb the moisture to the utmost. Now gently squeeze out and be careful with any extra water, as it can lead to distortion. Once squeezed, lay down the blanket to air dry. This will help blanket stitches relax and settle into an even appearance that exhibits a seasoned touch and an amazing look.
Conclusion
You can quickly craft a beginner striped crochet blanket with the steps mentioned above. Just don’t hesitate and explore to the utmost. Remember, we have provided an example of a simple striped blanket; it’ll turn out to be a boon when you start experimenting.
Therefore, play around by adjusting the number of rows for a longer or shorter design, explore different yarn colors that align with your taste and intended use, and use different stitches to customize and give your blanket a more finished and aesthetic look.
Buck up, grab your yarn and start crocheting. Feel free to reach out in the comment section if you face any issues. Whether it’s about a stitch or confusion about the color choices, we’re here for you. Also, let us know what stripes you used and which border best suited your striped crochet blanket.
Frequently Asked Questions
What Type of Yarn is Best for a Striped Crochet Blanket?
Choosing the right yarn is essential as it decides the texture and the look of your striped crochet blanket. We recommend using acrylic and cotton yarns as they are durable and are available in a wide range of color options; ensure that they are worsted-weighted and read the washing instructions.
How to Tackle the Uneven Edges or Stripe Gaps, if Any?
Uneven edges or stripe gaps mainly occur due to varying tensions. So be careful while crocheting; ensure you’re neither loose nor tight. If you are finished with crocheting, blocking can help even out those stitches and gaps. If blocking doesn’t work, add a border to hide minor imperfections.