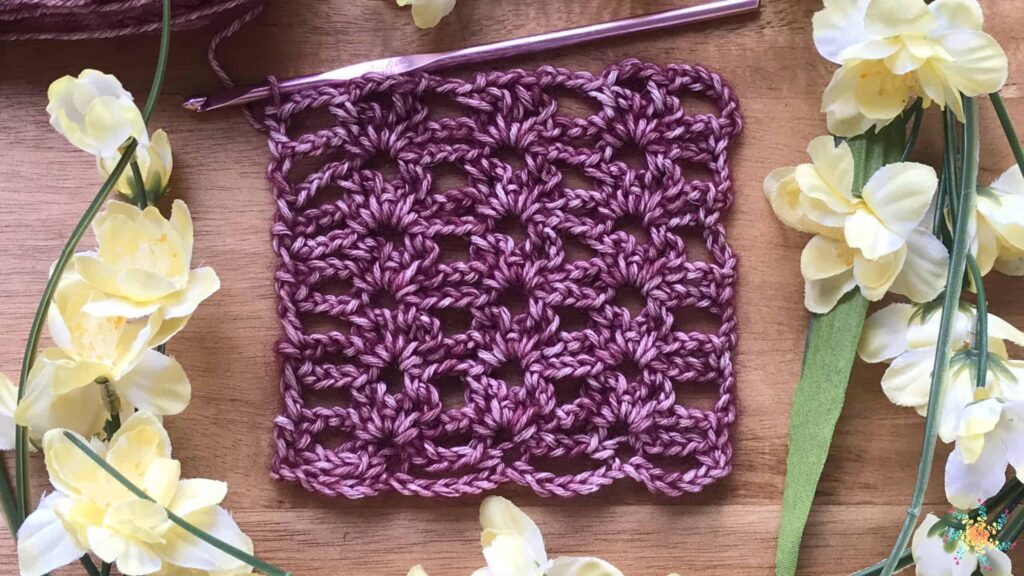
Have you ever wondered what gives crochet that exquisite lacy appearance? It’s the result of patterns like the Evergreen Crochet Mesh Stitch, which effortlessly marries solid stitches with delicate gaps to create a fabric that’s both open and airy.
It doesn’t matter if you’re a beginner looking to dip your toes into the world of crochet or an experienced hook wielder seeking a new challenge; the mesh stitch offers a refreshing twist to your crochet repertoire.
The Mesh stitch crochet is a classic stitch pattern that is often used by professionals as well as hobby crocheters. If you’re looking to add some crocheted beauty to your home, whether in the form of decorative table cloth or baby blankets – mesh stitch crochet, being a versatile pattern, is an ideal fit for all.
The Intrigue of the Mesh Stitch
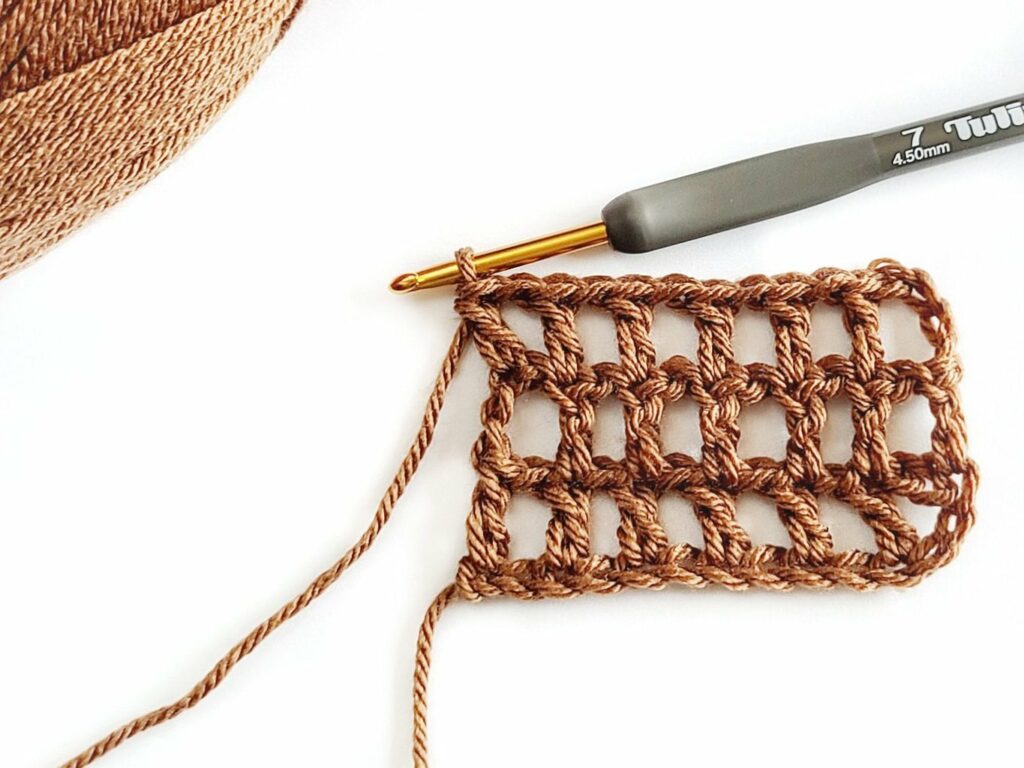
It imagines a fabric that’s a blend of delicate charm and practicality. That’s the essence of a crochet mesh stitch. Often known as filet crochet, this stitch forms a canvas of open squares and filled squares, resulting in a pattern that’s both captivating and functional. With its versatility and simplicity, the mesh stitch opens the door to a plethora of creative possibilities.
Why Mesh Stitch Crochet?
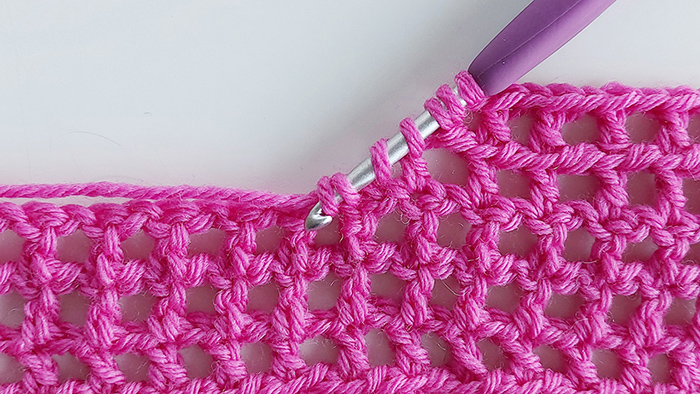
If you’re tired of the traditional crochet patterns and are yearning for something a bit different, the mesh stitch is your go-to pattern. This stitch acts as a canvas for a variety of projects, from doilies and tablecloths to home decor items and even wearables.
The best part of Mesh stitch crochet is that you can easily tailor it according to your needs. You can display your crocheting skills by crafting a market bag that stretches to accommodate your shopping or a beach wrap that’s perfect for a day in the sun. The possibilities with crochet and mesh stitch combined are endless!
Gather up Your Crochet Supplies for Mesh Stitch
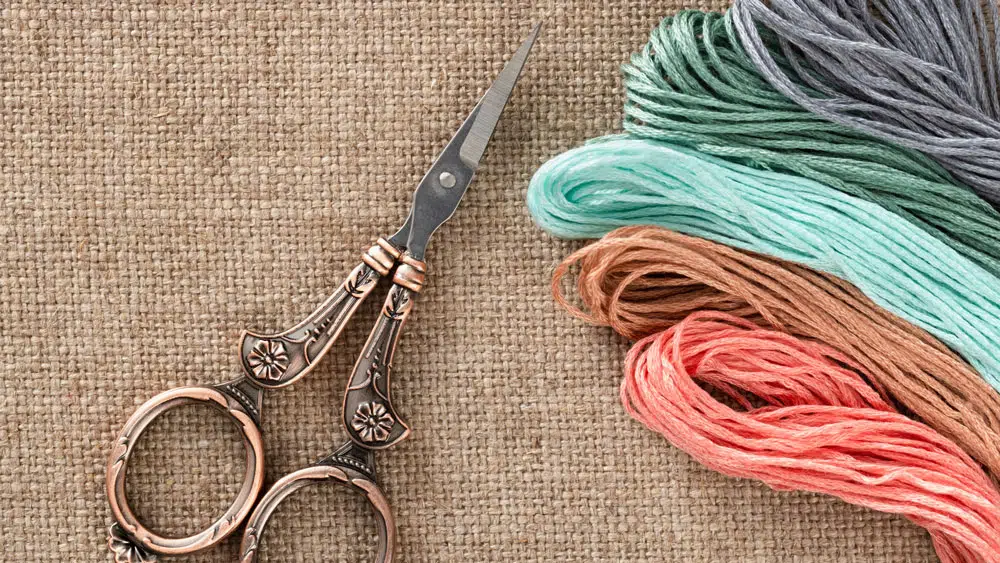
Before you embark on your exciting journey into the world of crochet mesh stitches, it’s essential to ensure you have all the necessary supplies at your fingertips. Whether you’re a seasoned crocheter or a newbie exploring the wonders of crochet, having the right tools and materials is key to a successful and enjoyable crafting experience. Let’s take a look at the crochet supplies you’ll need to dive into the enchanting world of mesh stitches:
Yarn
The choice of yarn can greatly impact the final look and feel of your crochet project. For mesh stitches, you have some flexibility in selecting yarn weights. Here are a few options to consider:
- Worsted weight yarn: A versatile option suitable for a wide range of projects, from scarves to home decor items.
- Sport or DK weight yarn: Ideal for creating lighter and airier mesh stitches, perfect for summer garments and delicate accessories.
- Lace-weight yarn: For an exceptionally delicate and intricate appearance, choose lace-weight yarn to create ethereal mesh stitch patterns.
Crochet Hooks
Selecting the right crochet hook size is essential for achieving the desired tension and drape in your mesh stitch project. Here are some hook sizes to consider:
- 4.0mm (G) to 5.5mm (I) hooks:These are commonly used for worsted weight yarn and provide a balanced stitch definition.
- 3.0mm (C) to 4.0mm (G) hooks: If you’re working with lighter-weight yarns, opt for smaller hooks to maintain the delicate appearance of the mesh stitches.
- Tapestry Needle: A tapestry needle, also known as a yarn needle, is essential for weaving in loose yarn ends and finishing your project neatly.
- Scissors: A pair of sharp scissors is indispensable for cutting yarn and trimming loose ends as you work on your mesh stitch project.
- Stitch Markers: Stitch markers can be incredibly helpful for keeping track of specific stitches or rounds, especially in more complex mesh stitch patterns.
- Measuring Tape or Ruler: To ensure your project matches the intended dimensions, have a measuring tape or ruler on hand to check your gauge and size.
- Yarn Holder or Organizer: As you work on your project, keeping your yarn organized and tangle-free can make the process much smoother. Yarn holders, bowls, or even homemade organizers can help.
- Optional Embellishments: Depending on your project, you might want to consider adding embellishments such as beads, buttons, or tassels to enhance the final look of your mesh stitch creation.
Irrespective of your planned project – lightweight summer garments, intricate doilies, or versatile accessories, having the right tools and materials will ensure your creativity flows smoothly.
Step-By-Step Guide to Crochet Mesh Stitch
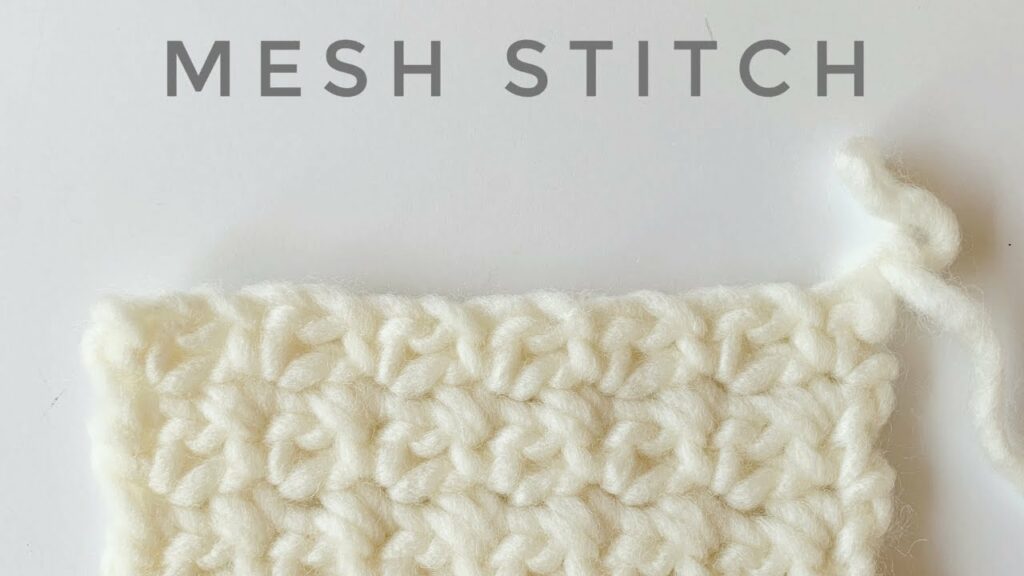
Beginning with the Foundation Row: Start with an even number of chain stitches to get a detailed result free from any form of hassle, and start your crocheting with the steps contained below.
- Row 1: Work a double crochet into the 6th chain from the hook. Follow this with chain 1, skip a stitch, and double crochet into the next stitch. Continue this pattern to the end of the row.
- Row 2: Turn your work and chain 4 (this counts as a double crochet and a chain 1). Double crochet into the top of the second double crochet from the previous row. Chain 1, then double crochet into each double crochet across the row, with a chain 1 and a skipped stitch in between. The final double crochet goes into the 3rd chain of your turning chain.
- Repeat Row 2: Continue repeating Row 2 until your piece reaches the desired size.
Embrace the Round: Circular Mesh Stitch
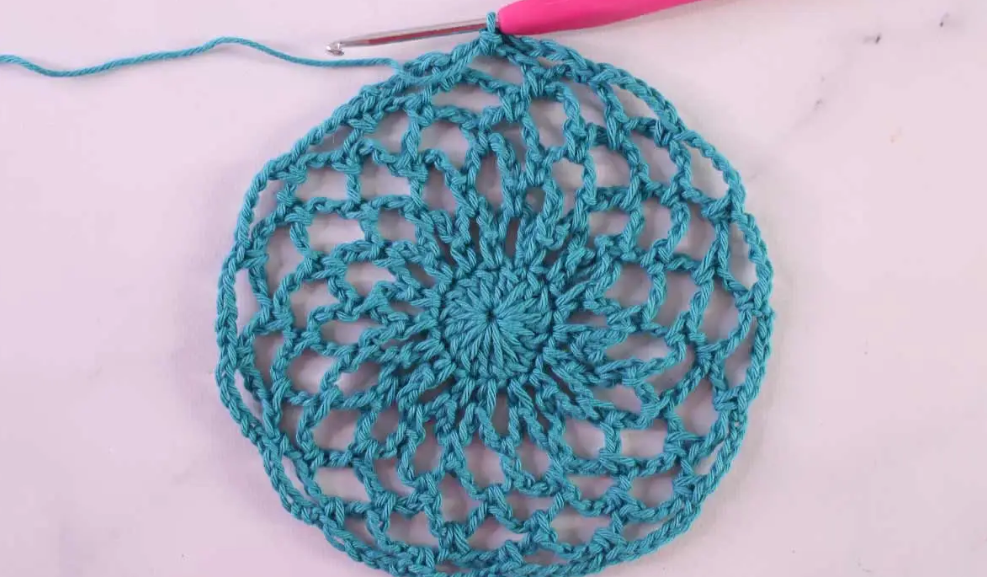
The mesh stitch isn’t limited to rows; it can also embrace the circular world. Getting confused? No worries, here’s how you can achieve it.
- Round 1: Start with a chain of 5 and join it into a ring with a slip stitch. Chain 3 (this serves as the first double crochet), then work 11 double crochets into the ring. Join the round with a slip stitch.
- Round 2: Chain 3, then work 1 double crochet in between each double crochet from the first round chain 1 between each double crochet. Finish with a slip stitch into the 2nd of the 3 chains.
- Round 3: Chain 3, then work 2 double crochets into each chain space, with a chain 1 in between each double crochet. Chain 1, slip stitch to the 2nd chain of the 3-chain turning chain, and then slip stitch to the next space.
- Round 4: (Chain 3, 1 double crochet) into the same space. (Chain 1, double crochet) into the next space. (Chain 1, 2 double crochets) Into the following space, with a chain 1 in between. Alternate between 1 double crochet and 2 double crochets in each space around. Join with a slip stitch.
- Round 5: (Chain 3, 1 double crochet) into the same space. Then, work 2 double crochets into each space, with a chain 1 in between. If your circle starts to ruffle, don’t fret; it will settle as it grows.
Taking it Further: Increasing and Decreasing
Increasing the Mesh Stitch: To add more oomph to your mesh, simply work a double crochet into the first stitch after your turning chain. Continue the pattern, adding an extra double crochet before your final stitch of the row.
Decreasing the Mesh Stitch: For a decrease, work your turning chain and then double crochet into the second double crochet. Continue across the row, skipping the chain 1 space and the second-to-last double crochet. On the next row, start with your turning chain and then double-crochet into the skipped stitch. Keep repeating until you’ve decreased as much as needed.
Introduction to Diamond Mesh Stitch

The Diamond Mesh Stitch is composed of three basic crochet stitches: double crochets, chains, and single crochets. What makes it even more remarkable is that it’s a 1-row repeat pattern. Yes, you heard that right – a single row is all it takes to achieve this captivating design. If you’ve been on the lookout for a stitch that effortlessly brings an openwork, lacy aesthetic to your creations, then your search ends here. The Diamond Mesh Stitch in the round opens up a world of possibilities for various projects, from holders to bags and even stylish garments.
This stitch offers you two intriguing ways to kickstart your projects. The first approach involves creating a looped chain as a base, which is perfect for crafting headbands, shirts, sleeves, skirts, scrunchy covers, fingerless gloves, shawls, and more. On the other hand, if you’re eyeing circular creations, start by crocheting a base circle and then employ the mesh pattern for the sides. This technique is excellent for producing yoga mat bags, plant holders, plastic bag holders, beach bags, bottle carriers, and countless other possibilities.
Creating the Marvel: Diamond Mesh Stitch in the Round
Prepare to be amazed by the simplicity and elegance of the Diamond Mesh Stitch. Let’s break it down step by step:
Foundation Round: Chain 28 and slip the stitch into the first stitch, forming a ring. Besides, take up the steps listed below to get a detailed idea of how to proceed with the work ahead.
- Round 1: Chain 1, make a single crochet in the same stitch; chain 5, skip 3 chains, make a single crochet in the 4th stitch, and repeat this pattern until you reach the end of the round. Then, chain 2 and make a double crochet in the very first single crochet of the round.
- Round 2: Chain 1, make a single crochet in the top of the double crochet from the previous round, chain 5, make a single crochet in the center of chain 5 from the previous round; repeat this pattern until you reach the end of the round. Then, chain 2 and make a double crochet in the very first single crochet of the round.
- Round 3-8: Repeat Round 2 for the next six rounds.
Finishing Touches: Weaving in the Ends
As you near completion, it’s time to add the finishing touches to your Diamond Mesh Stitch masterpiece:
- Snip a 6-inch tail.
- Tie off your work.
- Weave in the ends using a yarn or tapestry needle.
To ensure the ends remain secure, consider weaving them in using a zigzag pattern.
From Doilies to Bags: A Mesh Stitch Showcase
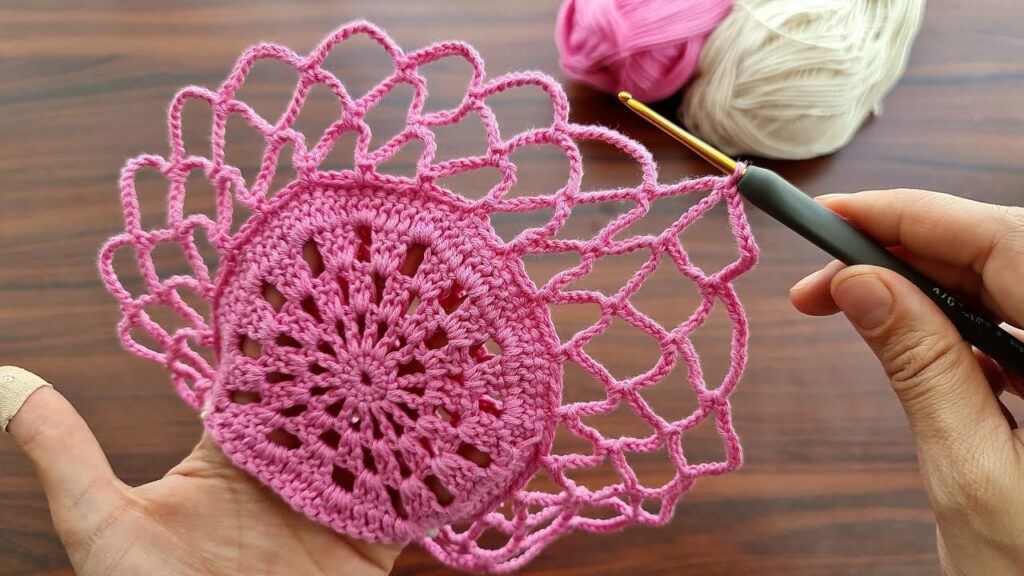
Crafting Doilies with Mesh Stitch: Ever wanted to make a mandala or a doily? With the Diamond Mesh Stitch, your dreams can come true. Start with a flat round base using the diamond mesh stitch. As you move up the sides, you’ll create a tube of mesh stitch, perfect for crafting market bags, beach totes, or even plant holders.
Applications Across Seasons
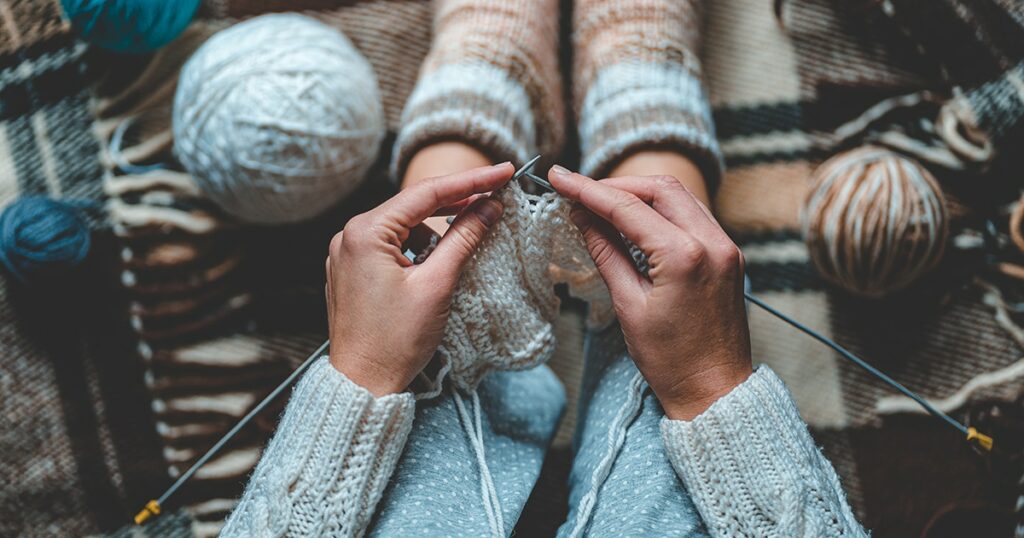
The beauty of crochet lies not only in its creativity but also in its practicality. The crochet mesh stitch, with its lightweight and breathable nature, lends itself beautifully to projects suitable for different seasons. In warmer months, it transforms into airy shawls that gently drape over shoulders, providing a touch of elegance without overheating. As winter approaches, the stitch can be adapted to create intricate scarves that add warmth while maintaining a sense of style.
Elevating Accessories
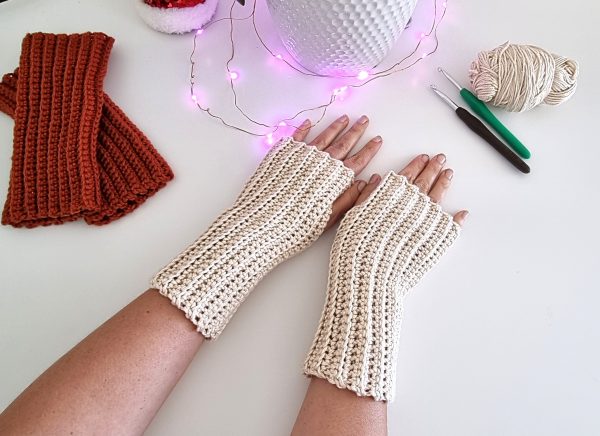
Accessories are often the finishing touch that completes an outfit, and the crochet mesh stitch has the potential to elevate them to new heights. Delicate gloves, intricate headbands, and stylish handbags are just a few examples of accessories that can be brought to life using this stitch. The openness of the stitch allows for unique textures, making these accessories not only visually appealing but also tactically interesting.
The Joy of Innovation Associated with Mesh Stitch Crochet
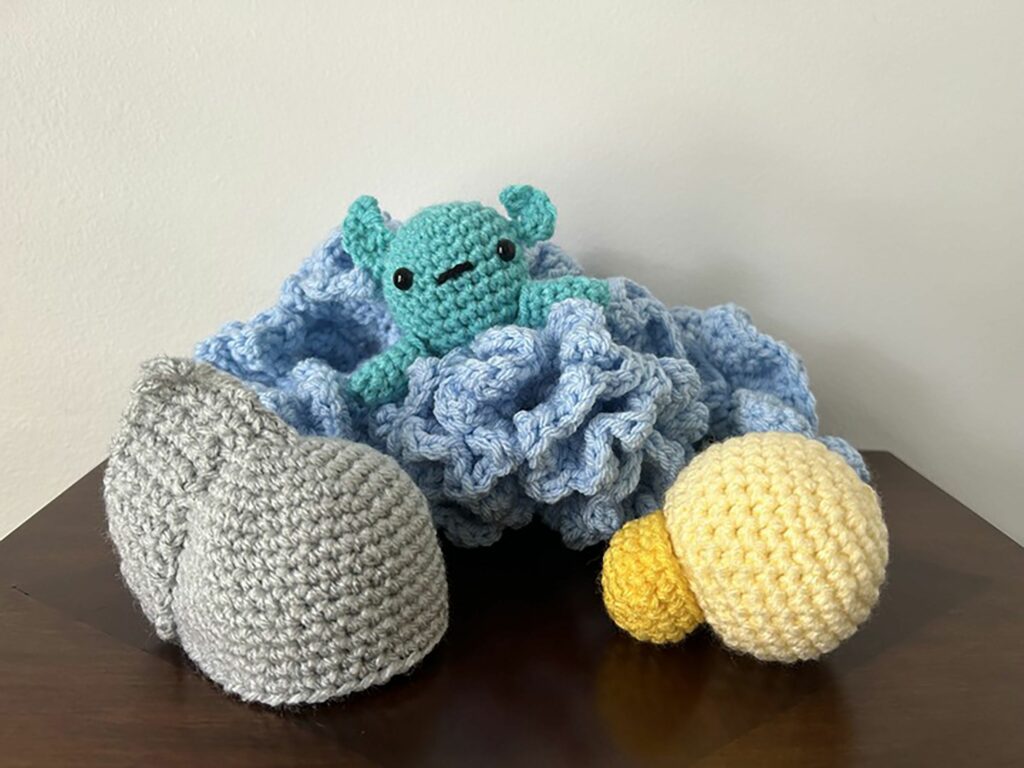
While the crochet mesh stitch has a standard pattern, it’s essential to remember that creativity knows no bounds. As you become more comfortable with the stitch, you can explore variations that infuse your projects with personal flair. Experiment with different yarn weights and fiber types to create textures that resonate with your style. Combine the mesh stitch with other crochet techniques to produce hybrid patterns that stand out in the crowd. Innovation is where the true magic of crafting lies.
Apart from that, the world of crafting, camaraderie, and shared passion creates a sense of community that transcends boundaries. The crochet mesh stitch, like other popular crochet patterns, unites crafters in a shared endeavor. Online platforms, social media groups, and local crafting circles offer spaces to connect, share ideas, and support one another. Whether you’re a beginner seeking guidance or an experienced crafter sharing insights, the community that forms around this stitch fosters a sense of belonging.
From Creation to Inspiration
The journey with the crochet mesh stitch extends beyond individual projects. As you explore the stitch’s possibilities, you’ll likely stumble upon sources of inspiration that guide your creative path. Nature, art, architecture, and personal experiences can all serve as wellsprings of ideas that shape your projects. The delicate interplay of open spaces and solid stitches in the mesh pattern can be reminiscent of patterns found in nature, leading to projects that tell unique stories.
Teaching and Learning
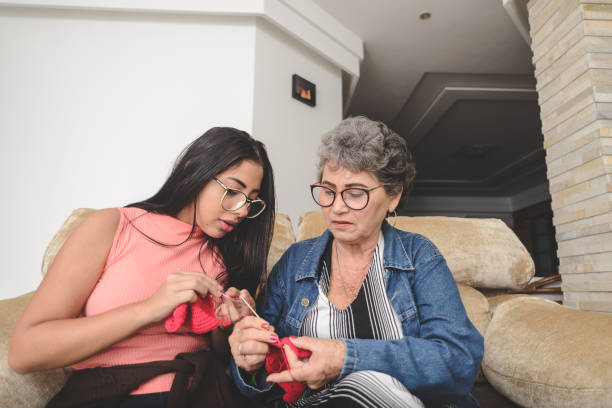
The joy of crochet is often amplified when shared with others. Whether you’re teaching a friend, family member or even a workshop, the crochet mesh stitch serves as an excellent introduction to the craft. Its repetitive yet rhythmic nature allows learners to grasp the basics of crochet while creating something beautiful. As a teacher, witnessing the moment when a novice successfully creates their first mesh stitch is truly rewarding.
Beyond the Stitch: Personal Growth
Crafting is more than just the act of creating physical items; it’s a journey of personal growth and self-discovery. The process of mastering the crochet mesh stitch teaches patience, attention to detail, and perseverance. With each stitch, you cultivate mindfulness, immersing yourself in the present moment and allowing stress to dissipate. As you overcome challenges and witness your projects evolve, you build a sense of accomplishment that extends beyond the finished piece.
Conclusion
The crochet mesh stitch is a thread that weaves together the fabric of creativity, community, and personal growth. It’s a versatile stitch that adapts to various seasons, applications, and innovations, catering to the diverse interests and styles of crafters. Beyond its aesthetic appeal, it becomes a means of connection, inspiration, and shared joy among those who embark on the journey of crafting.
As you pick up your hook and yarn, remember that you’re not just creating stitches; you’re crafting moments of beauty, self-expression, and connection that linger far beyond the final knot. Let us know in the comments below how you feel about the processing of the crafts and how you would wish to proceed with the project.

