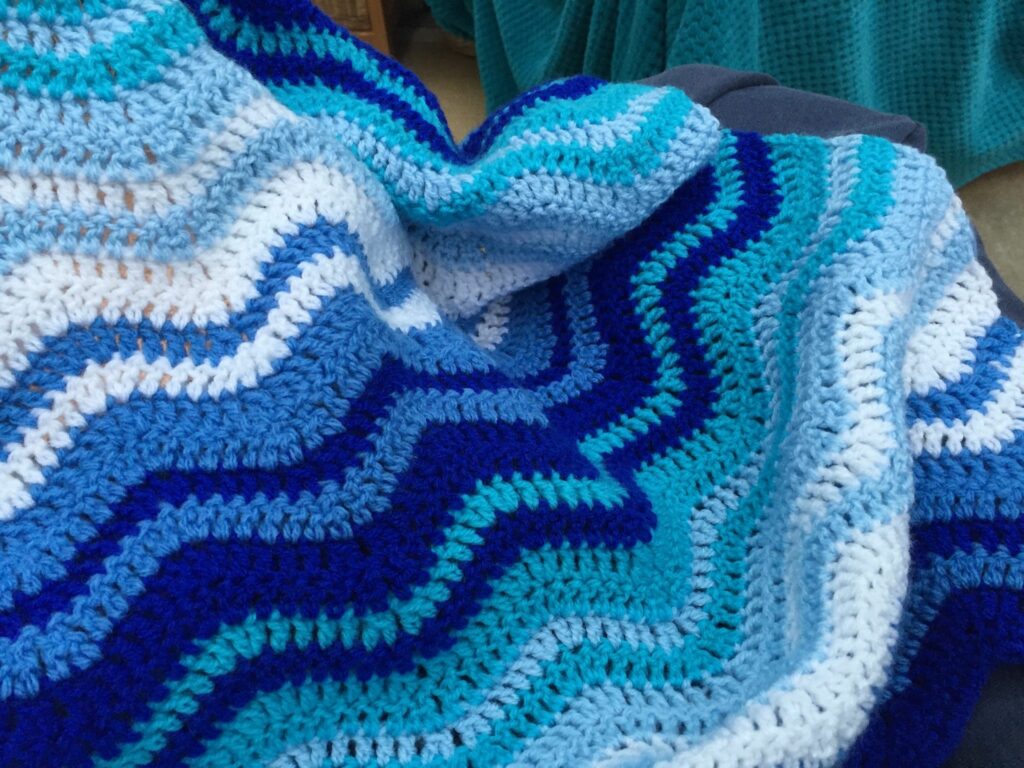
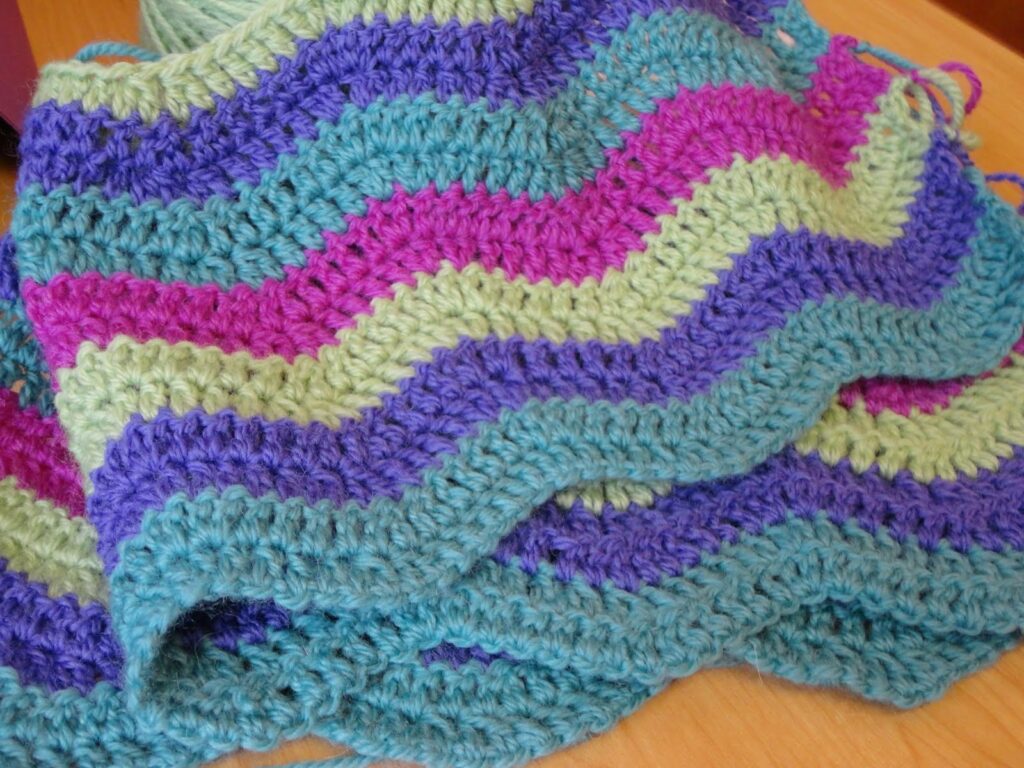
Crocheting is a time-honored skill that combines creativity, skill, and comfort and enables us to turn basic strands into complex works of art. The ripple blanket is a true classic among the countless fascinating crafts that crochet enthusiasts undertake.
The brilliant colors and intricate patterns combine to create a symphony of texture and beauty. With each stitch you make, you’ll weave a tale of innovation and perseverance.
This blog is your compass on the road to crocheting mastery, whether you’re an experienced crocheter looking for a new challenge or a novice eager to embark on a rewarding journey.
You will find here the details about the necessary supplies, step-by-step directions for making the well-known ripple pattern, and some invaluable guidance to start your journey of making a ripple crochet blanket.
It’s time for you to start this creative journey and produce a masterpiece that will bring happiness and comfort!
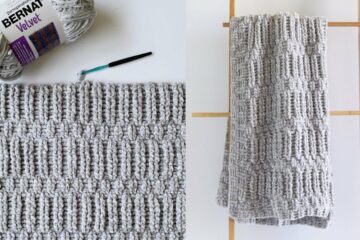
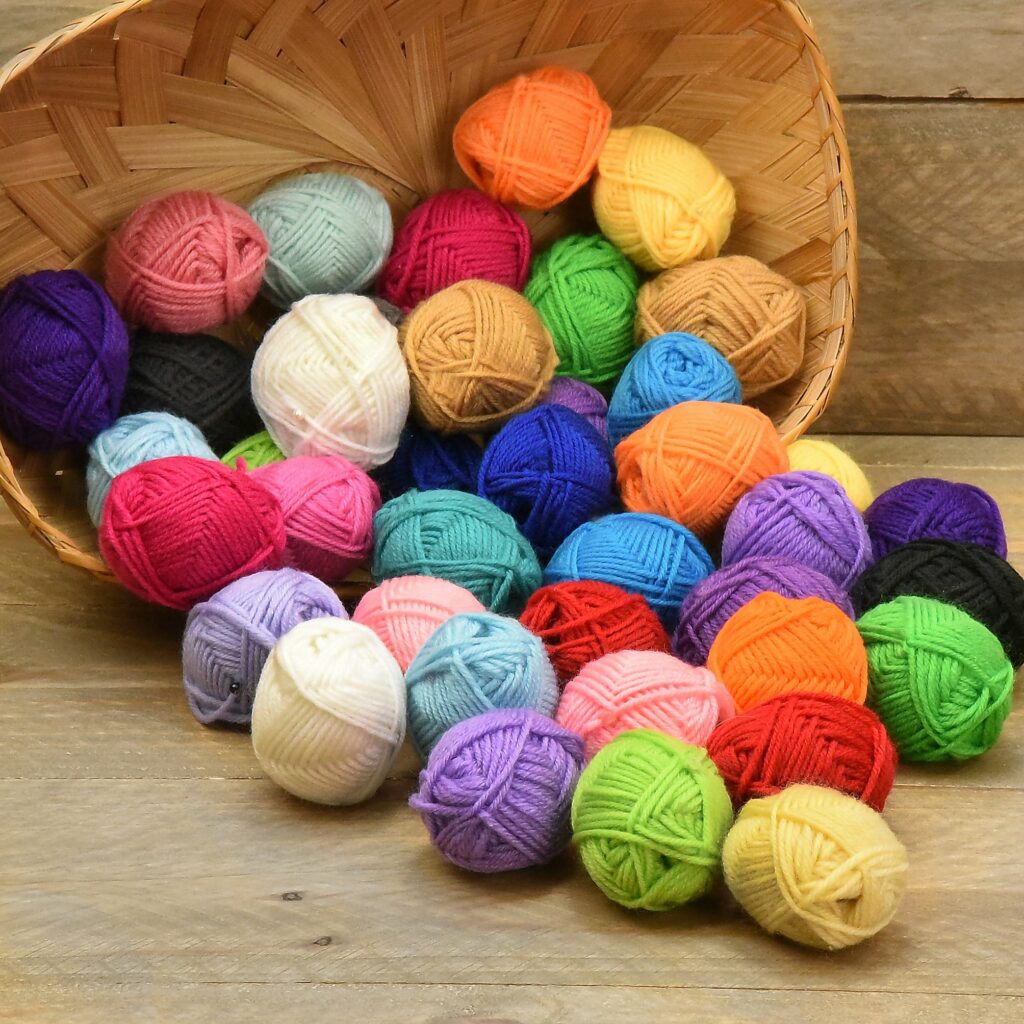
Essential Materials Required for Crocheting a Ripple Blanket
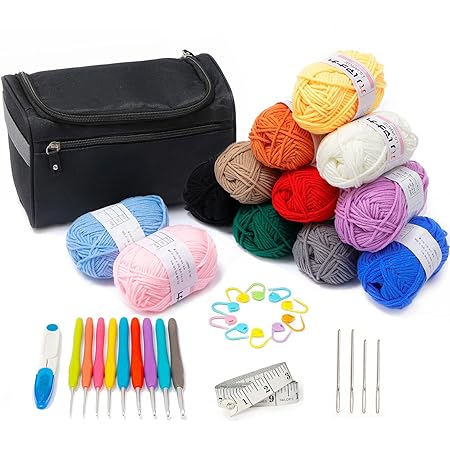
Here are a few essential materials to ensure a successful and enjoyable project en route to making the art in the form of a Ripple Blanket:
| Yarn | Stitch Markers |
| Crochet Hook | Measuring Tape |
| Scissors | Yarn Bobbins |
| Tapestry Needle | Blocking Tools |
- Yarn: Pick a yarn that fits your preferences and the blanket’s intended use. Woven-weight acrylic or cotton yarn is frequently used to make ripple blankets.
- Crochet Hook: Pick a hook size that corresponds to the suggested hook size for the yarn you have chosen. Worsted weight yarn is frequently suitable for hook sizes H/5mm or I/5.5mm.
- Scissors: To change colors or complete the craft, you must cut the yarn with a pair of sharp scissors.
- Tapestry Needle: Large-eyed tapestry needles are necessary for weaving in loose yarn ends and finishing your creation.
- Stitch Markers: Stitch markers make it easier to keep track of particular pattern elements like increases, decreases, and color changes.
- Measuring Tape or Ruler: As you crochet, use a measuring tape or ruler to check your gauge and keep track of the blanket’s size.
- Yarn Bobbins (Optional): When changing colors regularly, yarn bobbins help organize different colors and avoid tangling.
- Blocking Tools (Optional): To give your finished blanket a neater appearance, shape and size it with blocking tools like blocking mats and T-pins.
Complete Tutorial Guide to Make a Ripple Crochet Blanket
By following these steps, you can create a gorgeous ripple blanket that showcases your crochet skills and creativity.
Step 1: Choose Your Colors and Design
Choose a color scheme that complements your taste and sense of style. You can choose various complementary colors, create a gradient effect, or go for a monochrome appearance. The color scheme you choose can influence your blanket’s mood, evoke various feelings, and improve its aesthetic appeal.
Step 2: Foundation Chain
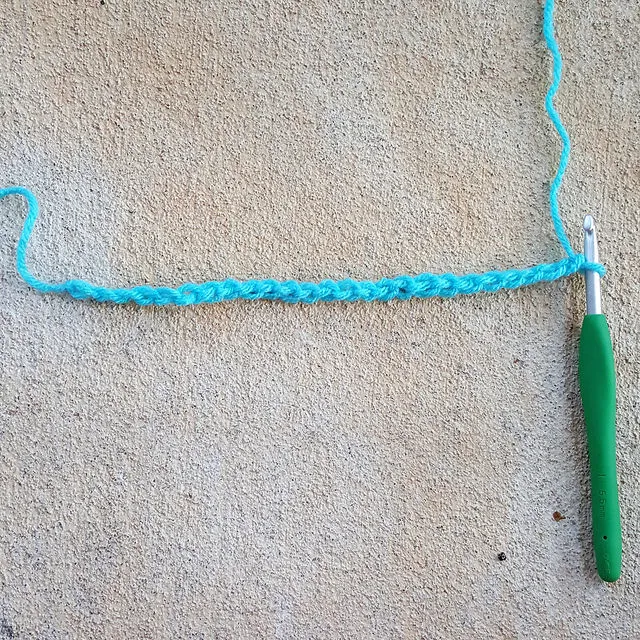
To make a ripple crochet blanket, first, create a foundation chain by adding a few extra chains for symmetry and multiplying it by the number of times the pattern repeats. For instance, chain a multiple of 12 plus a few more chains if your pattern repeats 12 stitches.
Step 3: First Ripple Row
In the fourth chain from your hook, double crochet one stitch. The first double crochet is this initial skipped chain. Until the end of the row, work 1 double crochet in each of the following chains. Work two double crochet stitches into the same chain to complete the first increase. Skip the following two chains.
Work one double crochet in each of the following three chains, skip the following two chains, and then work two double crochet in the following chain. Up until a few chains are remaining at the end of the row, keep repeating this pattern. Later, work on the one double crochet in each of the last chains after skipping two chains.
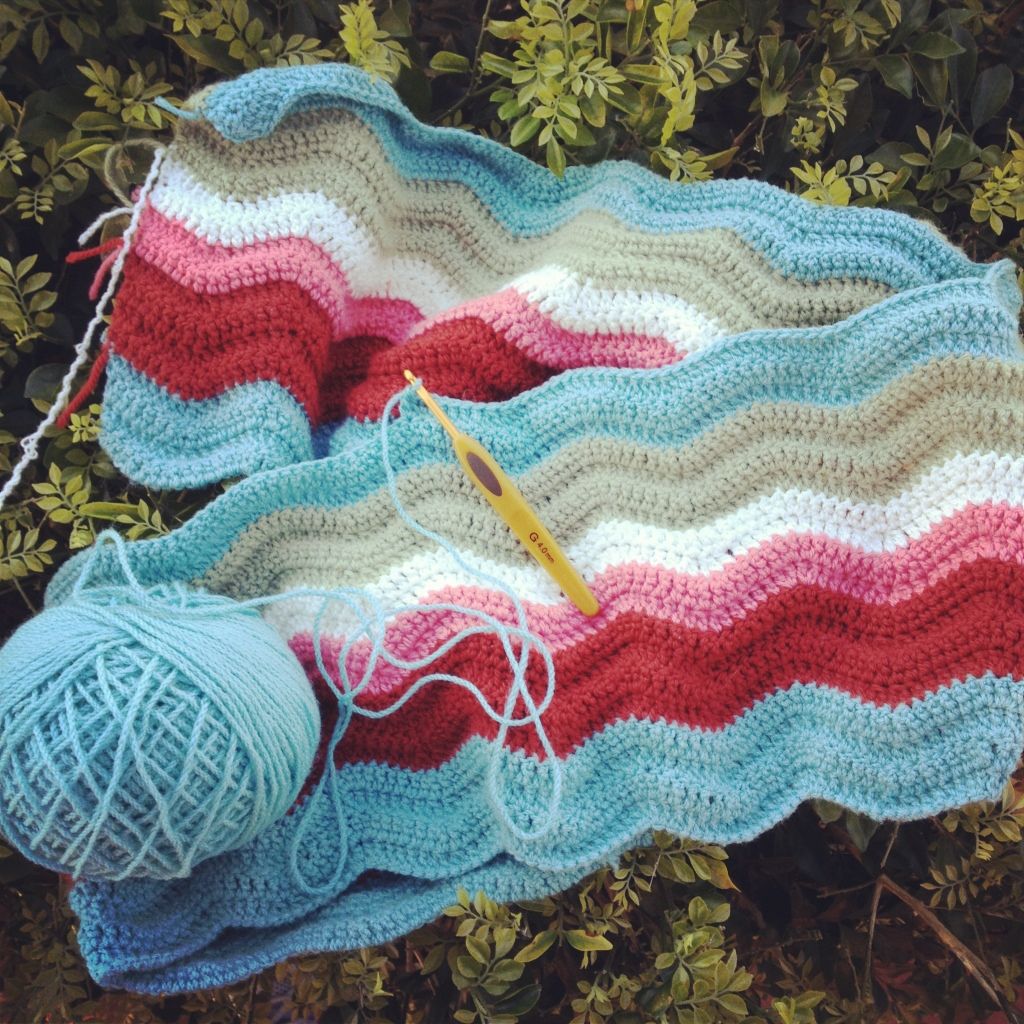
Step 4: Repeat the Ripple Pattern

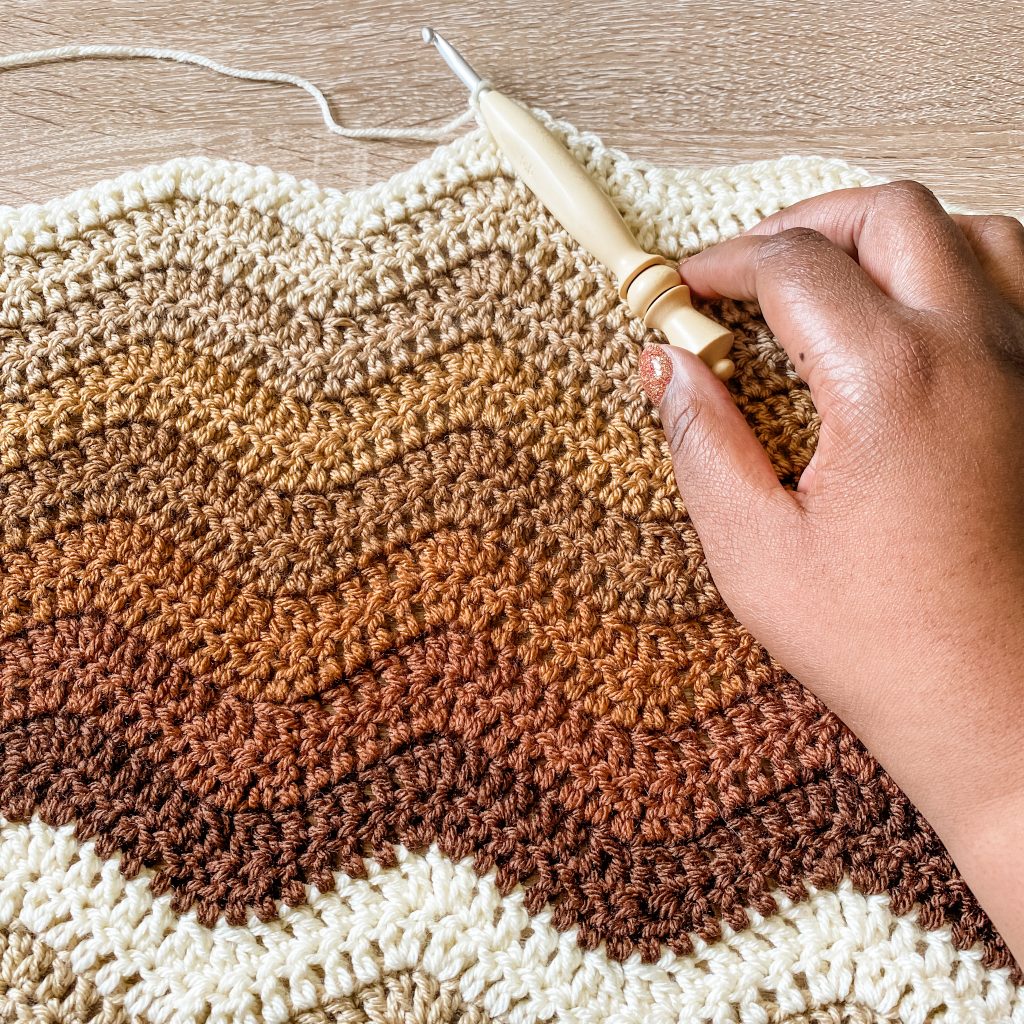
Turn your work after adding 3 chains, which counts as 1 Doubler Crochet (DC). Start your first stitch with a DC. As you get to the first increase, make 1 DC in each of the next stitches. Work two double crochets (DC) into the same stitch to create the increase. Skip the following two stitches. The following 3 stitches are worked as DC, followed by a skip of the following 2 stitches and 2 DC in the subsequent stitch.
In the entire row, repeat this pattern. Until your blanket is the correct length, repeat this row as necessary. Don’t forget to adjust the colors to your design idea.
Step 5: Work on the Edging
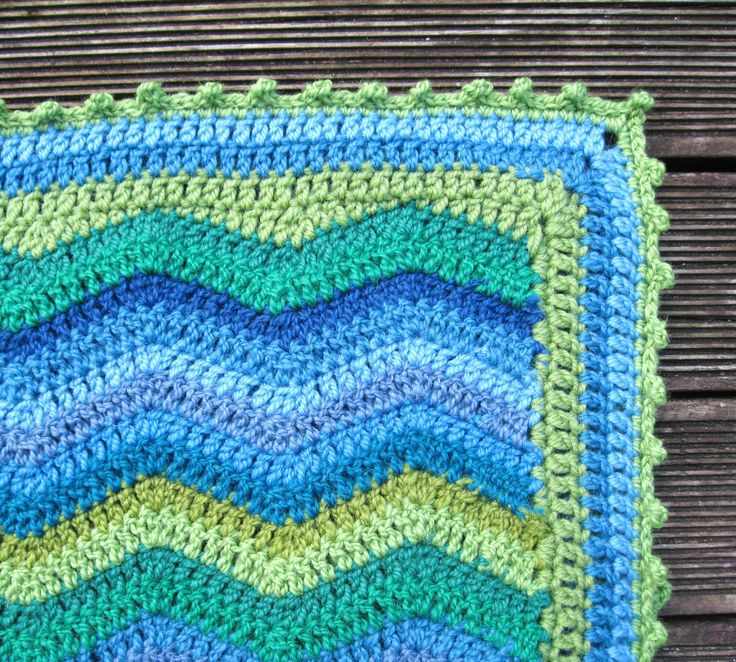
After your blanket has reached the required length, add an edging to give it a finished appearance. Use a beautiful stitch pattern or a straightforward stitch like a single crochet. To keep the edges neat, work equally along the sides and think about adding corner stitches.
Step 6: Weave in Ends
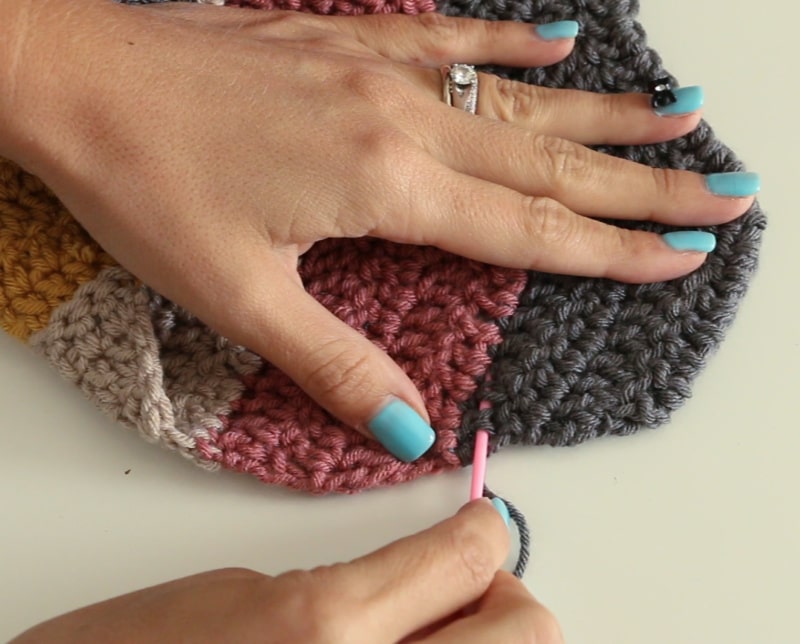
After the blanket is finished, use a tapestry needle to weave in any loose yarn ends. This process guarantees a neat finish. Weaving in ends is a crucial step in the process of crocheting a ripple blanket, and its importance cannot be understated. Properly weaving in ends contributes to the overall aesthetics, durability, and longevity of your blanket.
Step 7: Blocking
It is the process of soaking your blanket and shaping it to straighten stitches and enhance its appearance. The blanket should be spread flat on a clean surface, gently stretched, and shaped before letting it air dry.
Essential Tips to Follow While Crocheting a Ripple Blanket
With these tips and approaches, you’ll be prepared to make a beautiful and appealing ripple blanket:
- Choose a comfortable and sturdy yarn that fits your preferences and the blanket’s intended function.
- To make sure your tension complies with the pattern’s specifications, start with a gauge swatch.
- To keep the right stitch count, consistently count your stitches after each row.
- To indicate increases, decreases, or color changes, use stitch markers spaced regularly throughout the work. This can make it easier for you to remember where the pattern has to be altered.
- You can cut down on your time and irritation by weaving in ends as you go.
- A polished finish can be achieved by blocking your finished blanket to help smooth out the stitches and edges.
Uses of a Ripple Crochet Blanket
Ripple blankets are versatile pieces with both attractive aesthetics and usefulness. They are suitable for a variety of uses due to their distinctive appearance and cozy nature.
- Home Decor: One of the most popular applications of a ripple crochet blanketis as a part of your home’s interior design. A ripple blanket can quickly bring a splash of color and texture to your living room, whether it is draped over a couch, set at the foot of a bed, or hung on the wall. It can produce a warm, welcoming ambiance and fit the overall decor motif.
- Pet Blanket: Our animal friends enjoy the coziness of ripple blankets as well. By putting a ripple blanket in their bed or other preferred resting place, you may designate a space just for your pet. They can snuggle on the blanket’s silky surface, and it will keep them warm.
- Baby Blanket: Popular choices for baby blankets are ripple blankets. They are perfect for providing warmth and comfort to infants and young children because of their playful style and softness. To fit the nursery design, you can pick cheerful tones or calming pastels.
- Bedspread: Ripple blankets make fantastic coverlets or bedspreads. They can be worn as a light covering during the warmer months or as an additional layer during the colder ones. The bedroom is made more visually interesting by the zigzag design, and a restful night’s sleep is made more comfortable by the soft feel of the blanket.
Conclusion
Making a ripple blanket with crochet involves both creative expression and skillful technique. As you finish your ripple blanket, you not only get a beautiful and useful item, but you also feel accomplished since you’ve mastered a challenging yet worthwhile design.
The ripple blanket becomes a visible representation of love and creativity, whether it warmly decorates your house, envelops a loved one, or is given as a gift with love and meaning. This guide offers the instructions you need to successfully finish a ripple blanket that will be appreciated for years to come.
Pick up your hook, choose your yarn, and start this wonderful crocheting adventure by letting your creativity take the lead!
Frequently Asked Questions
How are the Ripple Blankets Different from Ordinary Blankets?
A ripple blanket, sometimes referred to as a chevron blanket or a zigzag blanket, has a recognizable wavy pattern made up of increases and drops in each row. A ripple blanket has peaks and valleys that offer texture and intrigue, unlike a standard blanket with straight borders.
How Can I Pick the Best Yarn for My Blanket Made of Ripples?
Pick a yarn that is appropriate for the blanket’s intended function. Because of its softness, toughness, and variety of colors, woven-weight acrylic or cotton yarn is a popular option. Think about the warmth and texture you want, as well as how simple it will be to maintain the finished blanket.
How Can I Keep the Borders of My Ripple Blanket from Curling?
Make sure you’re keeping a uniform tension throughout your stitches to avoid curling. Blocking your finished blanket can also assist in flattening it and minimizing curling. The blanket should be dampened, then carefully stretched and shaped to the required sizes before letting it entirely air dry.
How Much Time Does a Ripple Blanket Require to Crochet?
The time it takes to finish a ripple blanket varies on various things, including how quickly you crochet, how big the blanket is, and how much expertise you have. Larger blankets might take several months to complete, while smaller ones can be accomplished in a few weeks.
Can I Make the Ripple Design with Other Crochet Stitches?
Although double crochet stitches are used in the traditional ripple pattern, you may certainly experiment with other stitches to produce interesting results. For instance, changing the scale of the waves and creating a distinct aesthetic can be achieved by employing half-double crochet or treble crochet stitches.