
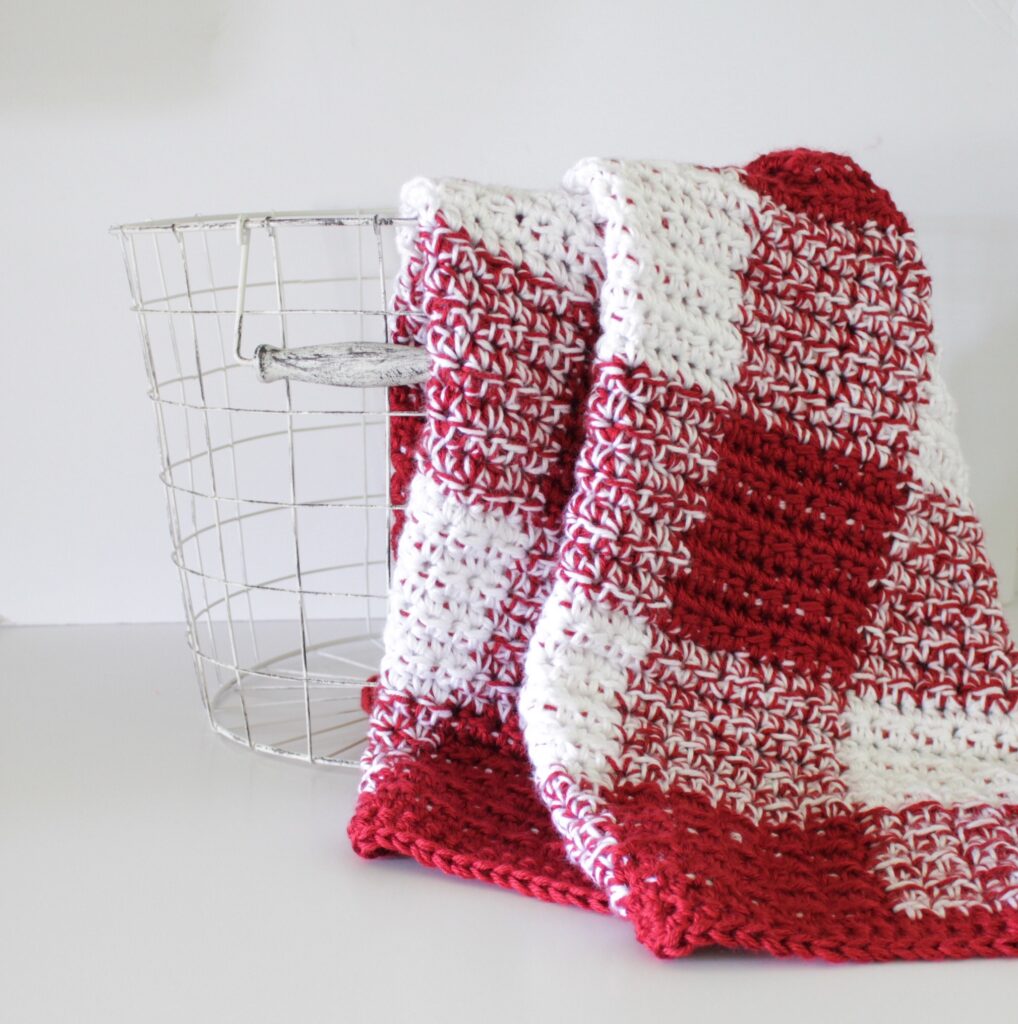
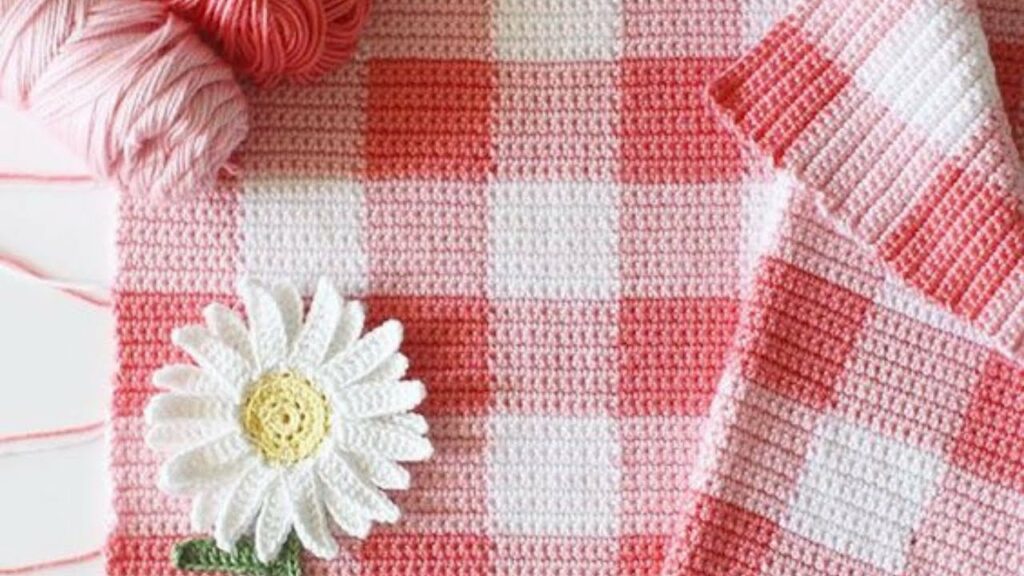
Do you own the classic red gingham blanket? The timeless red gingham blanket is the most common piece of winter clothing found in most households across America. This blanket is often considered to be a legacy by many people. Often treated as a last material attachment that reminds us of our late grandmother or mother. Are you looking for a step-by-step guide to creating your very own red gingham blanket?
Beautifully crafted and precisely woven red gingham blanket is an easy-to-make DIY blanket. Now, look no further! In this comprehensive guide, we will take you through each stage of the process with the required steps and tips to remember.
With the help of this article, we will help you re-create this legacy hassle-free for your children. Here, we will focus on everything, from selecting the perfect materials to adding those final customized touches to make the blankets your own.
But before talking about the gingham crochet, we will learn about it from the times gone by.
The Contrasting Origin of Gingham Crochet in America
Historically and factually speaking, the country of the United States of America has no ancient civilization emerging from its lands. Moreover, this piece of land became home to the people of existing ancient civilizations that soon became natives of the American land.
Over time, immigrants worldwide started discovering America and settling there. This led to the exchange of varied spiritual and cultural practices. One of the exchange practices was the craft of crocheting. The Irish immigrant introduced the craft of crocheting to the American mainland in the late 19th century.
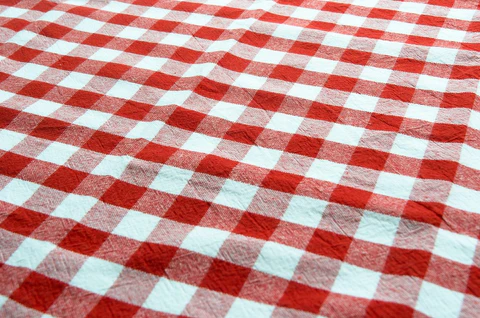
This is how the birth of crocheting started in America. During the same timeline, the gingham pattern was introduced and popularized all across the globe throughout the years. And this is how the red gingham blanket became a legacy for Americans. Historically, it was simply the introduction of two art forms into the country.
Essential Tips to Remember While Crocheting Red Gingham Blanket
Before we jump into an extensive explanation of the step-by-step guide, let us first learn some important tips. These tips will help streamline the blanket weaving process and help solve any doubts (if any) as well.
- Do not compromise on the yarn threads. We all know for a fact that pure wool yarn threads are coarse and cause itching and rashes to the skin. So make sure to opt for a soft blended yarn to enjoy the warmth and soft touch of the blanket for years to come.
- A typical gingham blanket is made from two colors. One of them is white, while the other is a bold color. Although we will discuss a red and white combination, you may opt for any bold color you choose.
- Gingham blankets are supposed to be lightweight. Lightweight blankets are easy to use and carry. So, make sure to choose a yarn that is light in weight.
Step-By-Step Guide to Crochet Classic Red Gingham Blanket
Did you find the history of crochet and gingham in America insightful? For all the people saying yes, our agreement is mutual. Now that we know about the origin of crochet gingham let’s get started with our extensive guide.
Step 1: Assemble the Raw Materials
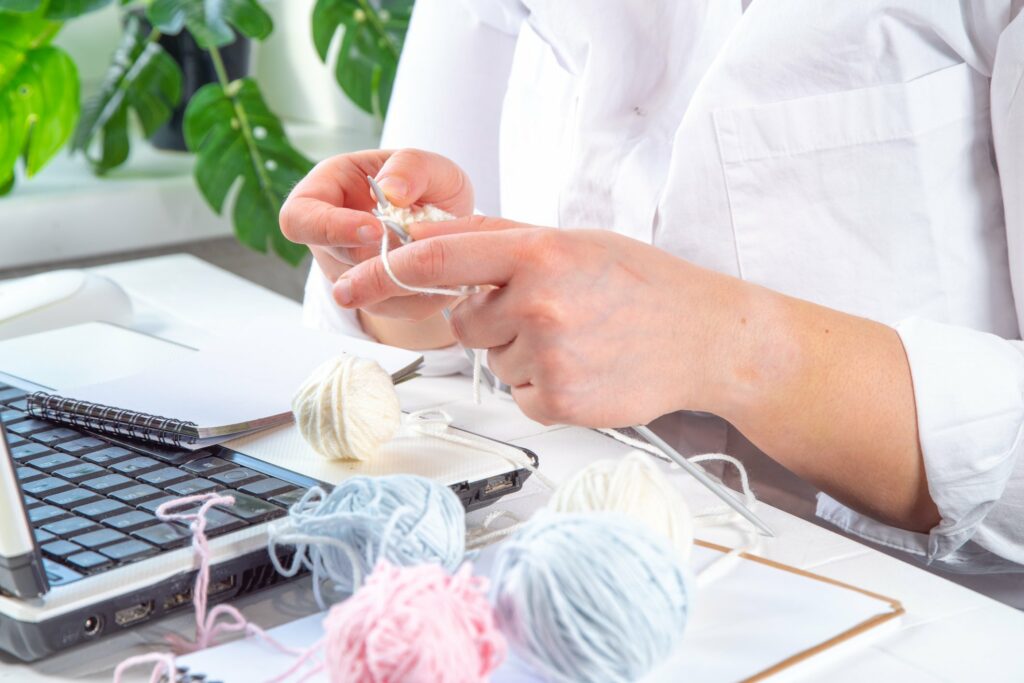
Before getting started with crocheting, it is always beneficial to have all the raw materials laid out in front of us. This helps save time between crocheting and maintaining uniform crochet patterns throughout the knitting journey.
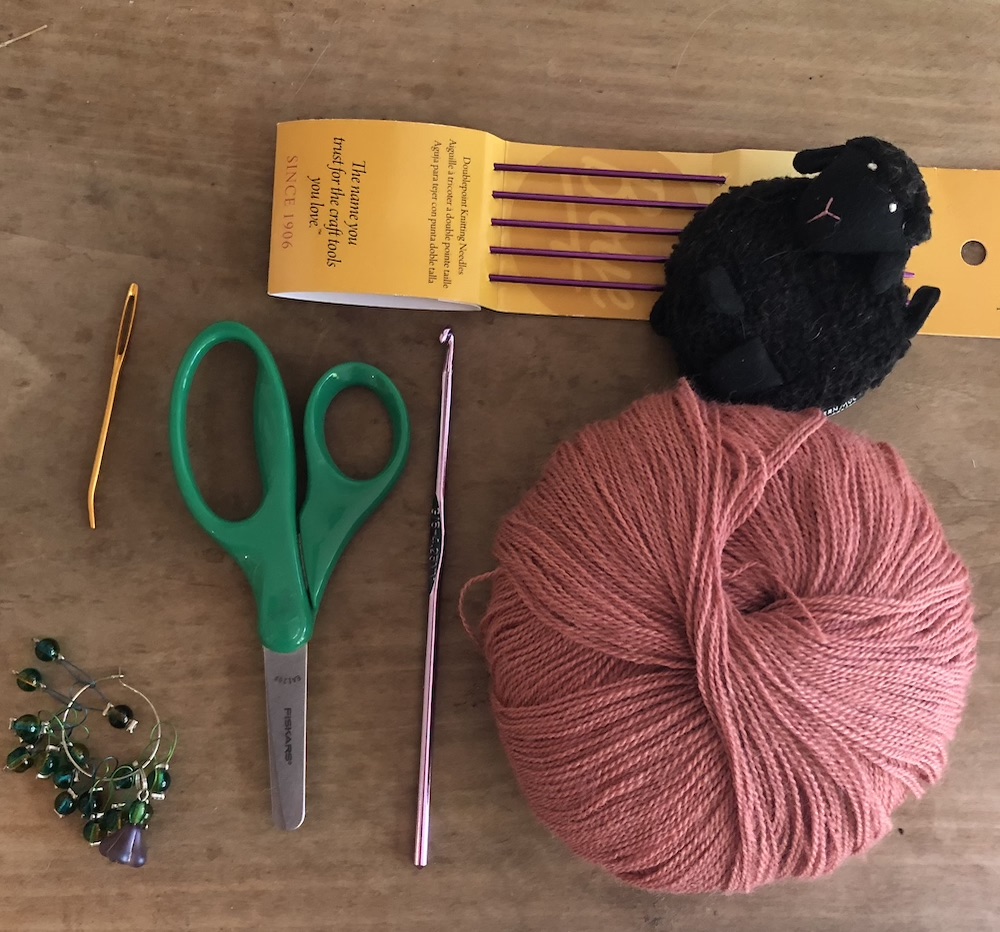
The raw materials required for knitting a crochet red gingham blanket are:
- Red-colored yarn: Here, we are using red-colored yarn. You may choose any other bold color as per your liking.
- White-colored yarns: It is a non-negotiable yarn color. It is customary for one of the colors of the gingham blanket to be white.
- Crochet hook
- Yarn needle (if required)
- A pair of scissors
This is a list of basic requirements required for making the crochet gingham blanket. If you wish to incorporate some additional materials, then please go ahead. Creativity is never fixed. It is the most easily customizable creation with multiple possibilities.
Step 2: Extensive Research
In order to bear fruitful results out of this extensive guide, we urge you to conduct extensive research on appropriate tutorials. There are numerous tutorials available online that will teach us to make the perfect gingham.
Go through a few tutorials and shortlist the relatable ones. Now, whichever tutorial you see fit can be referred to. Make sure to conduct this research sitting down to knit. It will take a lot of time, and by then, the enthusiasm to knit may fade off.
Although the best teachers can be found in our home, contact your grandmother or mother and try to learn crocheting from them. No tutorial can match up the skills polished through experience and persistent practice.
Drop in the link for your favorite tutorial video in the comment section below to help others as well.
Step 3: Tie the knot
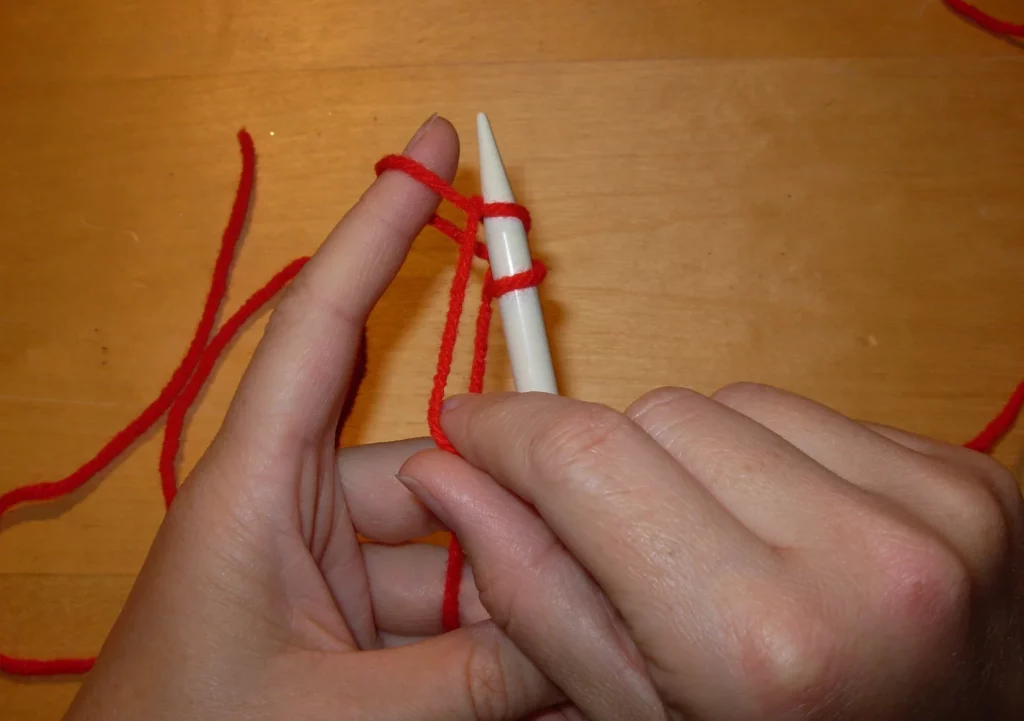
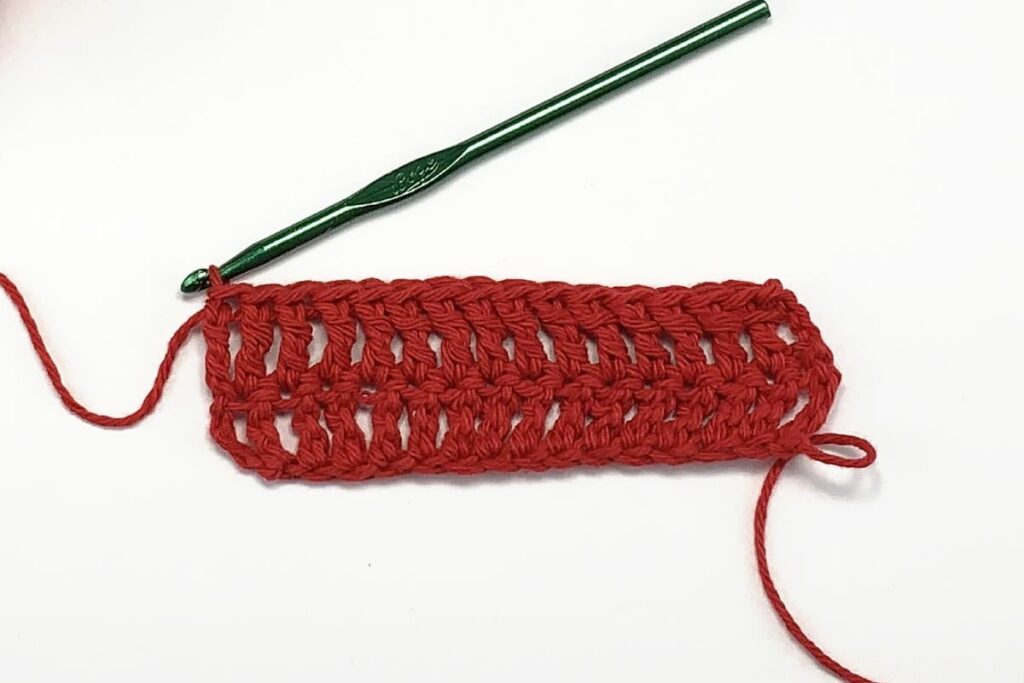
Once all the materials are assembled, and the preferred tutorial medium is chosen, the next step is to start knitting the red gingham. Take out the crochet hook and the yarns. In crocheting, the first and the path-defining challenge is making the first loop. Once the first few loops are knitted properly with perfect closeness, the entire look of the clothing is defined.
So, pick any of the two colored yarns and start making the loops. Traditionally, a tapestry crochet pattern is used to knit the gingham blanket. This pattern allows easy change of colors while knitting any price of clothing.
However, if you are unfamiliar with the said pattern, you can always choose the one you like. Any crochet pattern can be opted for, but the hanging of colors can be a problem. Don’t worry; all we have to do is create small, equal squares from the chosen crochet pattern that will be joined later.
This method allows us to experiment with different crochet patterns for different parts of the blankets.
Step 4: Join the Squares
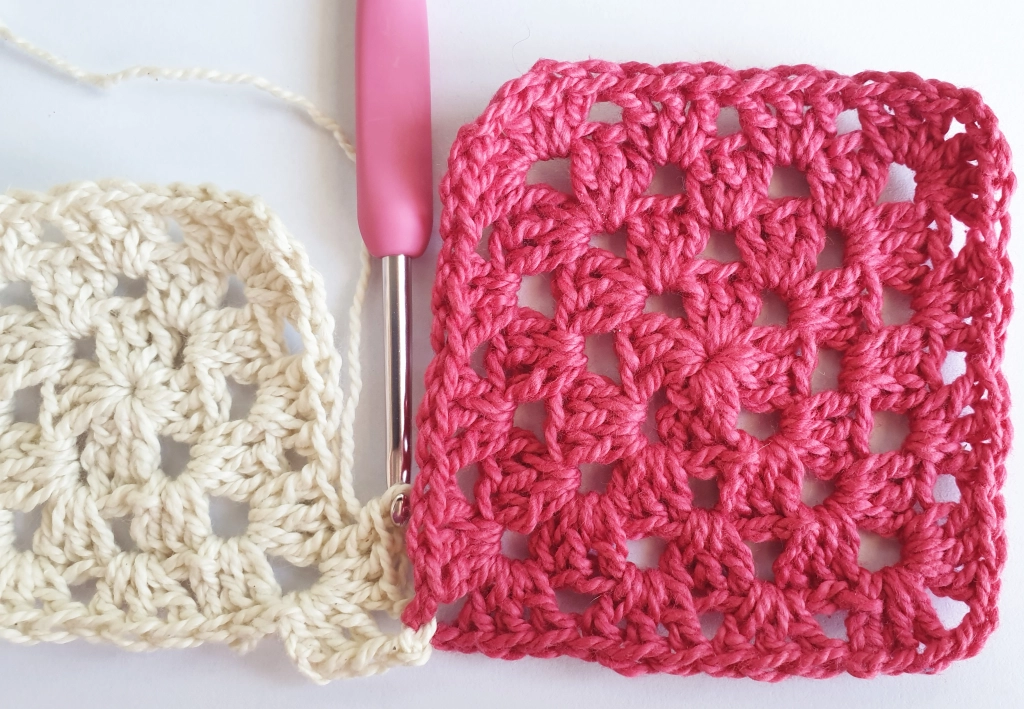
After creating small squares of different or the same crochet patterns, we have to sew the whole thing together. Here, we will require a yarn needle. If the size of each square is 3 by 3, then in total, at least 60 squares will be required. This is an approximate number and can be increased or decreased depending on the person it is made for.
After the required number of squares is knitted, start joining them. Pick the two different colored square patches and sew them with the yarn needle. Join the patches one by one in the required length and breadth. The red gingham blanket is ready.
This is an additional step for people who are new to knitting. A beginner-friendly pattern design can be a good learning experience to grasp the art. Knitting a blanket is a time-consuming task and gives an opportunity for trial and error. So, all the people who have just begun their knitting journey, start knitting a blanket!
Step 5: Give a Lacey Finishing
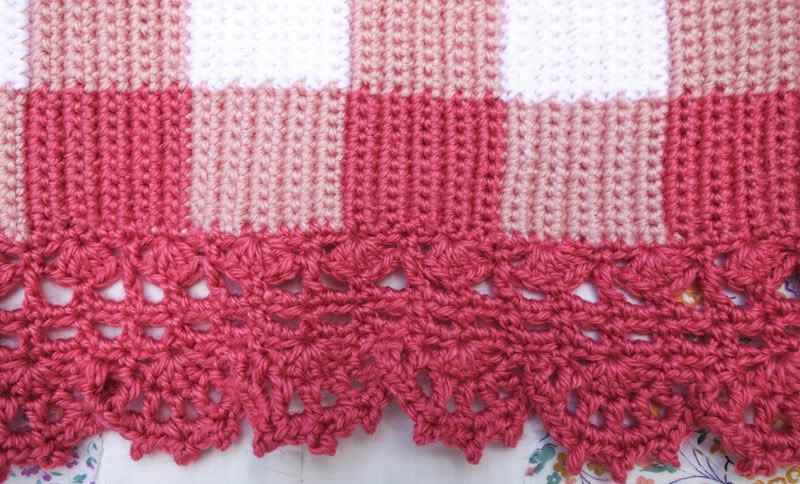
Do you think the blanket is ready now? Well, not yet. After patching up all the square pieces and or completing the red gingham in one go. It is time to add some finishing touches. One of the easiest and best ways to give a beautiful finish to the blanket is by adding a lace around it.
The lace can be knitted from scratch after the blanket is completed. For the lace, we do not have to go through the hassle of alternating colors per the blanket. Select one color, either white or red, considering the red gingham pattern being followed. You may select one of the two color options that you have chosen.
The one chosen color is sufficient to border the whole blanket. Though knitting the lace is an excellent choice, it can become too tedious, especially after knitting a whole blanket. So, another alternative is to attach readymade laces.
Simply buy the lace that fits perfectly on the blanket and sew it to the blanket using a yarn needle. Though sewing requires precision and hard work, it does not cause as much fatigue as knitting.
Step 6: Scrutinize It!
A beautiful red gingham is just one step away from being ready. Technically, the blanket is ready. With the patches sewn together and laces attached all across its boundaries, there is nothing left to knit or attach. However, how can a handicraft item become complete before using it?
The last and final step is to use the blanket and experience its warmth. The warmth and comfort of the blanket reflect the hard work and meticulous dedication of the maker performed out of love.
Usually, mothers start knitting during their pregnancy. There are several reasons behind it.
- It keeps them busy. Pregnant women are advised to give their children a lot of rest. So, in order to be productive, mothers usually take up knitting under the guidance of their elders.
- Women are excited to bring their baby into the world. Knitting a piece of clothing is their way of reflecting their love and excitement for the baby.
- Mothers knit woolen clothes by themselves to provide ample comfort and warmth to their babies.
So, the hard work pays off only when we see our baby comfortably resting in the blanket’s warmth. A blanket is as warm as a mother’s hug.
Color Alternatives
Though we have spoken about the red gingham blanket, multiple other color options can be chosen apart from red, the white color is permanent, but we have some suggestions for the second color down below.
1. Lilac
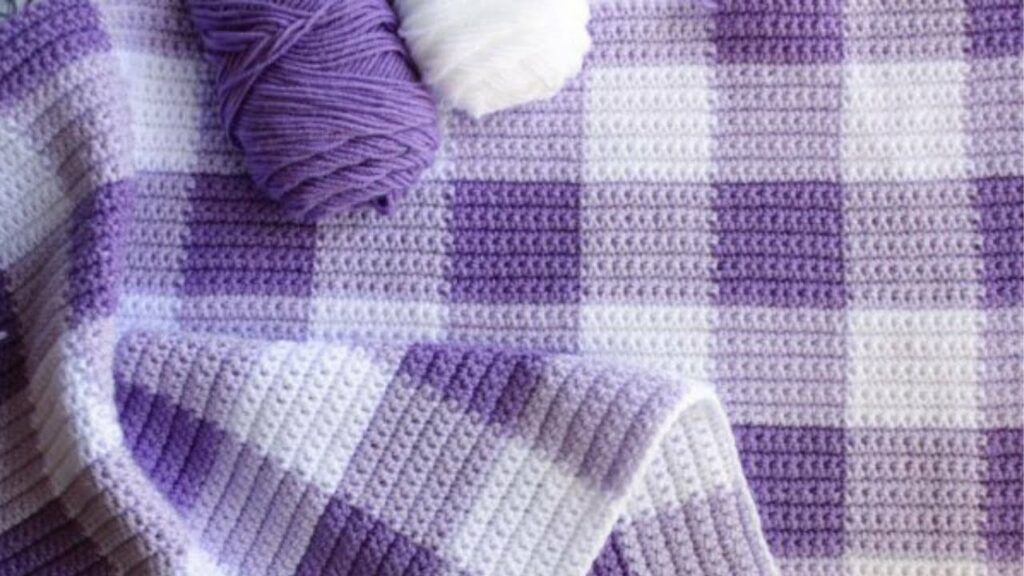
It is one of the most loved pastel shades that gives out a beautiful look, especially when combined with white. Lilac is a light shade of purple color. The white and lilac combination gives a subtle and elegant look to the blanket. A perfect shade for a cozy winter morning sleep.
2. Yellow
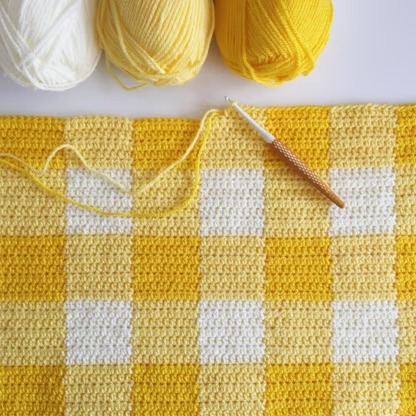
It is a beautiful color option and is known for its bright and vibrant characteristics. The deep shade of yellow (mustard) would pair perfectly with white color. Closely knitted yellow gingham blankets can be used by all age groups. The combination is inspired by the sun rising at dawn. It is a breath-taking experience all through the year.
3. Blue
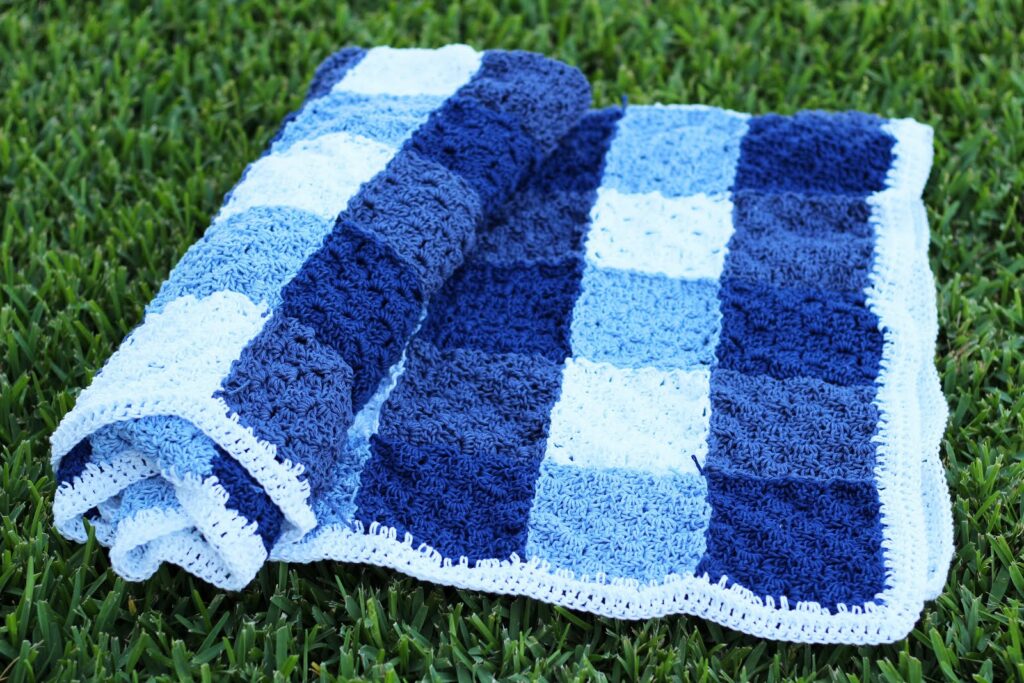
A universal color, blue is one such color that looks good on everyone. Though blue is universally acclaimed as a color for boys, it does not have to be. It looks very good with white color. A third can also be added to the blanket to make it more pretty. The third color can be any shade of blue.
4. Green
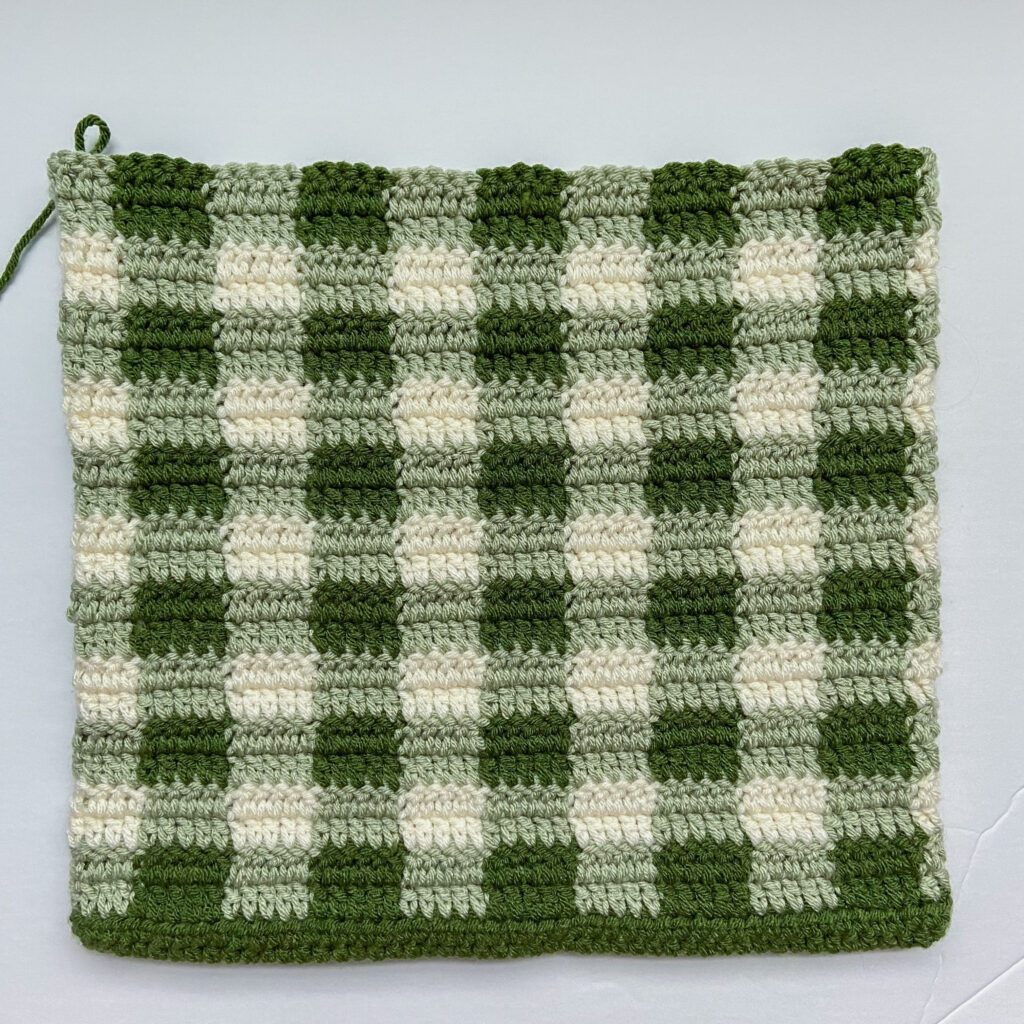
A beautiful color gifted to us by Mother Earth herself. Green and white are a perfect combination when going for a nature-themed blanket design. Green reminds us of the onset of spring and the freshness of the grass. Earthy tones are always in fashion and always bring in a piece of nature. The duo combination can be accompanied by a third color – any shade of green will work.
5. Gray

A gray and white combo looks very sturdy and elegant. If you love black color, then switch the gray with black. Or, even better, try and accommodate all three shades – white, gray, and black together. It will bring out an innovative chalkboard design that will soon become everyone’s favorite.
Conclusion
And now, we come to a humble end of this extensive guide. The red ginghamblanket is one of the common blankets we remember from our childhood. The popularity of the gingham blanket is not restricted within the boundaries of the States. In fact, it crosses continents and is popular all across the world.
Did you own a red gingham blanket growing up? Let us know in the comment section below. Also, mention your region so that our estimation can be proven true! Doesn’t this bring some beautiful childhood memories in front of us? We bet it does!
We hope this extensive guide will help you thoroughly prepare yourself before sitting down to knit. Here, you will find everything from the items required to the best look and use for the red gingham.
Did you find our guide worthwhile? Share your personal experiences and crochet journey in the comment section below. Let us bring back our grandmother’s legacy and spread it across.